searching for settings that give me consistent results
The introduction:
My day to day job is working on TV commercials. Most of the time the footage is shot on digital cameras and later color graded in a reference situation “grading suite” that is operating in a dim surround. Retouches & Composting are often worked on in an office environment that is located in a more or less bright surround. Often the final step of “Online” on a flame or other systems with agency & client approvals usually happen in a mixed environment between a dim and a bright surround.
The approved master files are usually sent as a ProRes 422 HQ with the QT-tags 1-1-1 for Rec.709 to TV stations, video ad serving services or social media channels.
The test environment:
But imagine that I “work” on a small setup with Resolve Studio on a Mac with a P3 display. In my case this is a 2020 iMac 27″with a P3-Display and a M1-Max MBP with a XDR display. On the MBP I did leave out the relatively new “reference mode” for now, because I did not test the reference mode yet.
I assume this could be a setup for a digital content creator that produces video content mostly for social media channels.
There is not a proper reference monitor setup. Therefore the Resolve preferences are set to “Use 10-bit precision in viewers if available” and “Use Mac Display Color Profile for viewers” to rely on Apple’s ColorSync.
“The delivery” channels are my own Mac displays, iPhones & iPads or a random TV that is connected to an AppleTV in this case.
For this test I used a camera original source file I called ARRI “Helen & John” clip that was shot with an Alexa 35.
The question:
Can I grade in Resolve and rely on the Resolve viewer? Can I export video and still files and they look the same in the Finder? Can I upload my content to YouTube and Instagram and still see the same colors on an iPhone with a P3 display and on an iPadPro with an XDR display?
The test:
The Resolve project is set to DaVinci YRGB in UHD and the timeline color space is set to LogC4. This setting does not matter in this case as I only use an ARRI LOOK LUT & the LogC4 to Rec. 709 Gamma 2.4 LUT to form the image. The output color space is set to sRGB.
The output color space actually makes a difference when “Use Mac Display Color Profile for viewers” is enabled in the preferences.

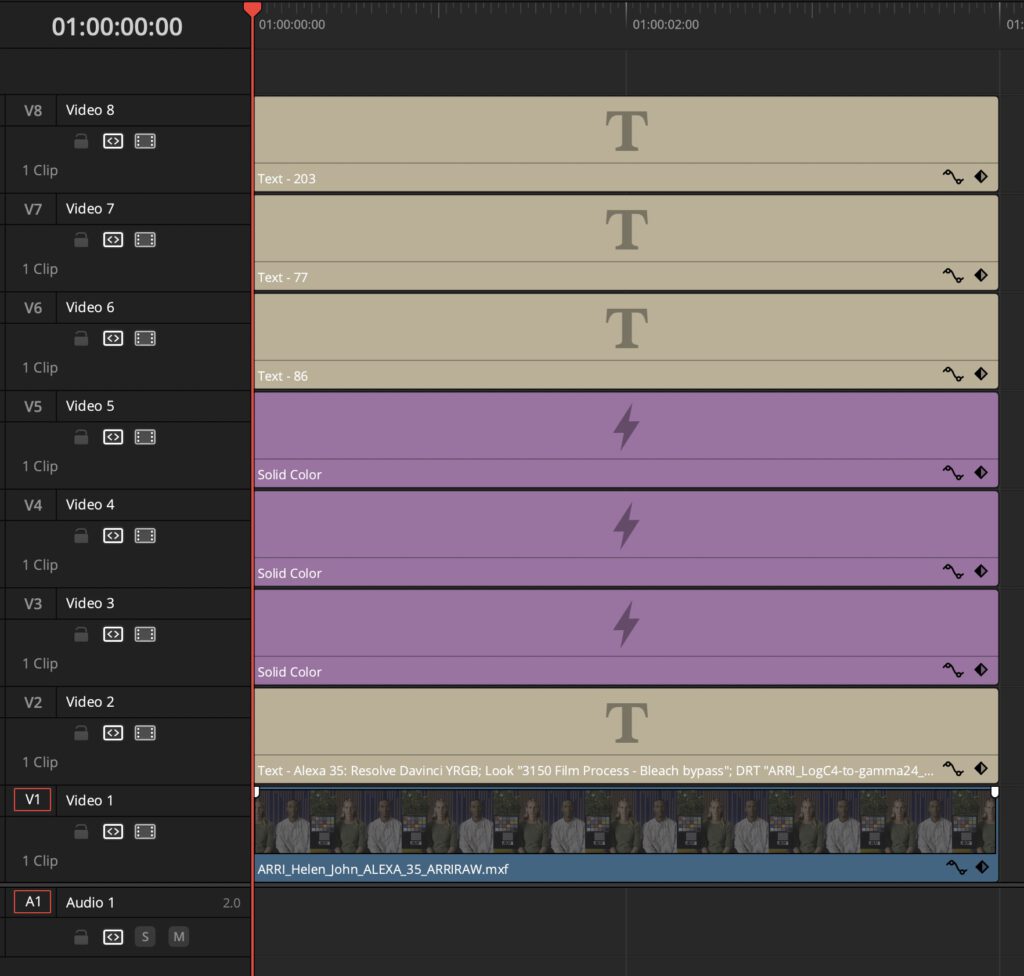
The timeline contains the Alexa35 MXF clip, some color solids to make the read out of the color values with MacOS Digital Color Meter easier and some text layers to print the measured values into the shot.
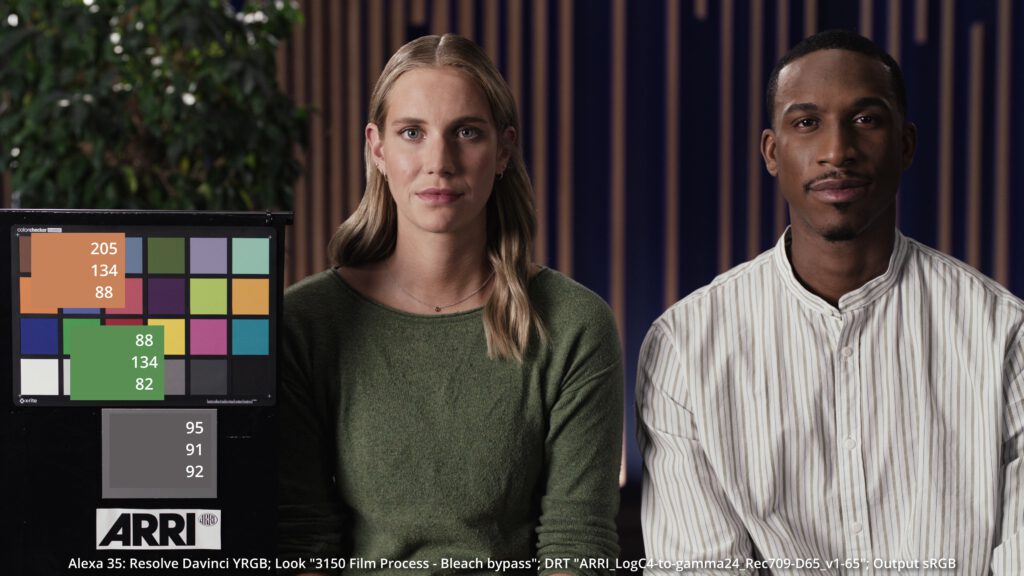
In the color page I only use two LUTs from ARRI for the Alexa35 material to create the graded footage. First the look LUT “3150 Bleach Bypass” followed by the LogC4 to Rec.709 gamma 2.4 LUT.
THE still images:

The following image was exported as an (untagged) TIFF and as a (sRGB tagged) JPEG file directly from Resolve. The TIFF was then converted to a JPEG as well to be able to upload it on the website. The TIFF and the derived JPEG both look identical in Preview. The image in the Resolve viewer looks like this:
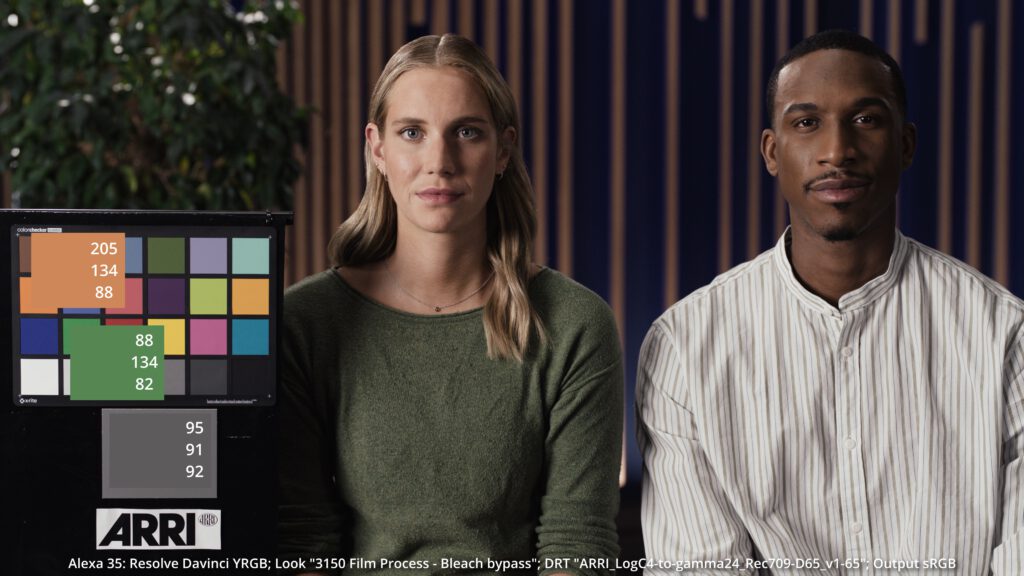
At this stage I open the Digital Color Meter (set to sRGB) from MacOS and measure the values that were then printed into the image.
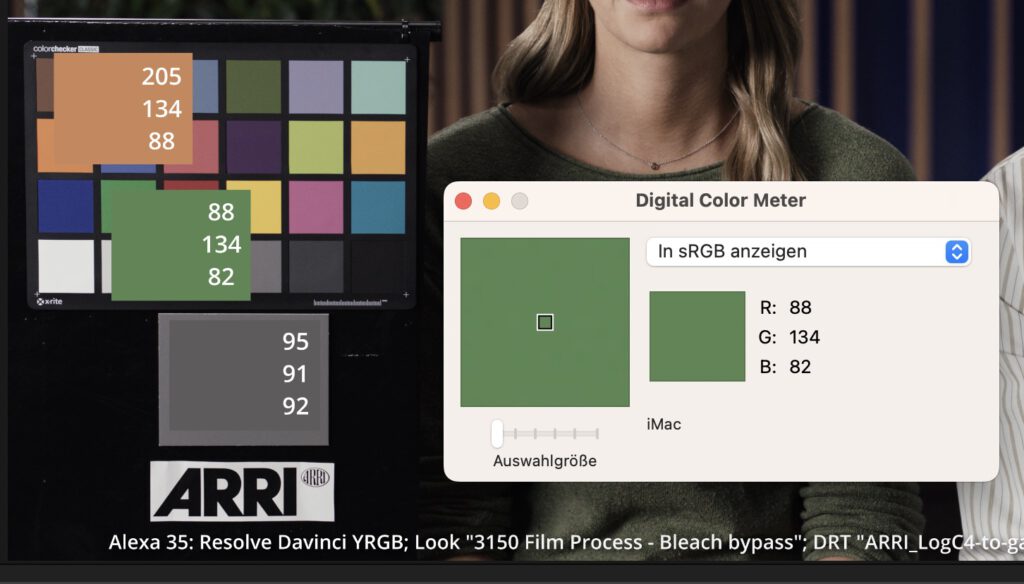
The Resolve viewer and the converted TIFF to JPEG image in “Preview” show me the same image. They look identical and Digital Color Meter measures also the same values in the three patches.
Unexpectedly I do not get the same result when I check the directly exported JPEG file from Resolve. The JPEG file is already tagged as sRGB, but the overall colors are different. I actually would expect the same result for a TIFF and JPEG file. The wrong colored JPEG file is the top image, the TIFF image is below and the clip switches between the two images.
At least for me the different results are counterintuitive and confusing. It appears that the exported JPEG receives an additional conversion in the export process. Remember, TIFF files work in this case, JPEG do not.
THE Quicktime player:
On the Resolve Deliver page I chose a ProRes 422 HQ file for the export and used the following “Advanced Settings”:

The resulting QuickTime file will be tagged as 1-13-1. “13”, because I set the output colorspace to sRGB. The file looks identical to the Resolve viewer and the patches read out the expected values as well with the Digital Color Meter.
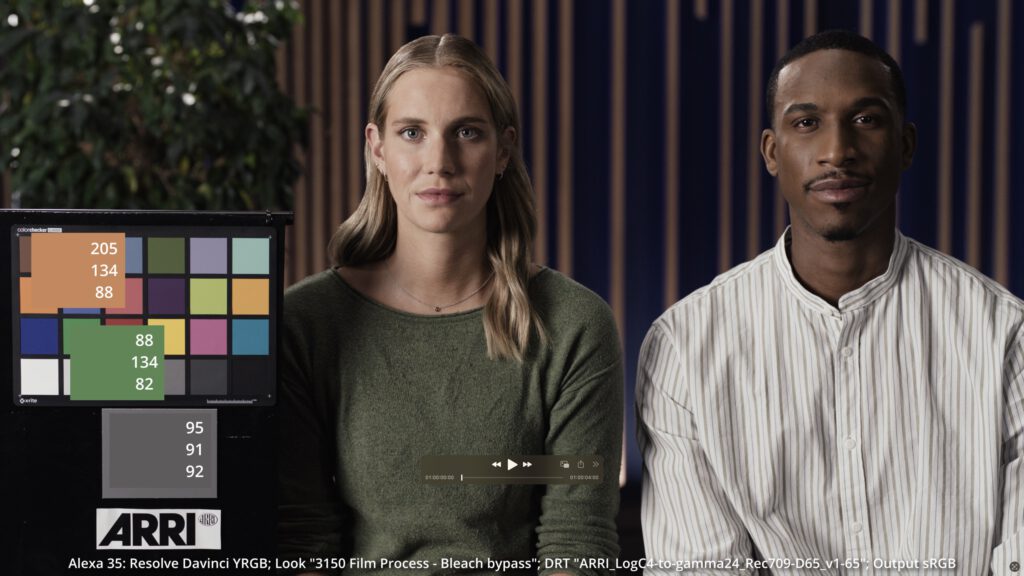
Up to here it seems I have a reliable image processing chain with consistent results. At least on my iMac and the Digital Color Meter I am able to measure consistent read outs when I view this page in Safari.
Upload to Youtube:
Here I found there is one additional step needed before uploading the ProRes file to YouTube. I passed the ProRes file through Apple Compressor and transcoded it to a new ProRes 422HQ file or a H.265 file.
YouTube seemingly ignores any other QT tag apart from 1-1-1 for Rec.709. Apple Compressor appears to linearise the file, taking off the sRGB encoding and adding a Rec.709 encoding instead and baking it into the file.
The resulting file has the QT tag 1-1-1, but still looks the same in the QuickTime Player.
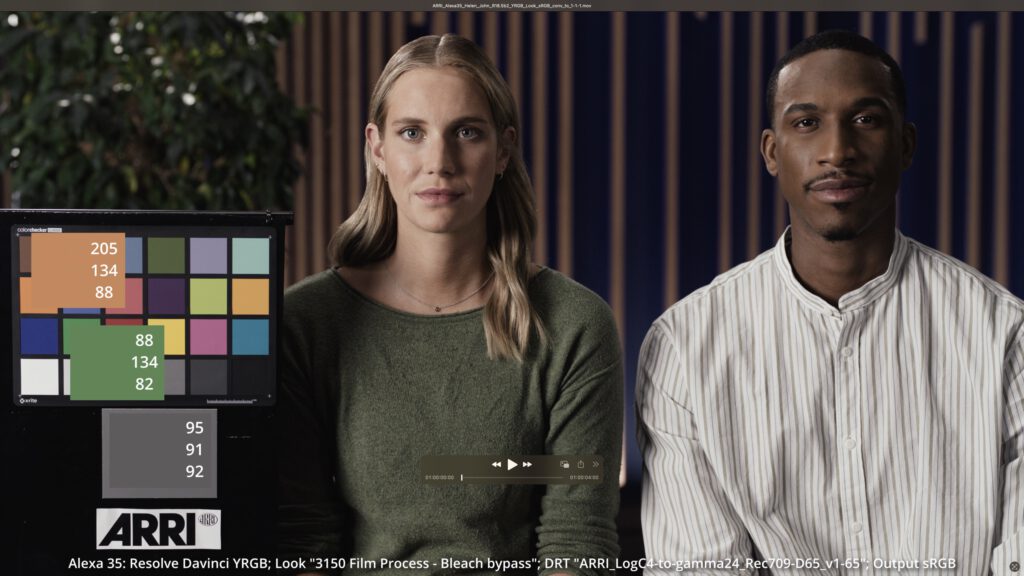
This converted file I uploaded to YouTube. And here is the link:
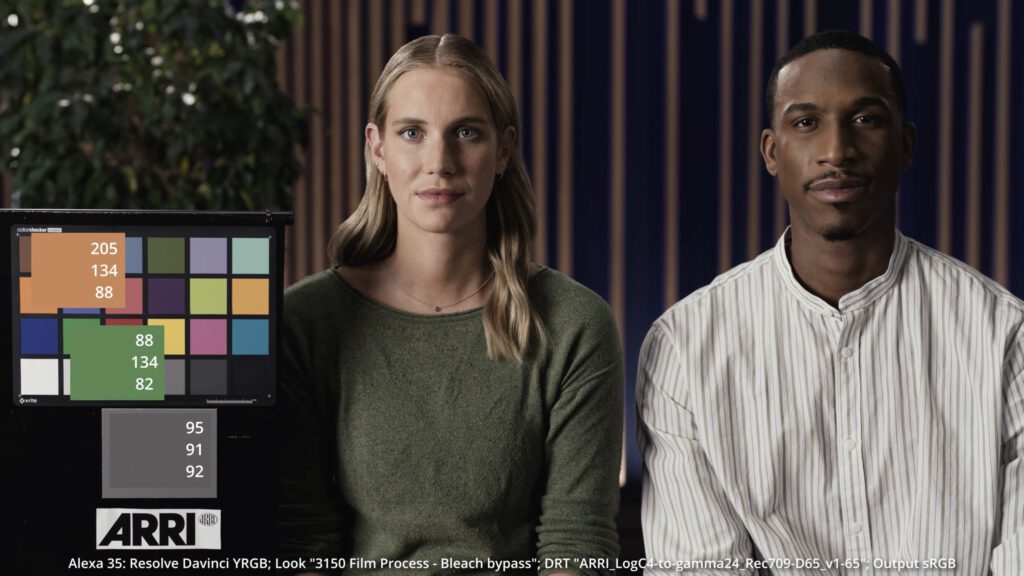
What I don’t understand is why the YouTube preview in Safari on this page shows me different values, whereas a screenshot of the full screen YouTube link shows the right colors again. It could be that the overlay of the YouTube UI is darkening the image overall.
Upload to Youtube fail:
I also tried to upload the sRGB (1-13-1) tagged file to YouTube, but the tag seemed to be assumed to be 1-1-1, therefore the resulting clip in YouTube looks and measures a bit different. The preview in the YouTube link shows again something else for whatever reason.
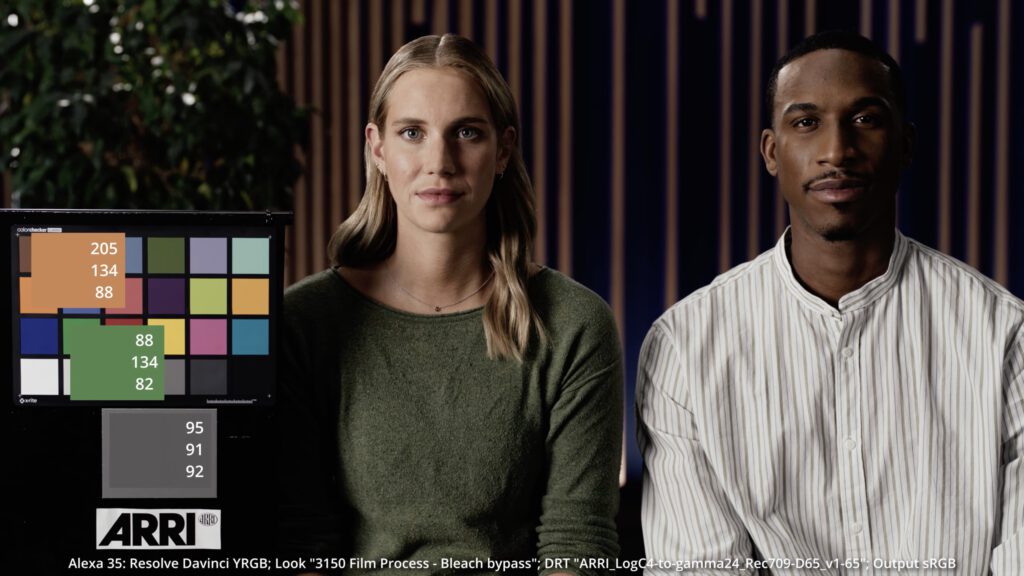
The screenshot indicates better what I actually got presented on the iMac display in full screen mode.
review the result on other devices:
From here on it seems impossible for me to know if the export from Resolve will be the same on an iPhone, iPad or TV over Apple TV as I don’t have the possibility to measure anything. I can just compare the screens side by side and by eye.
conclusion:
I am happy that the experiment worked. I am able to use Resolve on a display P3 iMac and can make sure to see and measure consistent results up to a YouTube upload and watch the result in Safari on the same computer.
My so called “measurement” is only based on the Digital Color Meter tool from MacOS. The help of that tool does not explain at which point the read outs are taken.
The moment I leave the Apple “cosmos” I have no idea what image results I will see on a PC, on Linux or any smartphone display.
Please head over to the second part of this article: switching gears from sRGB to Rec.709-A.
Thanks to Florian Zachau, Finn Jäger and Sönke Heuer to give me the idea to write this post, help me understand the everlasting QuickTime debates and problems a bit better each time. And thanks to ARRI to provide good test material from their cameras.
