Five “routes” to get to your LatLong-EXR
Lightroom, Canon DPP, Capture One, PTGui Pro (RAW direct) and Photomatrix Pro
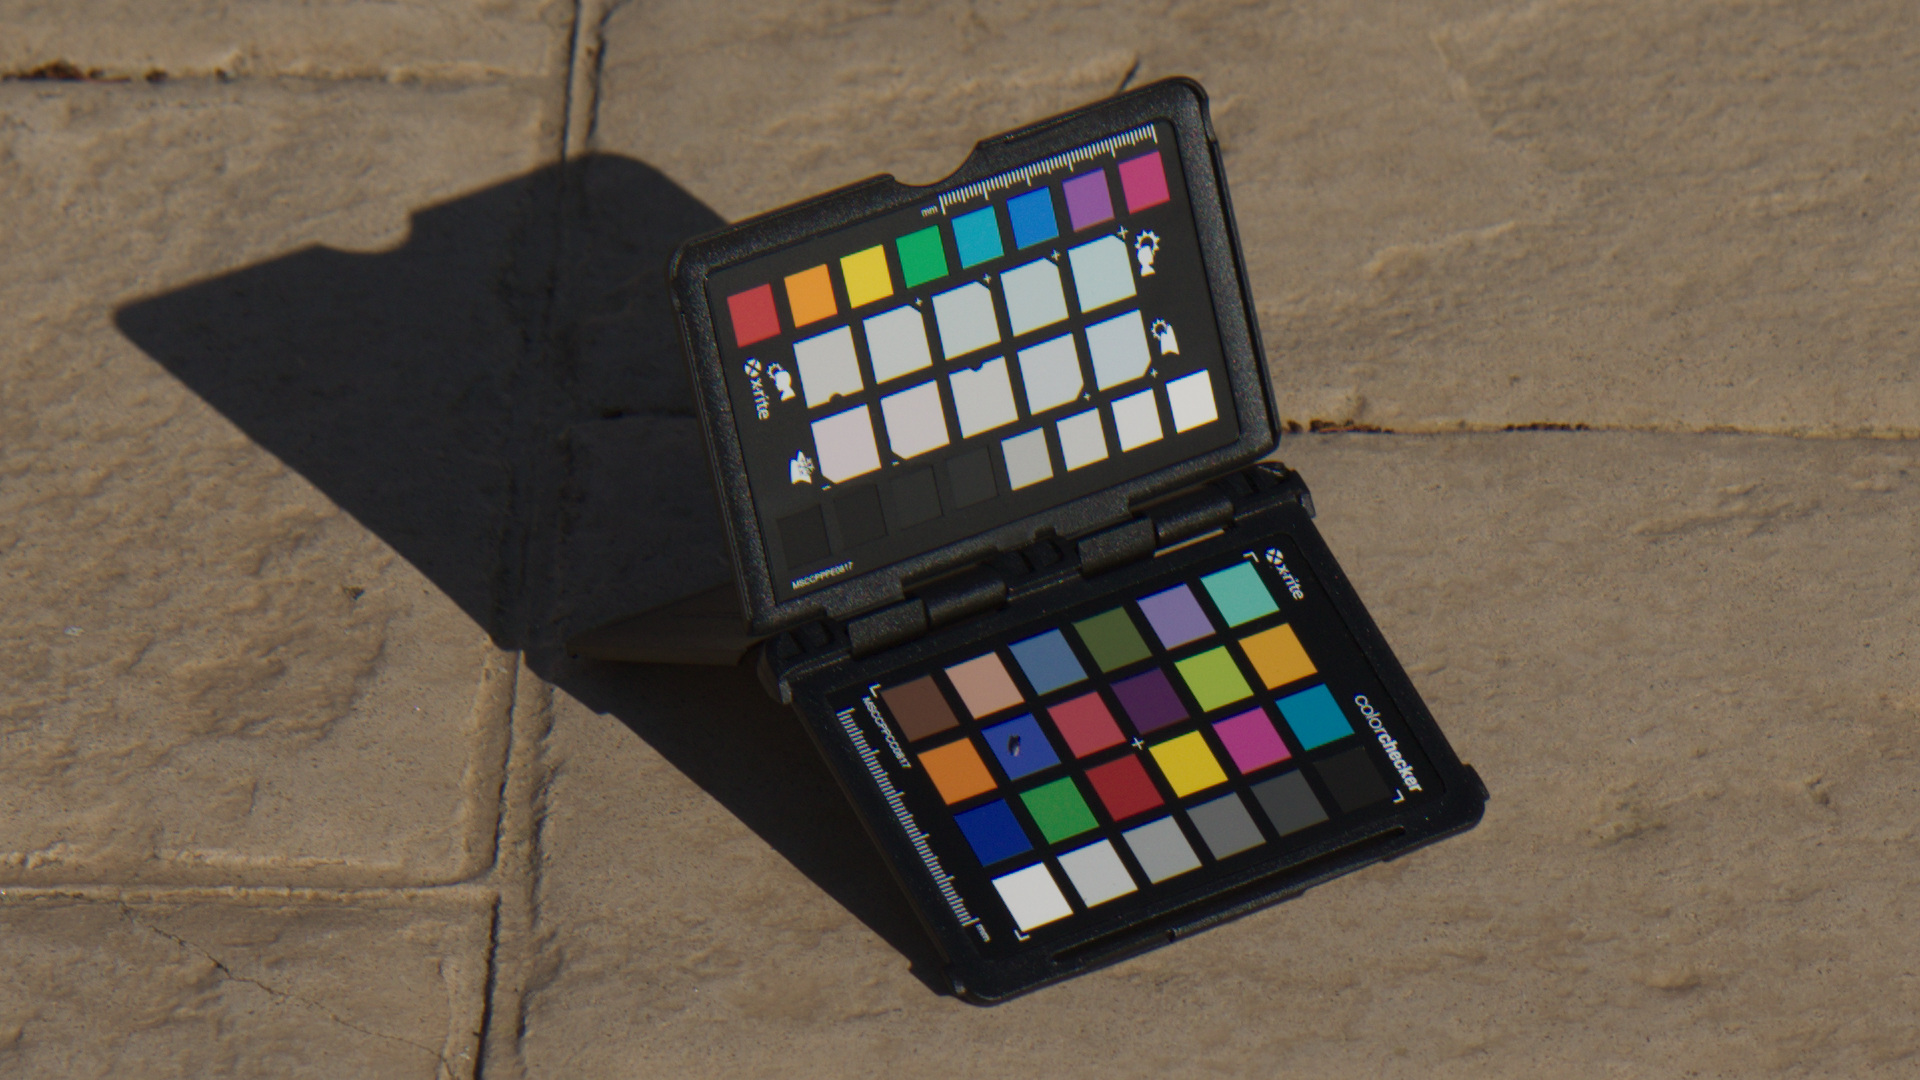
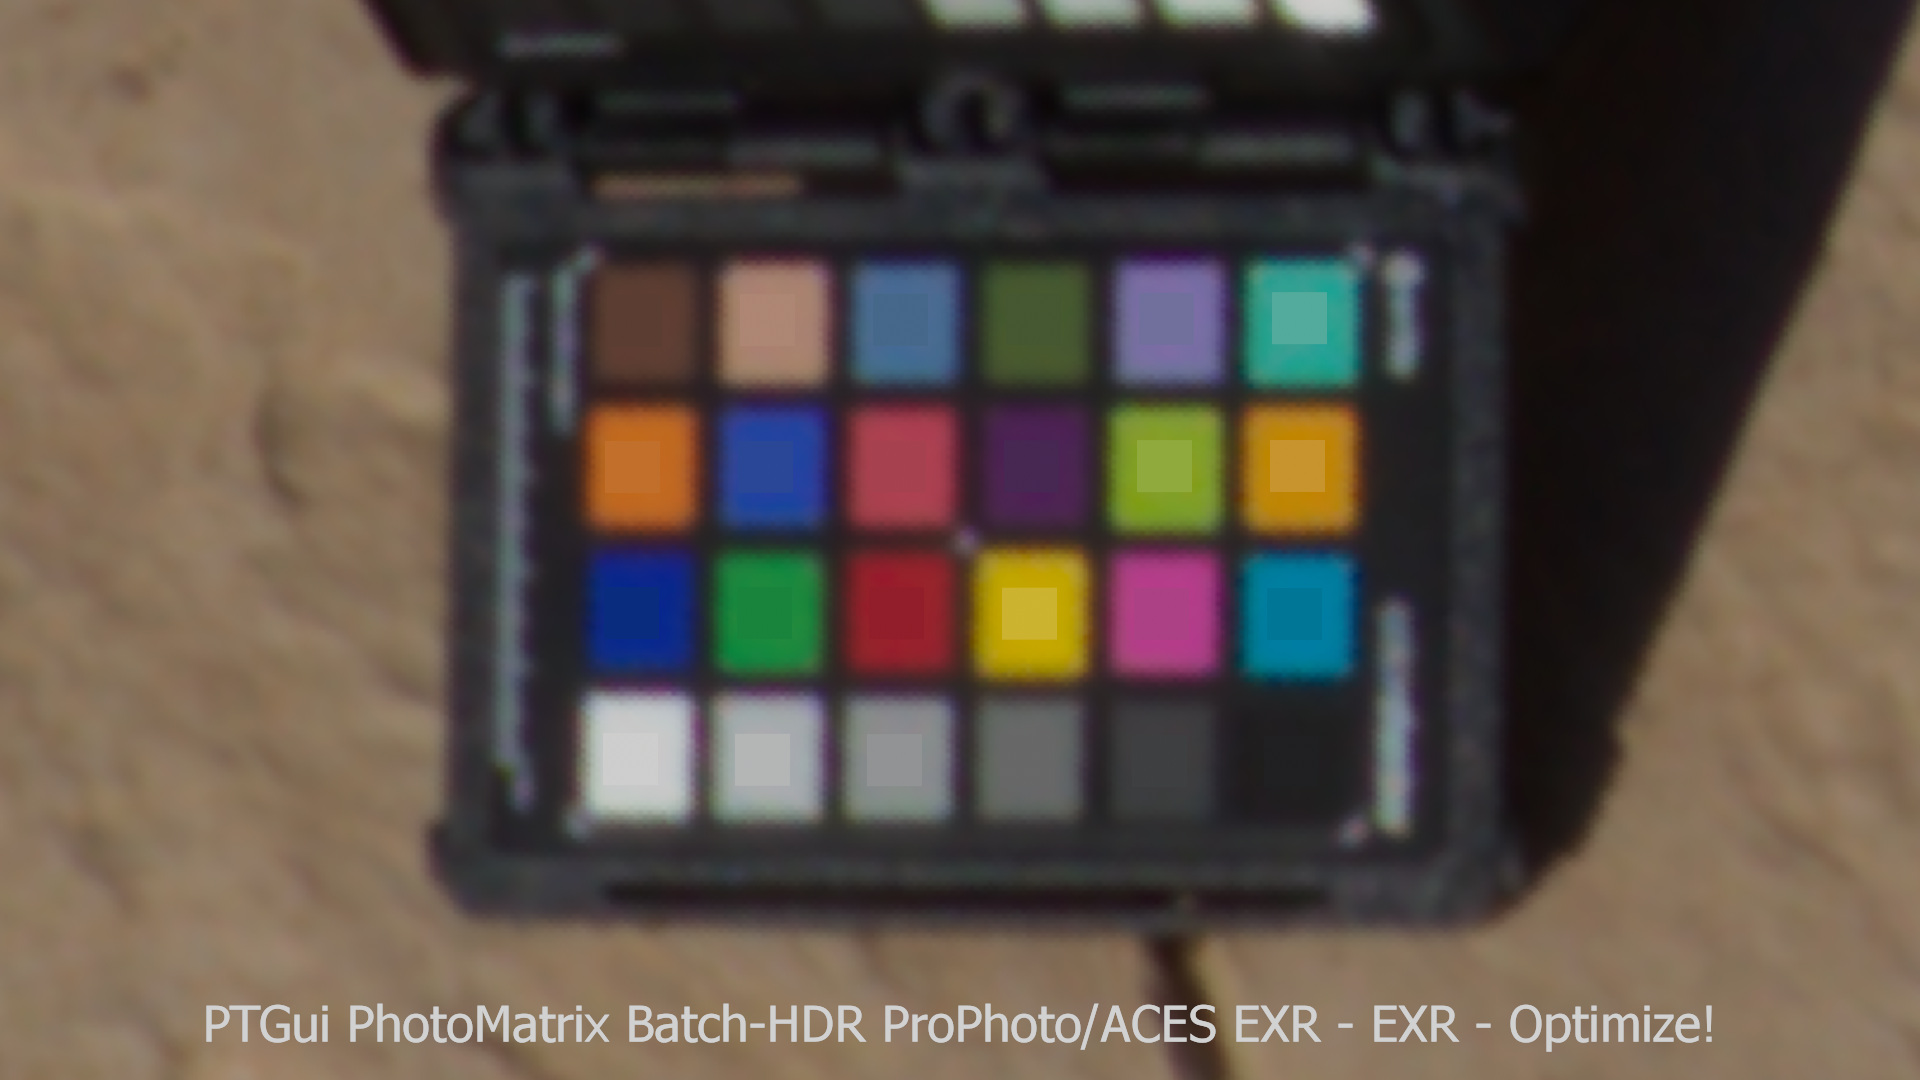
January 2020: Last summer I made a series of photo brackets in Spain with my Canon 7D MKII, the EF-S 10-22 mm lens, a Roundabout nodal point panoramic head and a ND filter. One of them I made on a short trip in the area of Ronda. And it was hot outside. I also shot some background plates and ColorChecker close ups.
I used this material already on the “Setup Blender 2.90 to work with ACES 1.2 using OpenColorIO.” page.
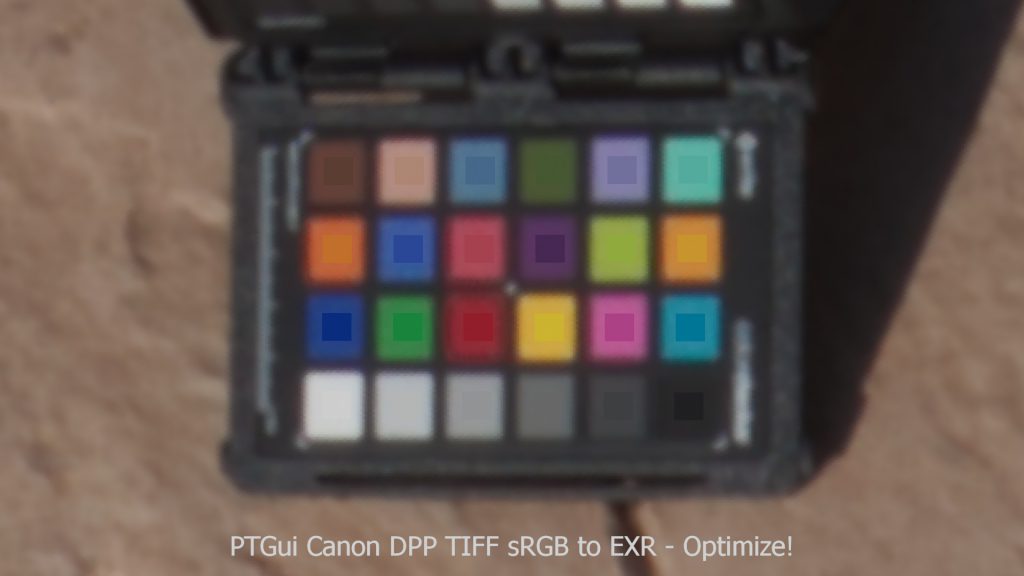
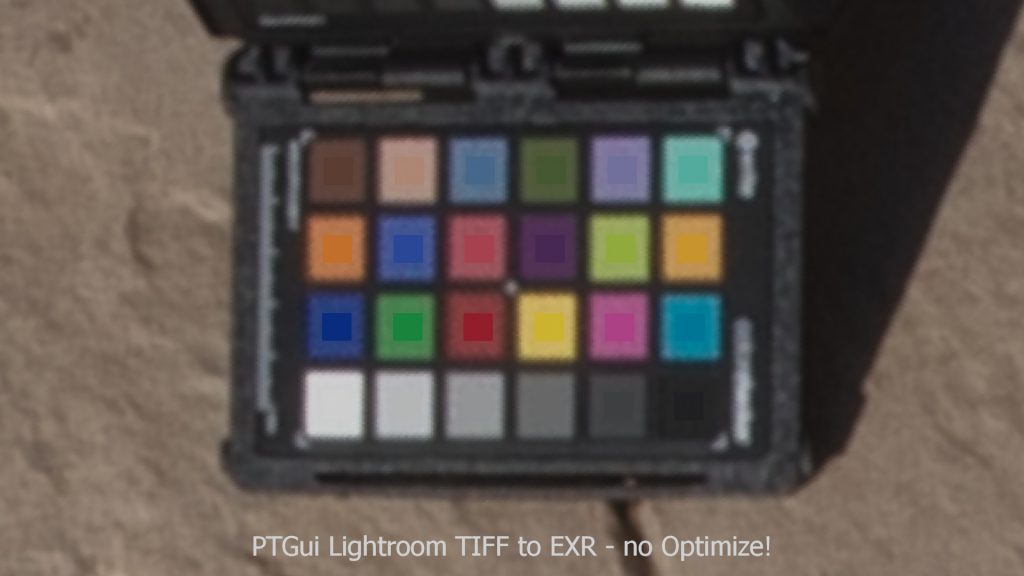
The raw brackets were then converted with different programs to TIFF images and then stitched in PTGui (I also tested also two methods to use directly the RAW images instead of TIFF images). The goal is still to find a good and reliable way to match the ColorChecker from a backplate reference photo to the ColorChecker in the HDRI as they are both processed with different methods.
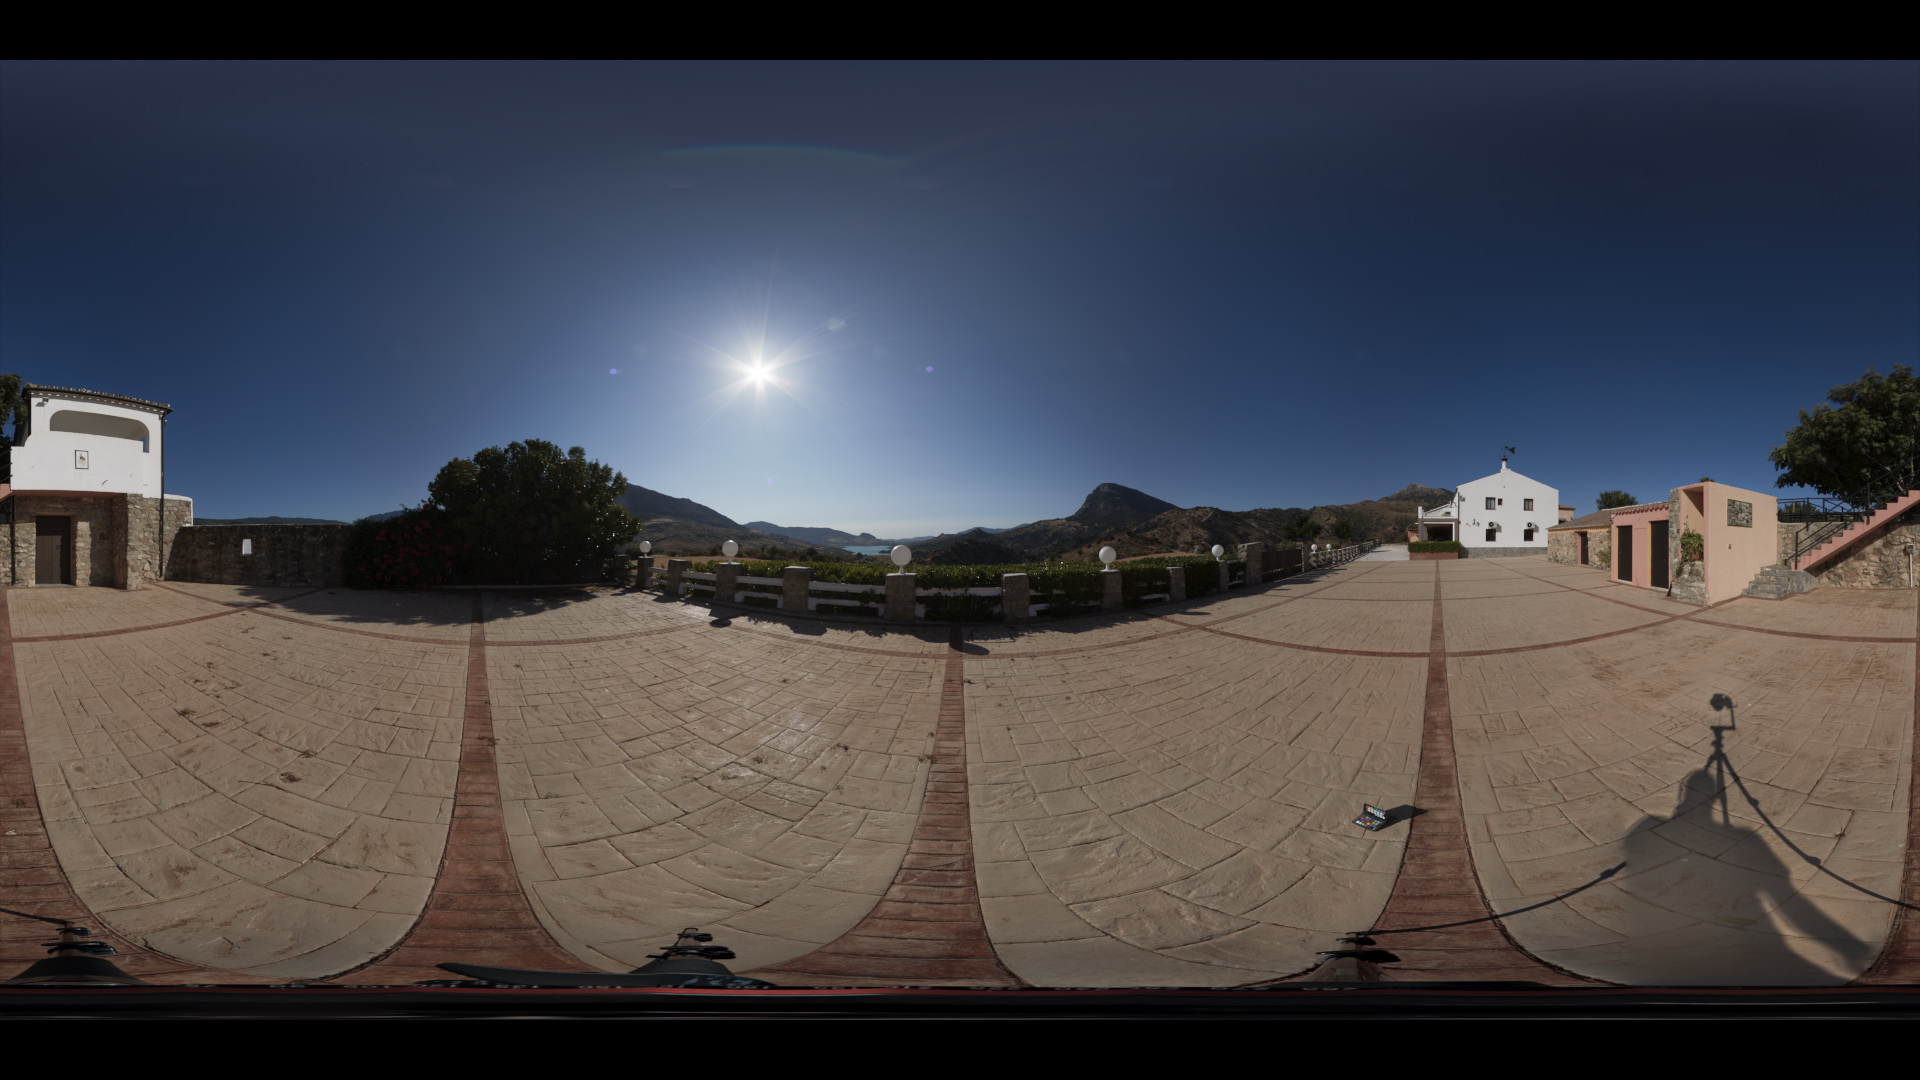
This is the finished retouched HDRI with a painted zenith. The sky was so clear, I couldn’t get PTGui to make use of the brackets looking straight up. All the following LatLong images are not retouched and have more repeated lens flares visible as well as no zenith.

The images look a little dull – they are balanced to the 18% grey from the ColorChecker (which was more or less facing the sun directly) and viewed though the ACES Rec.709 RRT&ODT view transform.
Preparation and shoot
I calculated the most efficient way to shoot with my Canon 7D MKII. I ended up with the 2 2/3 stops steps setting, I found the 30 seconds exposure takes too much time. I am aware that I am lacking information in the shadows, because I focus on the very high specular highlight information. But I needed already over 7 minutes to finish one set of brackets and the sun “moves” fast.
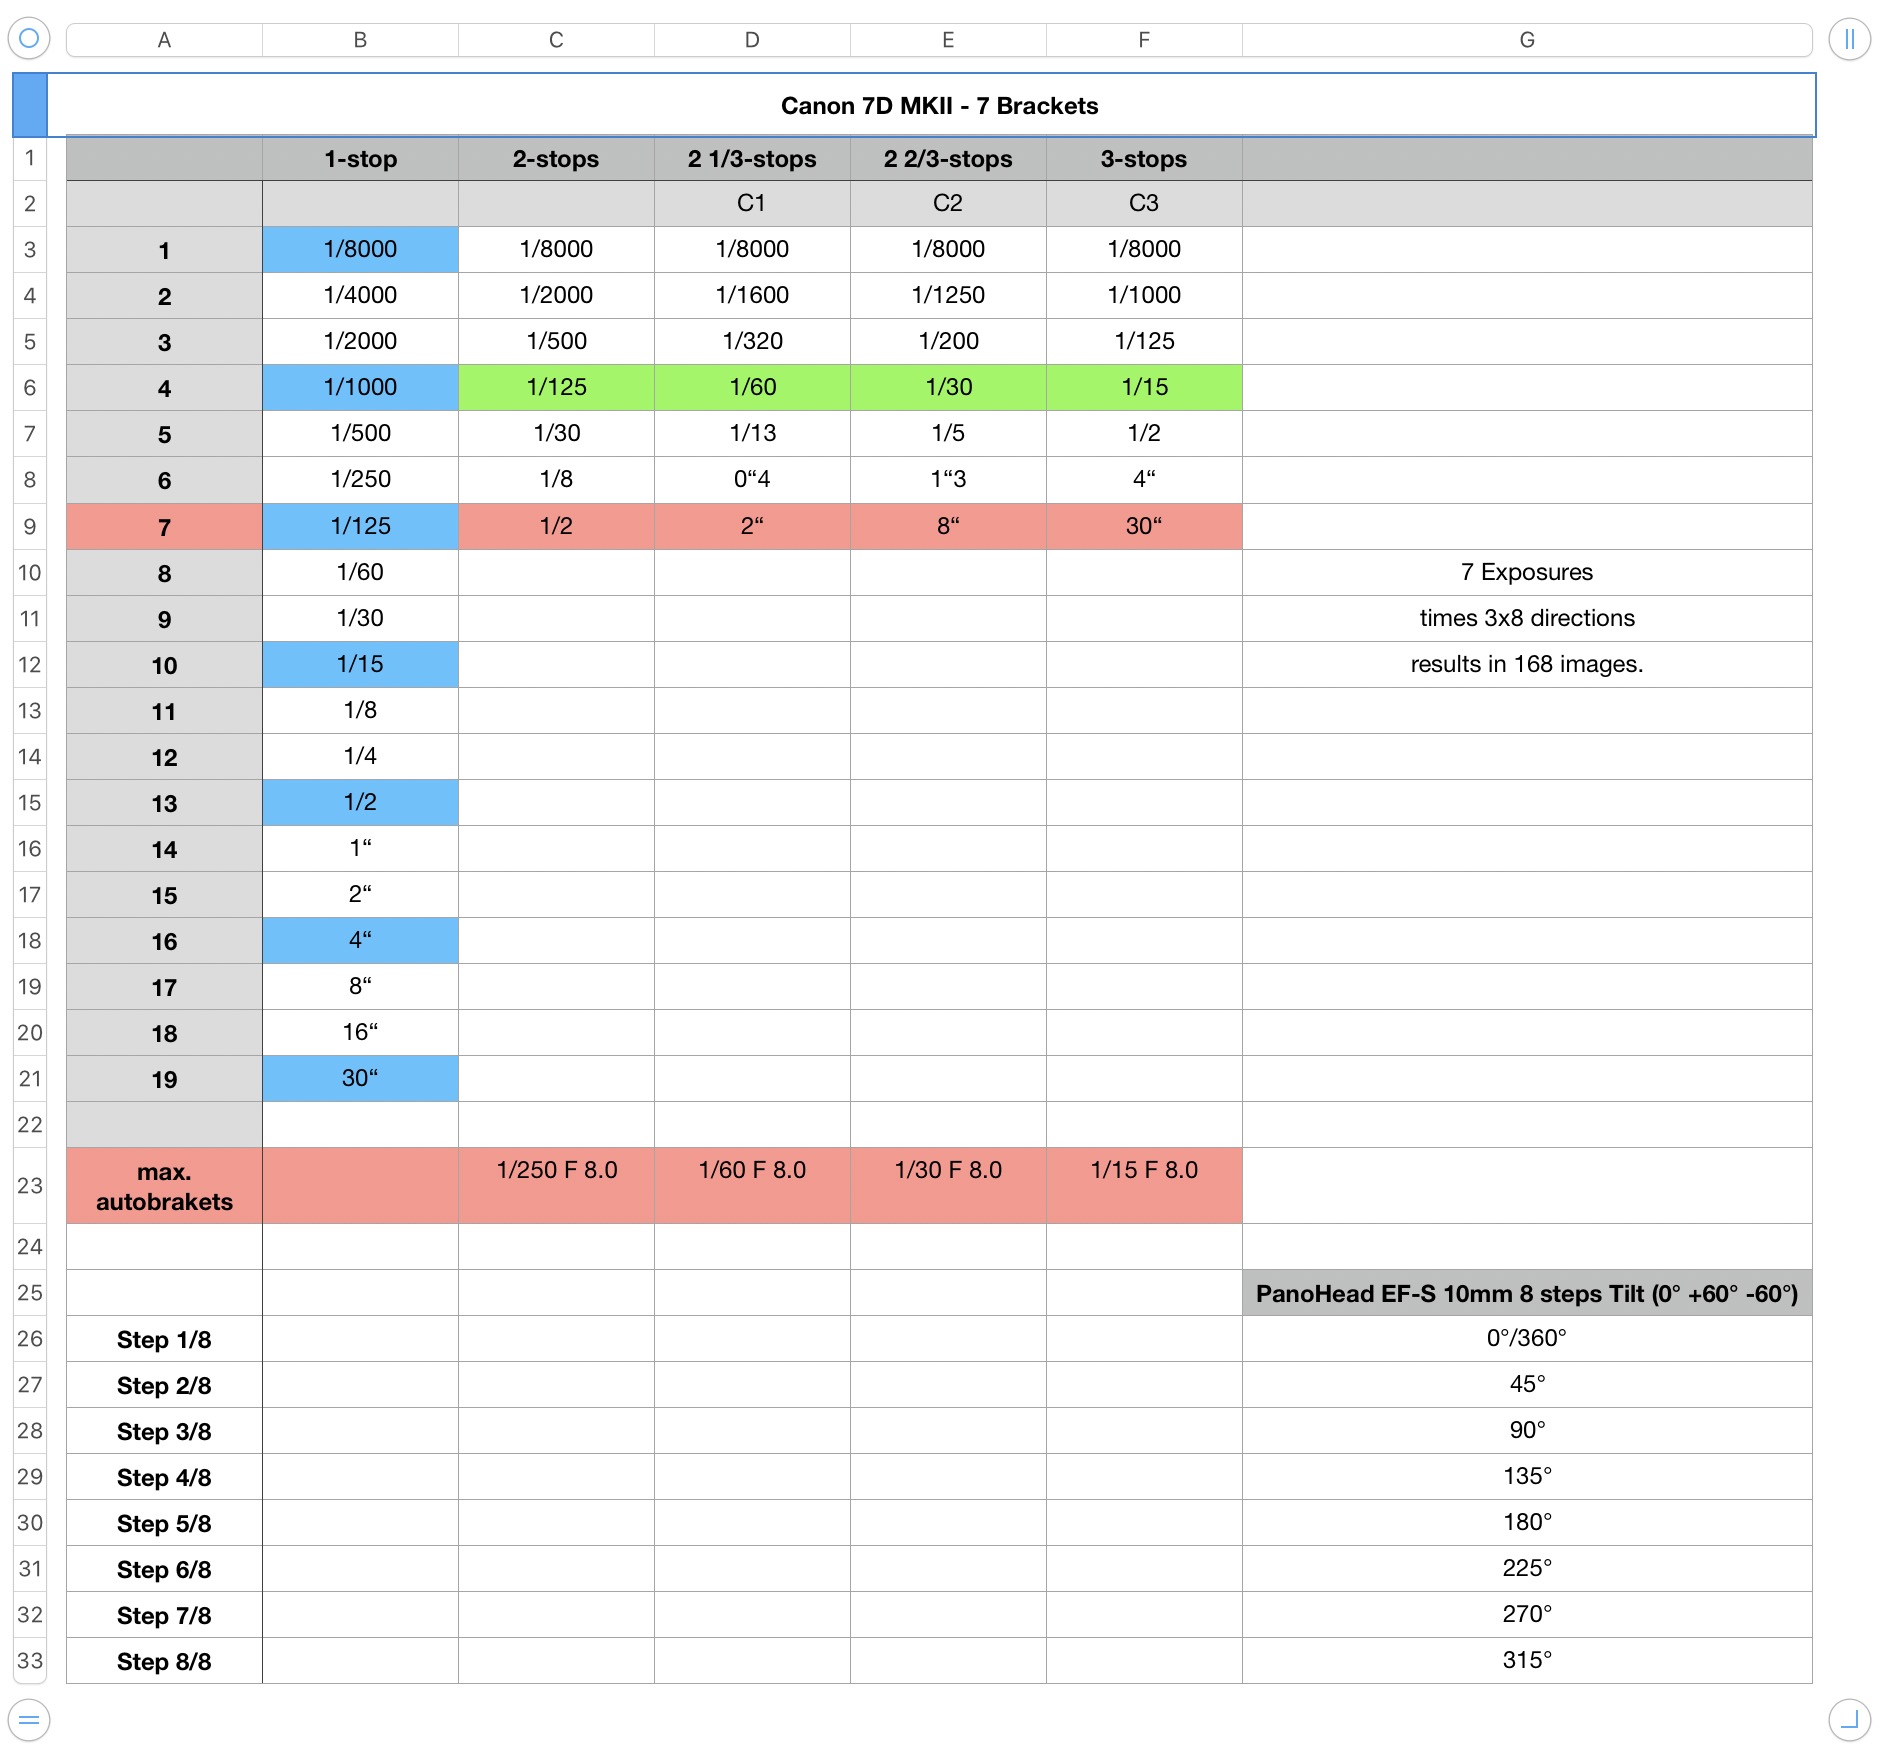
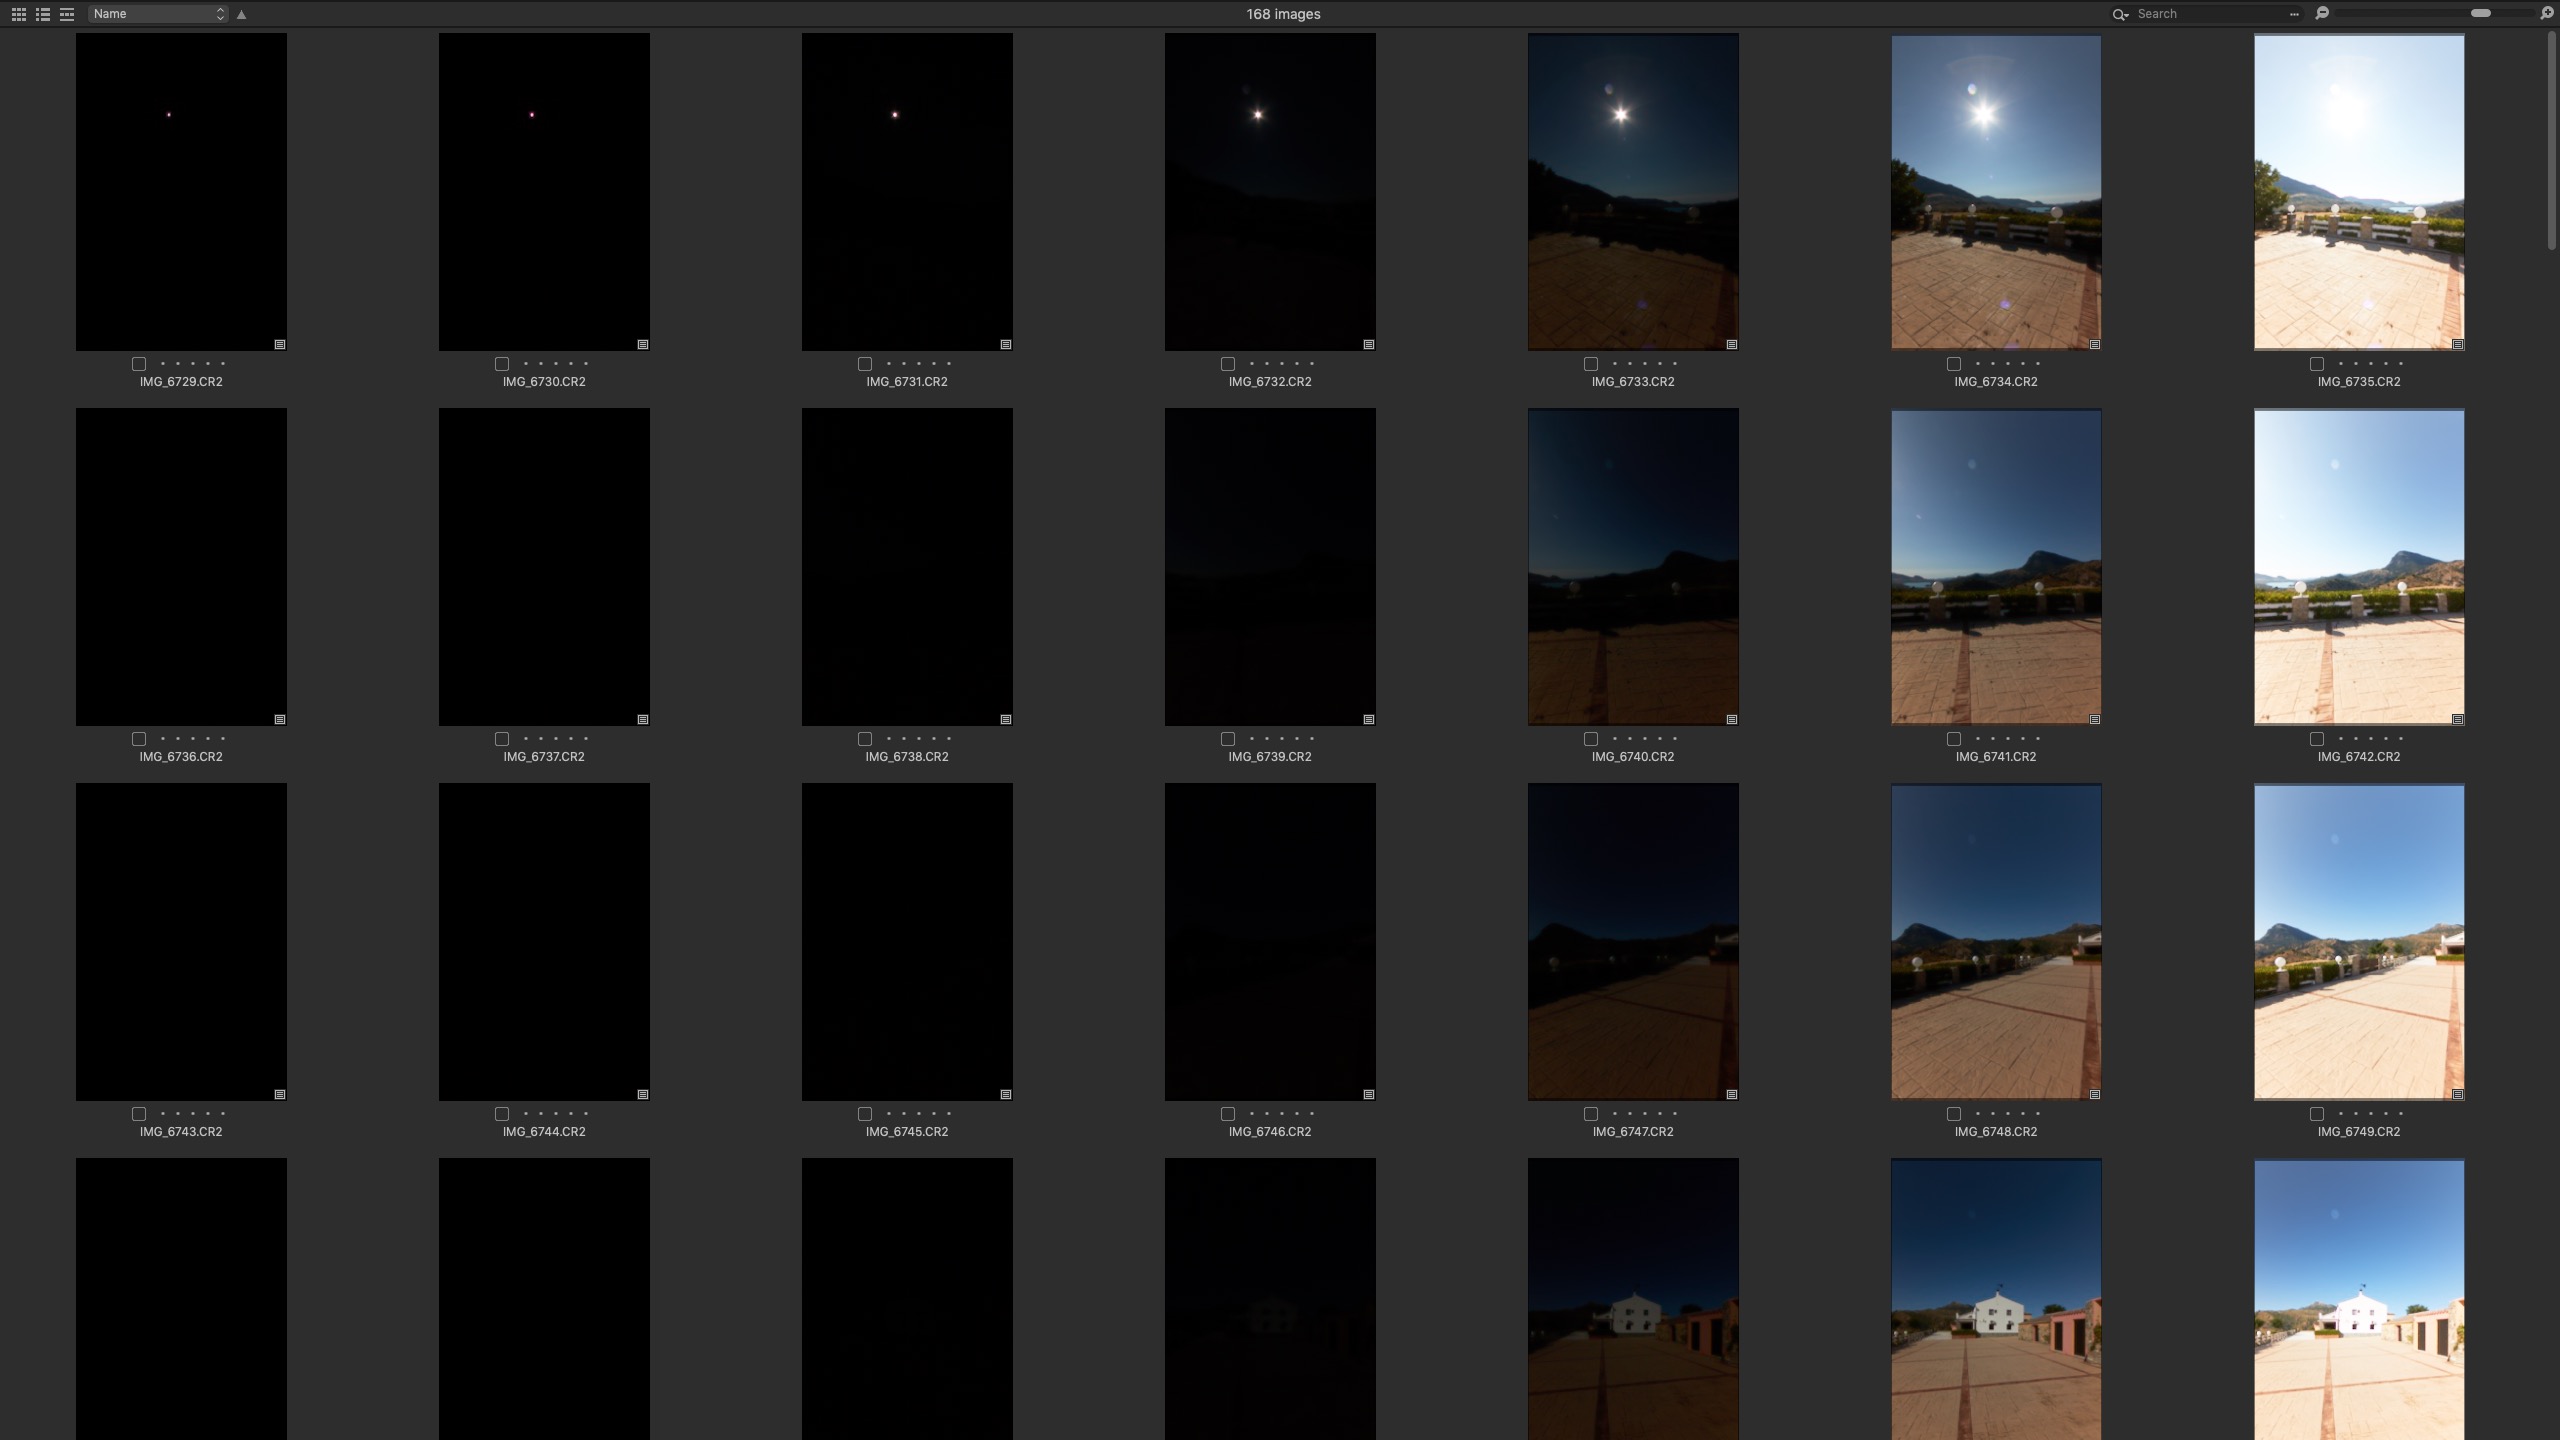
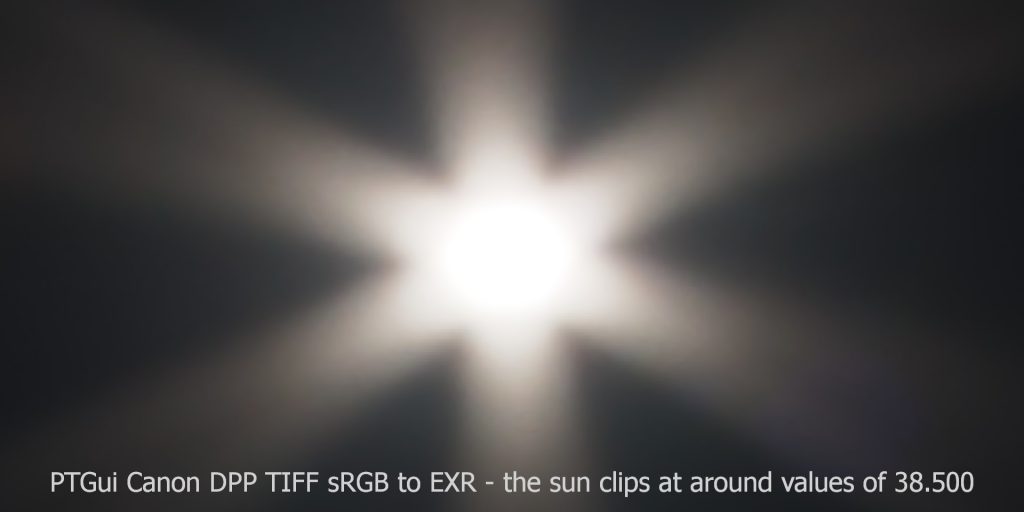
I was hoping not to run into sensor clipping in the 1/8000 exposure at f/11, but I sure did. The sky was very clear.
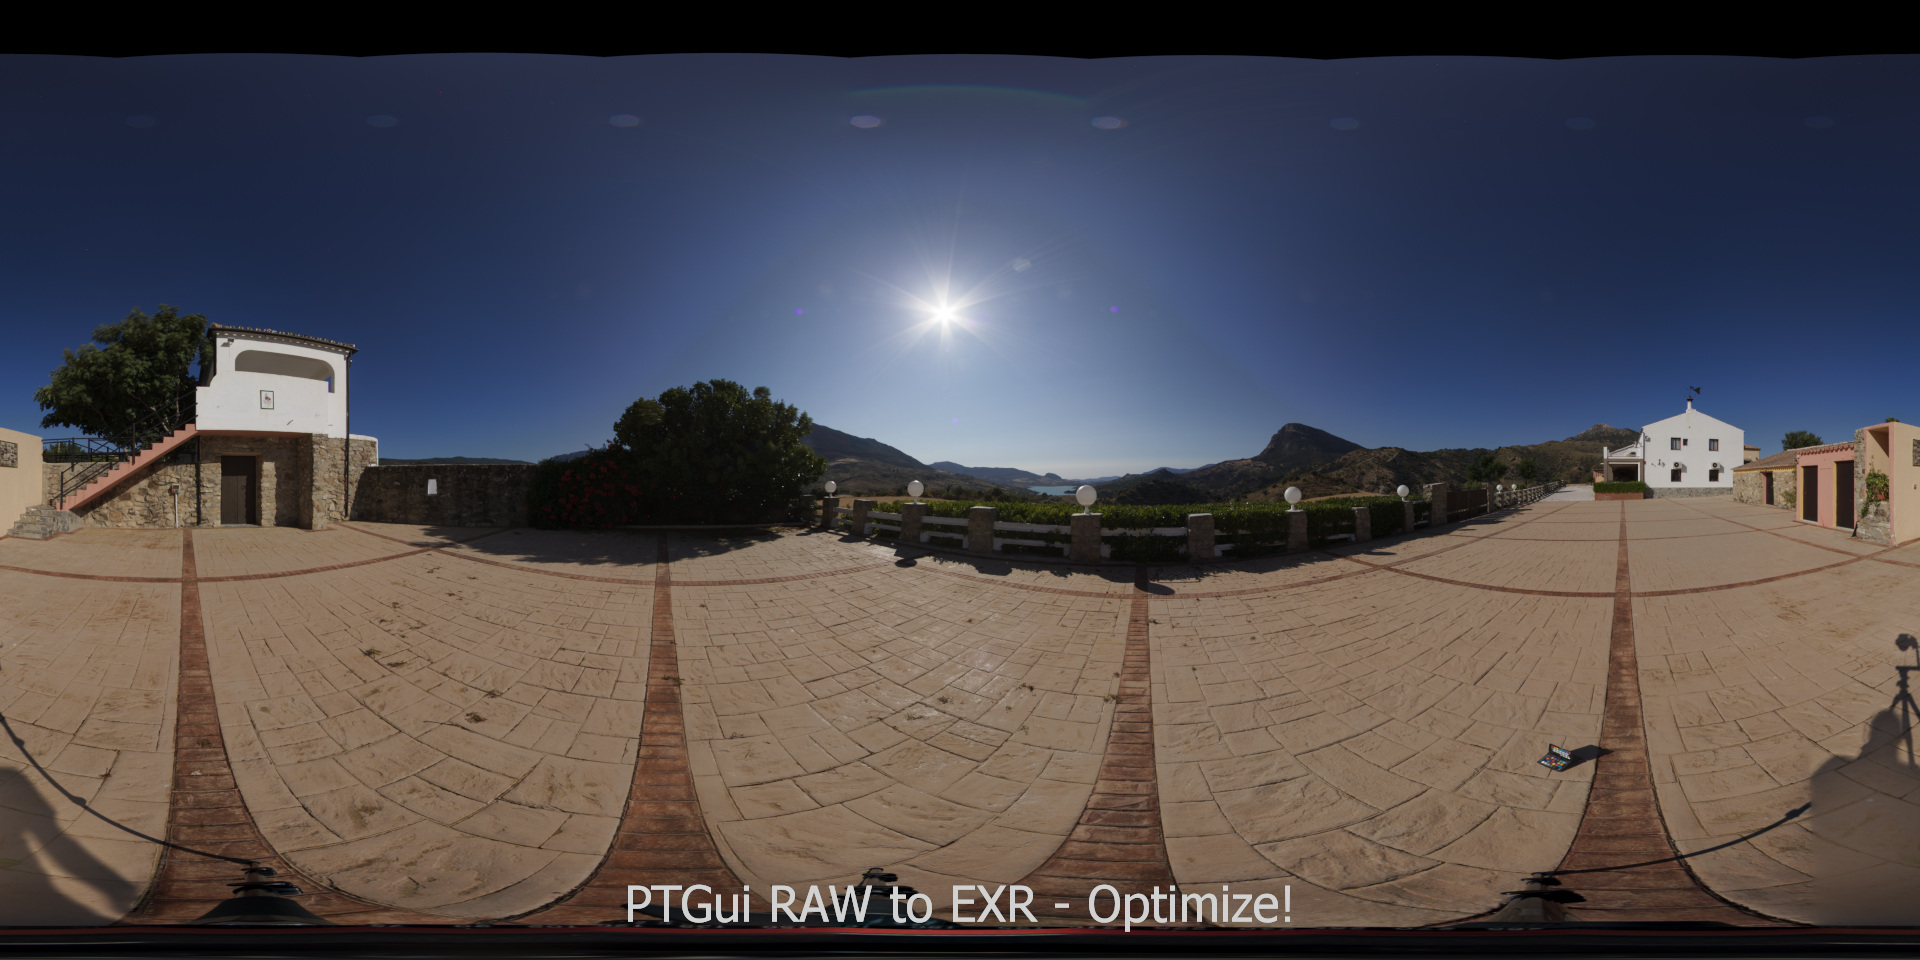
RAW to PTGui direct with only internal conversion
First I started with – what should be in my opinion the best and quickest method – Open PTGui, load all the RAW images in and roughly 10 minutes later I have the finished HDRI as a 32-Bit full float EXR file.Sadly it’s not that easy.
PTGui 11.20 uses LibRaw over DCRaw as the default RAW conversion engine. I was using version 11.13 at the time of the tests which used DCRaw. I will have to redo the stitch with the new version.
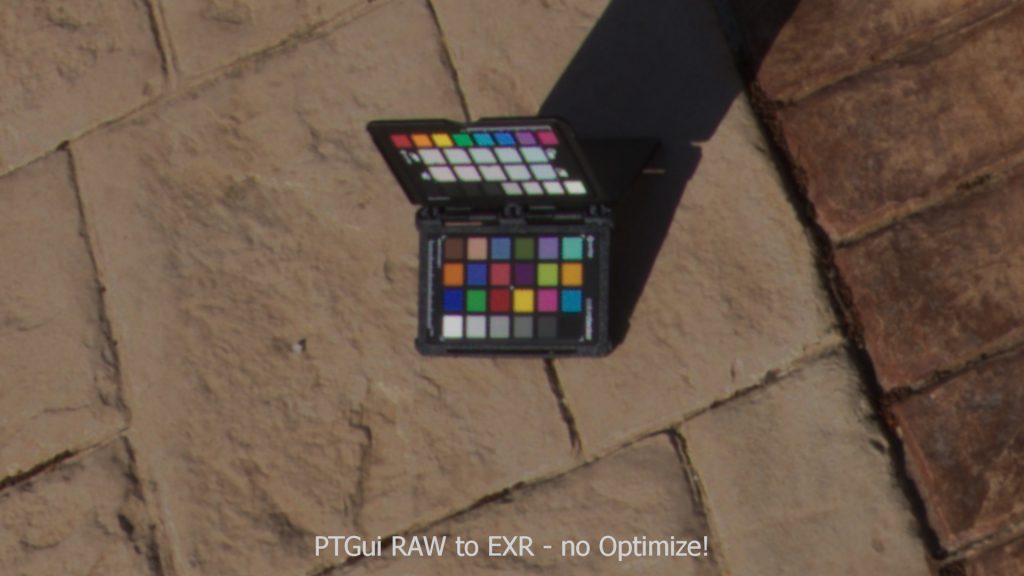
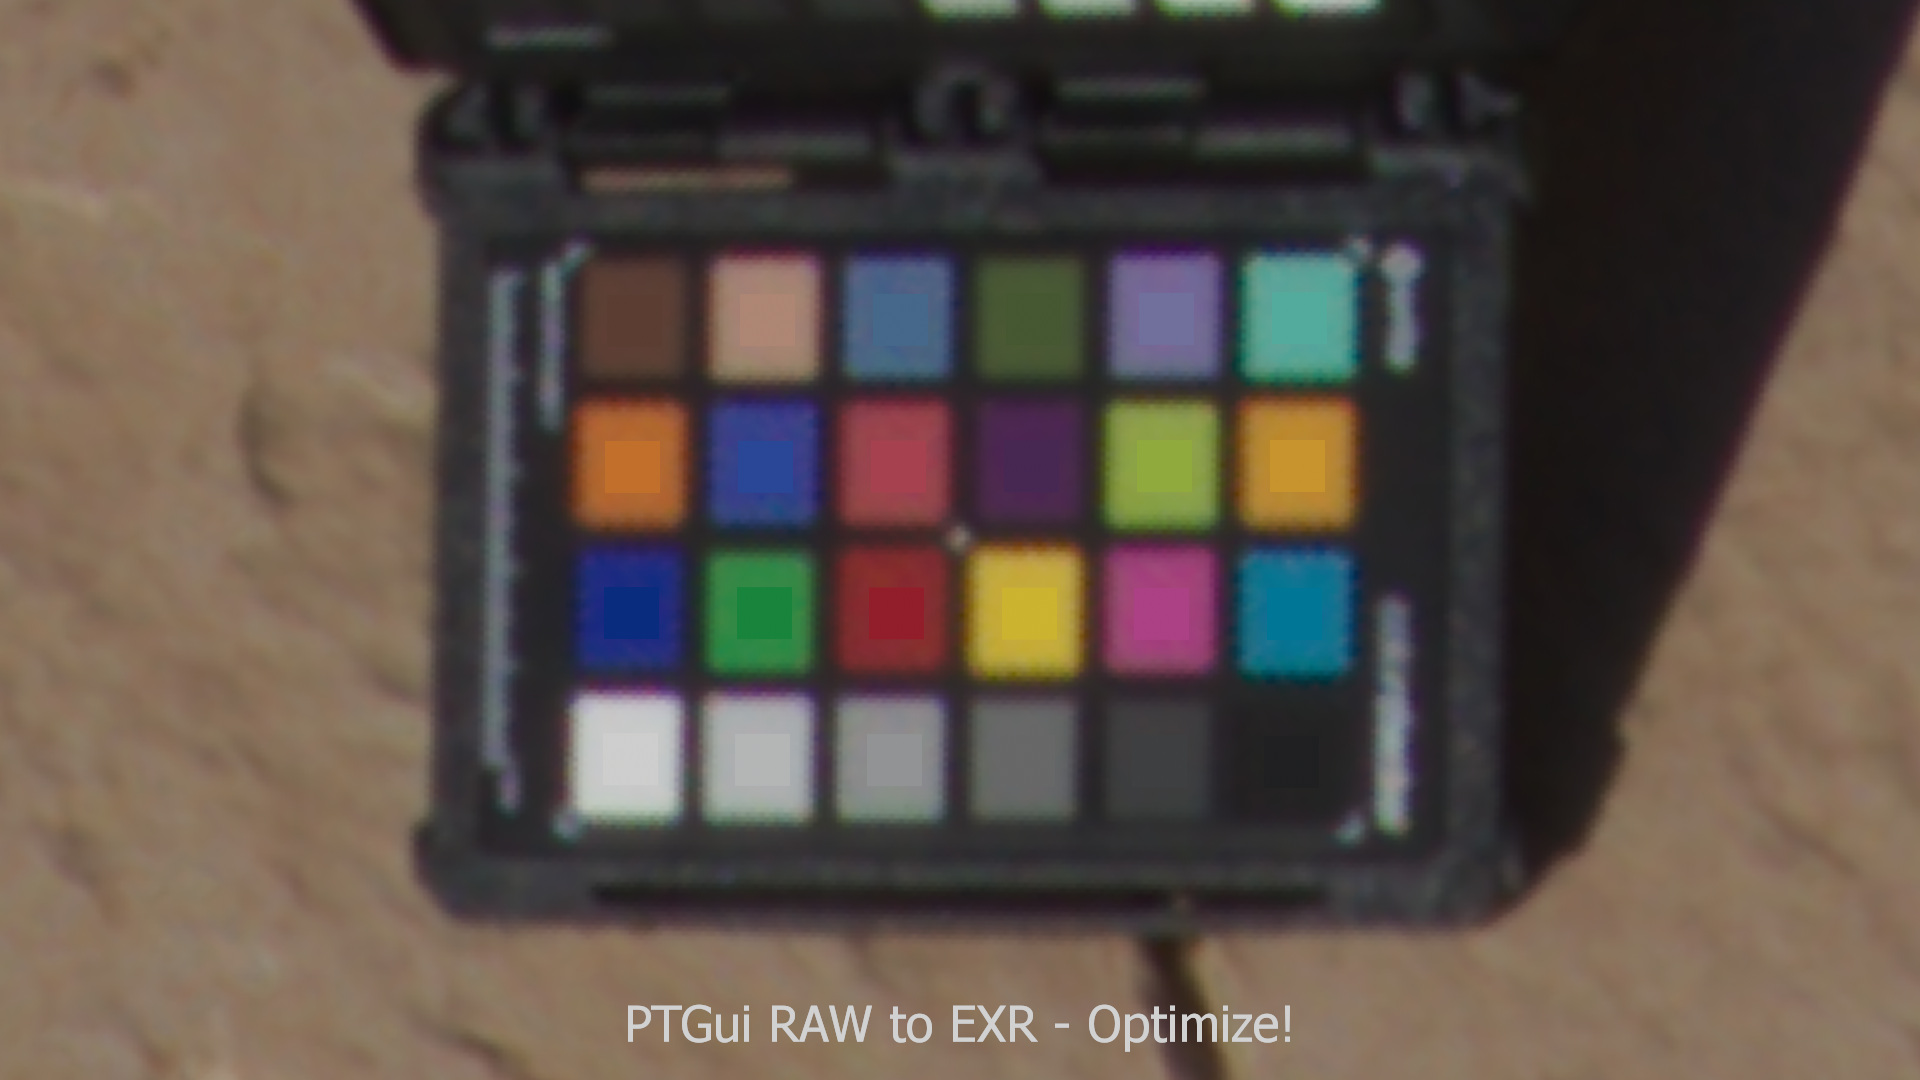
ColorChecker on the floor – This looks all good until you see the whole image.


There is a weird halo ring around the sun, the Optimize! settings improved the result, but the halo is still visible. I will ask the PTGui support what can I do about it. This is sadly not a convincing result that I was hoping for. Also the RAW images are internally converted to TIFF images and then merged together. So this means I don’t really get around the fact that I need to create an intermediate TIFF image sequence.
RAW to TIFF conversion before entering PTGui
The Canon RAW images were converted to TIFF images (sRGB) with the Canon DPP tool with some custom settings (because the default has too much contrast), Capture One 12 (also with some adjustments to match the results closer to the Lightroom results) and Lightroom. And at last I got also Photomatrix Pro as a fifth method working.
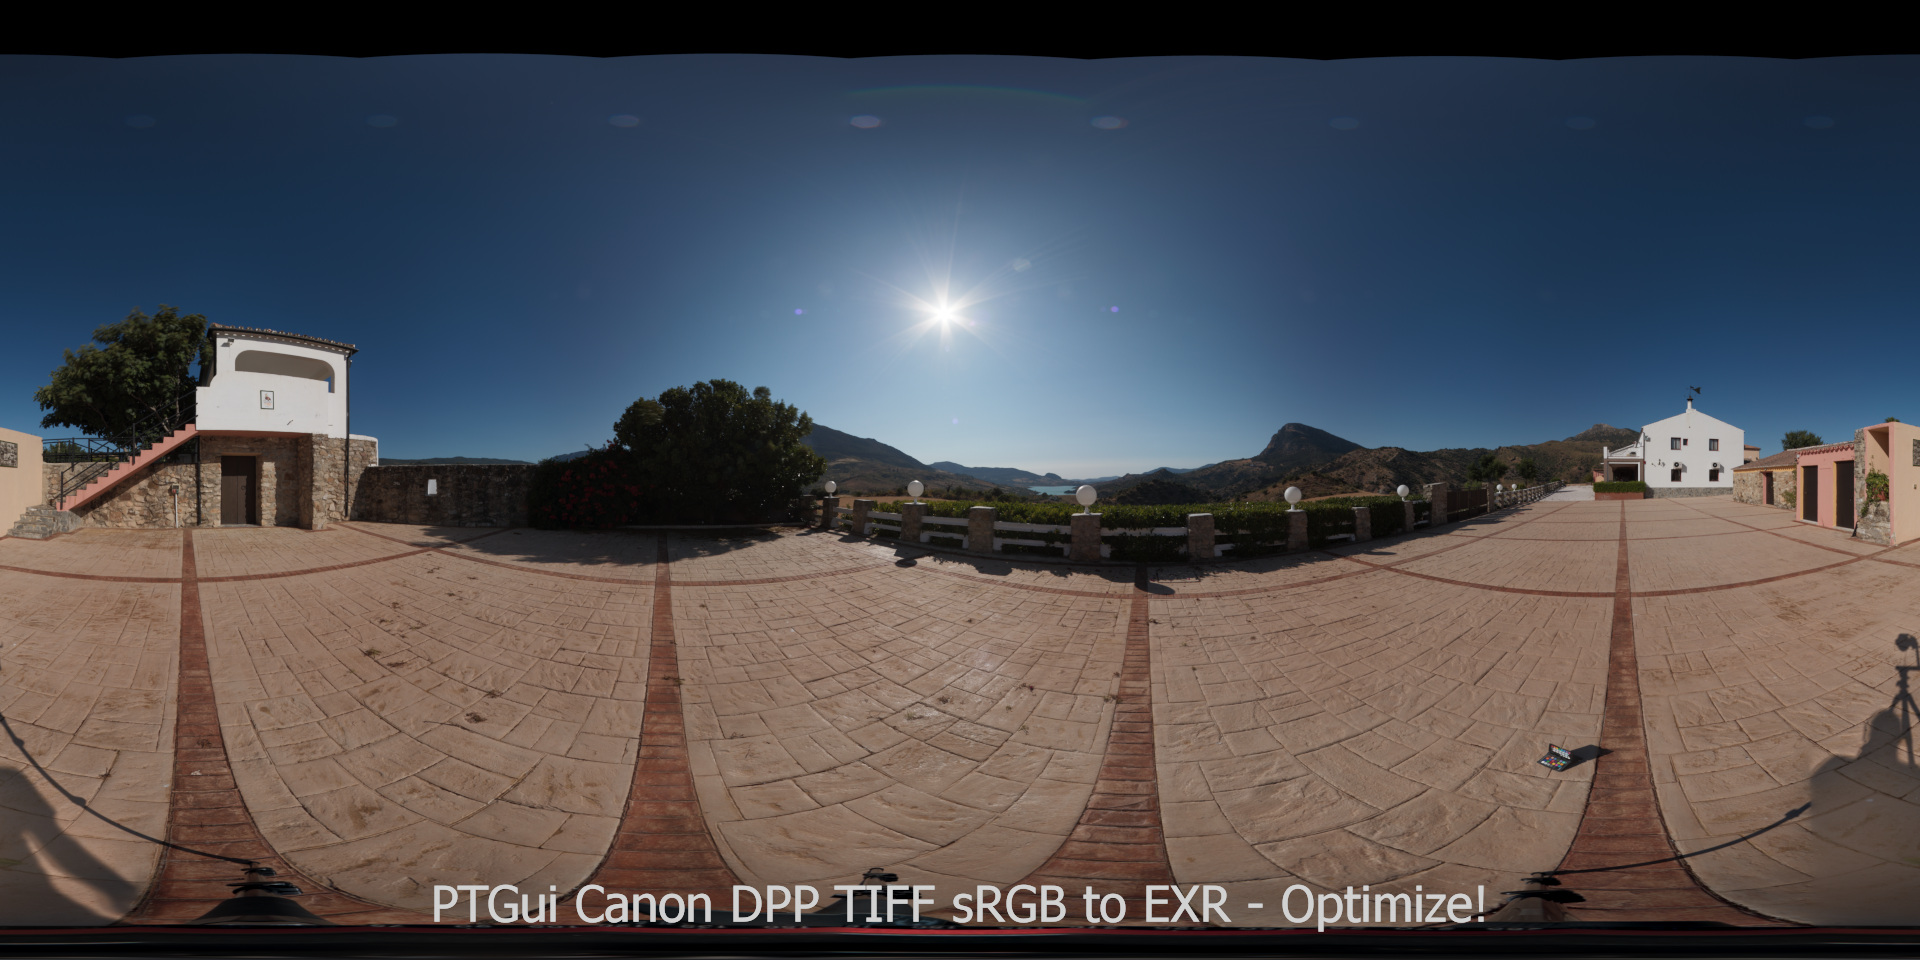
Canon DPP (Digital Photo Professional 4)
I tested around a lot, using in the end the PictureStyle “Faithful” (for a neutral image) and set the contrast to -2.0.But I sadly ended up with a bad result.
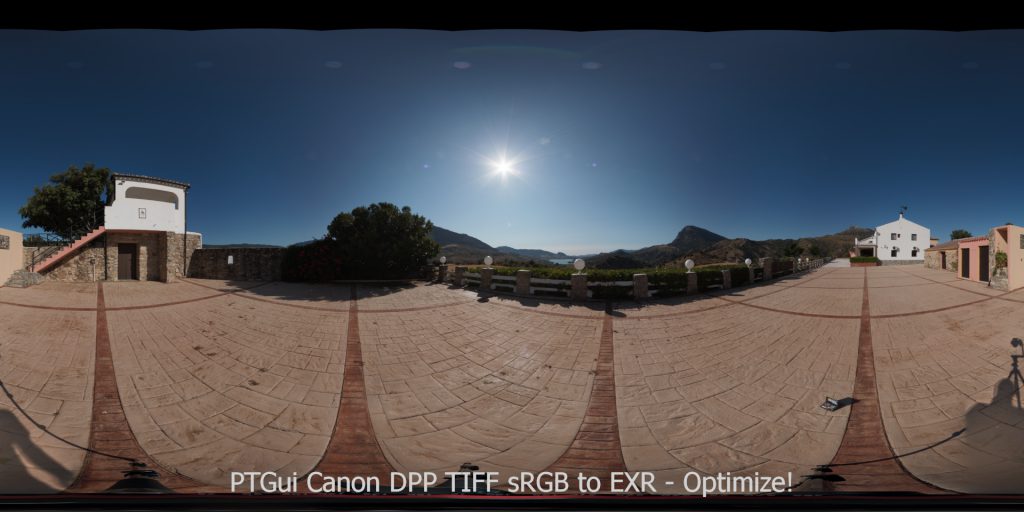
A little over saturated result and overall too much red? The Canon DPP tool needs more testing. The good thing is it has support for different color spaces and even a “linear” gamma (I suppose) mode in the RAW development tab, but only JPG&TIFF export possibilities. Newer cameras support a HDR PQ process which sound interesting.
Capture One (Version 12)
I tried back and forth and came up with these settings – using the lens information to remove “Chromatic Aberrations”, eliminate the lens “Light Fall Off”, in the menu “Base Characteristics” I use the “Film Extra Shadow” curve, otherwise the images getting too much contrast and set the “White Balance ” to the ColorChecker. Also I had to reduce the “Saturation” and lower the “Sharpening”
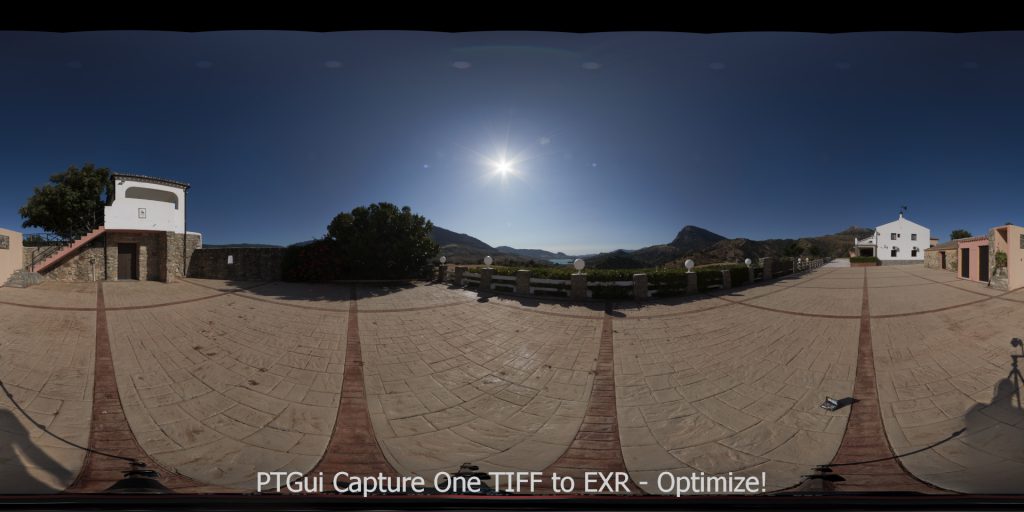


I was hoping to get a better result. Now Capture One Version 20 is available. I will have to do another round of tests. Capture One even supports the system ICC profile for ACEScg, but there is not EXR export possibility.
Adobe Lightroom Classic 8.4.1
Again after lots of testing, this is another good way to convert you RAW images to TIFF and then stitch them in PTGui. I find again the Optimize! process helps the result.


In the last article the TIFF images from Lightroom were giving the best results. This time all the results look quite similar.
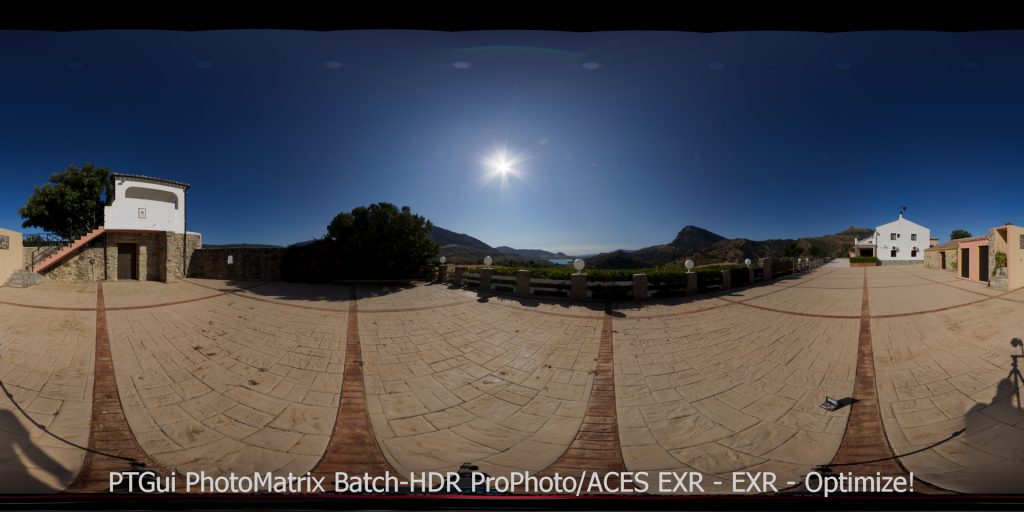
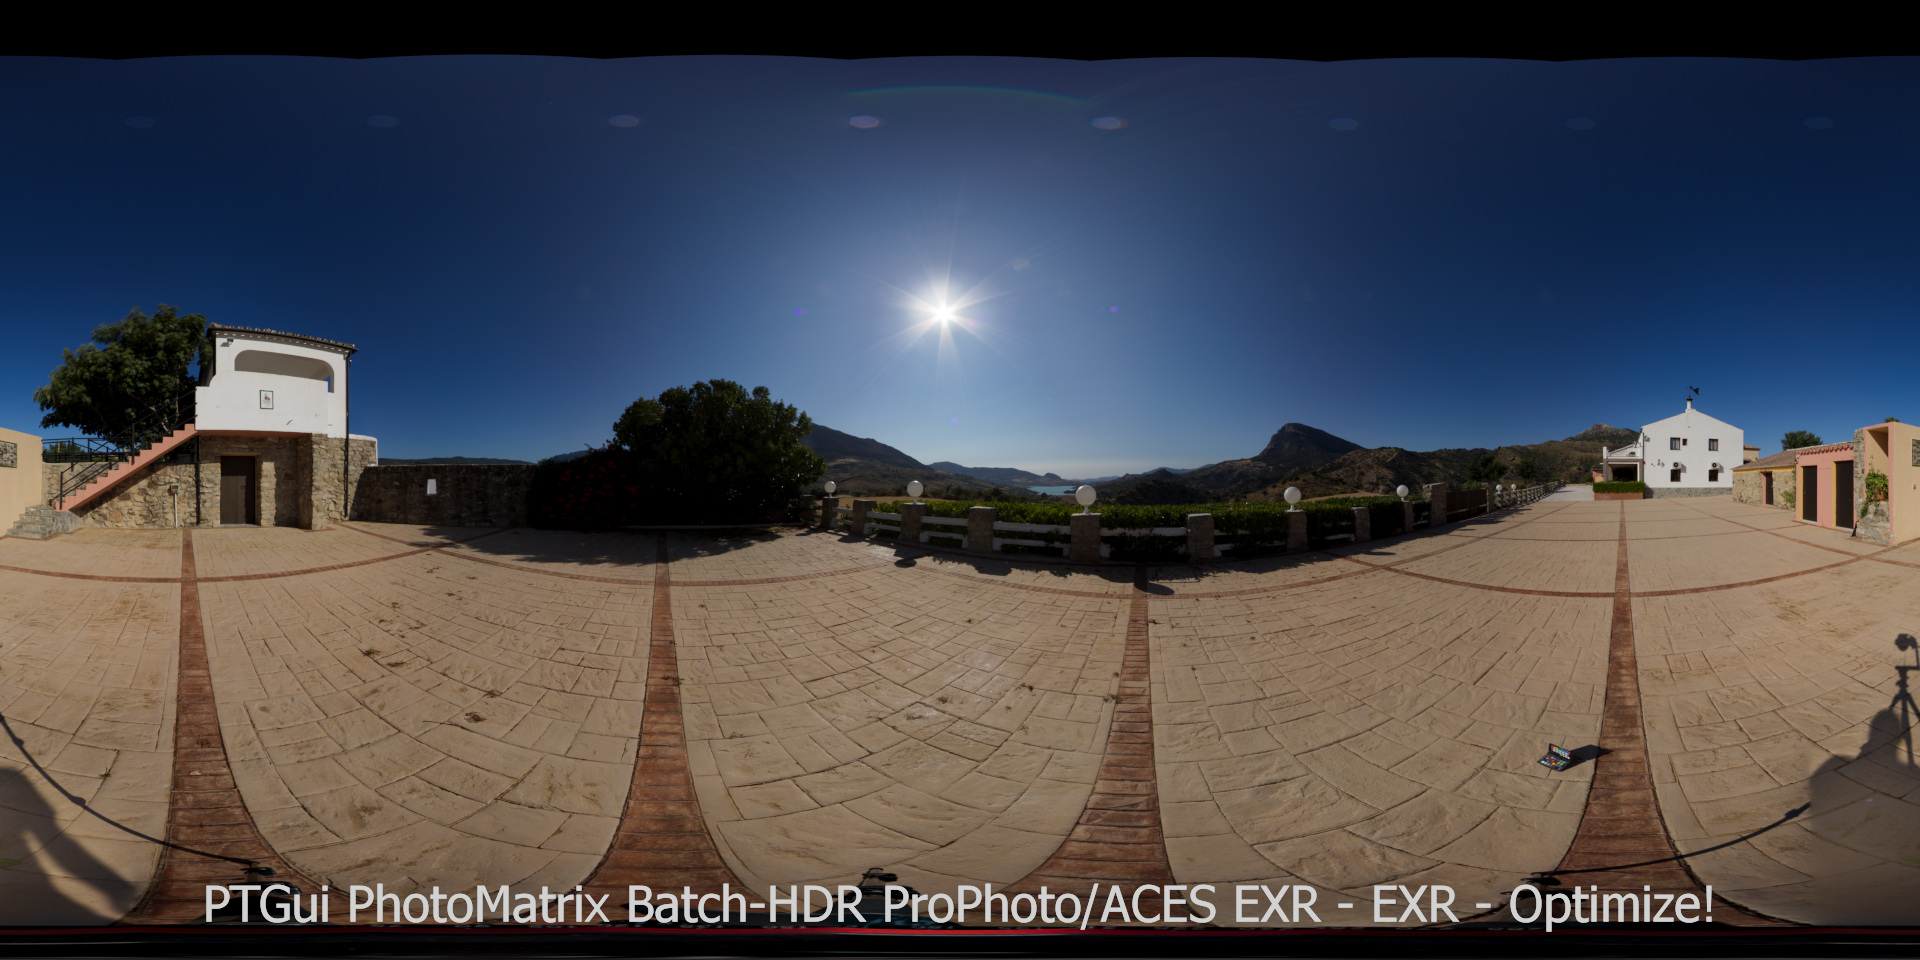
Photomatrix – merge 7xRAW to Radiance HDR / Nuke EXR / PTGui HDRI
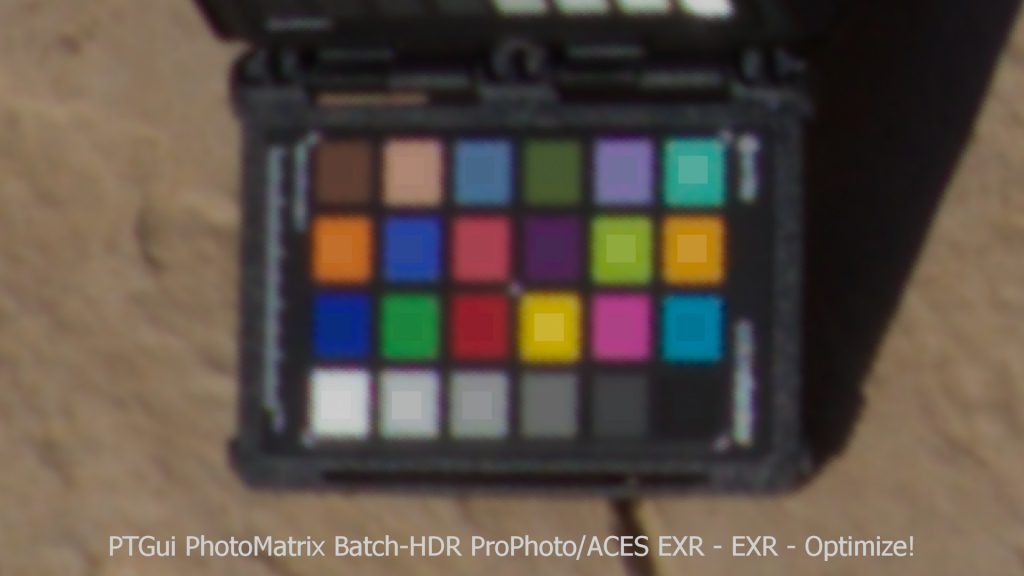
At last I was also testing another way that doesn’t involve an intermediate conversion to TIFF images. Photomatrix Pro can do a batch merge of each of the 7 exposure brackets with some basic settings like removing lens vignetting, setting the white balance and choose the colorspace (I chose again ProPhoto, because it is quite similar to ACEScg).
This was actually the first time I made this working. Usually I had problems that each of the merged radiance files had a different exposure level and then it was impossible to match them. This time it worked somehow.
Comparison
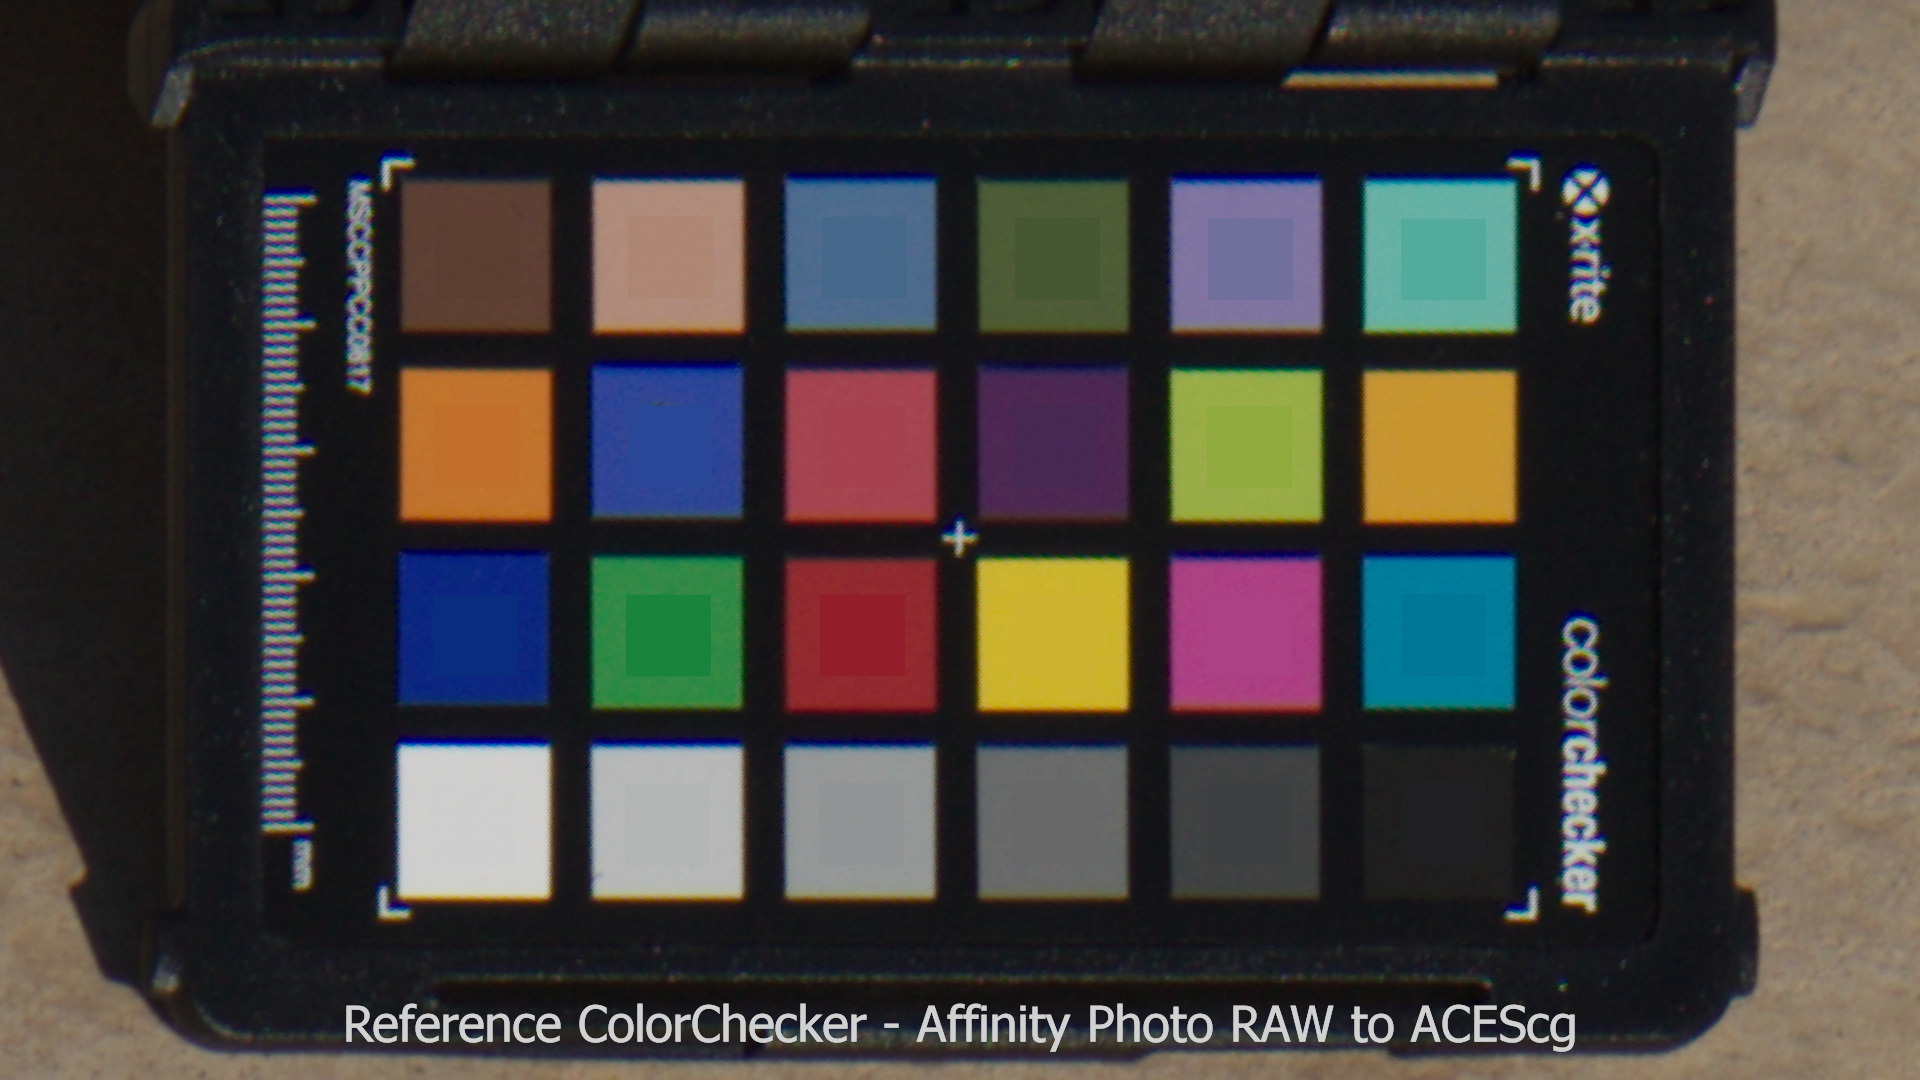
Here are all results together to compare them easier.
I can make out the following: The PTGui RAW direct and the RAW to EXR with Photomatrix are somehow the closest match to the reference photo. But both ways have problems with the halos around the sun.


The Canon DPP result appears too red, Capture One and Lightroom are quite similar, but I as hoping that they will match better. The Optimize! step in PTGui always improved the result.
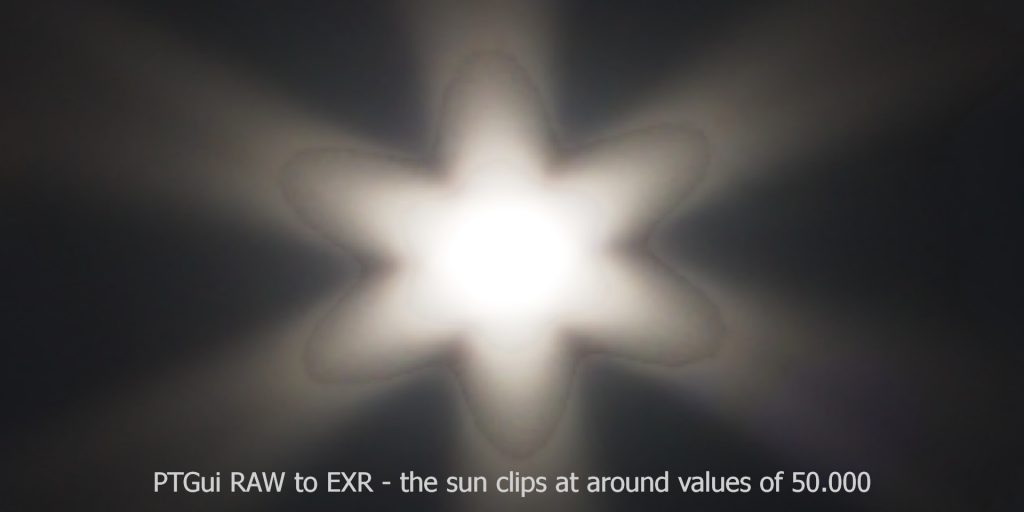
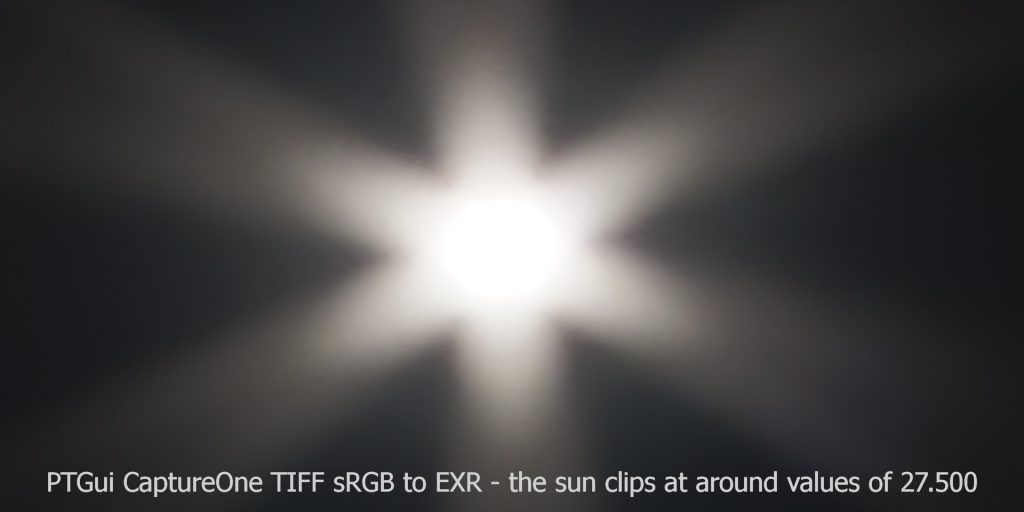
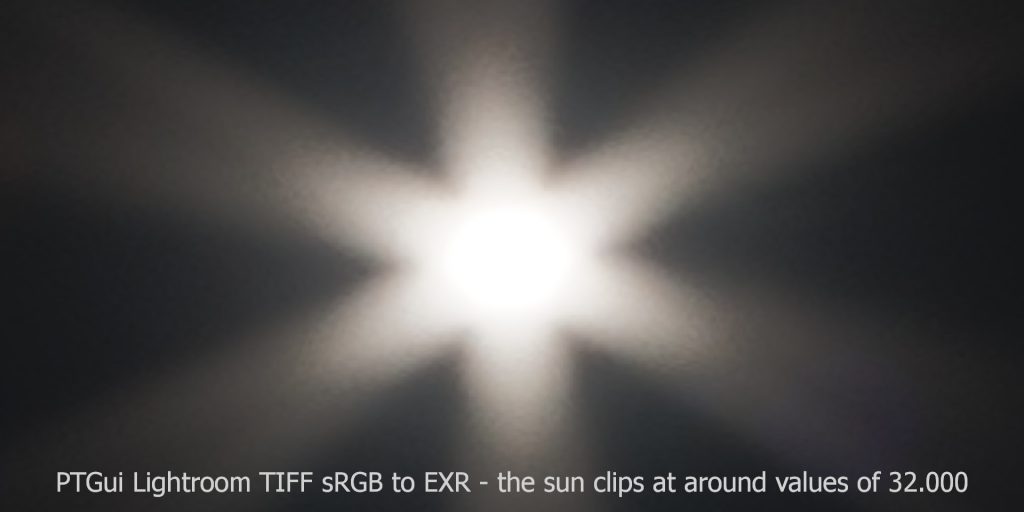
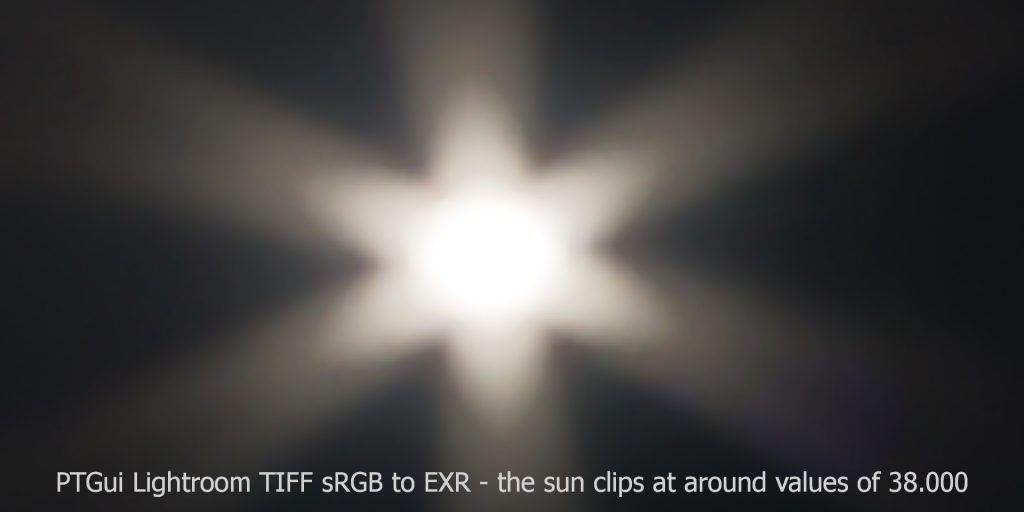
I don’t know where this halo effect is coming from. I also wonder about the range of maximum brightness that I could measure in the clipped center of the sun.
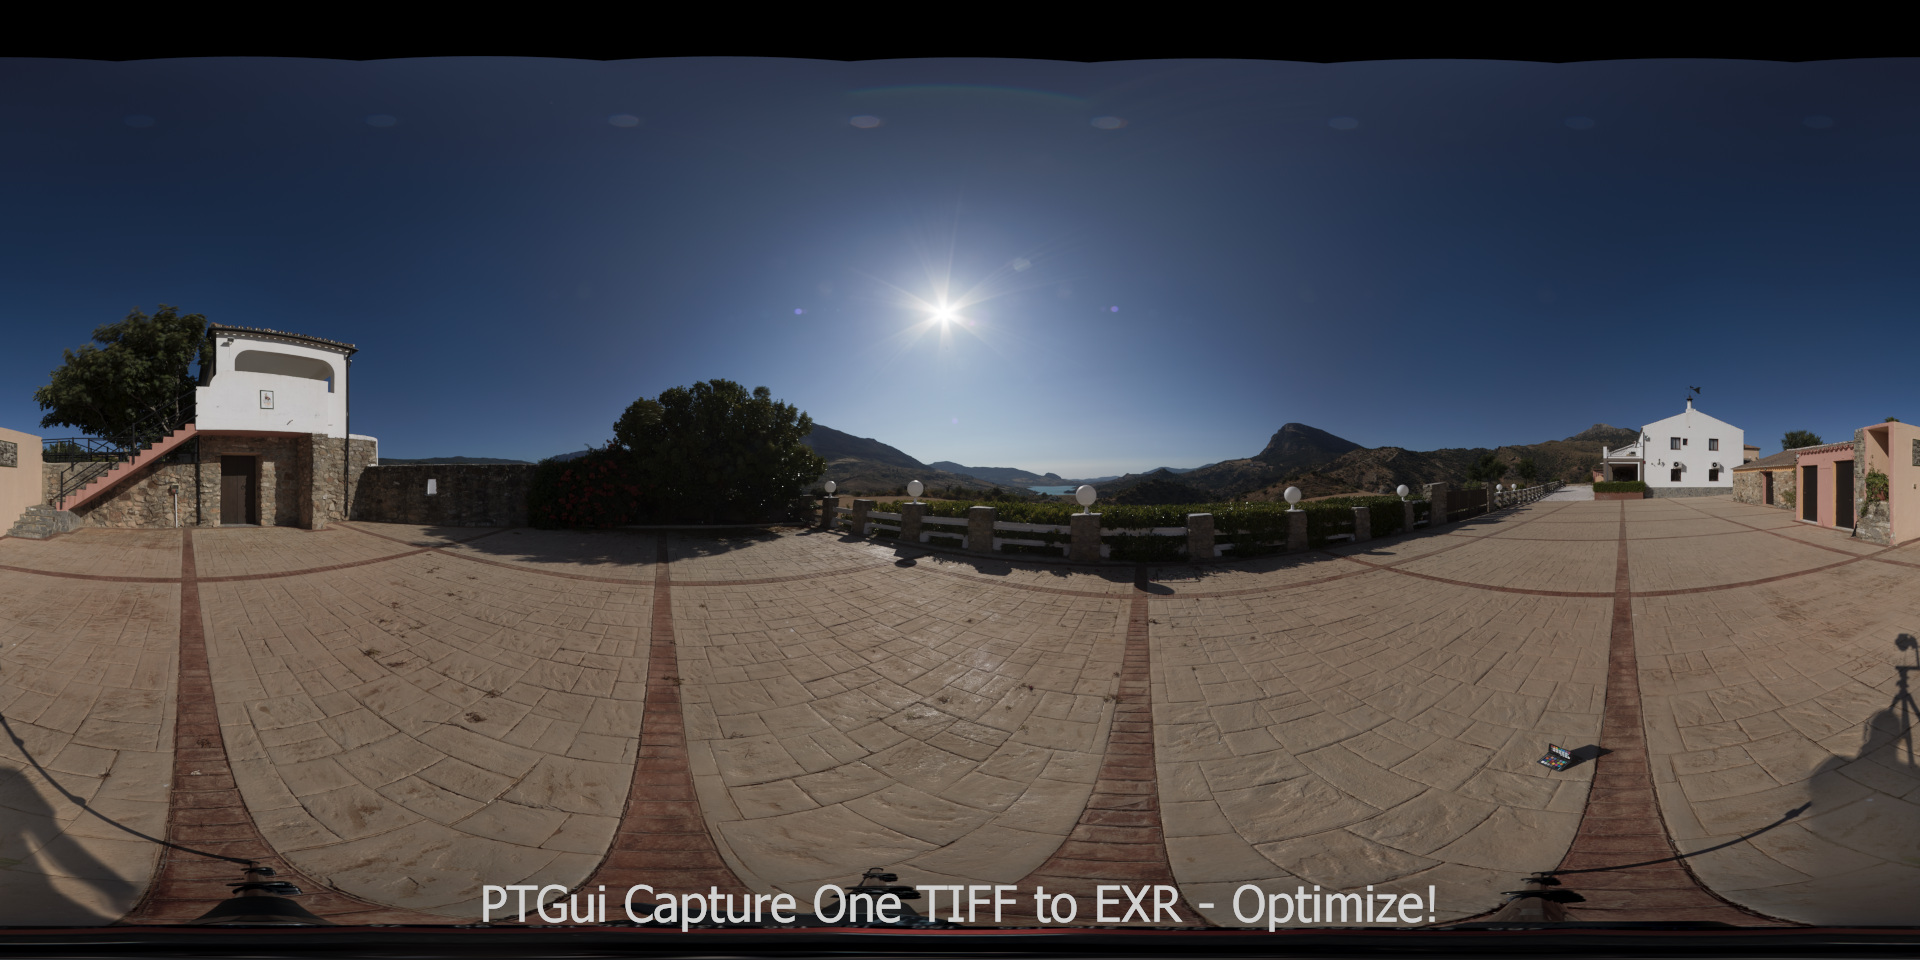
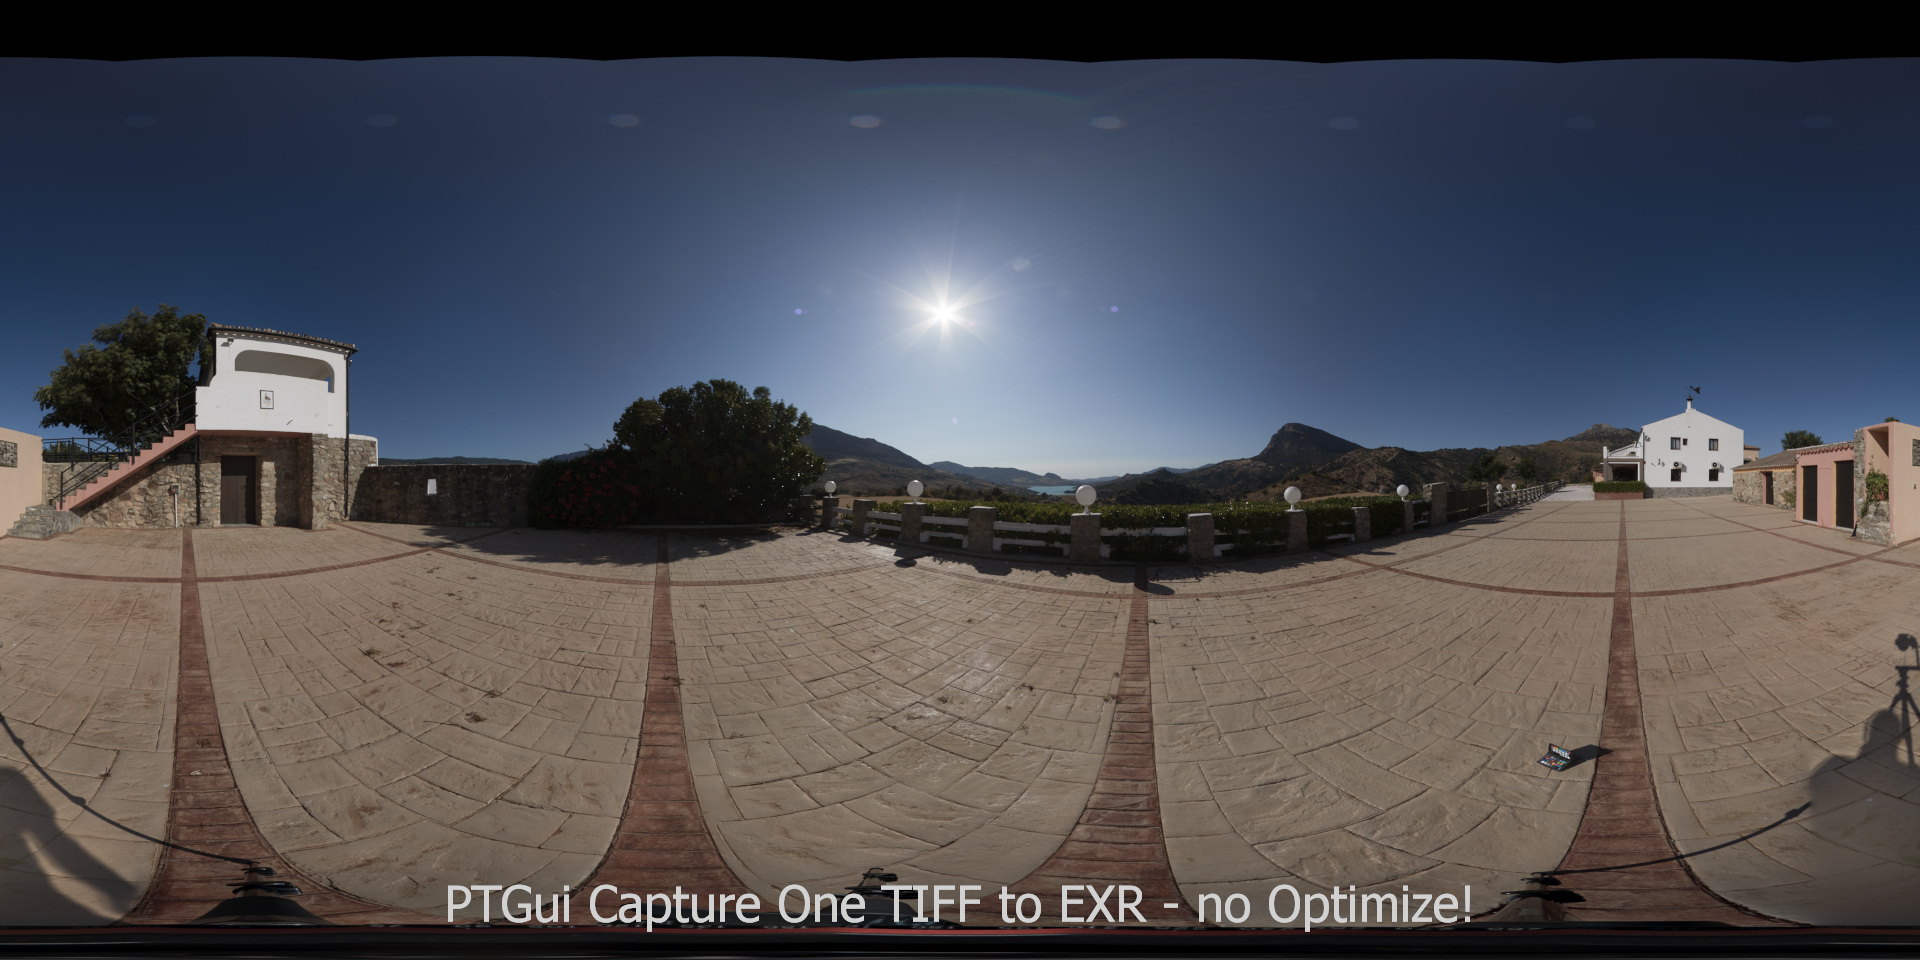
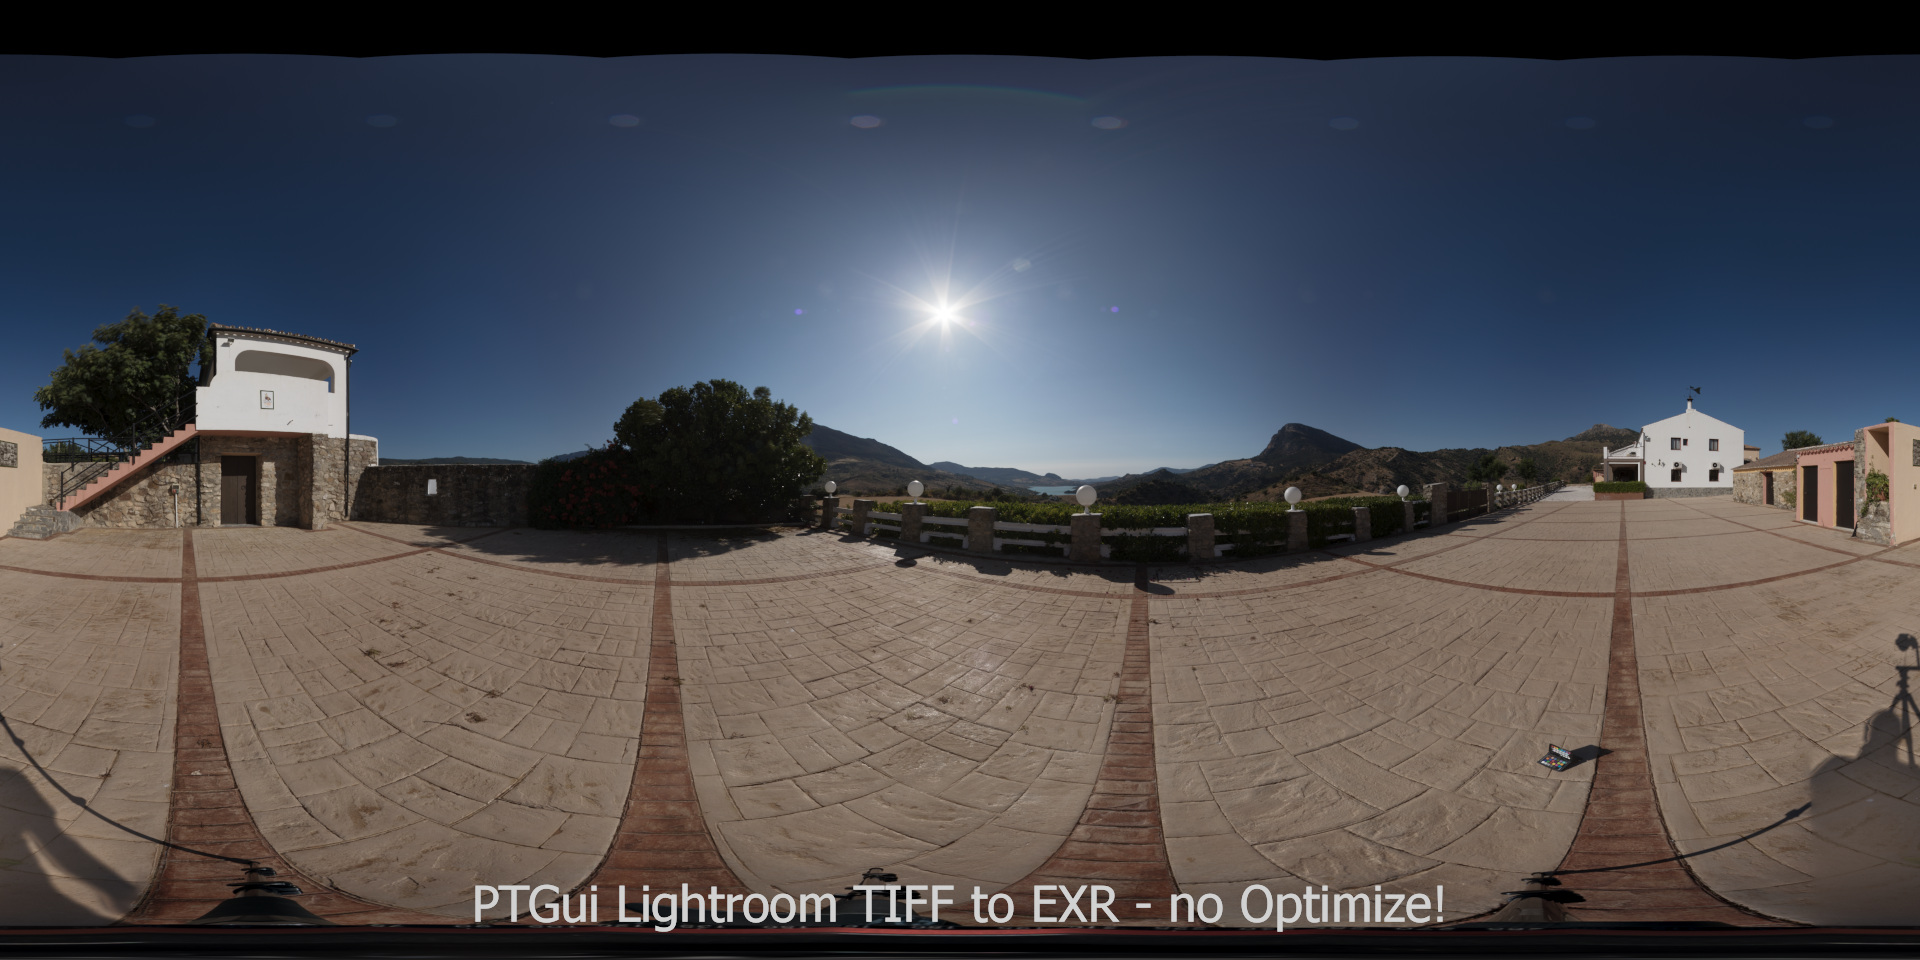

The most “natural” looking results are coming from Lightroom and Capture One.
Conclusion
I don’t have a real conclusion nor a “best” way that I would choose immediately for the next job. But I am happy to know which way look better or worse and a motivation to find maybe an even better (or color acurate?) way.
I was checking out RAWtoACES, but it has sadly no support for my Canon 7D MKII.
I was already doing a quick re-render of the HDRI with the latest version of PTGui to see what is the difference using LibRAW over DCRaw. The resulting halo looks even a bit worse!