A look at before and after images in grading comparisons.
A lot of times you can find in social media forums or sites the following type of image comparison:
VS.
But what does this comparison tells you? Nothing really.
And when you see cool photography image results from Capture One, Lightroom, etc. no one is bothering you with this type of before and after comparisons.
In this article I want to take a look at what this comparison means in technical terms and how a bit more fair comparison for the DOP and the whole camera crew could look like.
Information about the shot/photo.
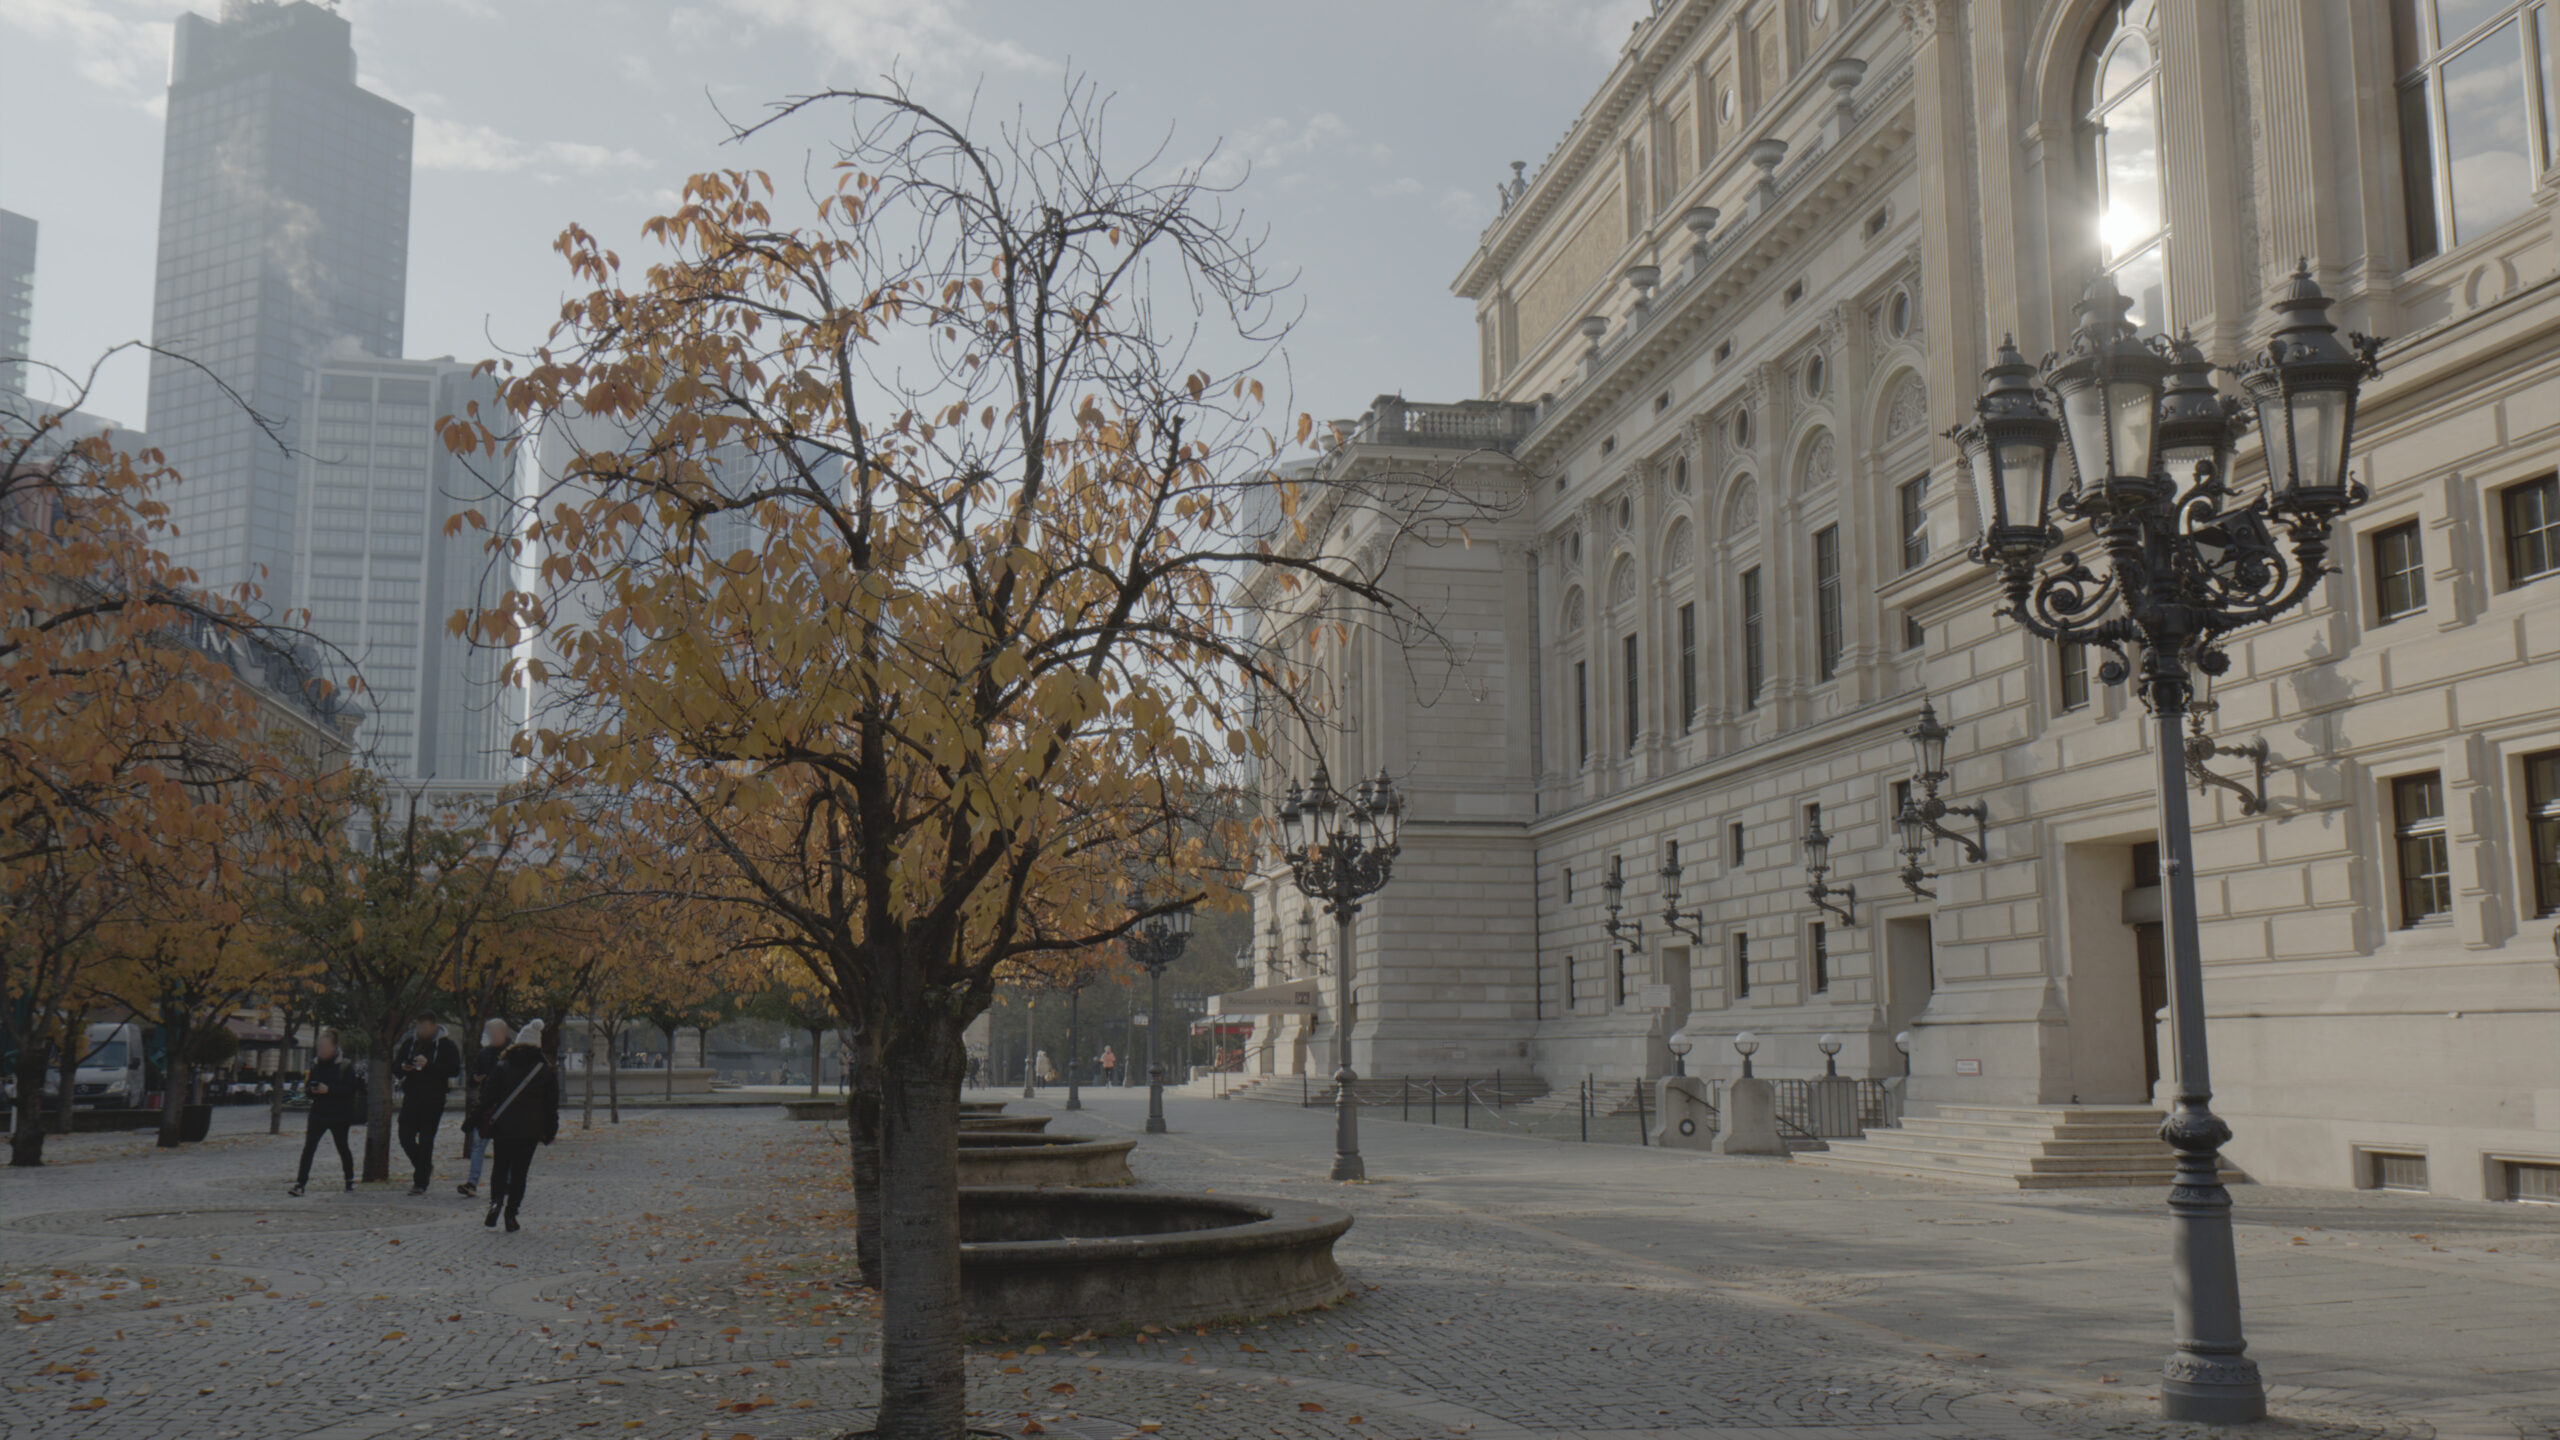
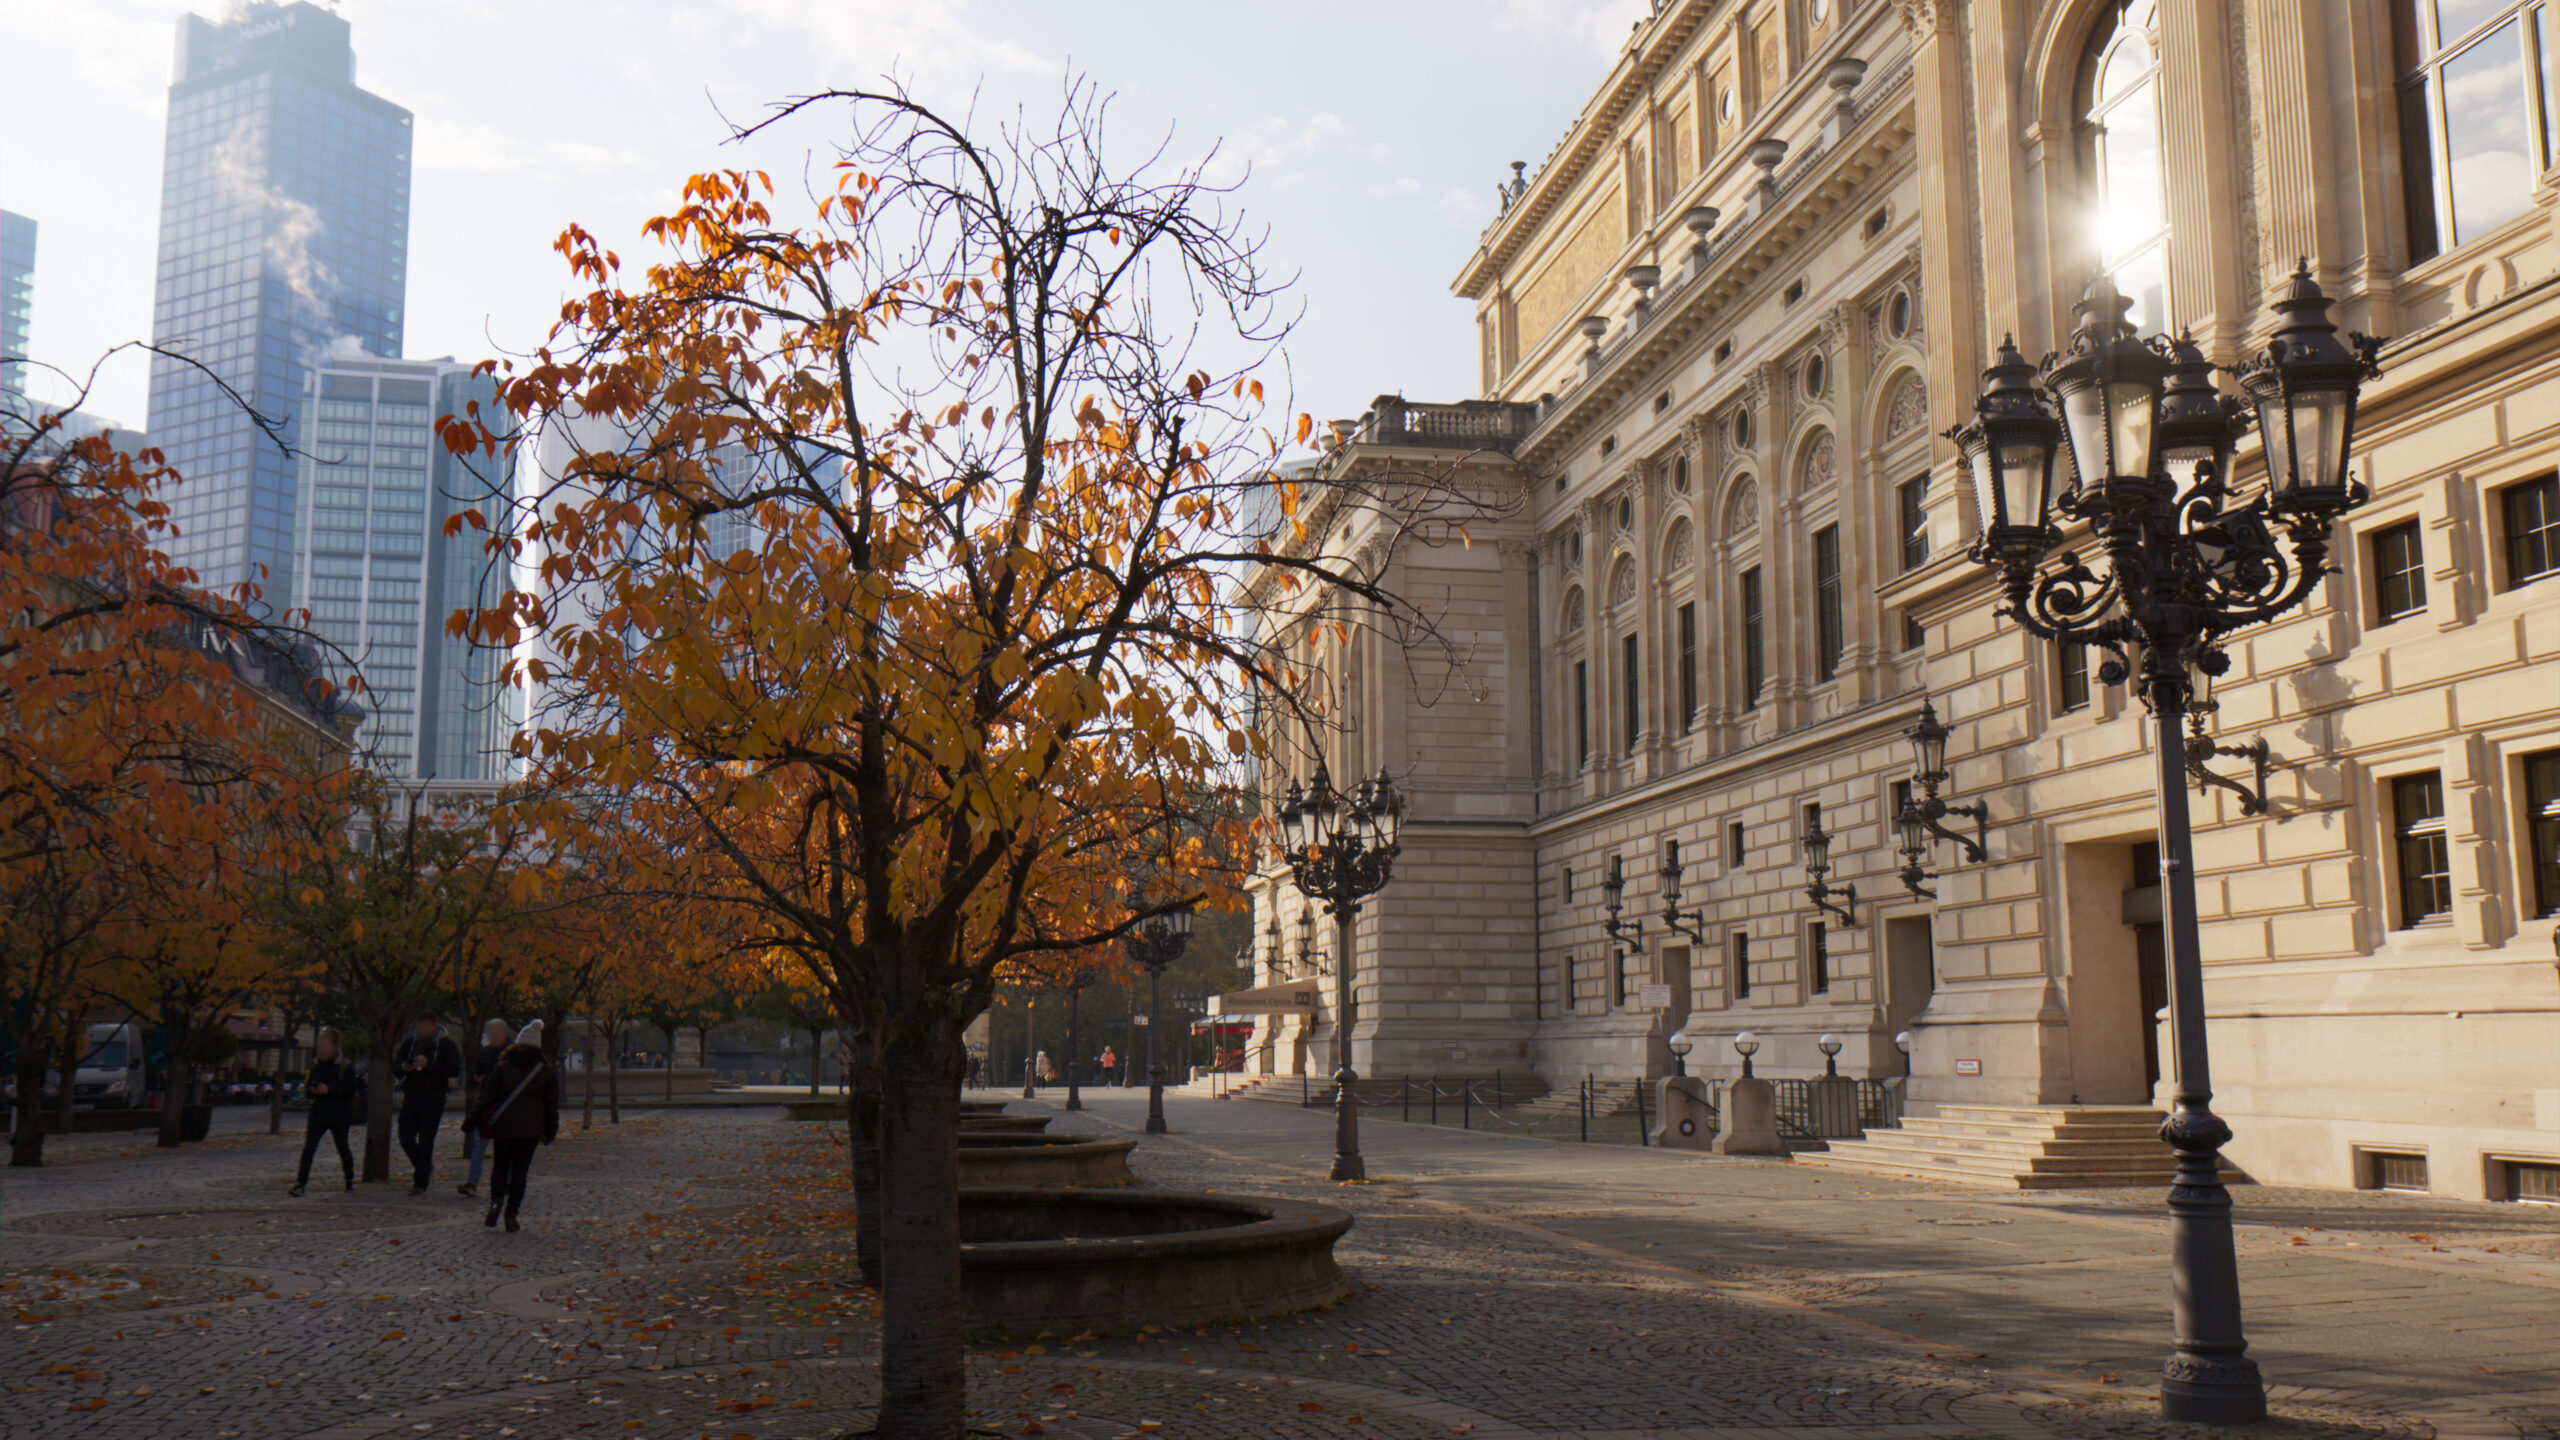
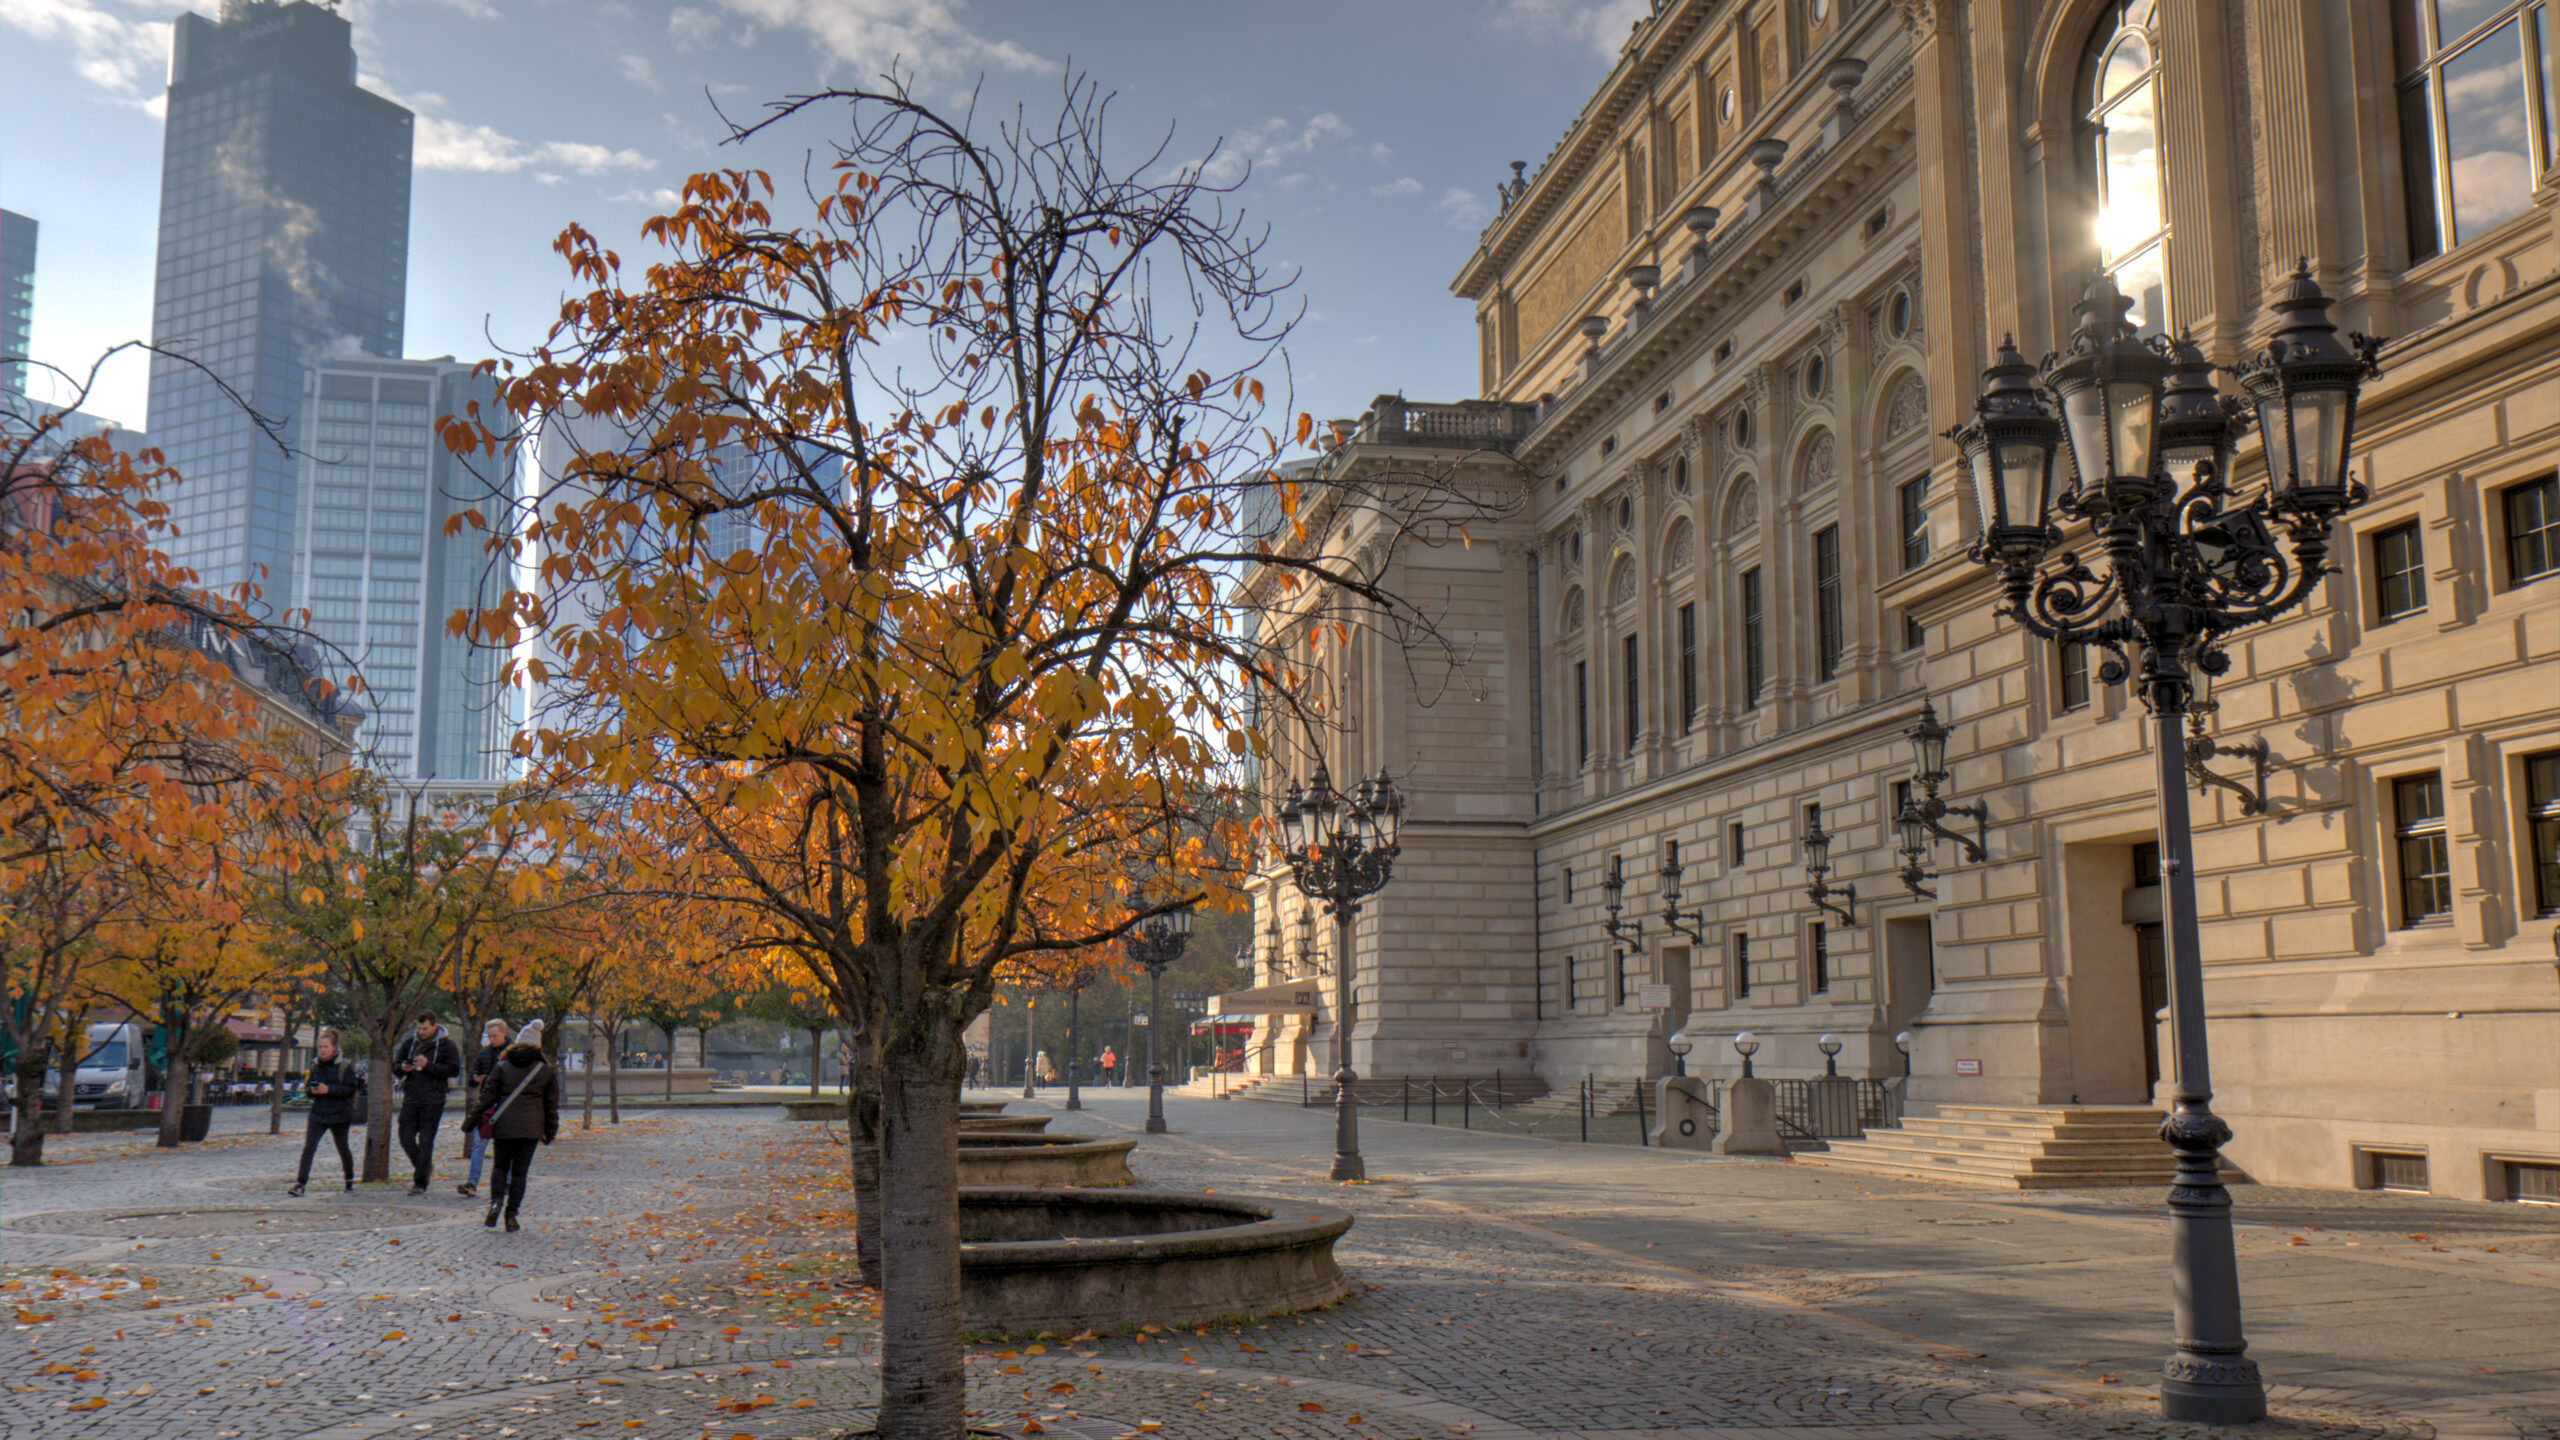
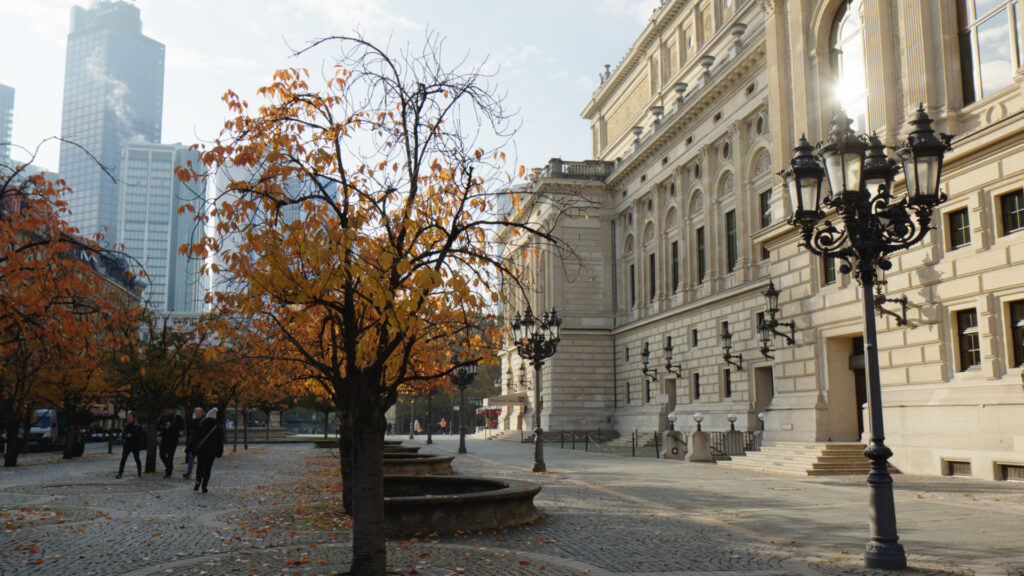
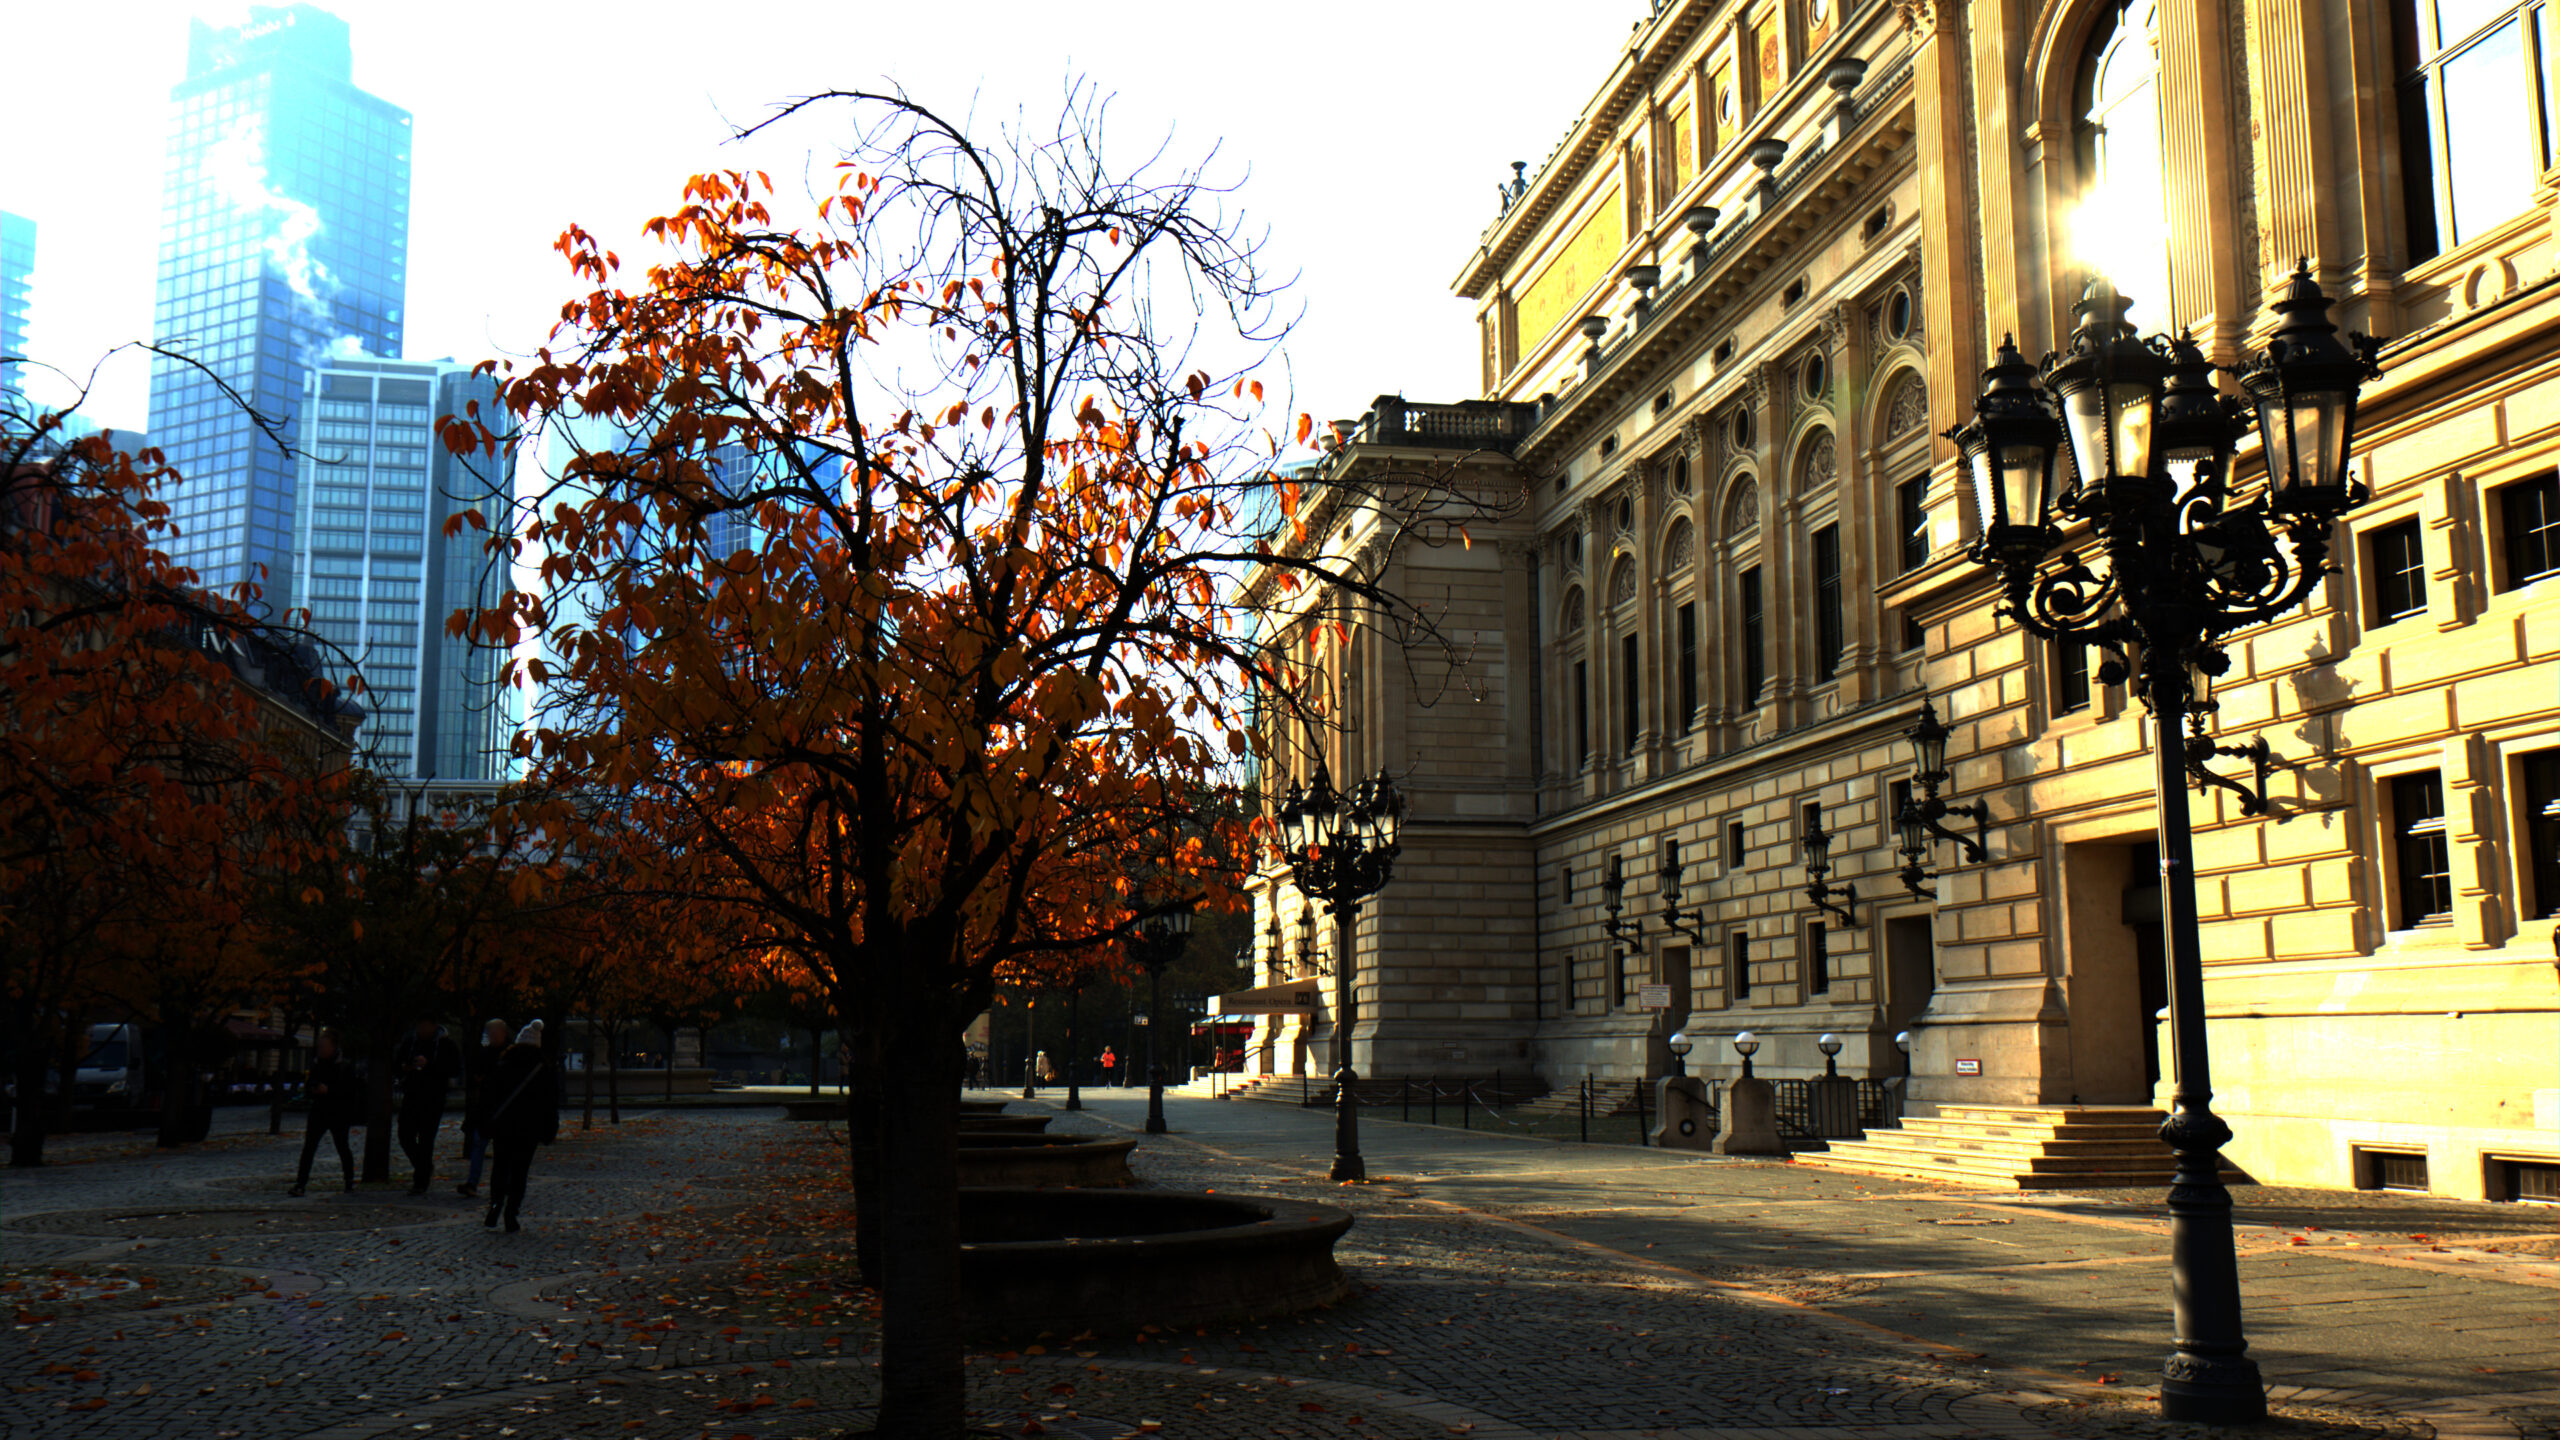
First a little bit of house keeping. The image that I am using is not shot with an ARRI Alexa, it is shot with a Canon 7D on a holiday trip in Frankfurt, Germany. I actually took three exposures in the so called HDR mode of the camera without a tripod. These three camera RAW files I merged together with Photomatrix Pro to a real HDR image that contains the dynamic range from all the three exposures. As a working gamut I chose ProPhoto, which is bigger than sRGB/Rec.709. The resulting EXR file I exposed in Nuke (set to ACES 1.1) that it looked pleasing to the eye while viewing it through the RRT&ODT Rec.709. Then I added a little misbalance to RGB channels to simulate a tint from a slightly off white balance settings or something else like a filter tint. This result I exported as a Alexa LogC DPX file and other results that I show here.
My “grading” happened also in Nuke.
So although this photo is not shot with an ARRI ALEXA, the dynamic range is now similar to a ProRes LogC file from an Alexa. The sun clips in the reflection in the window at a scene linear value around 50 with the selected exposure. From now on I use this image as it was shot with an ARRI ALEXA.
“Scene referred” Log image data are not intended for direct viewing on a display, and neither are “Scene Linear” image data.
Please continue to read here for more information about
Scene vs. Display referred workflows.
My first question would be: Why do I want to work on this desaturated and flat looking image? Did I choose to take a photo from this location because it looked like this? I know I didn’t.
Since it was a while ago when I took this photo I could imagine the scenery looked “fantastic” like this. No matter where I looked I saw a “perfect” exposure in my eye everywhere. Maybe like this HDR tone mapped image result for example. I guess everyone has a different idea how a scenery looked like from their memory. And this is of course a whole other discussion. But this is my idealized image look.
Camera Log vs. standard Rec.709 3D-LUT
For a film shoot I can assume that everyone on location most likely saw a standard Rec.709 output on a monitor that could look like this instead of a flat log encoded image:

Log formats are scene-referred and not meant for direct viewing on a display. A 3D-LUT or view transform is needed to view the images on a display, screen or projector. In this example the ARRI Alexa can record a ProRes 4444 in LogC, but on set you will most likely see a Rec.709 output.
Log encodings are a clever way to store image data. There is another way to look at scene referred image data that is also not meant for direct viewing. Nuke works internally scene linear, means in the first step it after loading the Log encoded image, it would take off the Log encoding to make it scene linear. That is the image data that Nuke wants to work with. The shot would look something like this without any view transform:
Scene linear images are not meant for direct viewing on a display either. A view transform is converting the scene referred image data to a display referred image format. In the case of working in ACES the RRT=Reference Rendering Transform and ODT=Output Device Transform are part of this process and are always applied together in one go.
So wouldn’t be more fair to start with something like the standard Rec.709 image and then see how to improve the image?
The next image shows again the standard LogC to Rec.709 conversion from ARRI. Followed by the image which is my interpretation of the scene, my grading. Here I applied a white balance operation, I lowered the contrast overall but raised the saturation a bit, reduced the exposure of the sky and darkened the lower part of the image to put more focus on the building and the nice sun reflection that caught my attention.
The standard LogC to Rec.709 conversion is very much based on the exposure and the white balance settings in the camera. A 3D-LUT is simply taking the input data and generate whatever pixel values are “hard coded” in the 3D-LUT file.
(Please read the article about LUTs from Cédric Lejeune: LUTs are just stupid tables! for more information about this topic).
The next two images are just differently exposed. The darker image could be exposed for the sky, whereas the brighter one was maybe exposed for the people on left or the trees.
A standard 3D-LUT from a RED camera, a Sony Venice or any other professional digital cinema camera would result in a slightly different image. The important thing is “where” a 3D-LUT is being applied in a grading image pipeline. A 3D-LUT should be applied always at the end of the chain of operations, otherwise the dynamic range and color gamut of the footage will be compressed too early. Most of the times it is not possible to invert the 3D-LUT operation later on without any loss of image quality.
For maximum flexibility I use the ACES color management system. Instead of a standard 3D-LUT I can also view the same high dynamic range image though the ACES pipeline

In this case the results actually looks quite similar. But the advantage is here that switching the graded Rec.709 SDR version to a HDR video output is just one click away by choosing another ODT (ST2084 1.000 nits P3D65 limited) in this example.
Note: The HDR video I can only see as a HDR clip in the Vimeo App on an iPhone or when this page is viewed directly in Safari on an iPhone (minimum iPhone 11 and newer and as far as I know not the XR or the SE2)