An attempt to measure RGB values in Display referred images
I work mostly in TV and social media commercials. Product colors are very important for agencies and clients. Car commercials are especially tricky because car paints are complex materials and react very differently depending on the lighting situation. Often you can end up in discussions, is my car color now “right”? 100 questions are popping up in my head. Where can I see the right car paint color? On a physical sample? On a print? On a display? And the list goes on…
In this article, I want to follow the question:
What color does a car paint have in a digital image?
First, here is a rather unusual image to start with:
Do you see car paint in this image or a painting of a car?
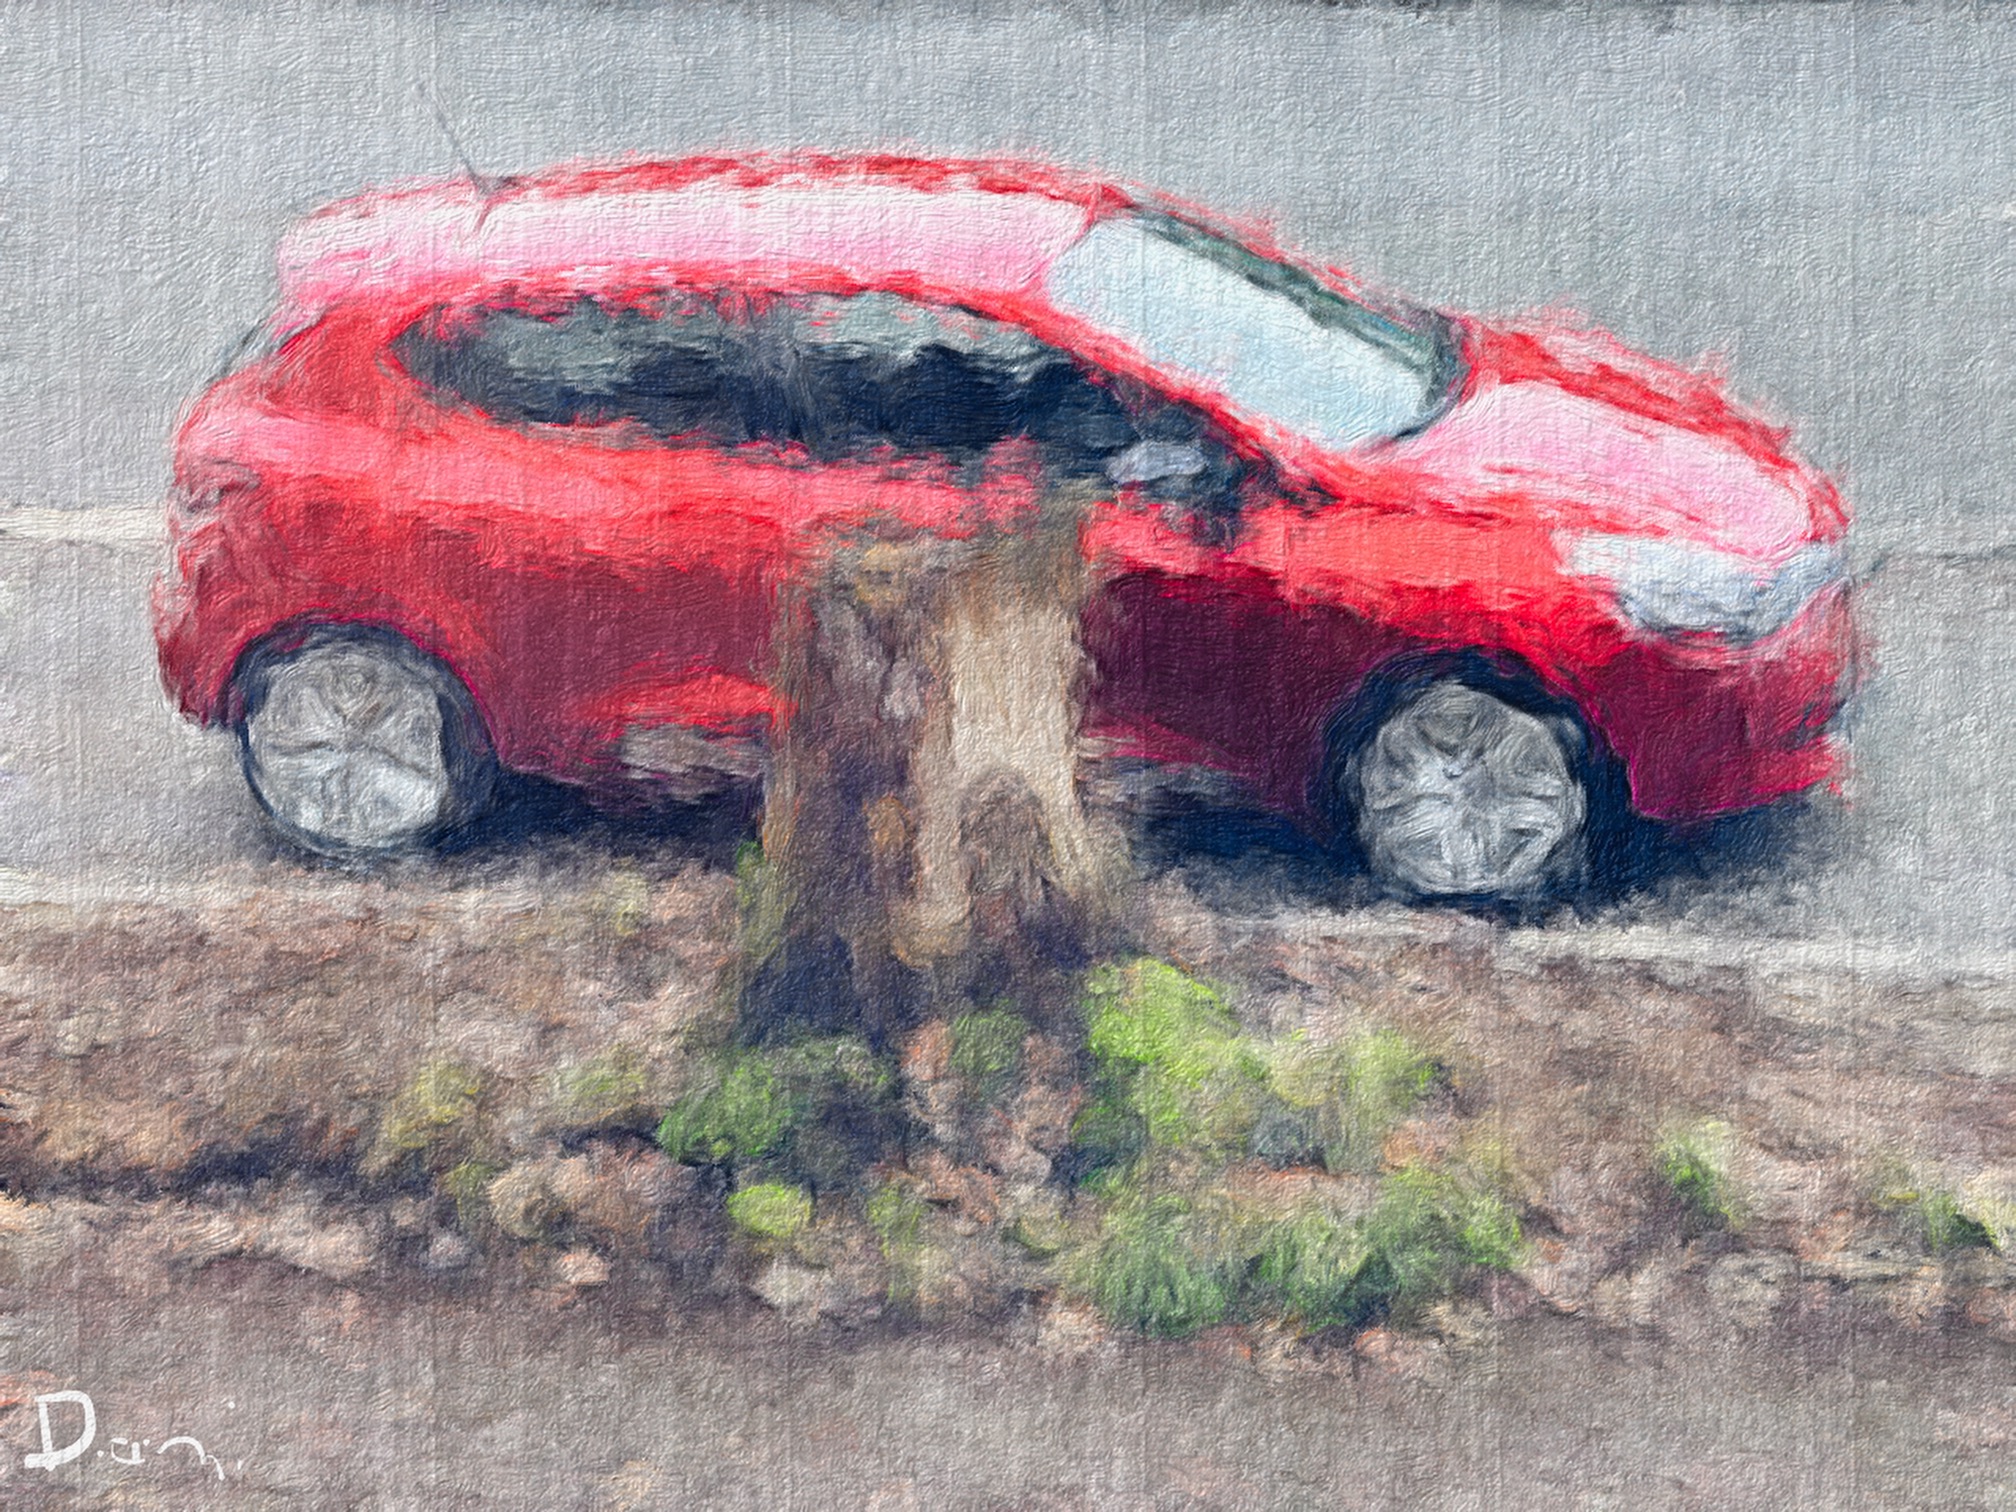
I am not a paint artist and I created this paint-like image with Brushstroke on my iPhone by simply selecting some styles that I like. I could call the ‘painting’ “Red car parked in front of a tree stump (late 2022)”.
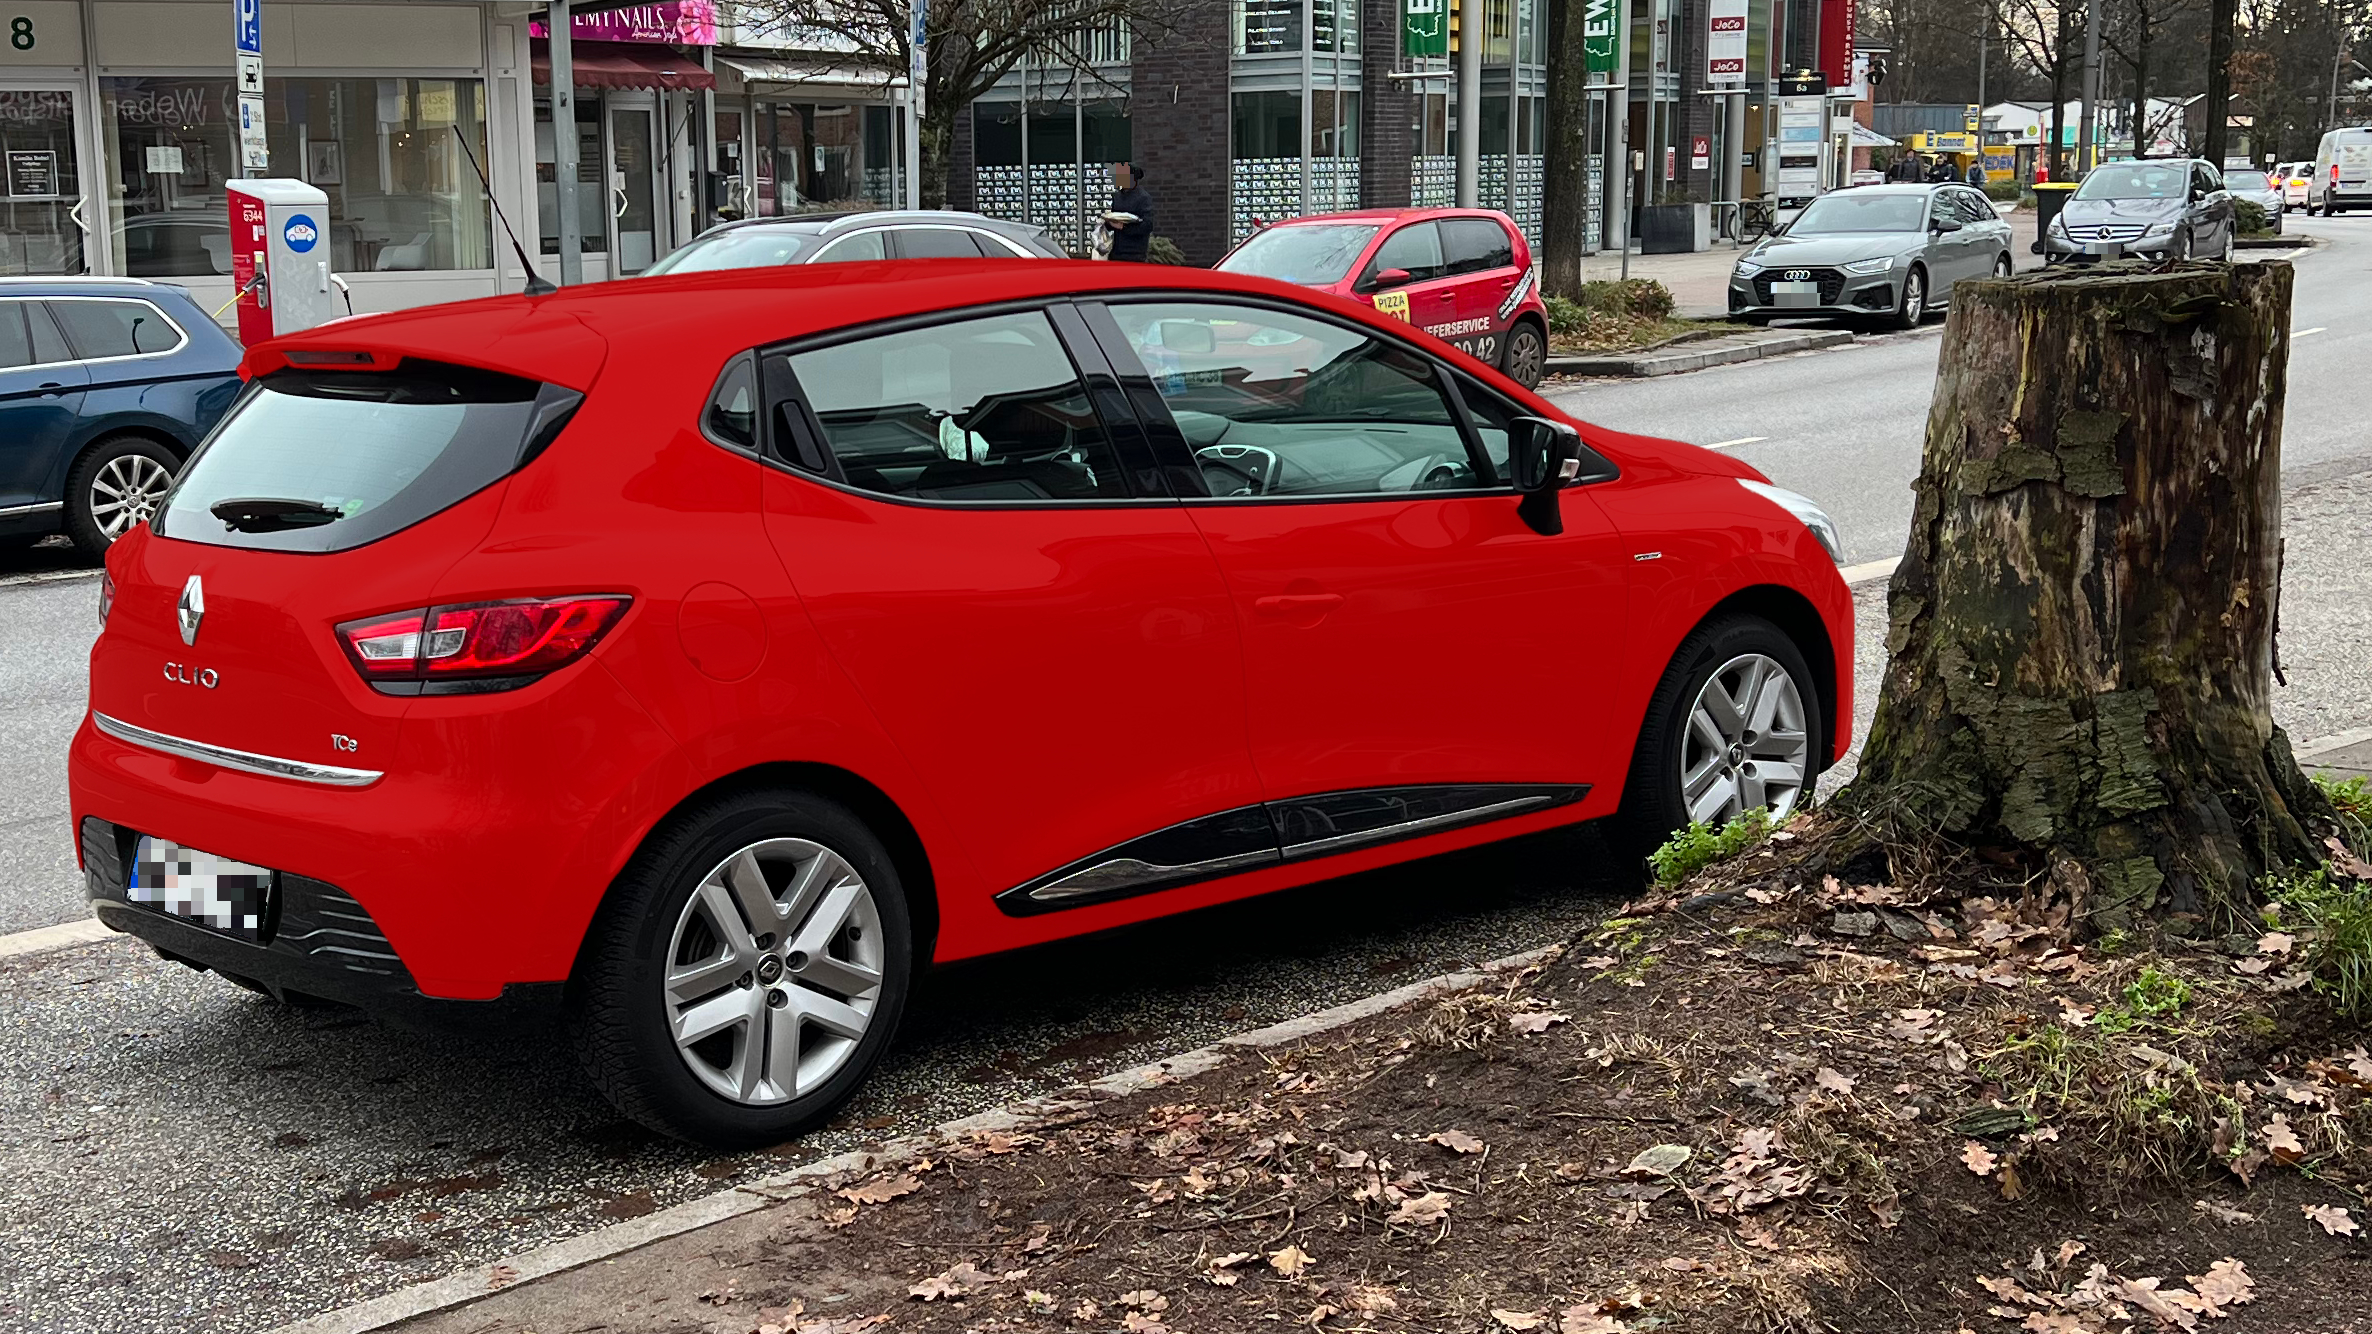
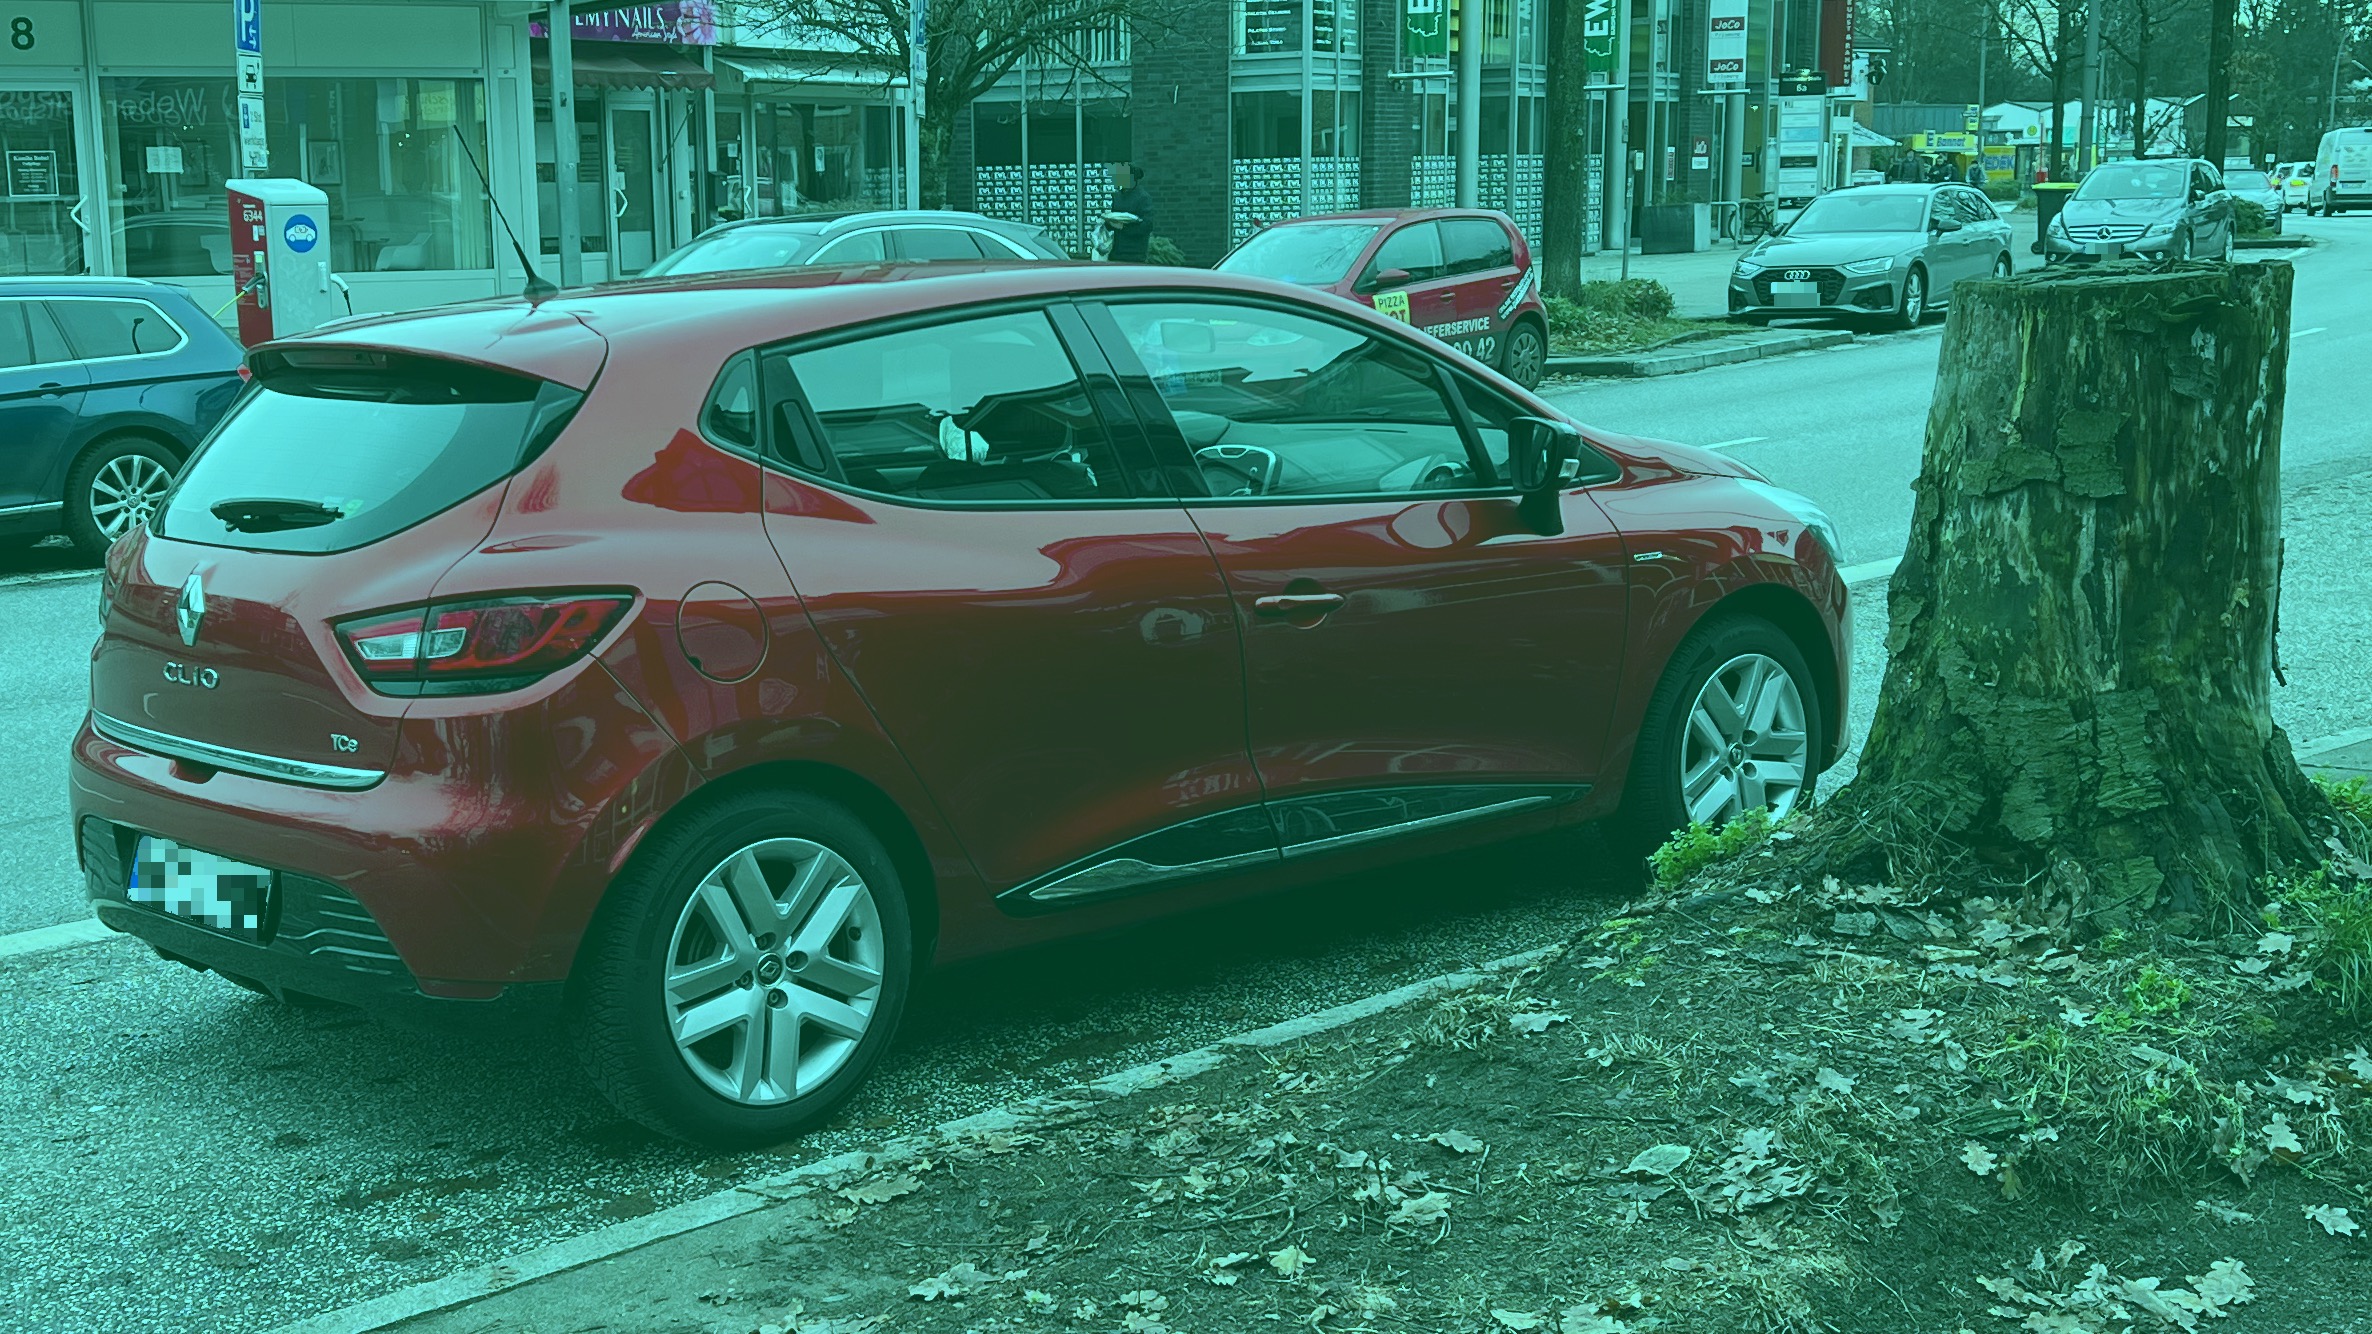
It’s clear that this image was based on a photo that I took with the iPhone. Here is the photo. The car paint looks very shiny.
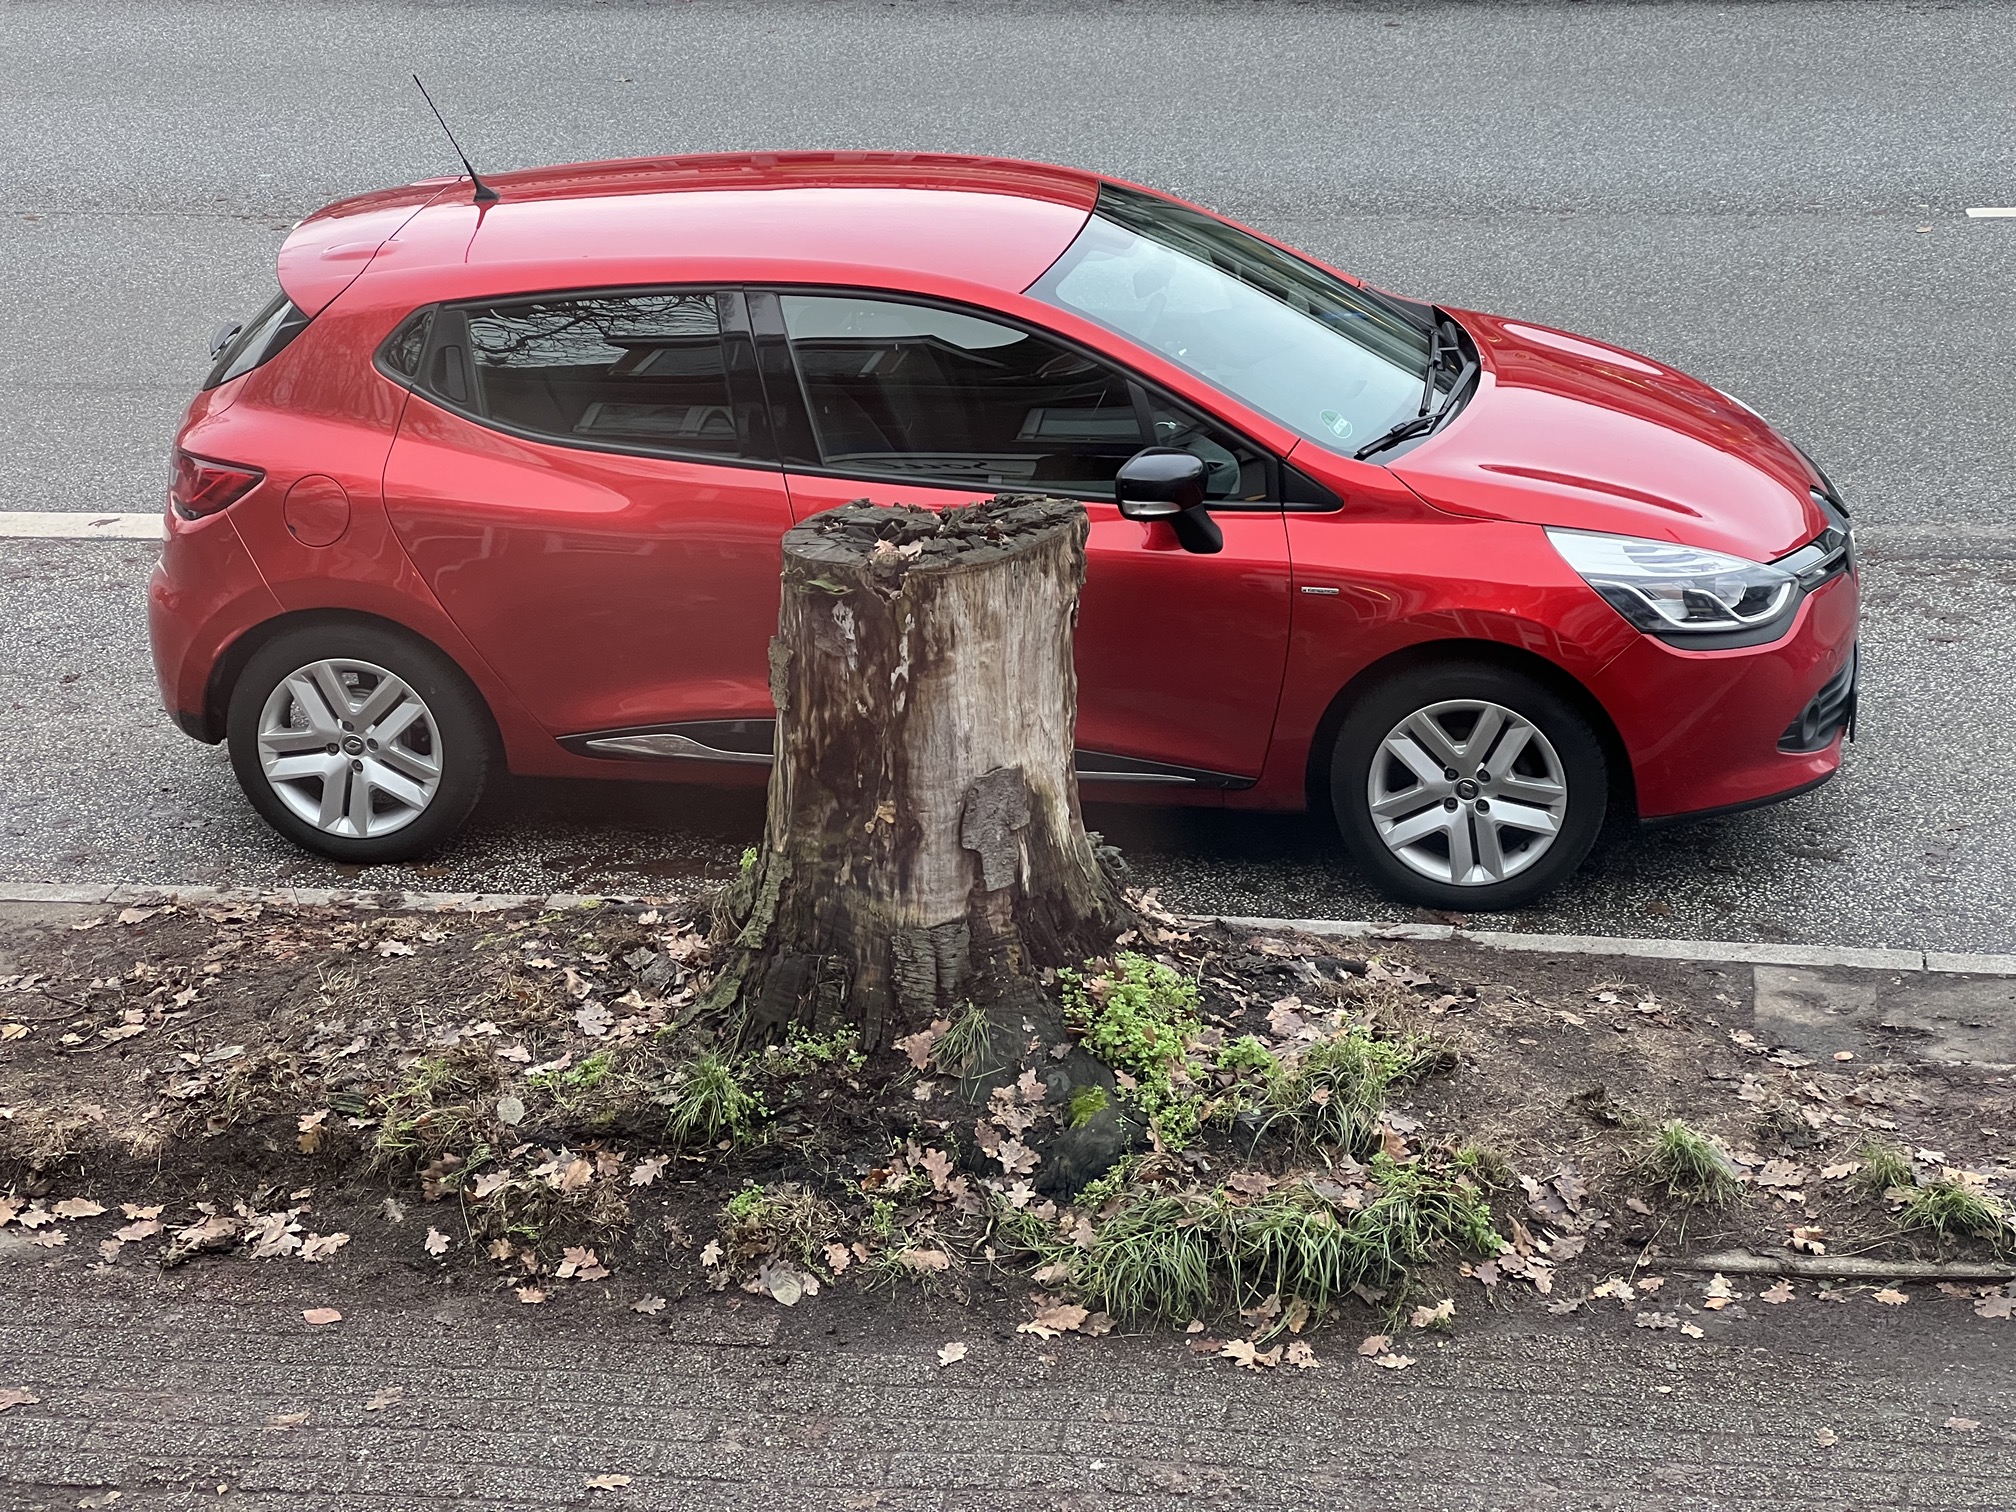
Both pictures are images, but first one I would maybe call a digital-painting and the second image I would call a photo. Both images are heavily processed image data but the iPhone photo has more meaning for me than the abstract painting. Maybe because I took the photo at this location on a street in Hamburg. In my memory there is a connection to reality. I guess for everyone else it’s just a photo of a red car and not even a nice one either.
I took another photo down at the street level. The iPhone has a Display P3 screen so the photos taken with the iPhone camera are tagged with Display P3. If your browser and your display, on which you read this article, supports Display P3, then the next two images should look very similar and the third one should look noticeably different.

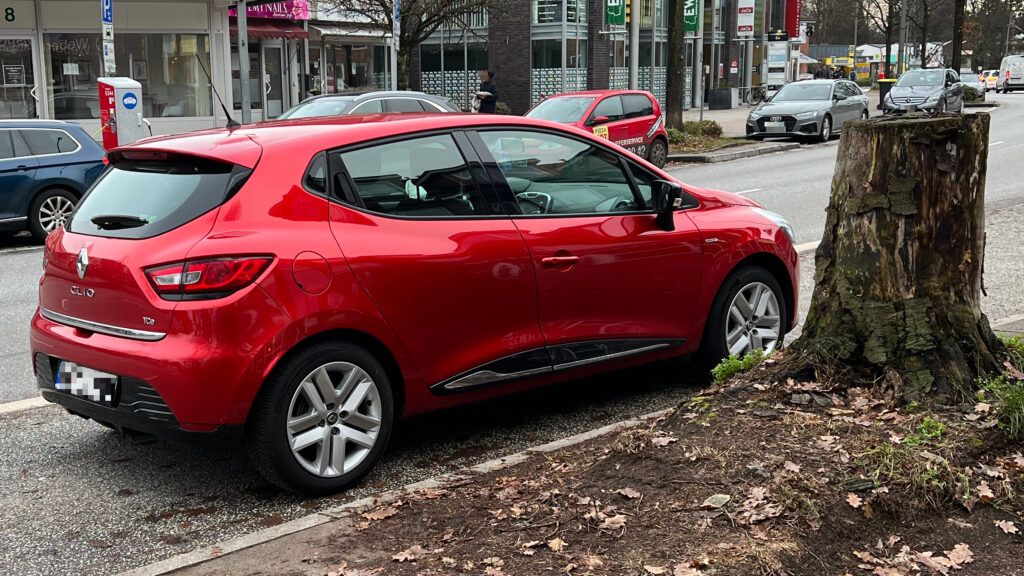

All three images are coming from the HEIC file directly from the iPhone and are exported JPG files from Affinity Photo. The first image is tagged as Display P3 and will show the intended image on a Display P3 screen on a modern Apple iPhone, iPad or Mac on Safari and Google Chrome.
The second image was converted from Display P3 to sRGB with the rendering intent “relative colorimetric”. The area over the tail lamp is ever so slightly different in comparison to the first image.
And the third image is simply wrong. I assigned the sRGB profile to the Display P3 image. This means I assigned a new meaning to the RGB values and exported them with a wrong profile.
Up to now I have presented 5 different images. None of them give me any hint of what the red colour of the car paint could be.
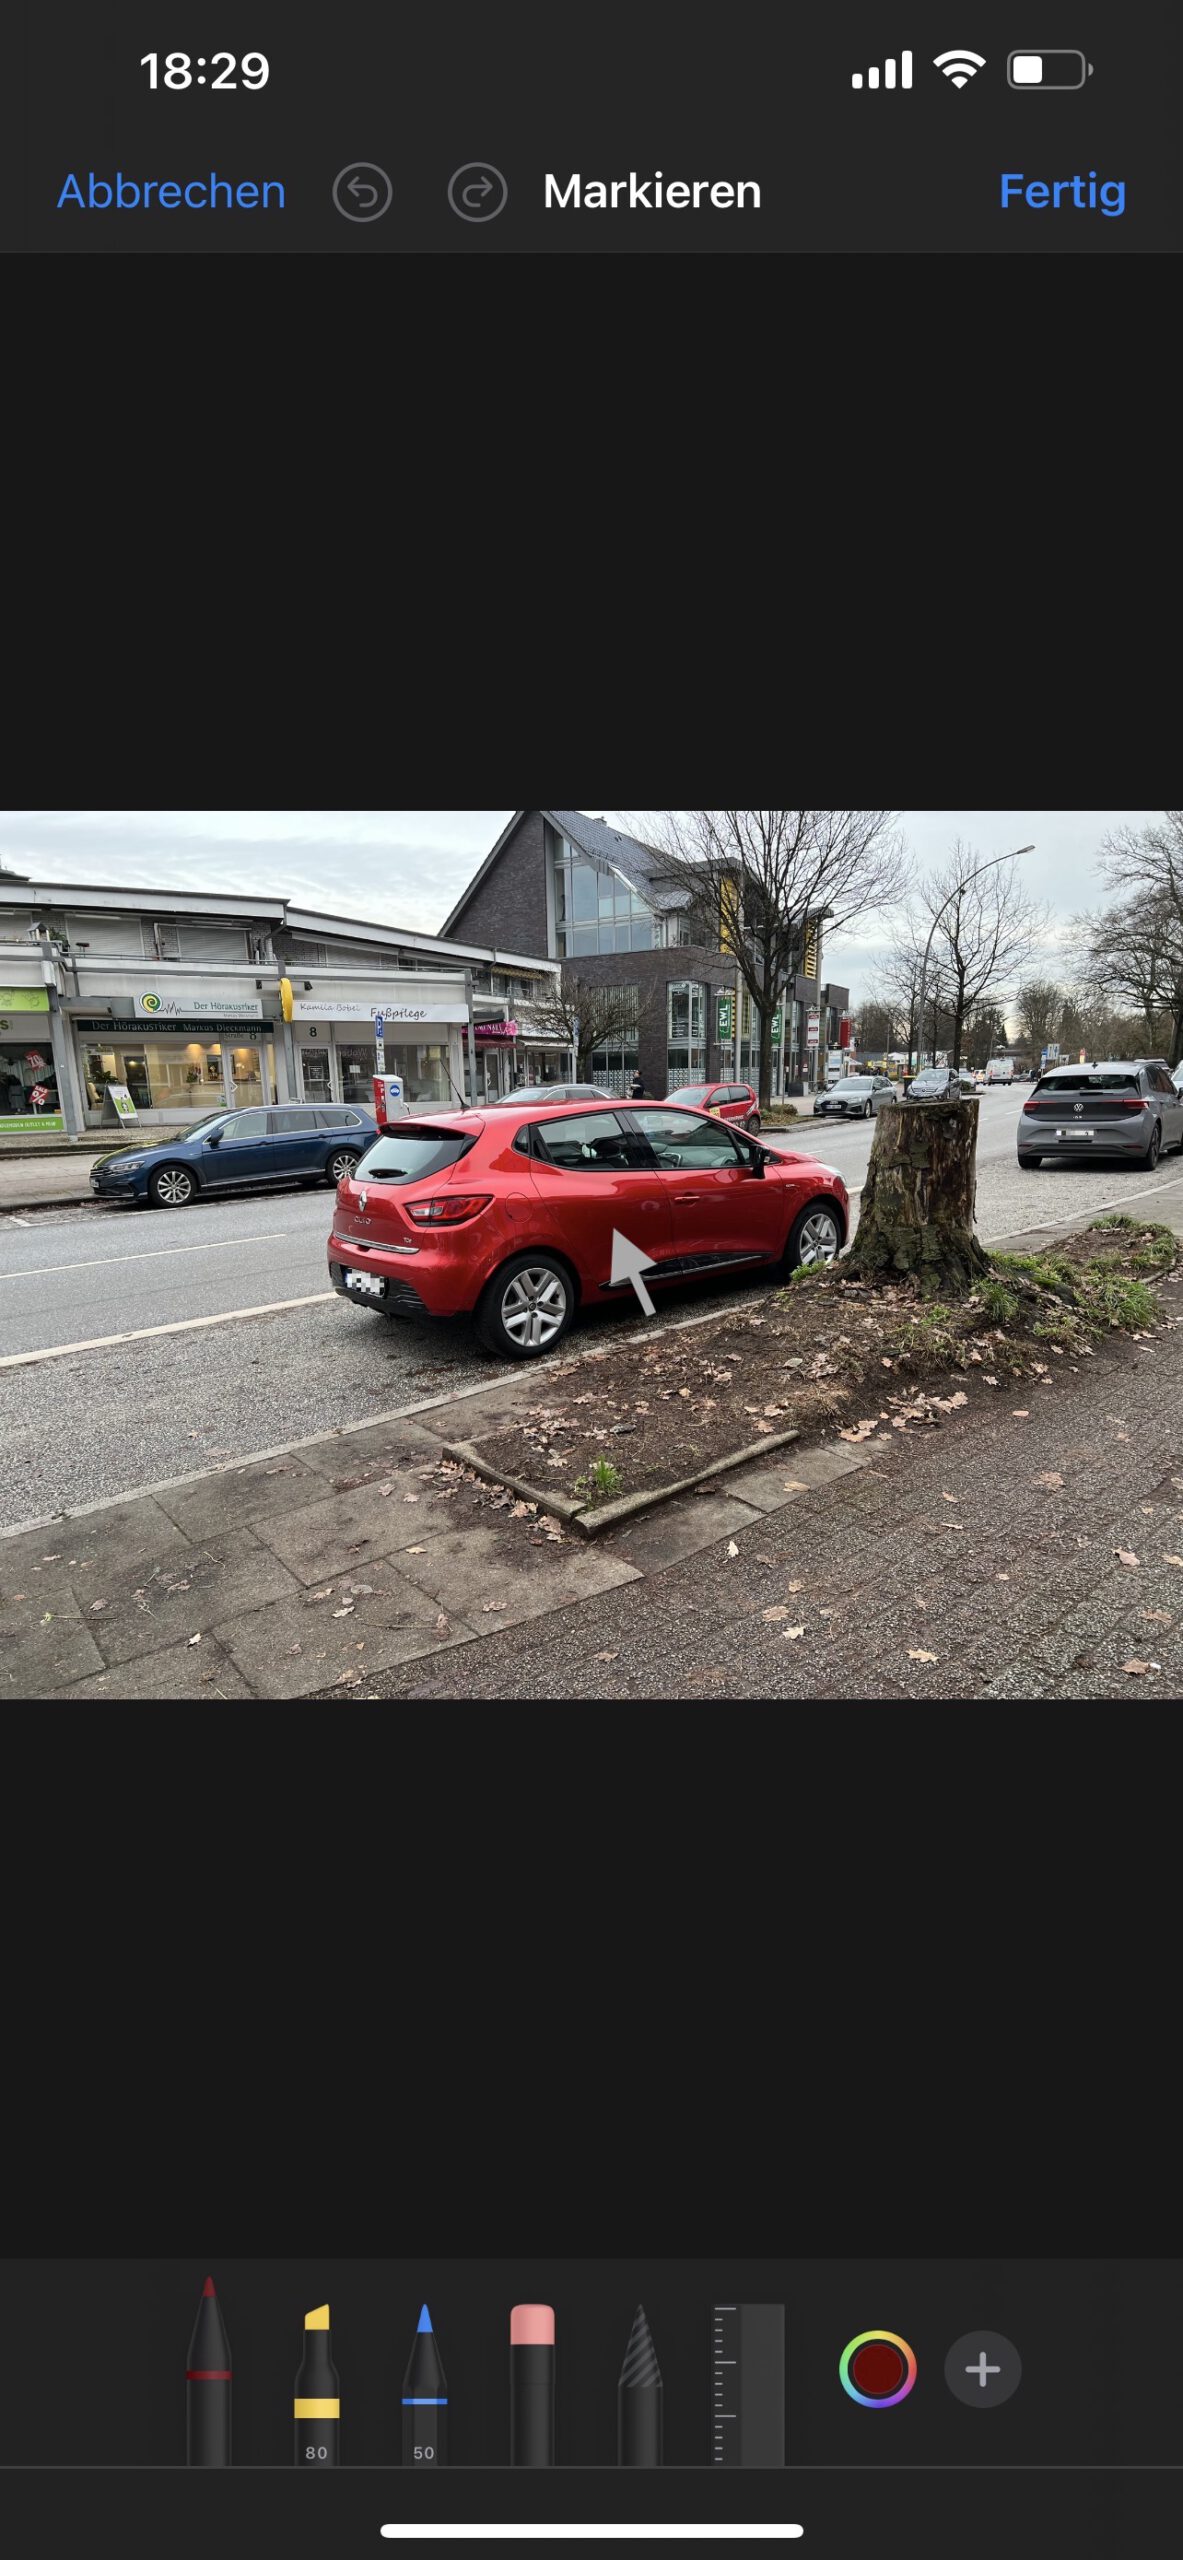
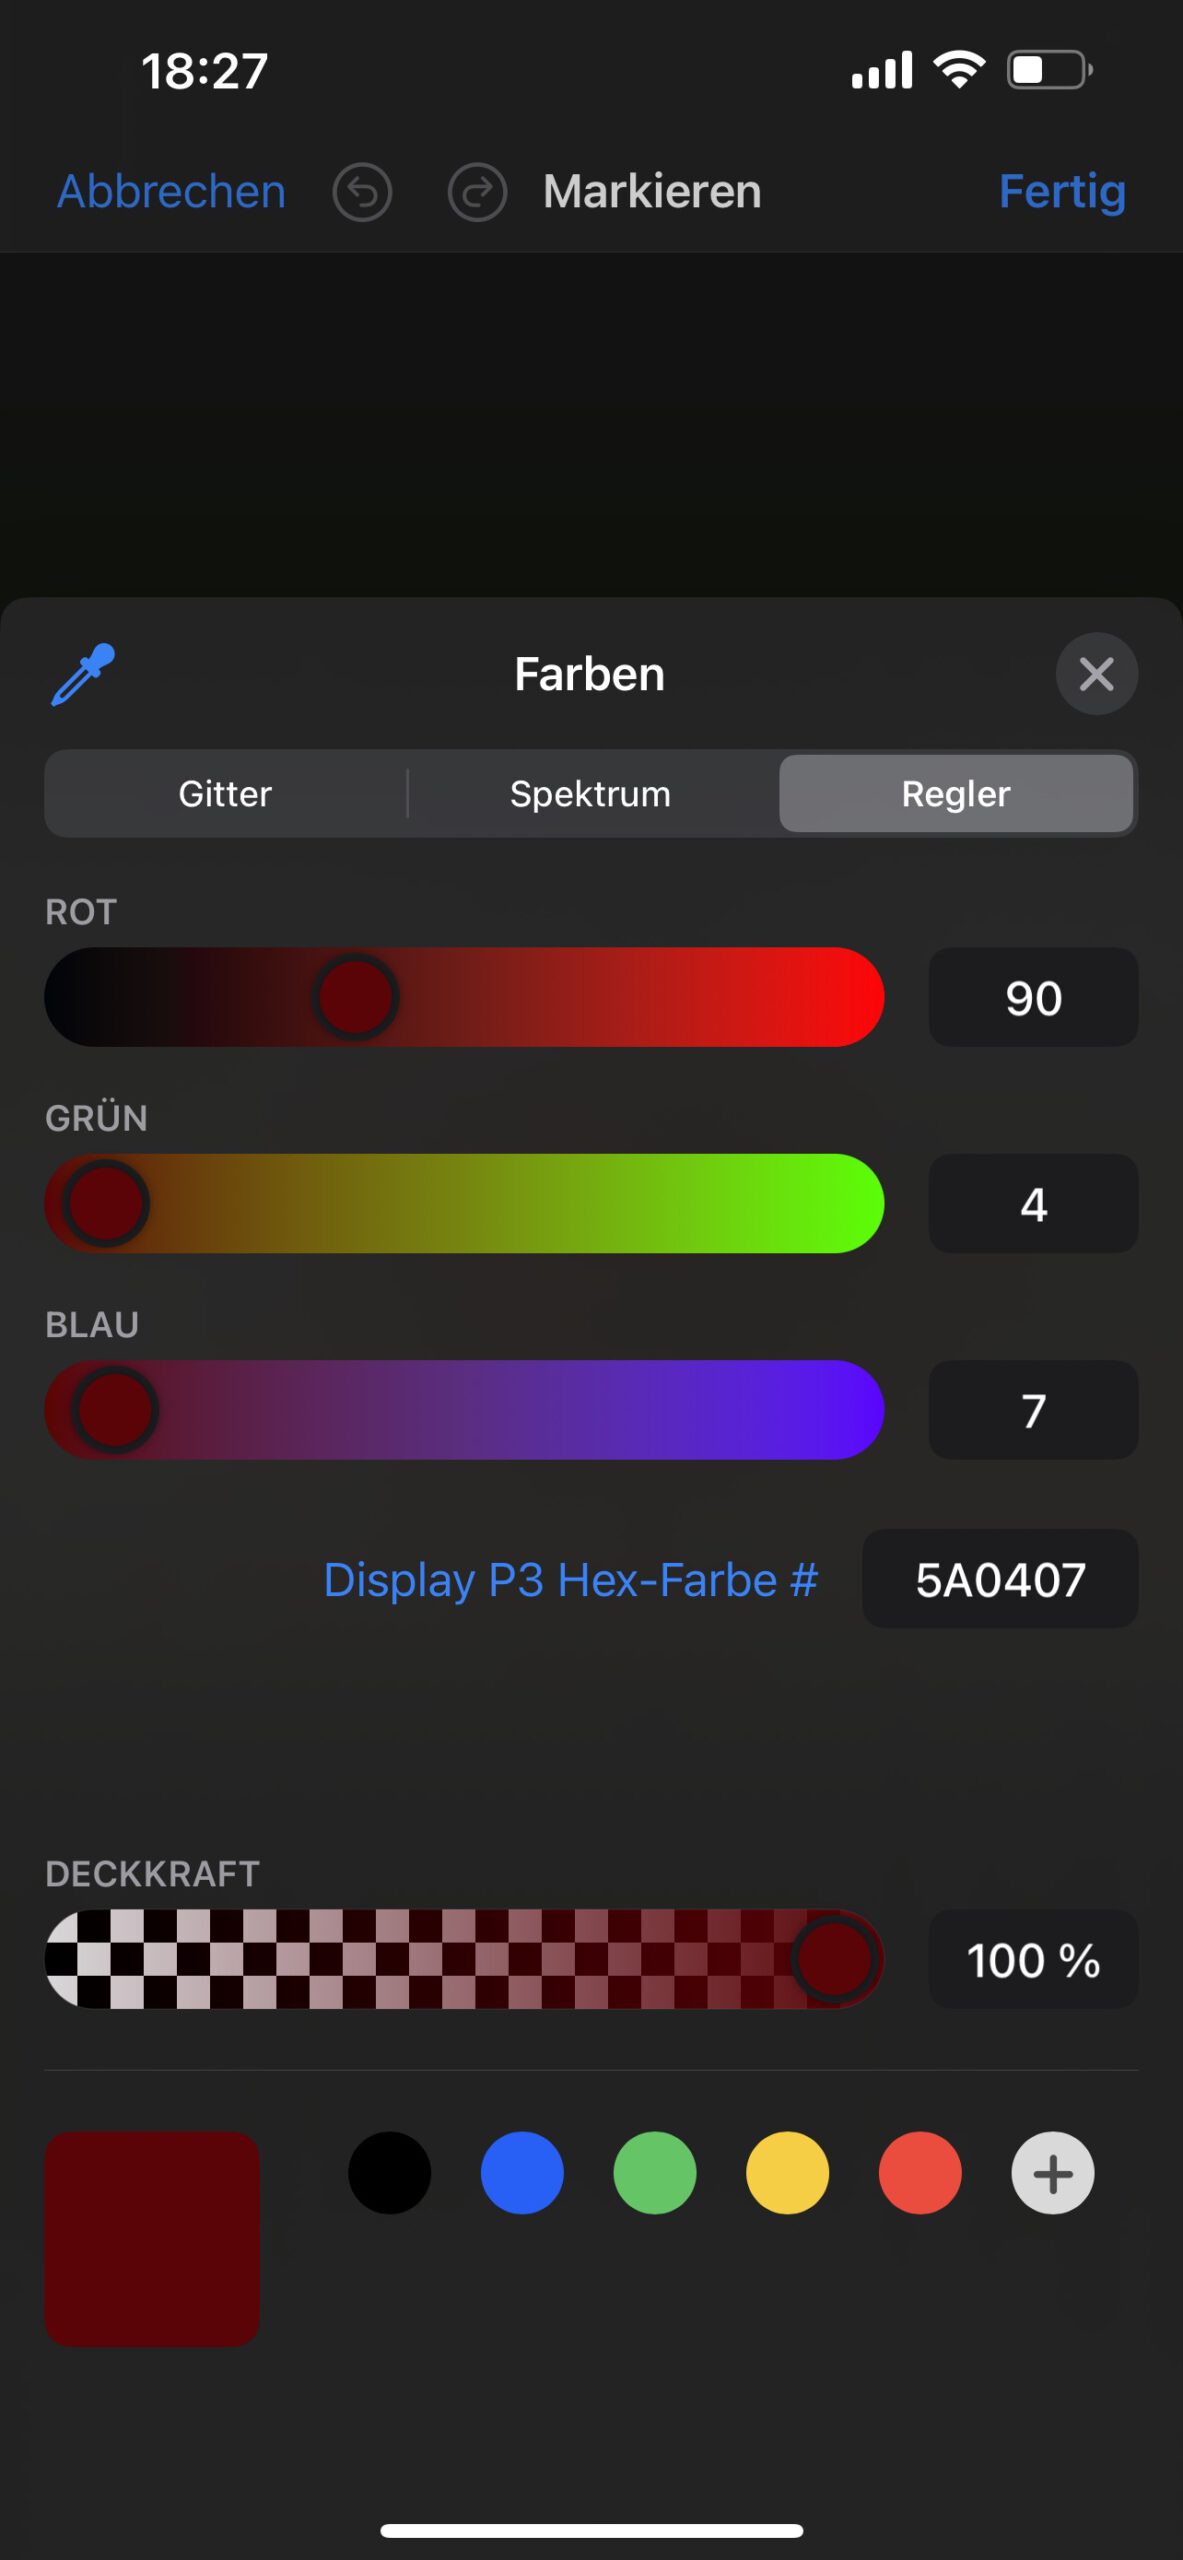
On the iPhone in the photos app I can use an eyedropper tool to measure a pixel value. But the measured RGB values of 90/4/7 that show me a dark red colour are kind of useless.
But this does not stop me from filling the whole car paint area with nearly one red (165/0/2) color value. Here it is, I just created another image.
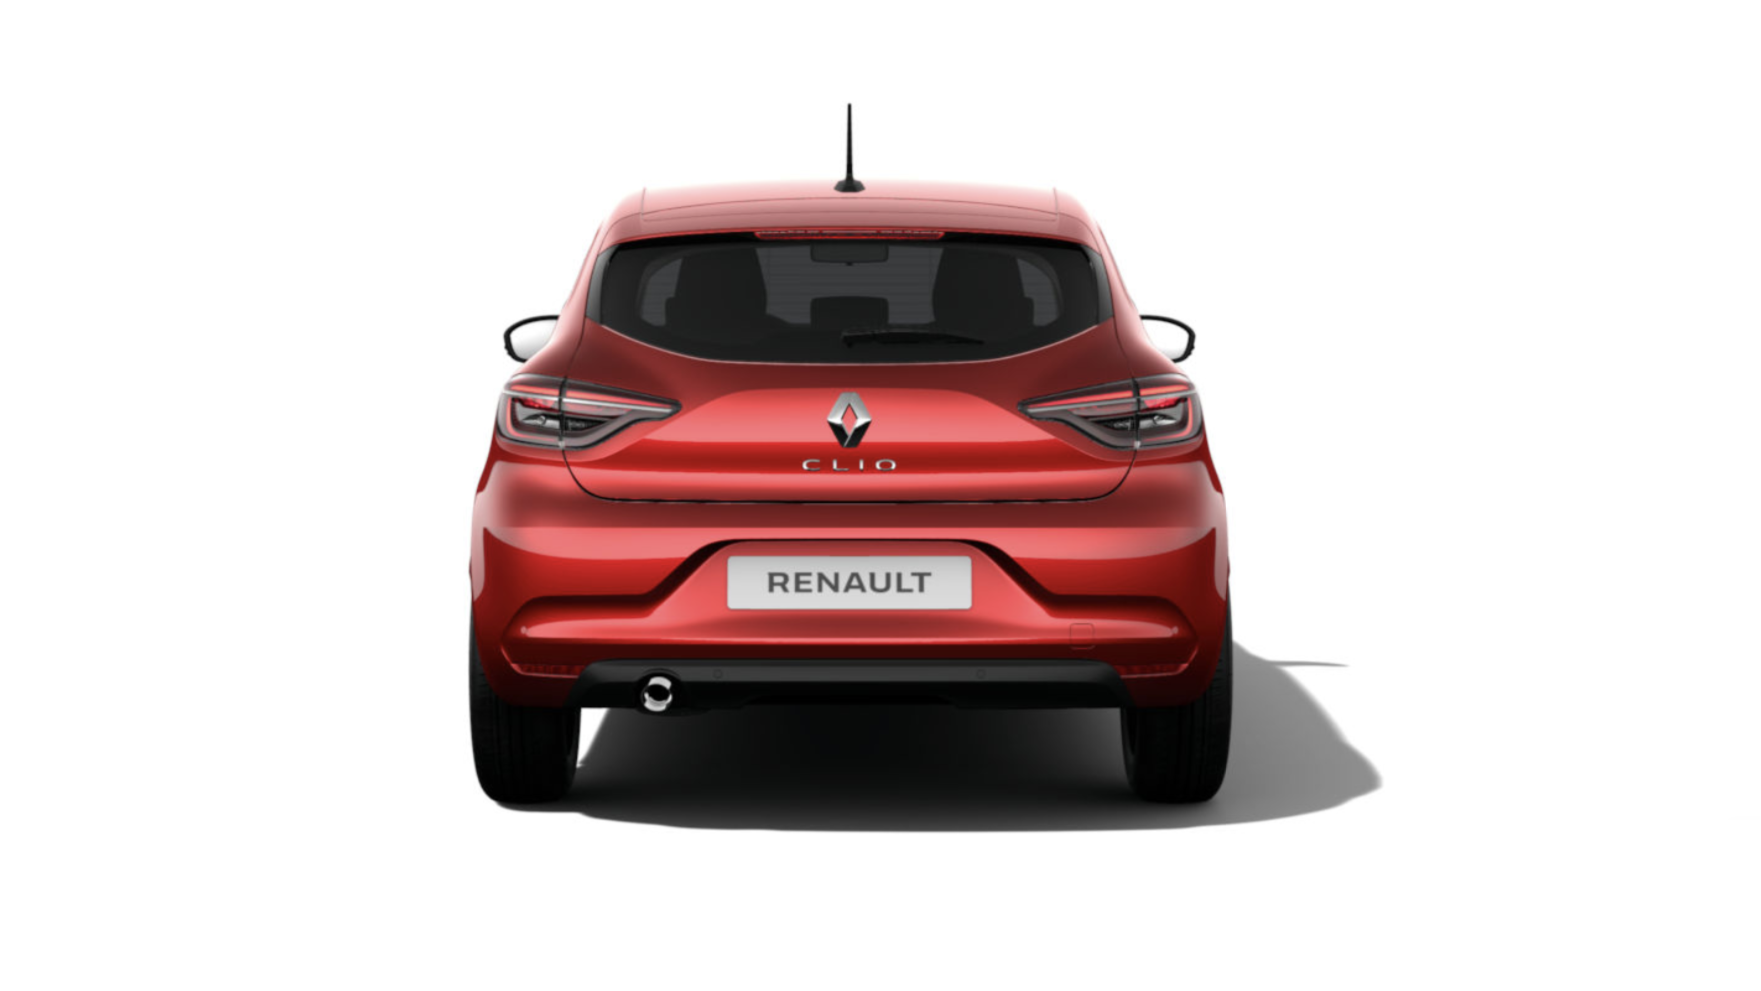
The photographed car looked rather new so I checked the Renault website and found an interactive turntable and took some snapshots from different angles on a Display P3 iMac 27″. The last image shows more or less a similar angle than the iPhone photo.
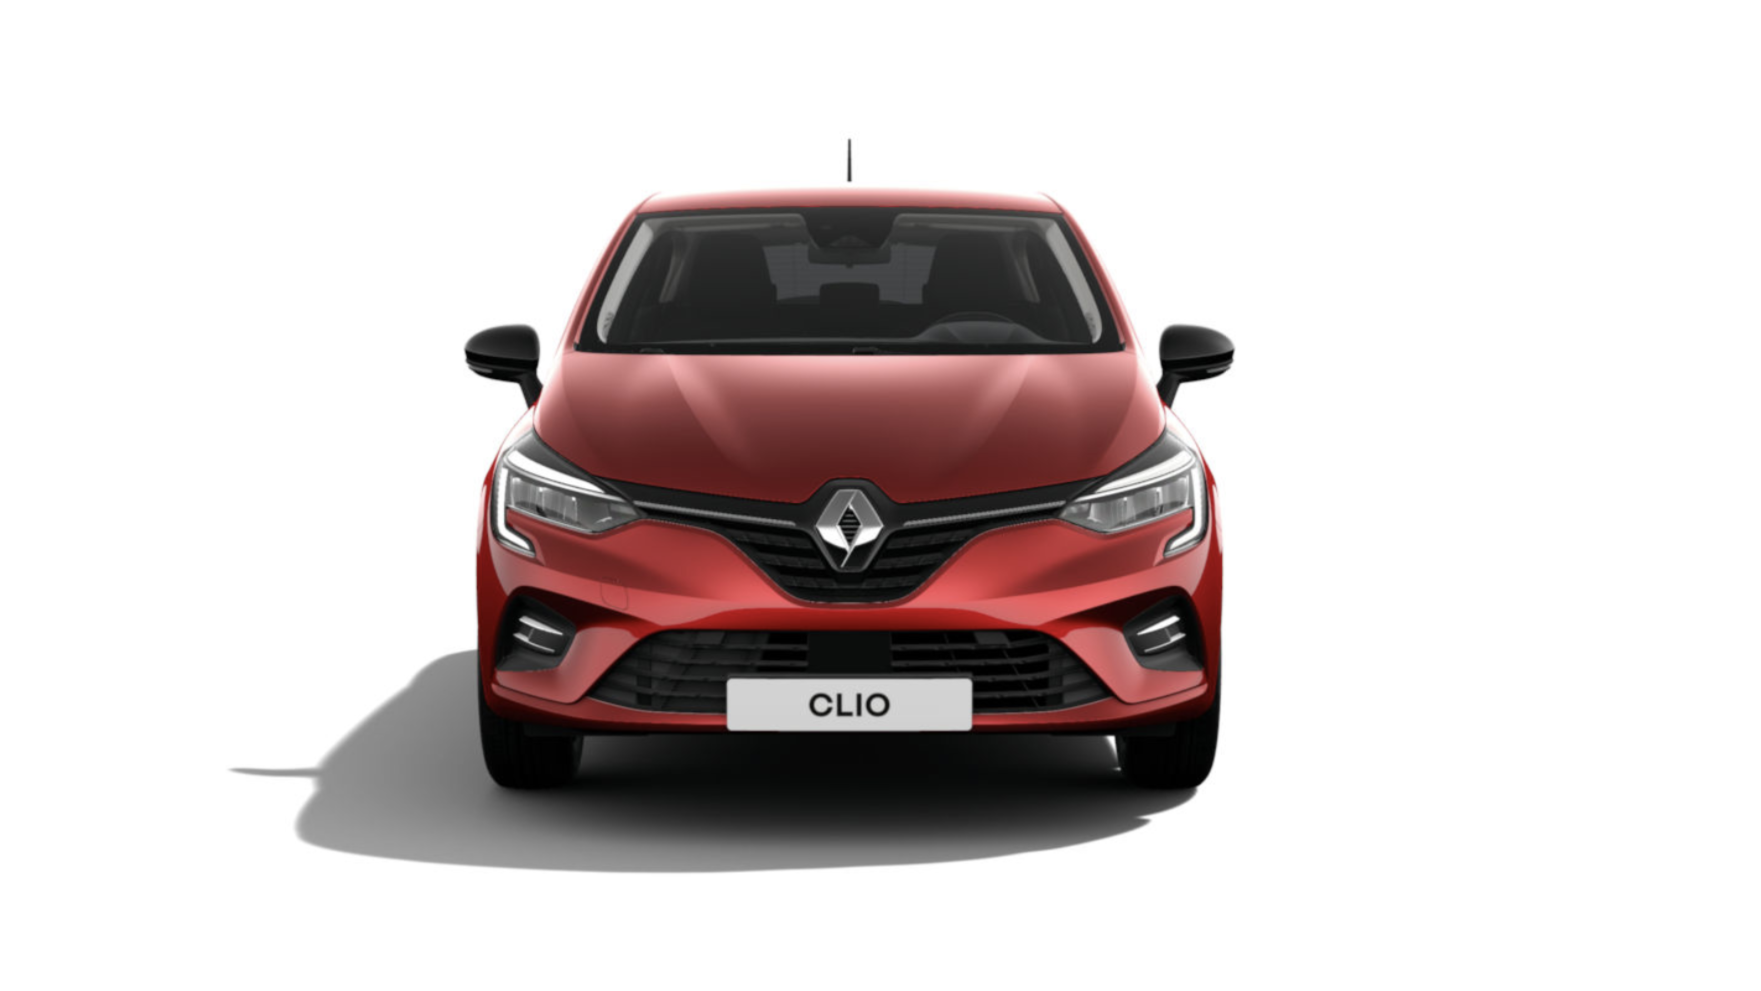

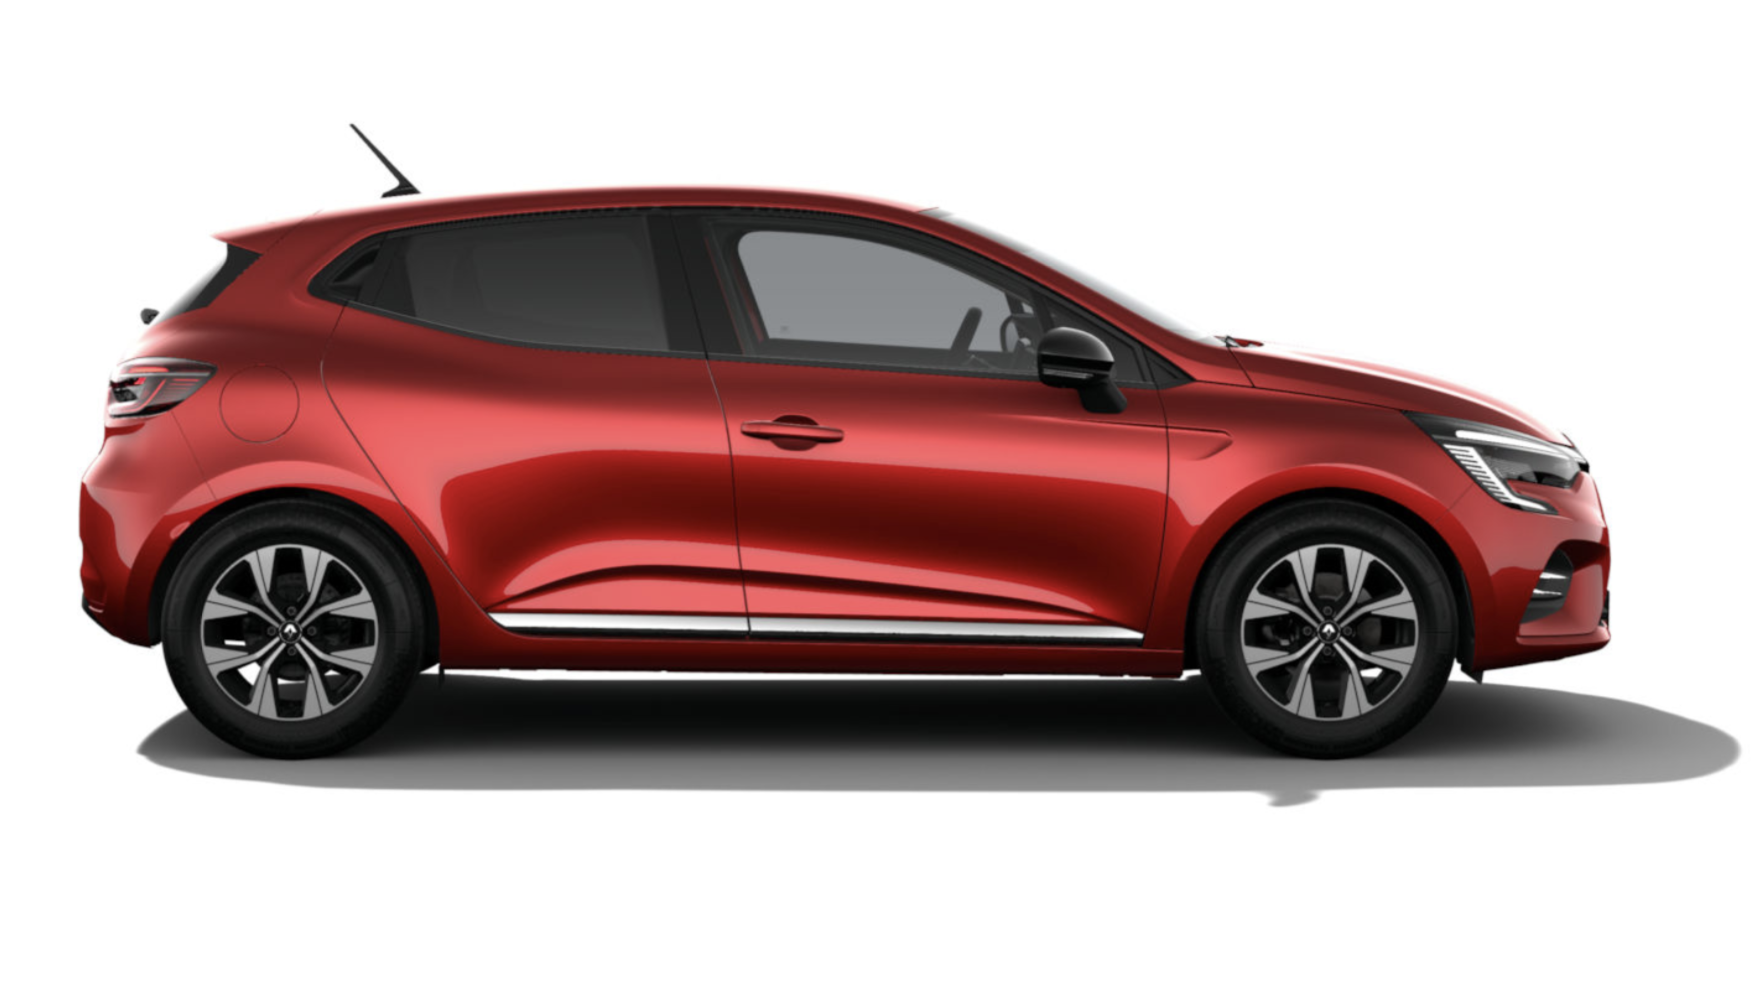
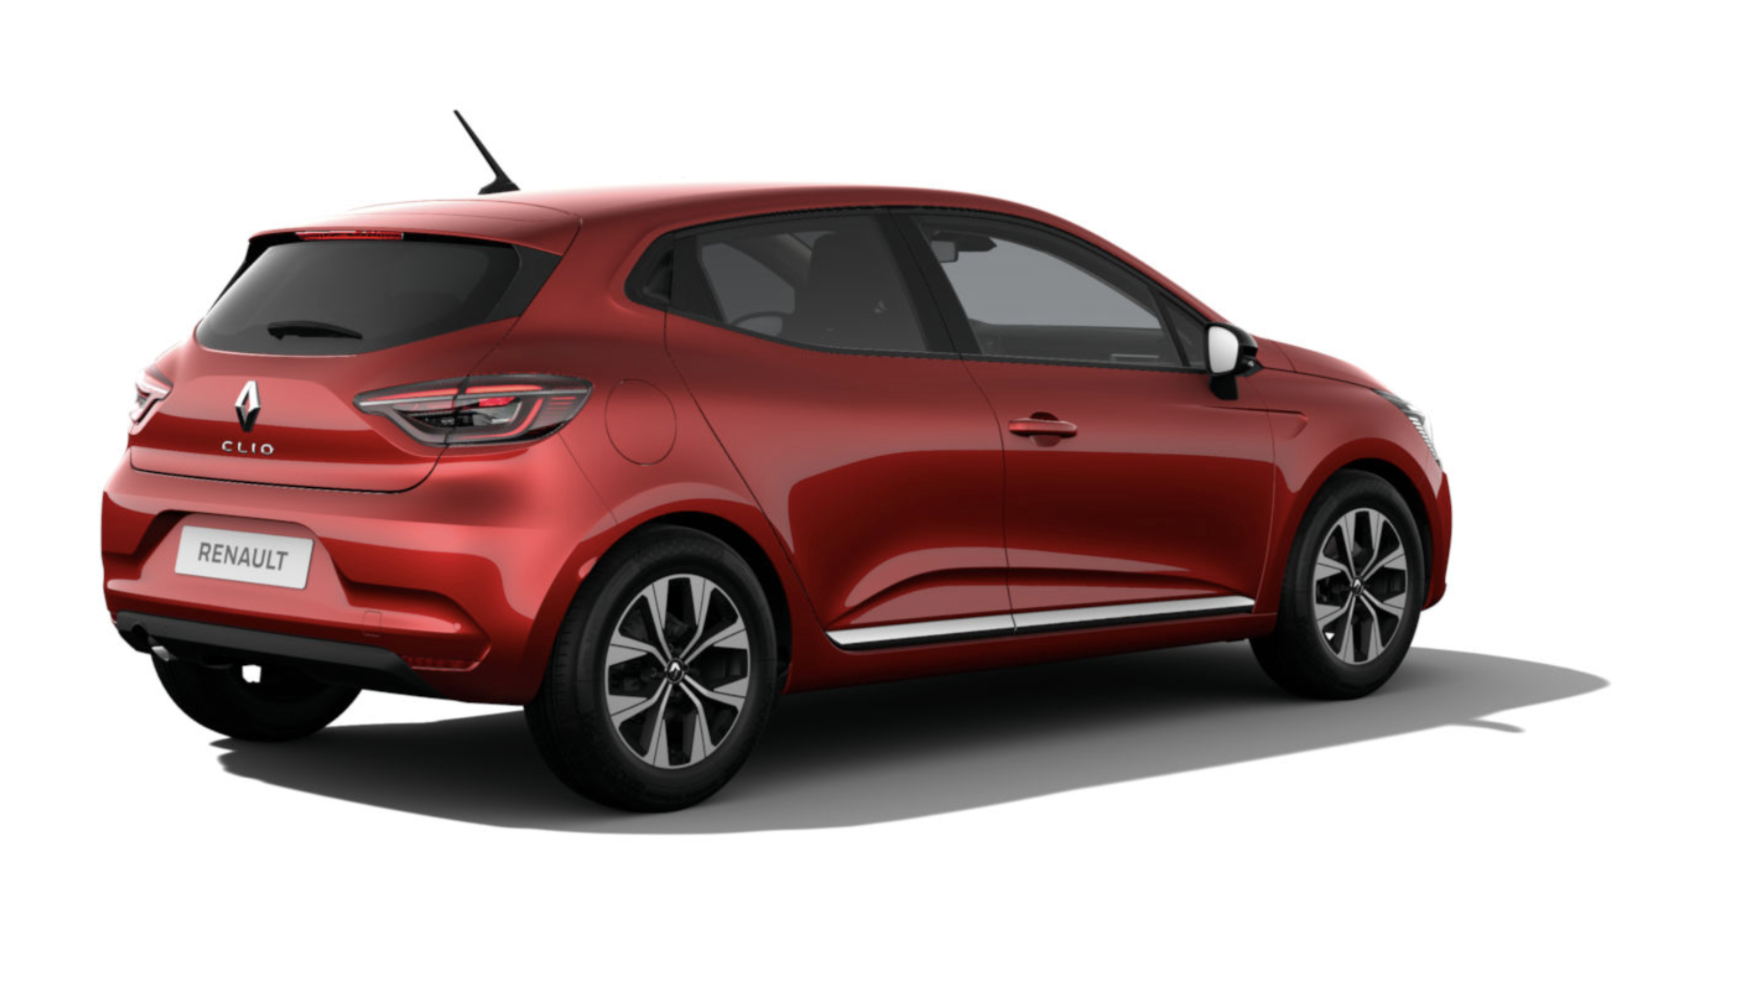
This 3D interactive rendering shows me a very different color than the one I saw and photographed on this overcast day. On the website, you can also choose from different car paint options and the icon Renault presents for the red car paint looks like this:

The icon looks nice and at least indicates that the car will look different depending on the lighting situation.
But I am still not getting any hint of what the car color is, I only know that the red color ends up in many different shades of red depending on how I process the images.
To make matters even worse, maybe you have seen on Twitter some strange tinted colored images that feature supposedly red objects although the pixels are not red. You can find example images of strawberries or a red train. These visual experiments are done by Akiyoshi Kitaoka and can be found on his Twitter feed. He also has a web application that allows you to transform your images. I had to try this of course and here is the result:
There are a lot of images of red cars in this article. The type of red car paint I see on a display depends on the camera sensor, the overall image processing, the image formation pipeline and the view transform for the display. Then comes the effect on perceived colors by the viewing environment and from my “eyes and brain”.
Before I finish up I was checking how to encode the images of this article in a video format where you can see the difference between Display P3 and sRGB. After some testing I found out the way to go was FCPX and a Rec.2020 wide gamut project.
An 8-bit H.264 is not able to handle the Display P3 image, although FCPX shows me a difference in the timeline. But on the export step, the Display P3 source is automatically converted to Rec.709.
In the next step, I will have a look at camera native files (RAW) and which information I can read out of them. Please continue to read here.