“Painting Scene-Referred”: A workaround to mix two worlds
Photoshop has no native support for ACES/OCIO (yet). A workaround is needed use Photoshop in an ACES compatible way. One possible workaround is painting “Scene-Referred” on log encoded (ACEScct) images seen through a view transform (Rec.709). For certain tasks this works fine. As I am a Flame & Nuke compositor and not a digital matte painting artist, I cannot say how much “fun” is to create an actual DMP this way. A digital matte painting artist uses a far greater set of tools in Photoshop than I do. I worked in comp with these kind of log encoded DMP’s and can say that there were always at least minor issues.
I use the ACES Flame/Nuke & Photoshop combo for cleanup and retouch tasks. My main tools for these tasks in Photoshop are the patch tool and content aware fill. Using these tools give me far better & quicker results than trying to do the same task directly in Nuke with the Paint node for example.
In this article I will touch on the following topics:
- The limitations of working with Photoshop (2020) in the 32-bit mode
- How to setup Photoshop to work with ACEScct log encoded TIFF-16 bit files while using the same view transform that is used in Resolve/Flame/Nuke/Blender etc.
- Looking at alternatives to Photoshop to do the same job in a better way.
Preparing the footage
Most of the times I work with filmed plates coming from cameras like the ARRI ALEXA, RED or SONY VENICE. These plates usually get color balanced and converted to ACES EXR files with Resolve. After the retouch and compositing work is done, the finished images are passed back over to grading.
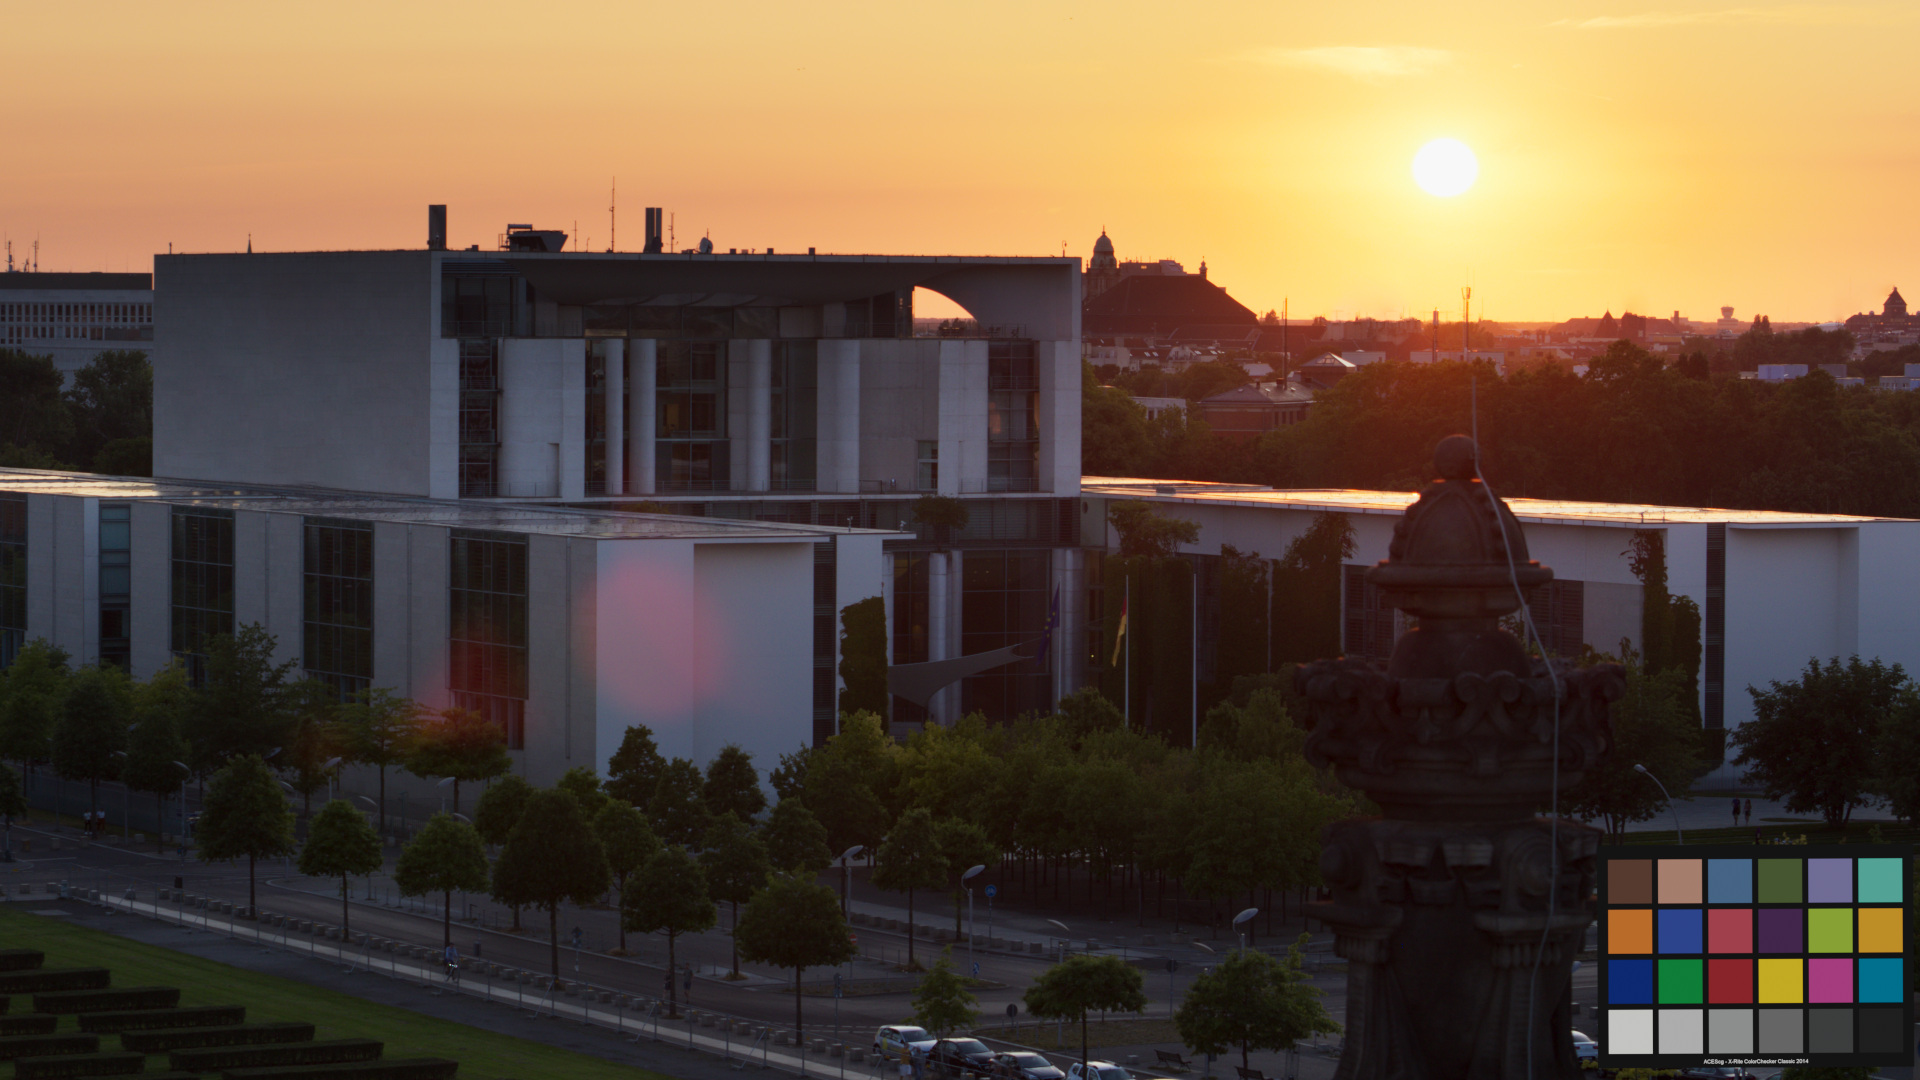
For this article I am using images from my Canon 7DMKII, but these are carefully converted to linear-sRGB with Affinity Photo or to linear-proPhoto with Photomatrix Pro from multiple Canon CR2-RAW brackets. In Nuke these images are then saved as ACEScg EXR or as JPG (Output-Rec.709) files.

Photoshop is a display referred drawing, painting and retouch application. Display referred means, Photoshop usually expects images with a range of brightness values between a minimum to a maximum (you can call it zero to one range), no matter if the values are quantized with 8 or 16 bit precision.
Photoshop does allow to work with 32-bit floating point images. But this mode has many limitations. One of the limitations is the lack of support for the ACES/OCIO view transforms. Without these I am not able to see the same result that I can see in Resolve/Flame/Nuke or Blender for example when using an ACES/OCIO config.

Trying Photoshop in 32-bit mode
I want to pass the ungraded plate from Nuke to Photoshop, do some retouch or cleanup work, and then pass it back to Nuke for further compositing work. Afterwards I will apply the grading nodes in Nuke. The grading would probably happen in a production in Resolve. Let’s try at first to work with an ACEScg EXR file in Photoshop:

There are a lot of issues. The missing Patch-Tool function in the 32-bit mode of Photoshop is (at least for me) the deal breaker.
In the last image I tried at least if I can start working with the expected colorspace in PS, but I ended up with negative color values. This happens when saving an ACEScg EXR file as a linear-sRGB EXR file which represents a smaller gamut.
Setting up Photoshop & ACES with 16-bit log encoded images.
The following workflow was put together by the very talented colorist Sönke Heuer. I use this workflow on a regular basis. I will only explain the basic setup here, there are more possibilities with LUTs and PS-Actions to make your life “painting” in log space easier. I will show them in the followup article.
Photoshop works best with 8/16-bit display referred images. The idea is to export from Nuke a ACEScct (log) encoded 16-Bit TIFF file and work with that file in Photoshop.
The log encoded image contains scene referred image data like the scene linear EXR files. This image representation is not intended for direct viewing on a display. There are several ways how to view and work with the image in Photoshop. You can use a 3D-LUT with a baked in ACES view transform on an adjustment layer. But in my opinion the most elegant way is to use the Proof-Setup.
I am using for this demonstration the ACES 1.2/OCIO Config from
https://github.com/colour-science/OpenColorIO-Configs/tree/feature/aces-1.2-config and Photoshop (2020) on Windows 10 Professional.
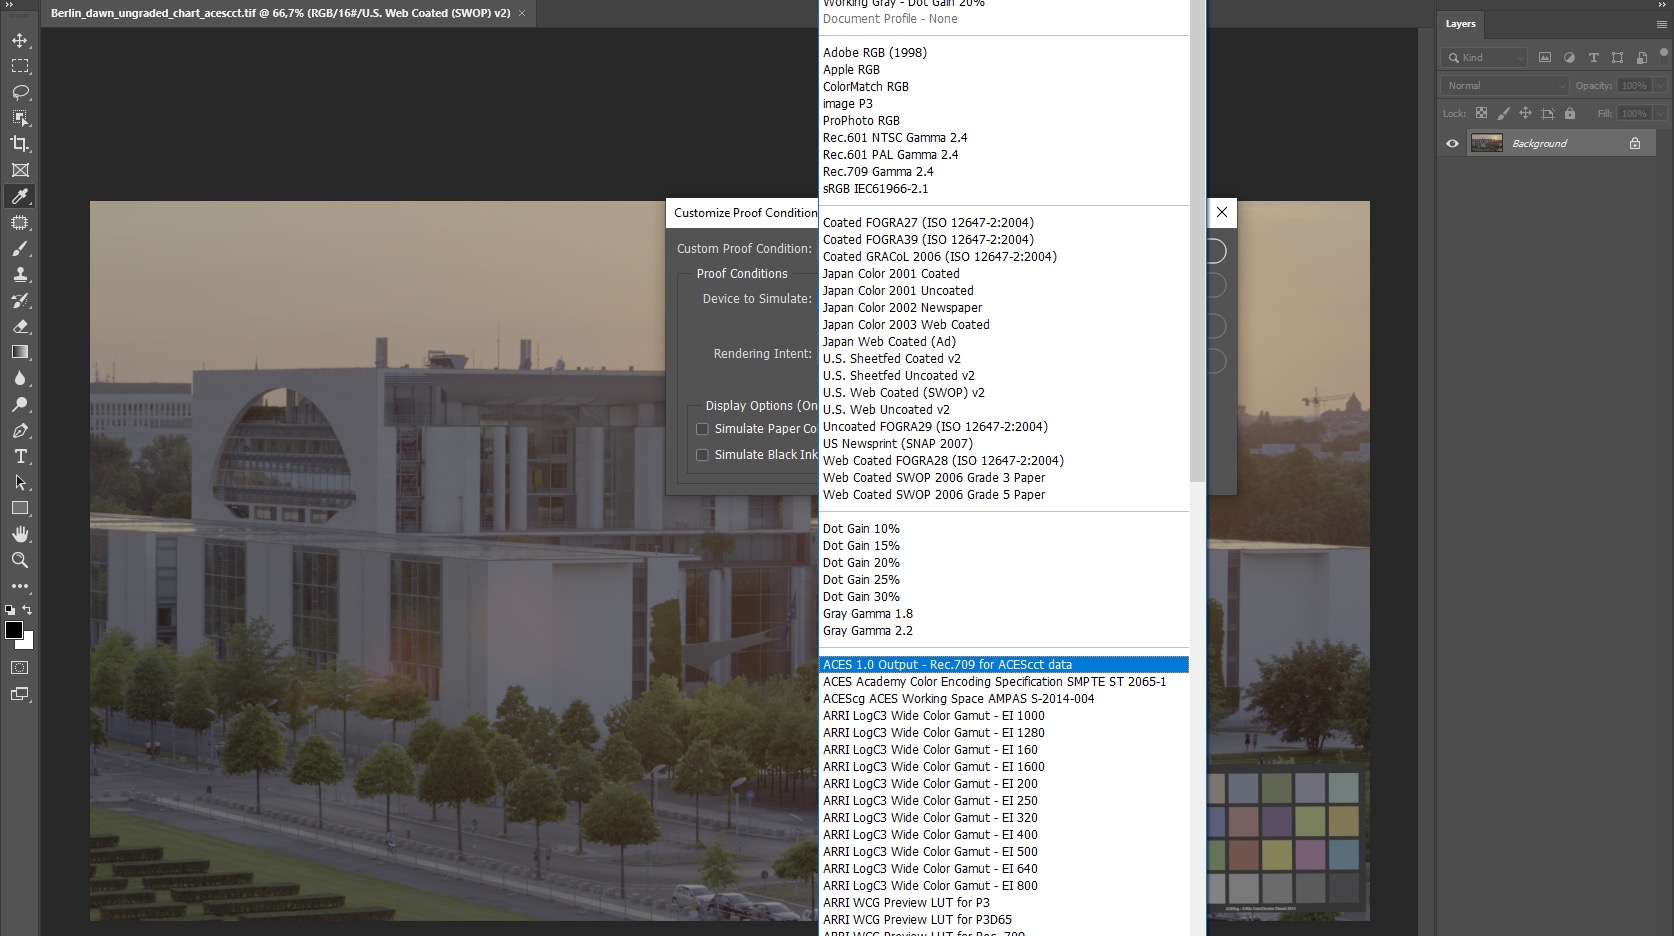
Look for the file ../aces_1.2/baked/photoshop/Rec.709 for ACEScct.icc. Right click on the file to install the ICC profile on your system. The next time you open Photoshop and open the menu View/ProofSetup/Custom, the newly installed ICC profile is visible.
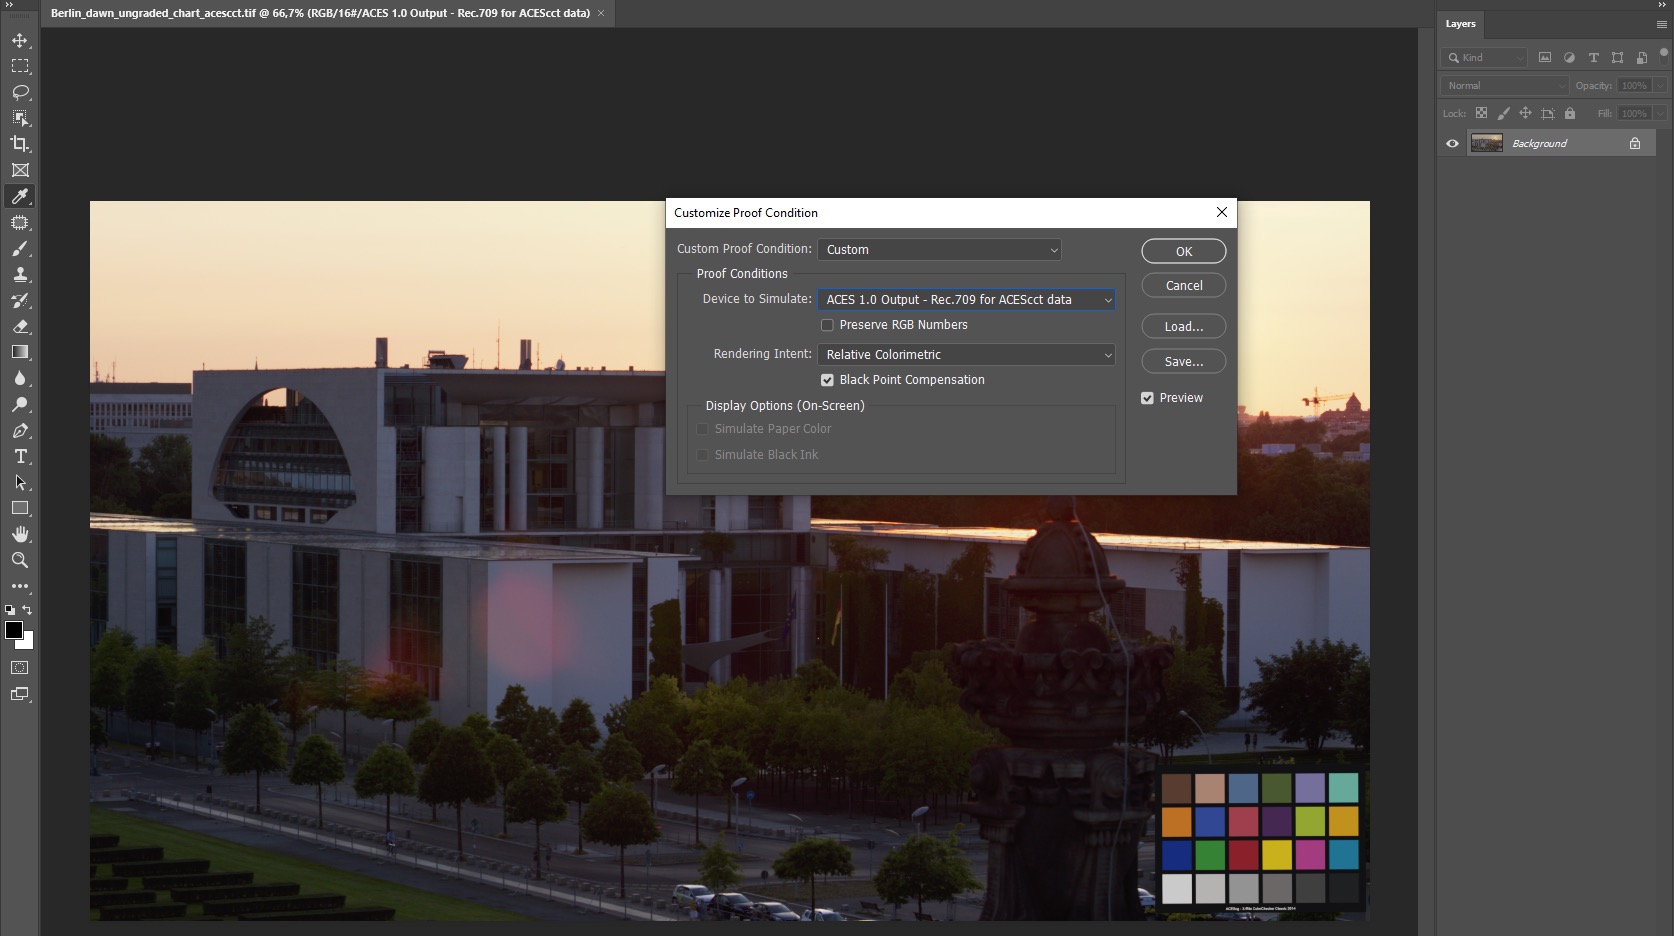
Once it is activated and the colors look right again and you can save your custom proof setup. This proof setup contains also the ICC profile. Therefore it is easier to copy the setup to a different workstation.
All functions of Photoshop (16-Bit mode) are now available. Even my beloved patch tool. The downside is that Photoshop is not intended to work with scene referred log images viewed through a Proof-LUT.
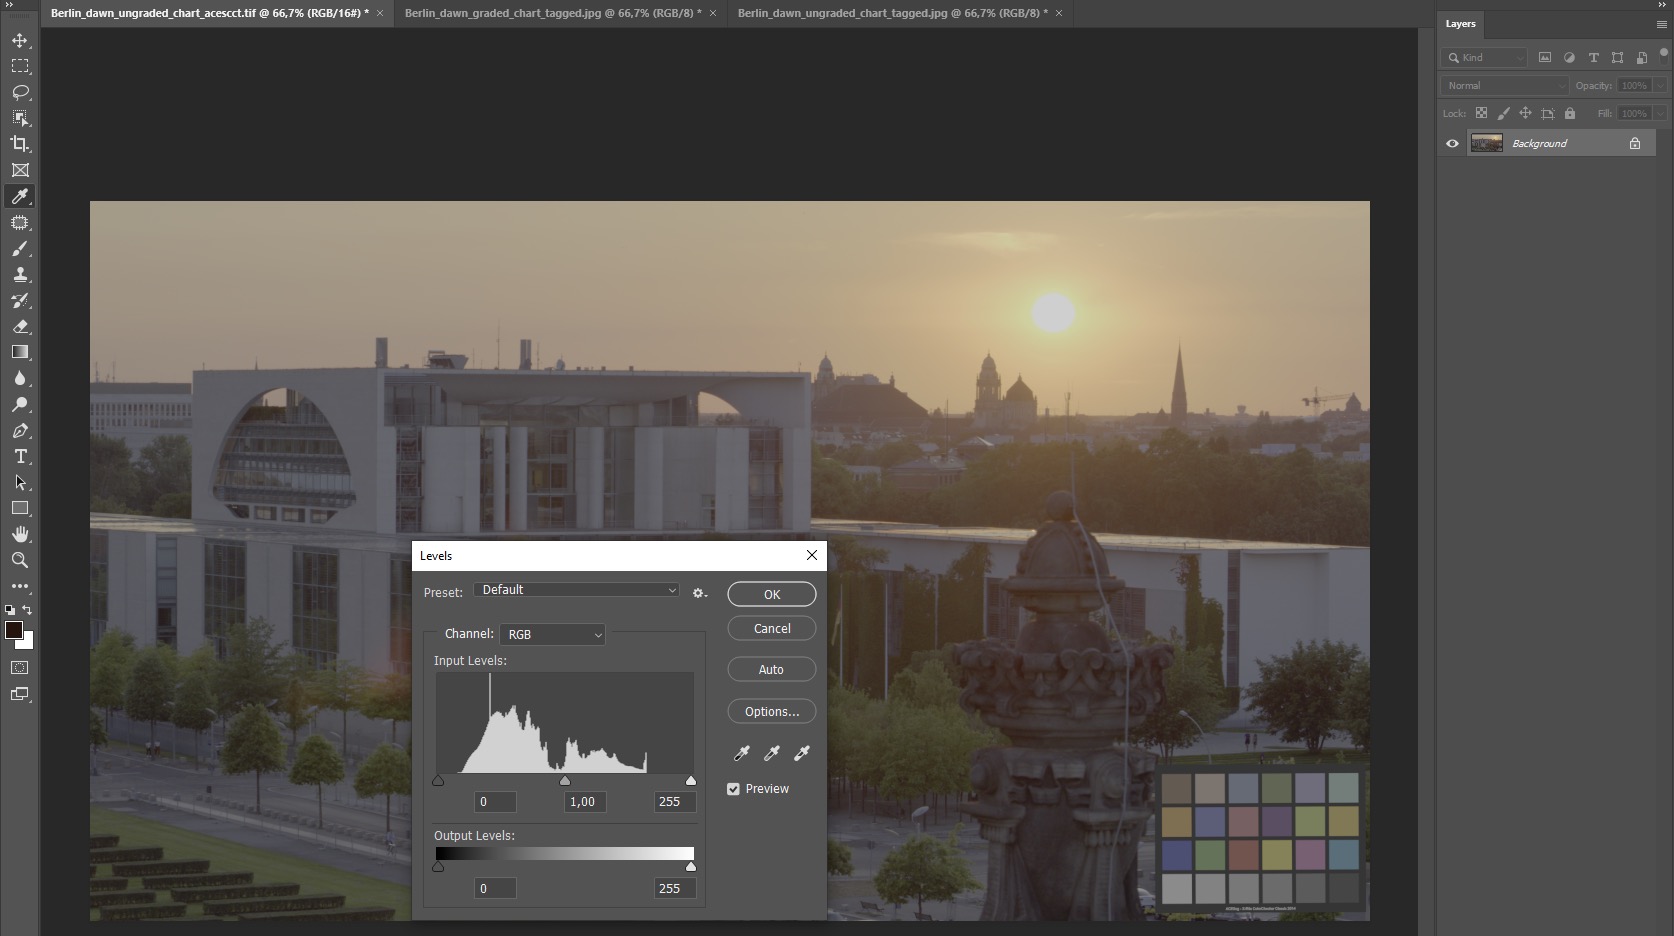
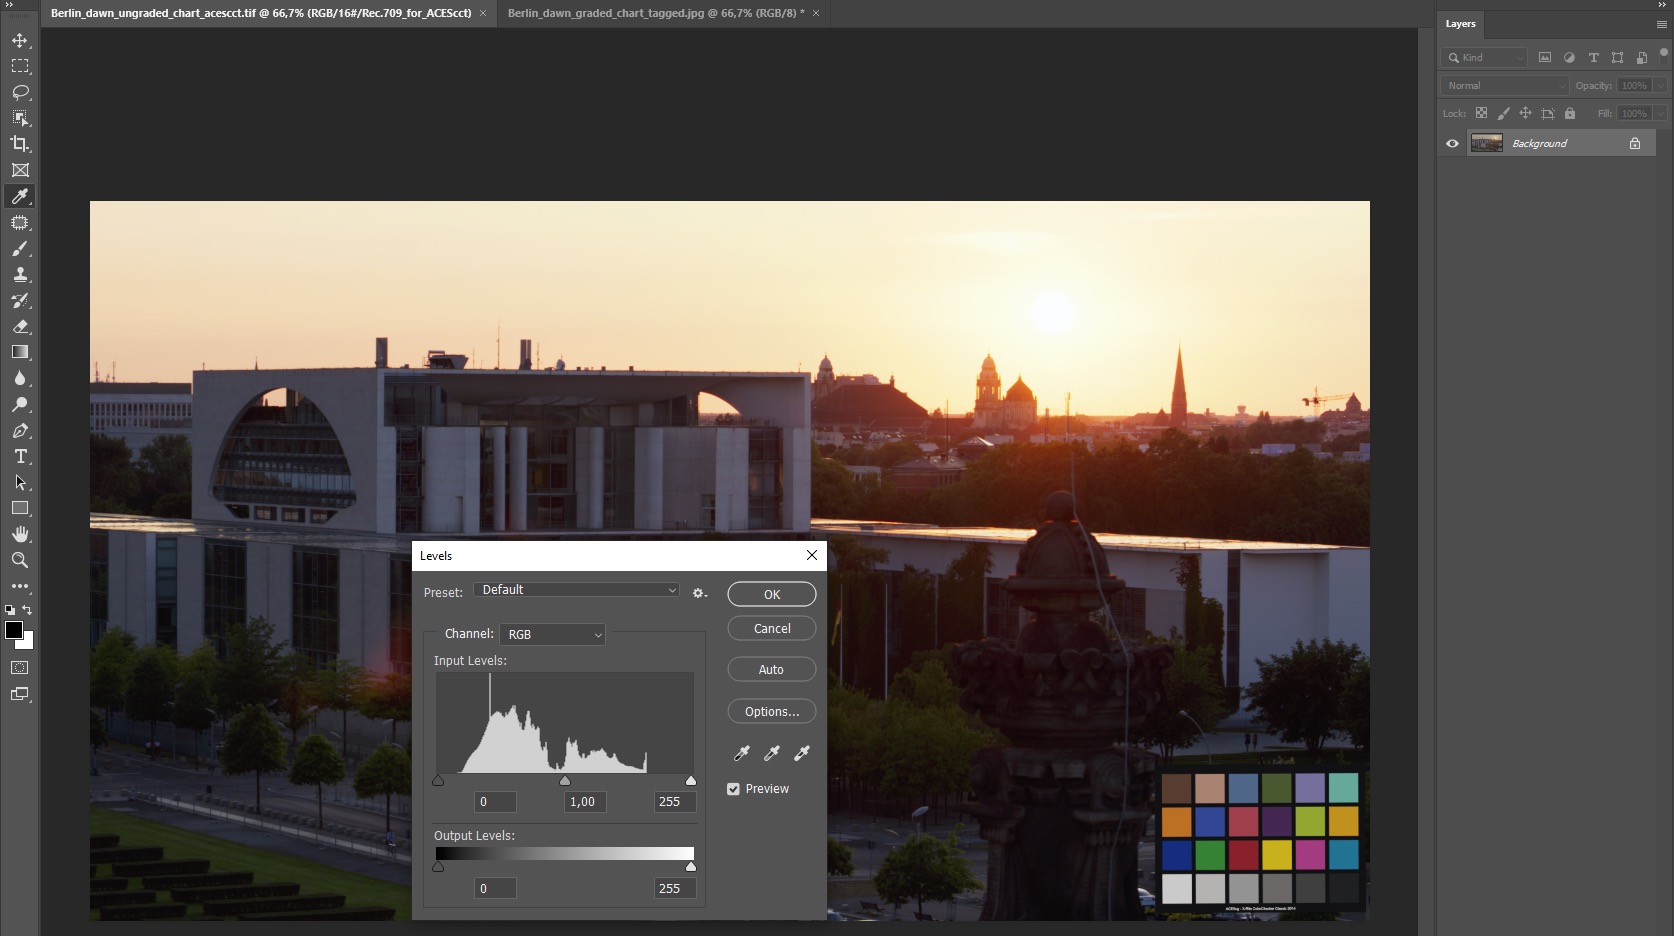
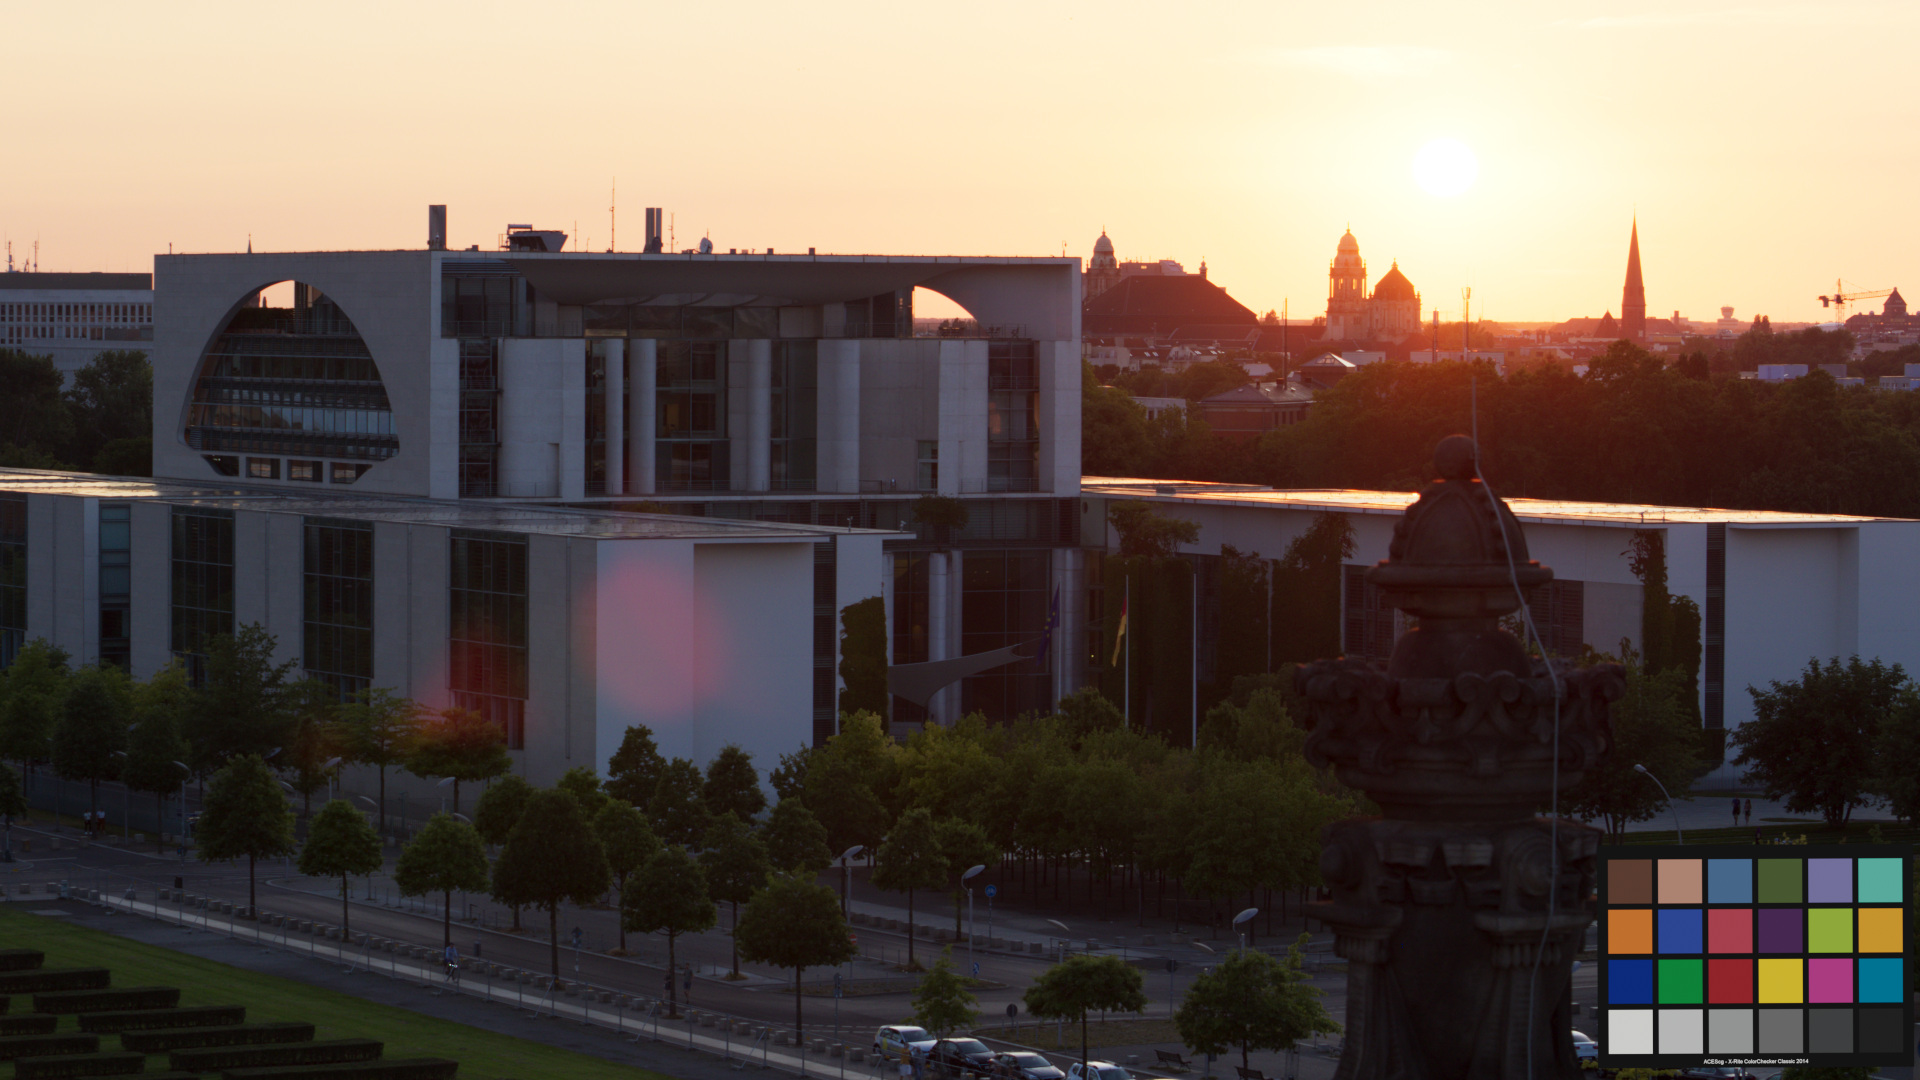
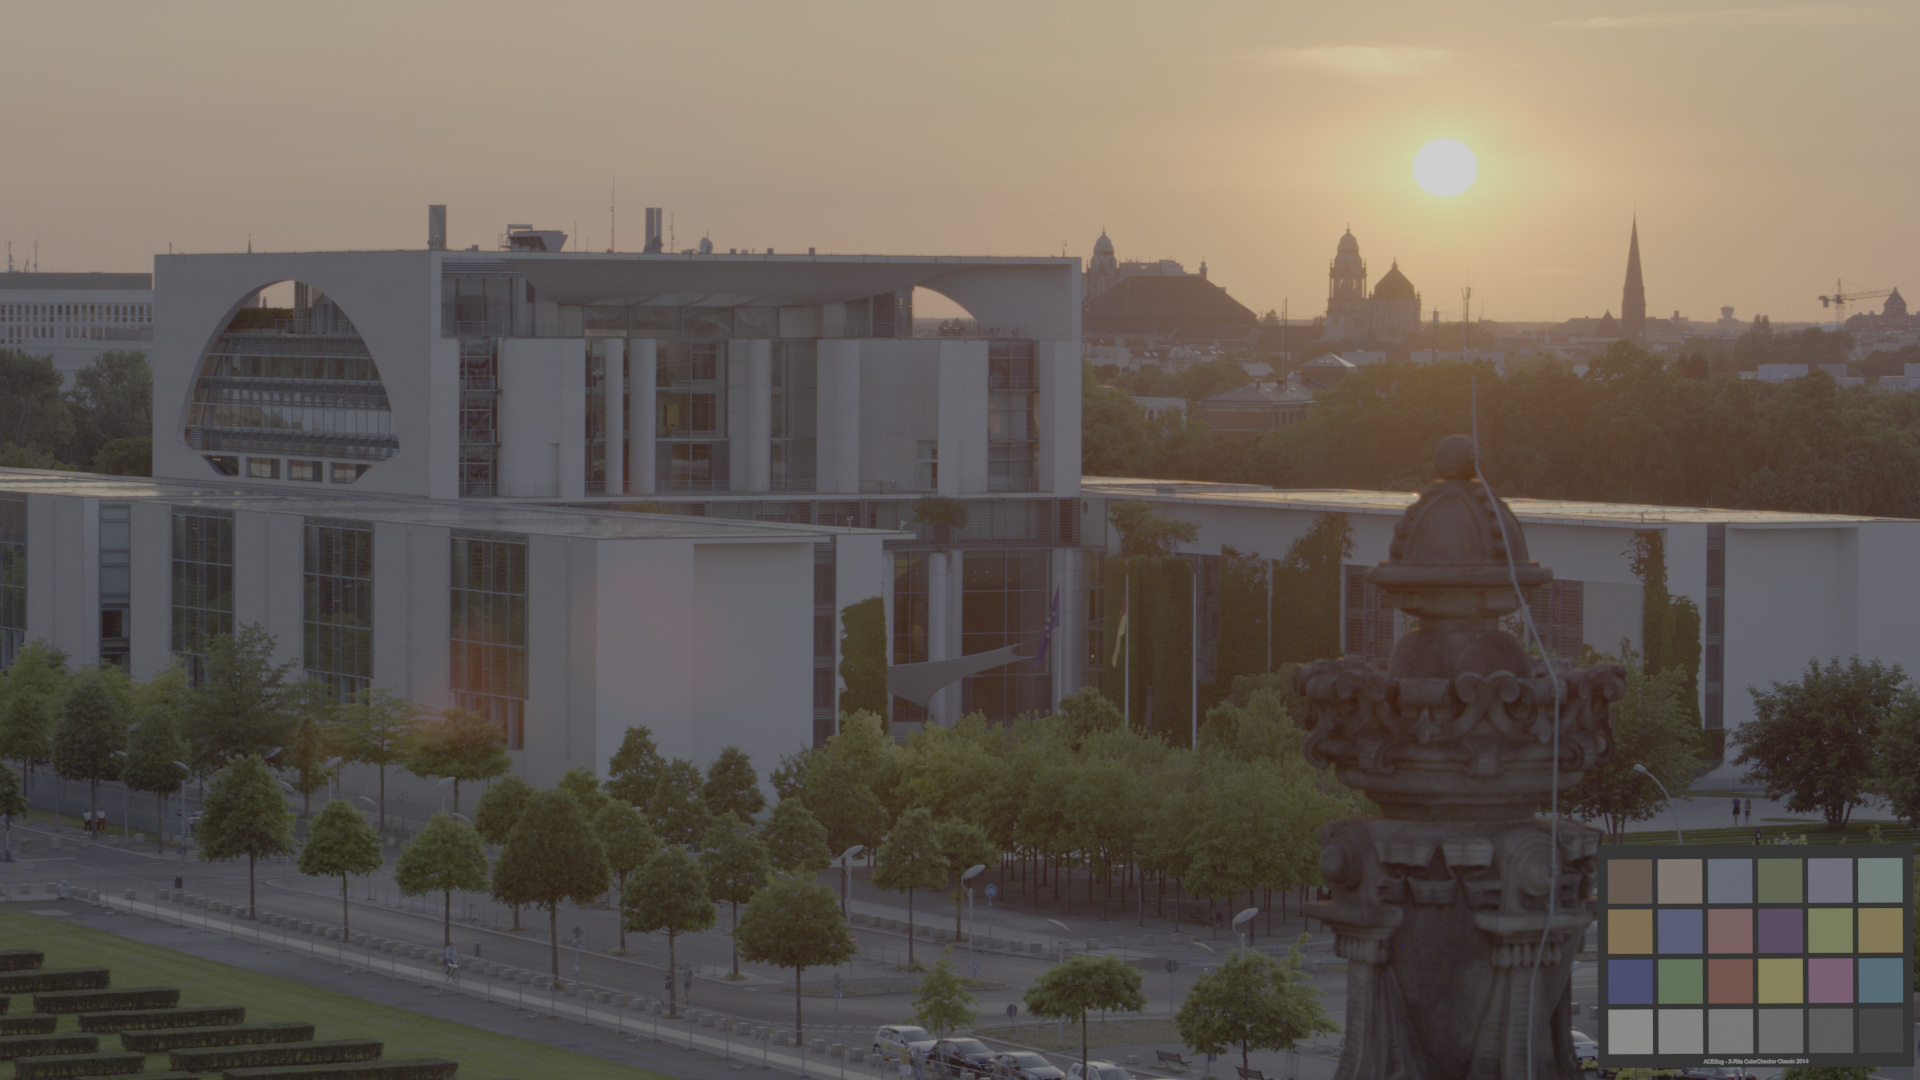
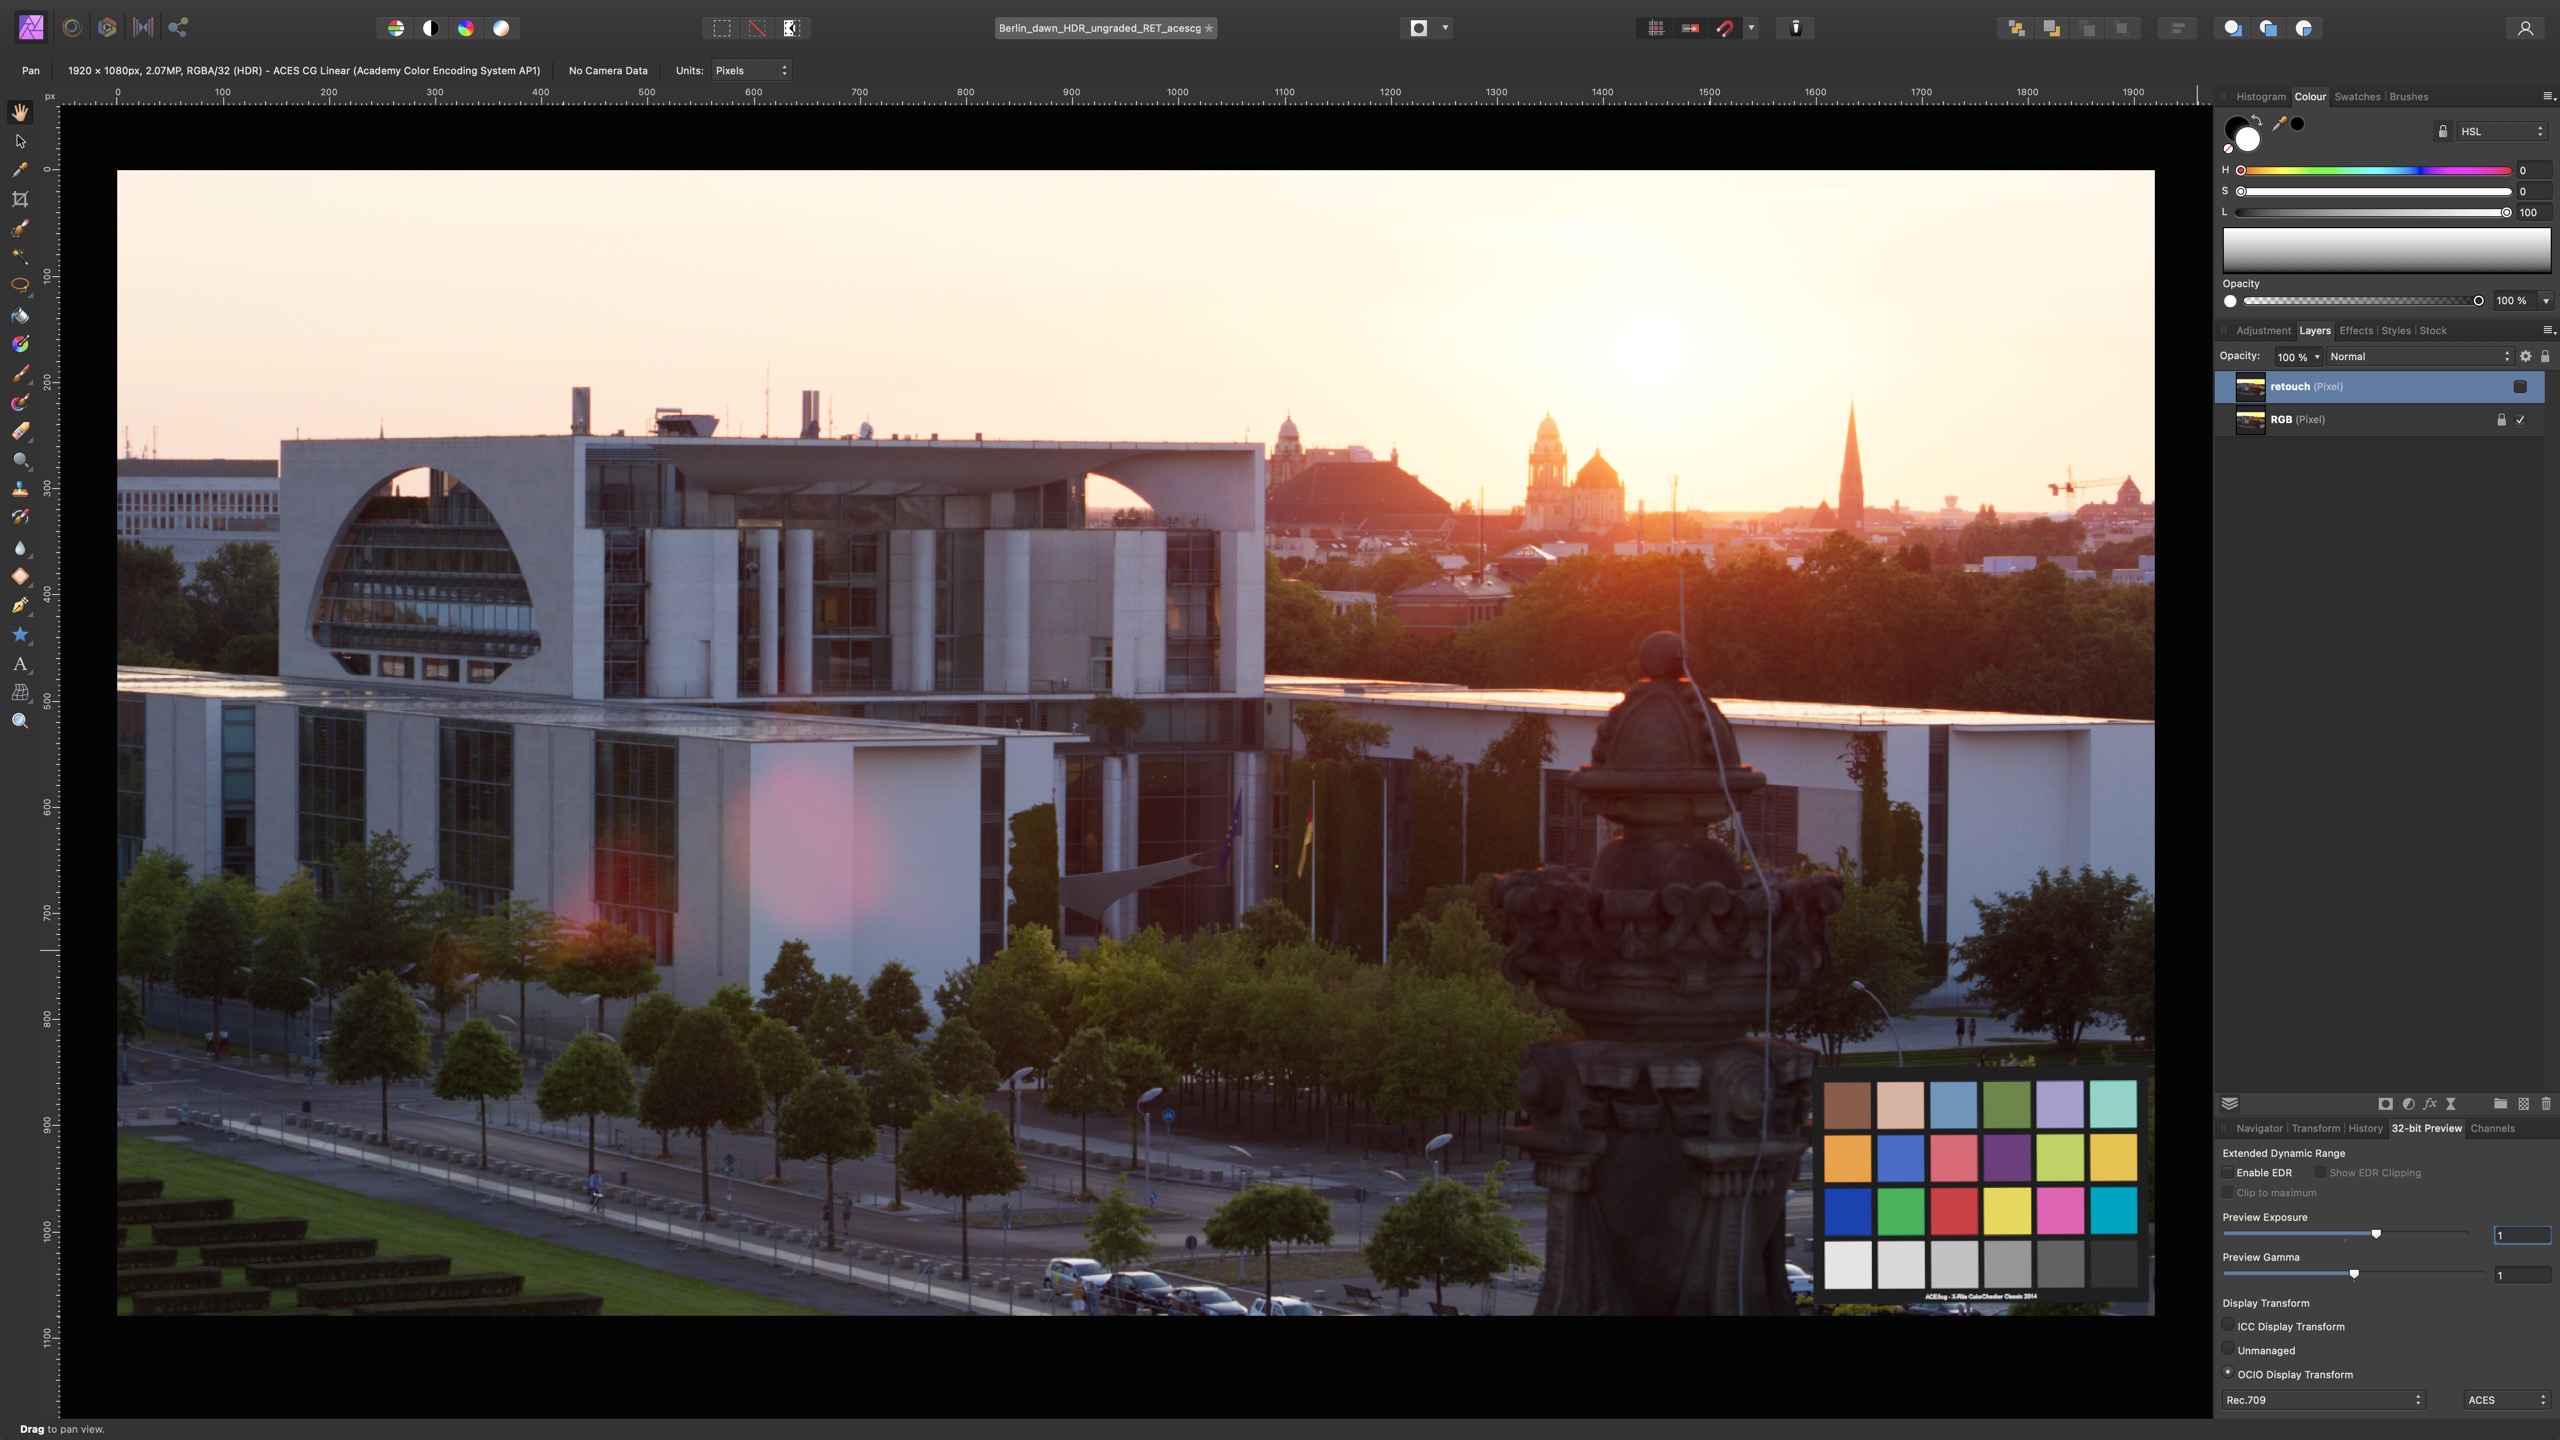
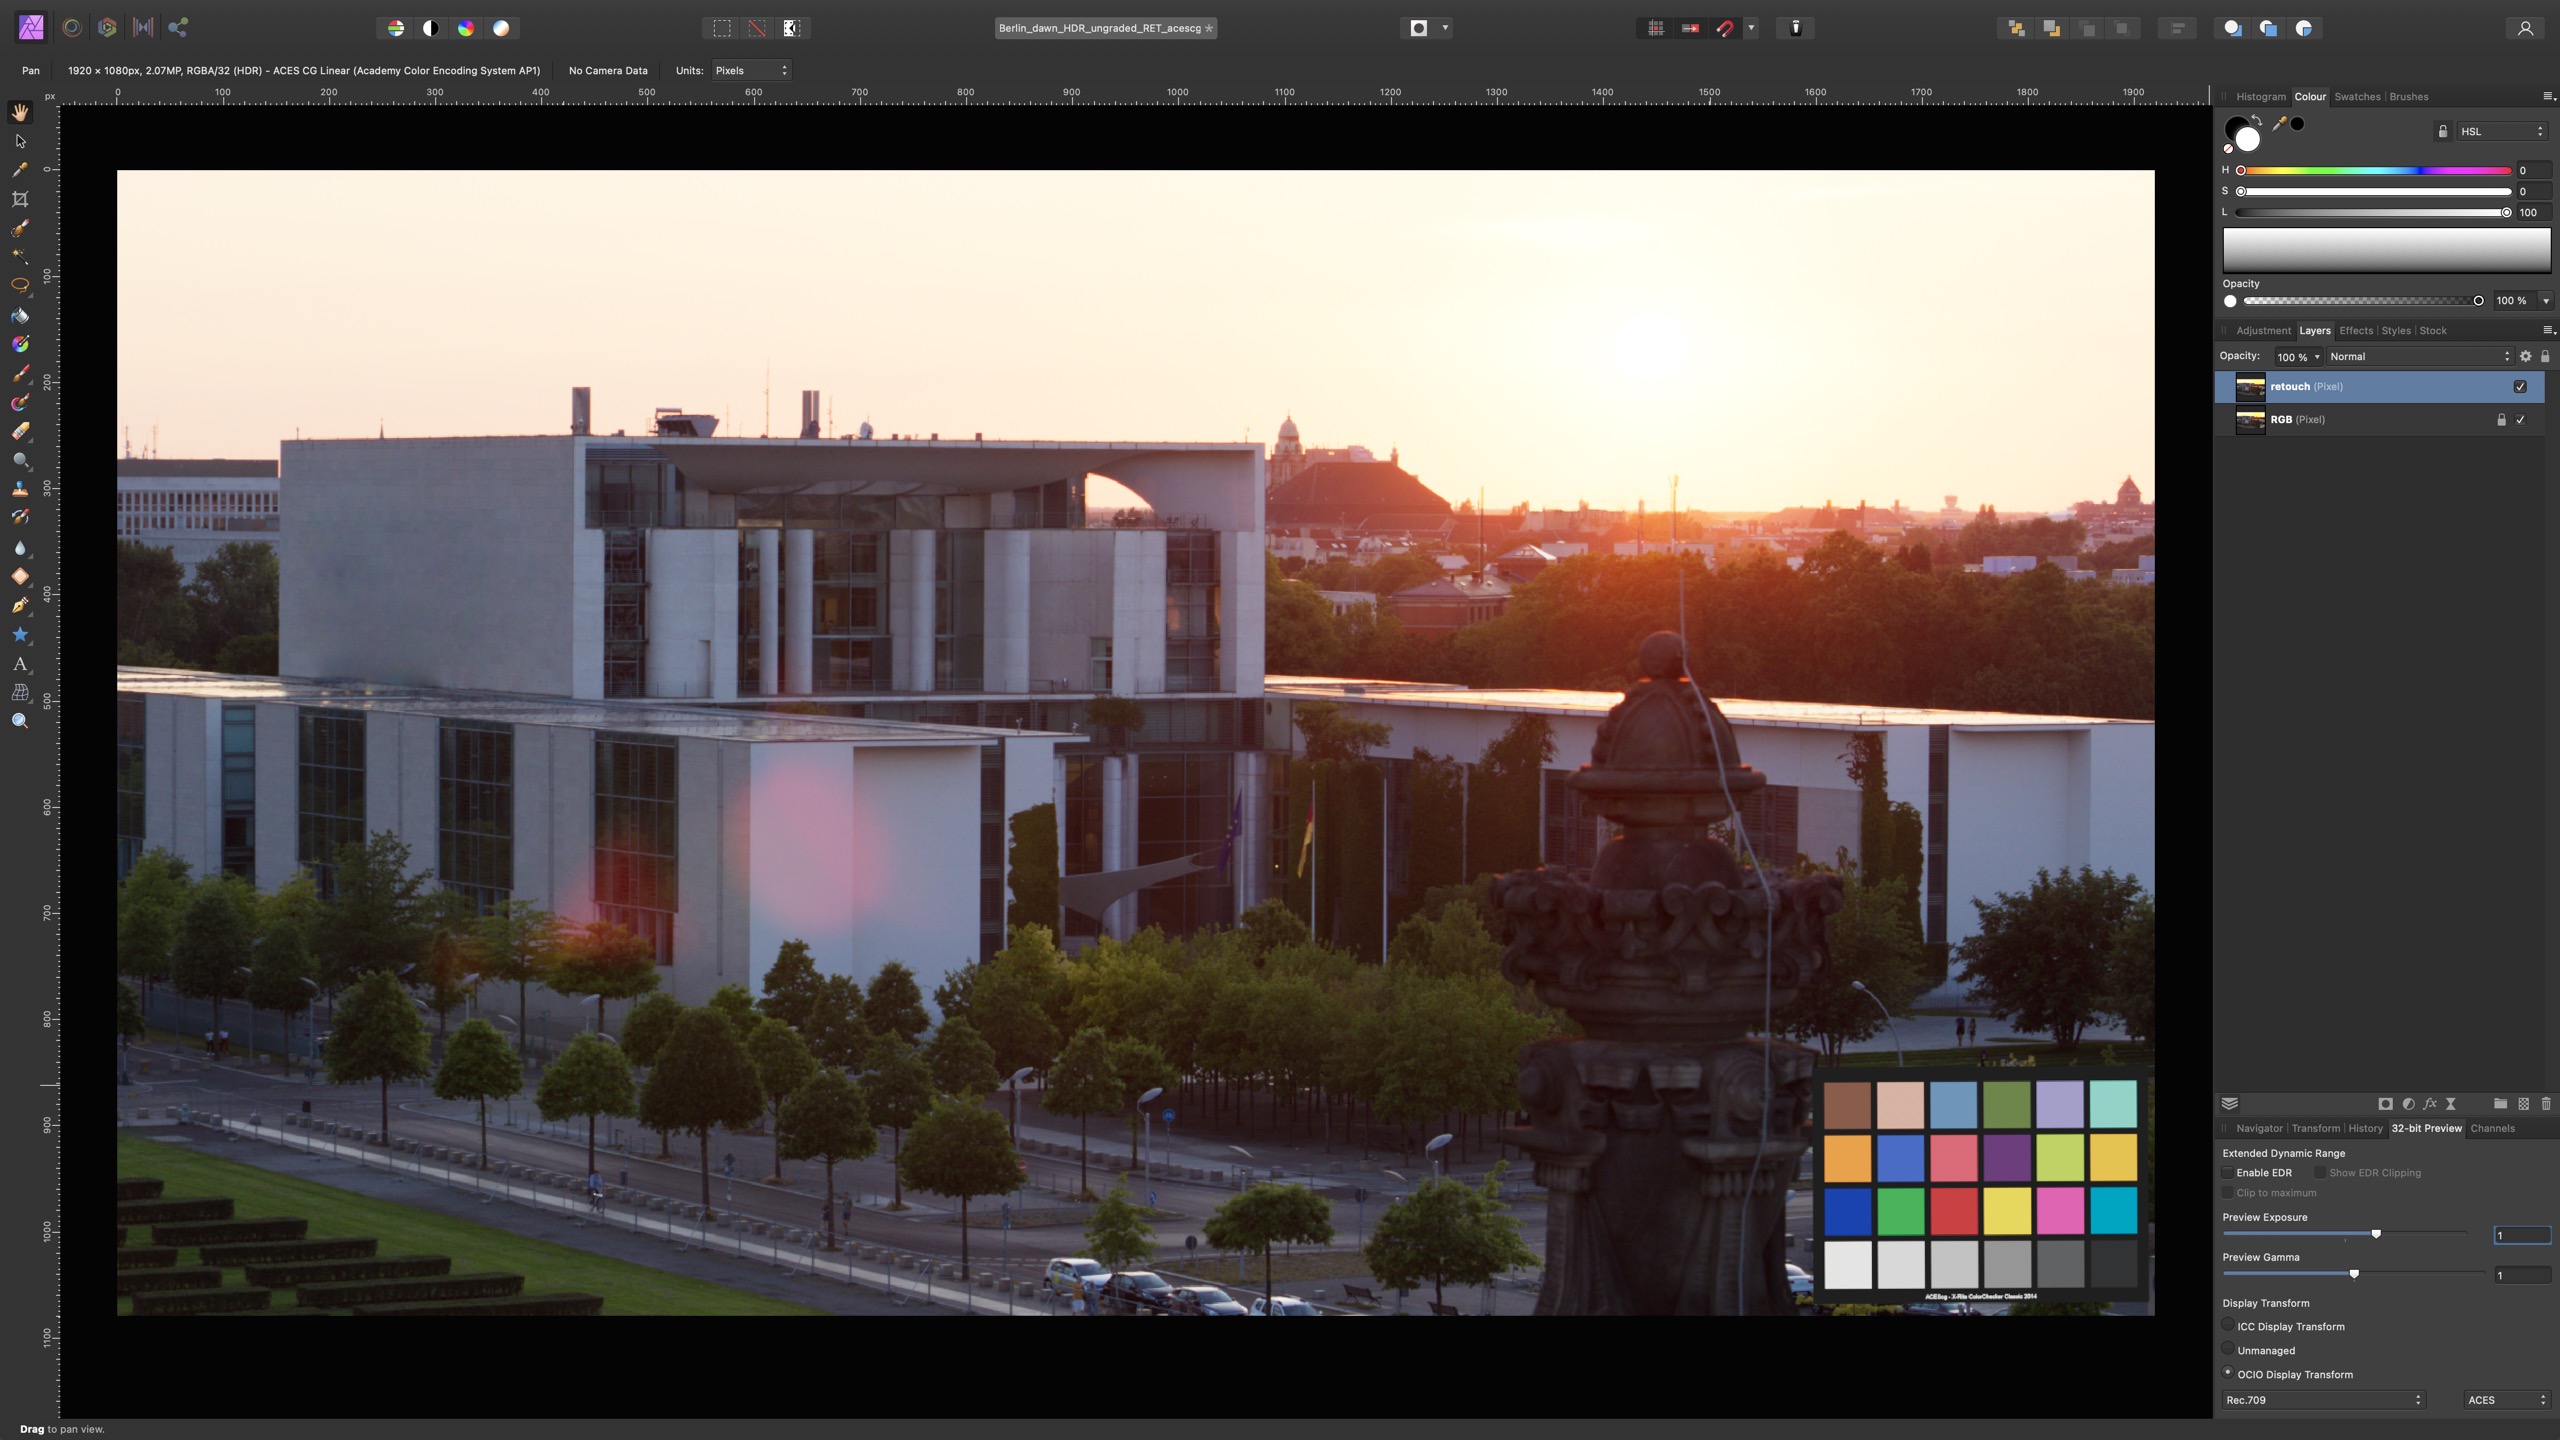
Although the two last images “look” the same, the first two images are the log encoded ACEScct TIF files (scene referred).
The top most image has the Proof-Colors disabled and the middle one has menu item View/Proof-Colors enabled.
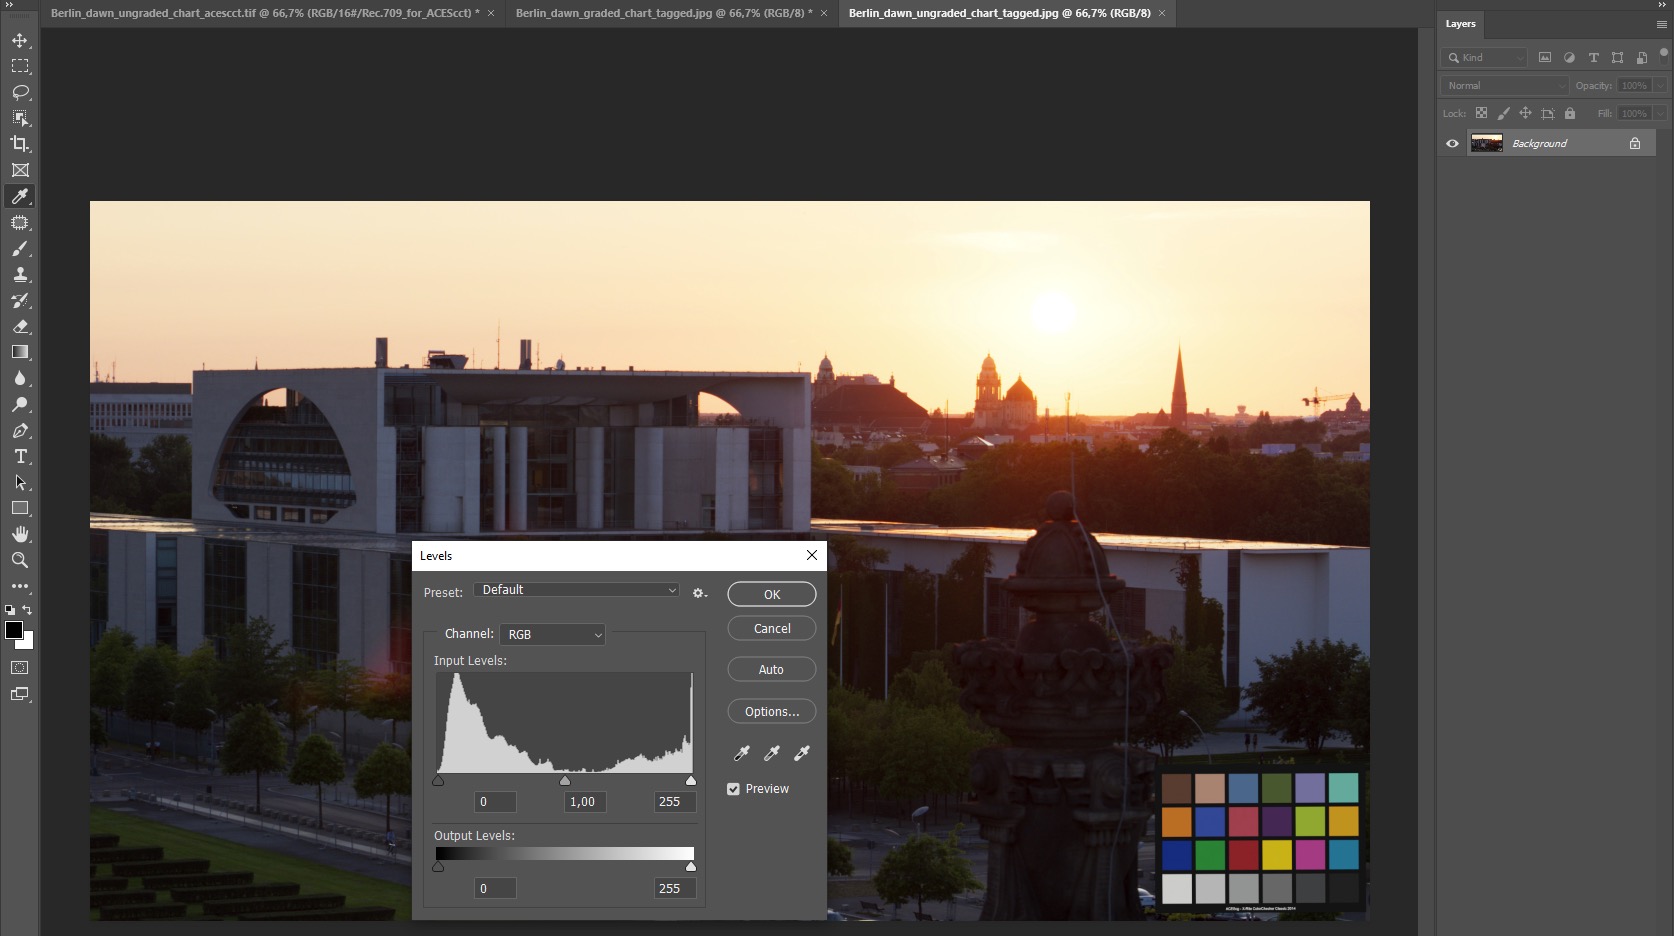
The bottom image shows the same image but with the view transform ACES/Rec.709 baked (display referred) into a JPG file.
Digital Matte Painting in the flavor “Scene Referred”.
Working scene referred with a display referred tool is not optimal and has limits. Color corrections are complicated for example, because the lower and the upper portion of the code values are hardly used and have a completely different meaning as scene linear values. ACEScct allows to encode scene linear values up to over 222. The “brightest” possible (white) pixel in the log encoding would end up with that value back in Nuke.
I made a little list of log encodings that can be encoded with different log formats and their maximum scene linear values .
Note how the data in the input levels of the images is all concentrated and compressed in the middle area of the histogram. With the help of the Proof Setup (View Transform) you see the image as you would see in Nuke or other tools, but the underlying data is not how the tools in Photoshop expects them to be. You need to paint and work in this tight middle area of the histogram. This can be tricky.
So be aware when copy & paste elements in such a log encoded image, especially when you are using transfer modes that add pixel values like linear dodge for example. Also blurring or sharpening elements can lead to artifacts.
Back in Nuke.
After you are done with the work in Photoshop, simply save the TIFF file under a new name and load the retouched plate back into Nuke with the colorspace ACES/ACEScct.
With the help of the curve tool you can check if the retouched image has now far higher scene-linear pixel values as before. This could be due to plussing some elements together.
The finished little demo retouch shows clearly the advantages why it makes sense to retouch before the grading. In the grading process I introduced some gradients on the building facade and in the sky. It would be a lot more problematic to retouch on top of the grading.
Using alternatives to Photoshop: Affinity Photo and Krita
Other apps also offer advanced painting tools like content aware fill. But in the case of Affinity Photo, these are not as powerful and “smart” as the one in Photoshop. But Affinity has native support for OCIO. So it is as easy as to read the ACEScg EXR file, set the Rec.709 view transform and maybe change the viewer exposure to better see in the shadow or highlight areas.
I did the retouch work the same quick (and dirty) as in Photoshop, but the algorithms are simply not that good. Sure, with more effort I can fix that too. For me Affinity Photo is a good alternative to Photoshop.
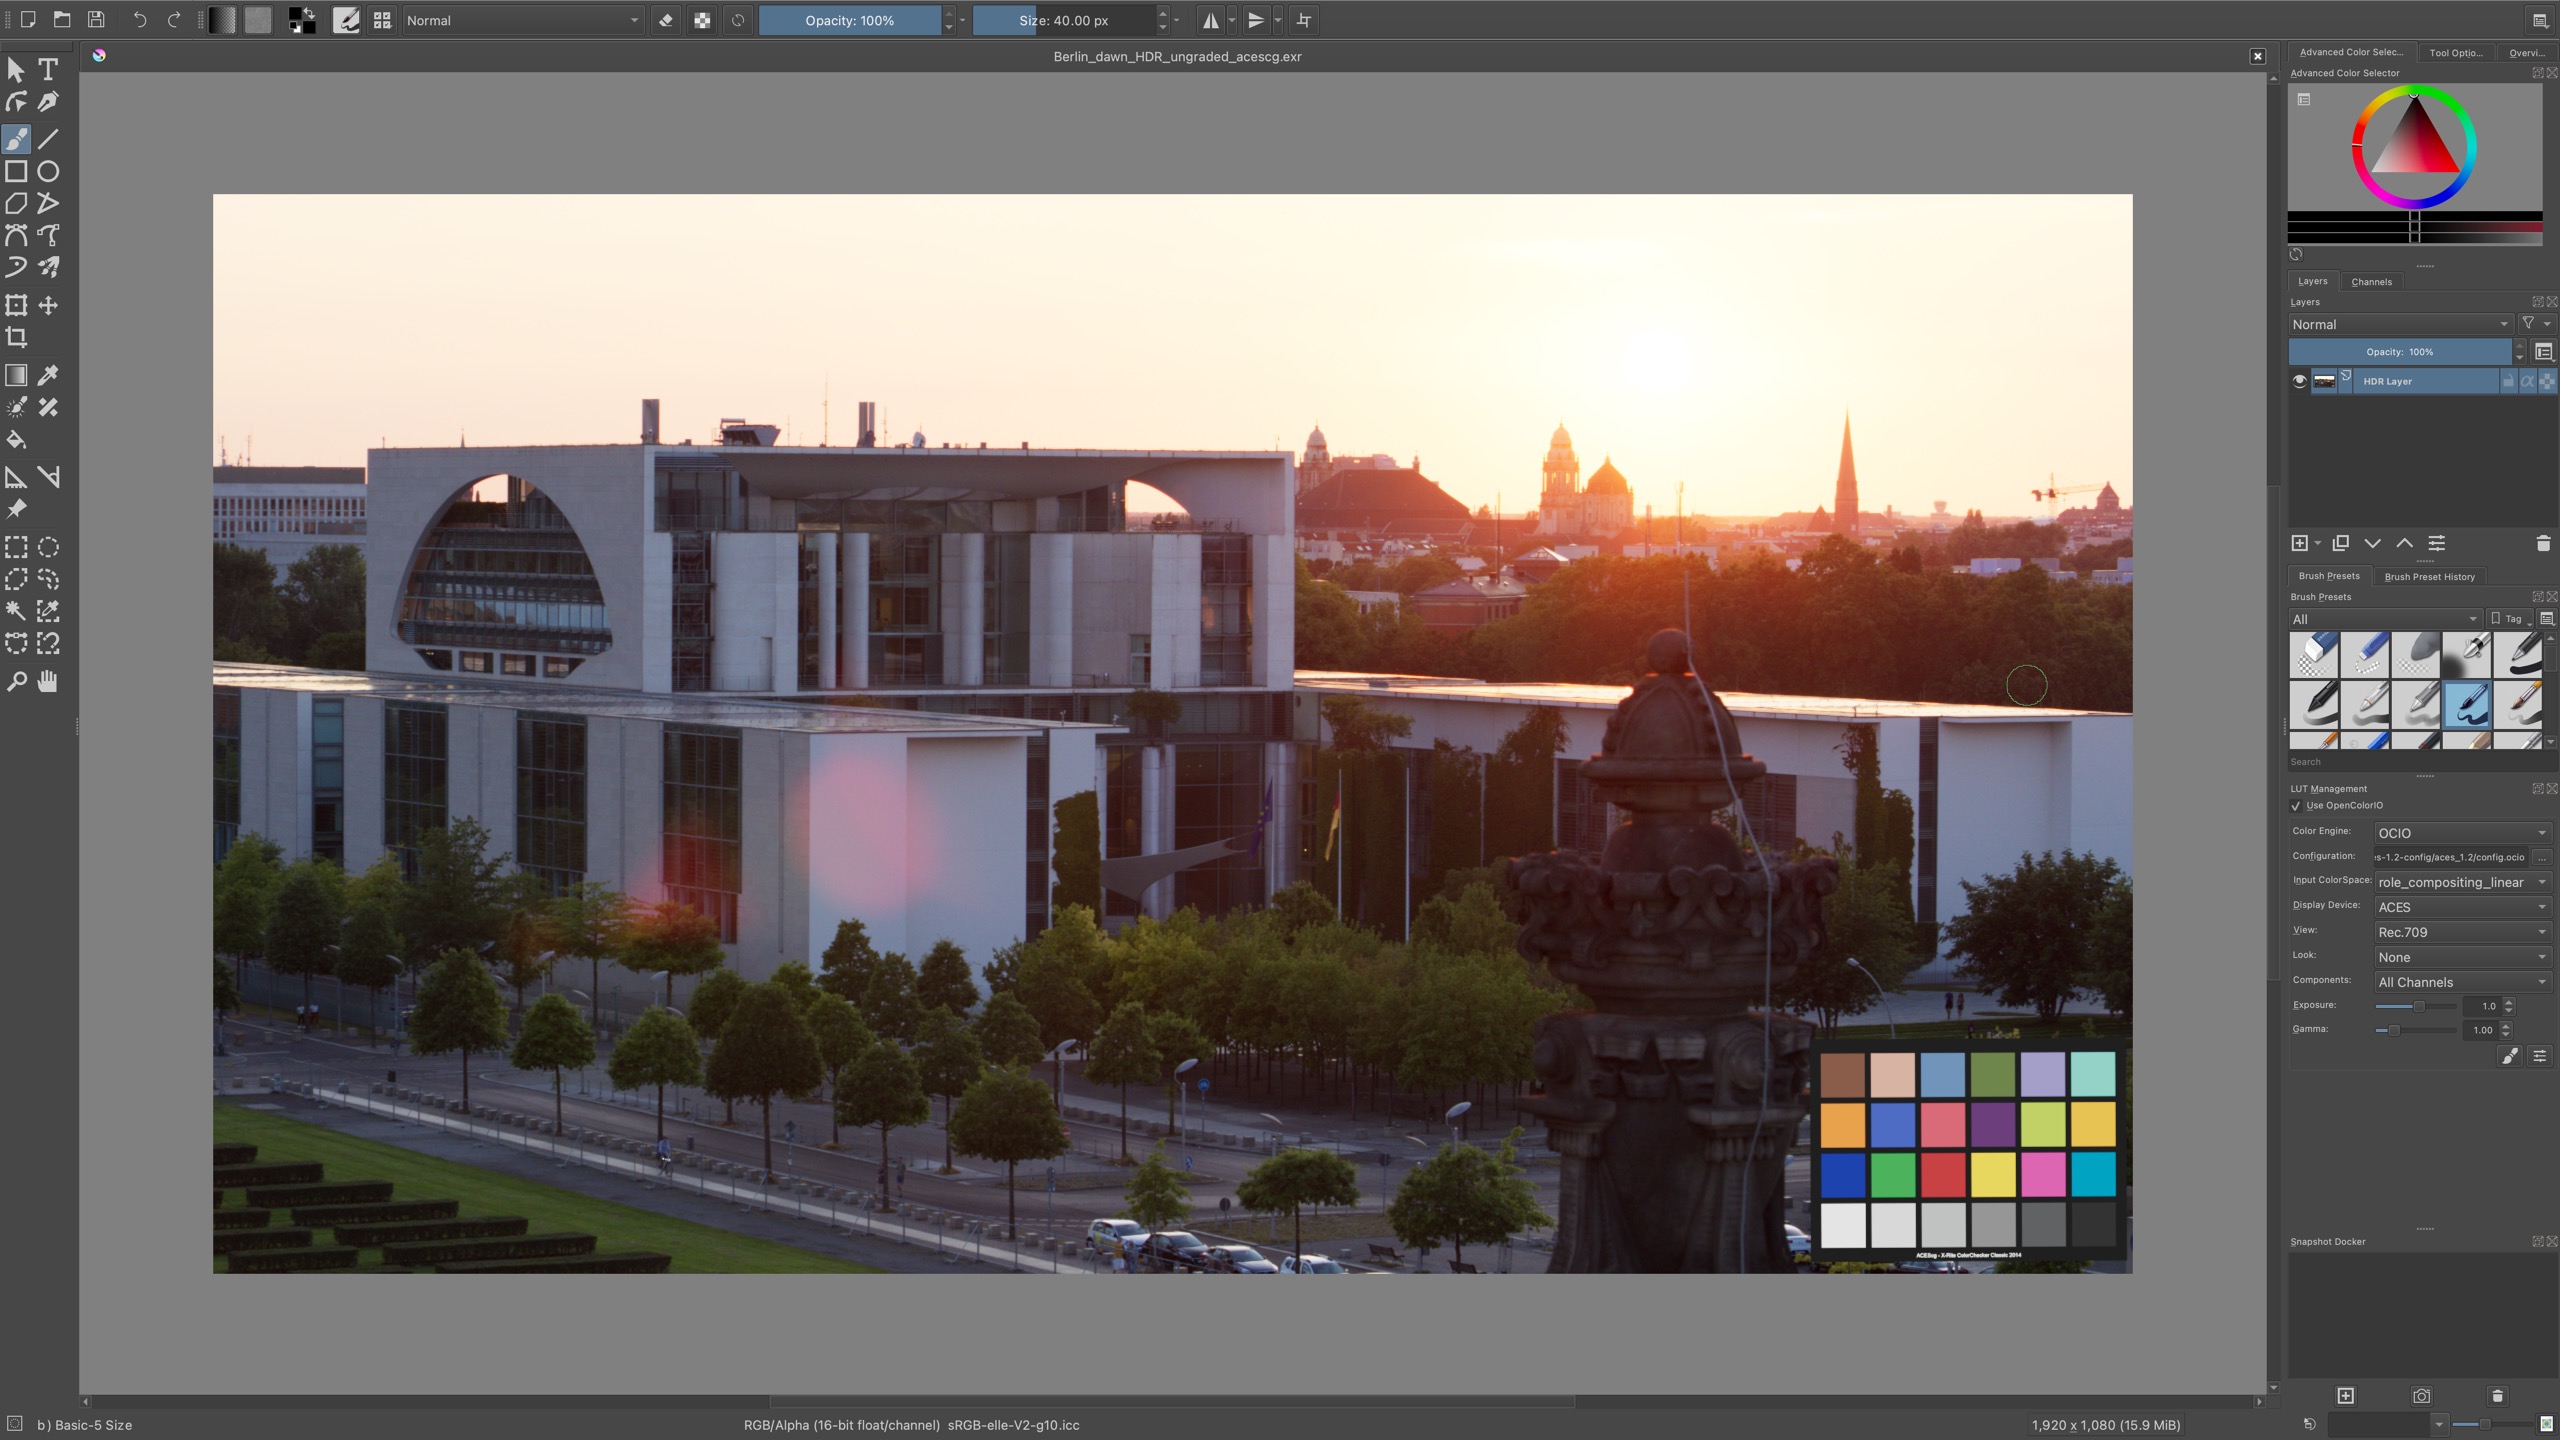
About Krita I can hardly say anything. I didn’t work with it yet, but I am aware that it supports OCIO too. So in theory I should be able to work with ACEScg EXR files directly in Krita while seeing the image though the right ACES view transform (Rec.709). I saw that it also has a patch tool but at quick tryout was leading to strange image artifacts.
Please continue with part 2 of my Photoshop & ACES series.