with High Dynamic Range imagery.
This is an article about the implications when working scene referred vs. display referred. The example footage is actually some years old, but nevertheless it can be uses to demonstrate HDR video on Vimeo that was not even available some years back. Important is how you treat your footage to make the most of it and keep it future proof.
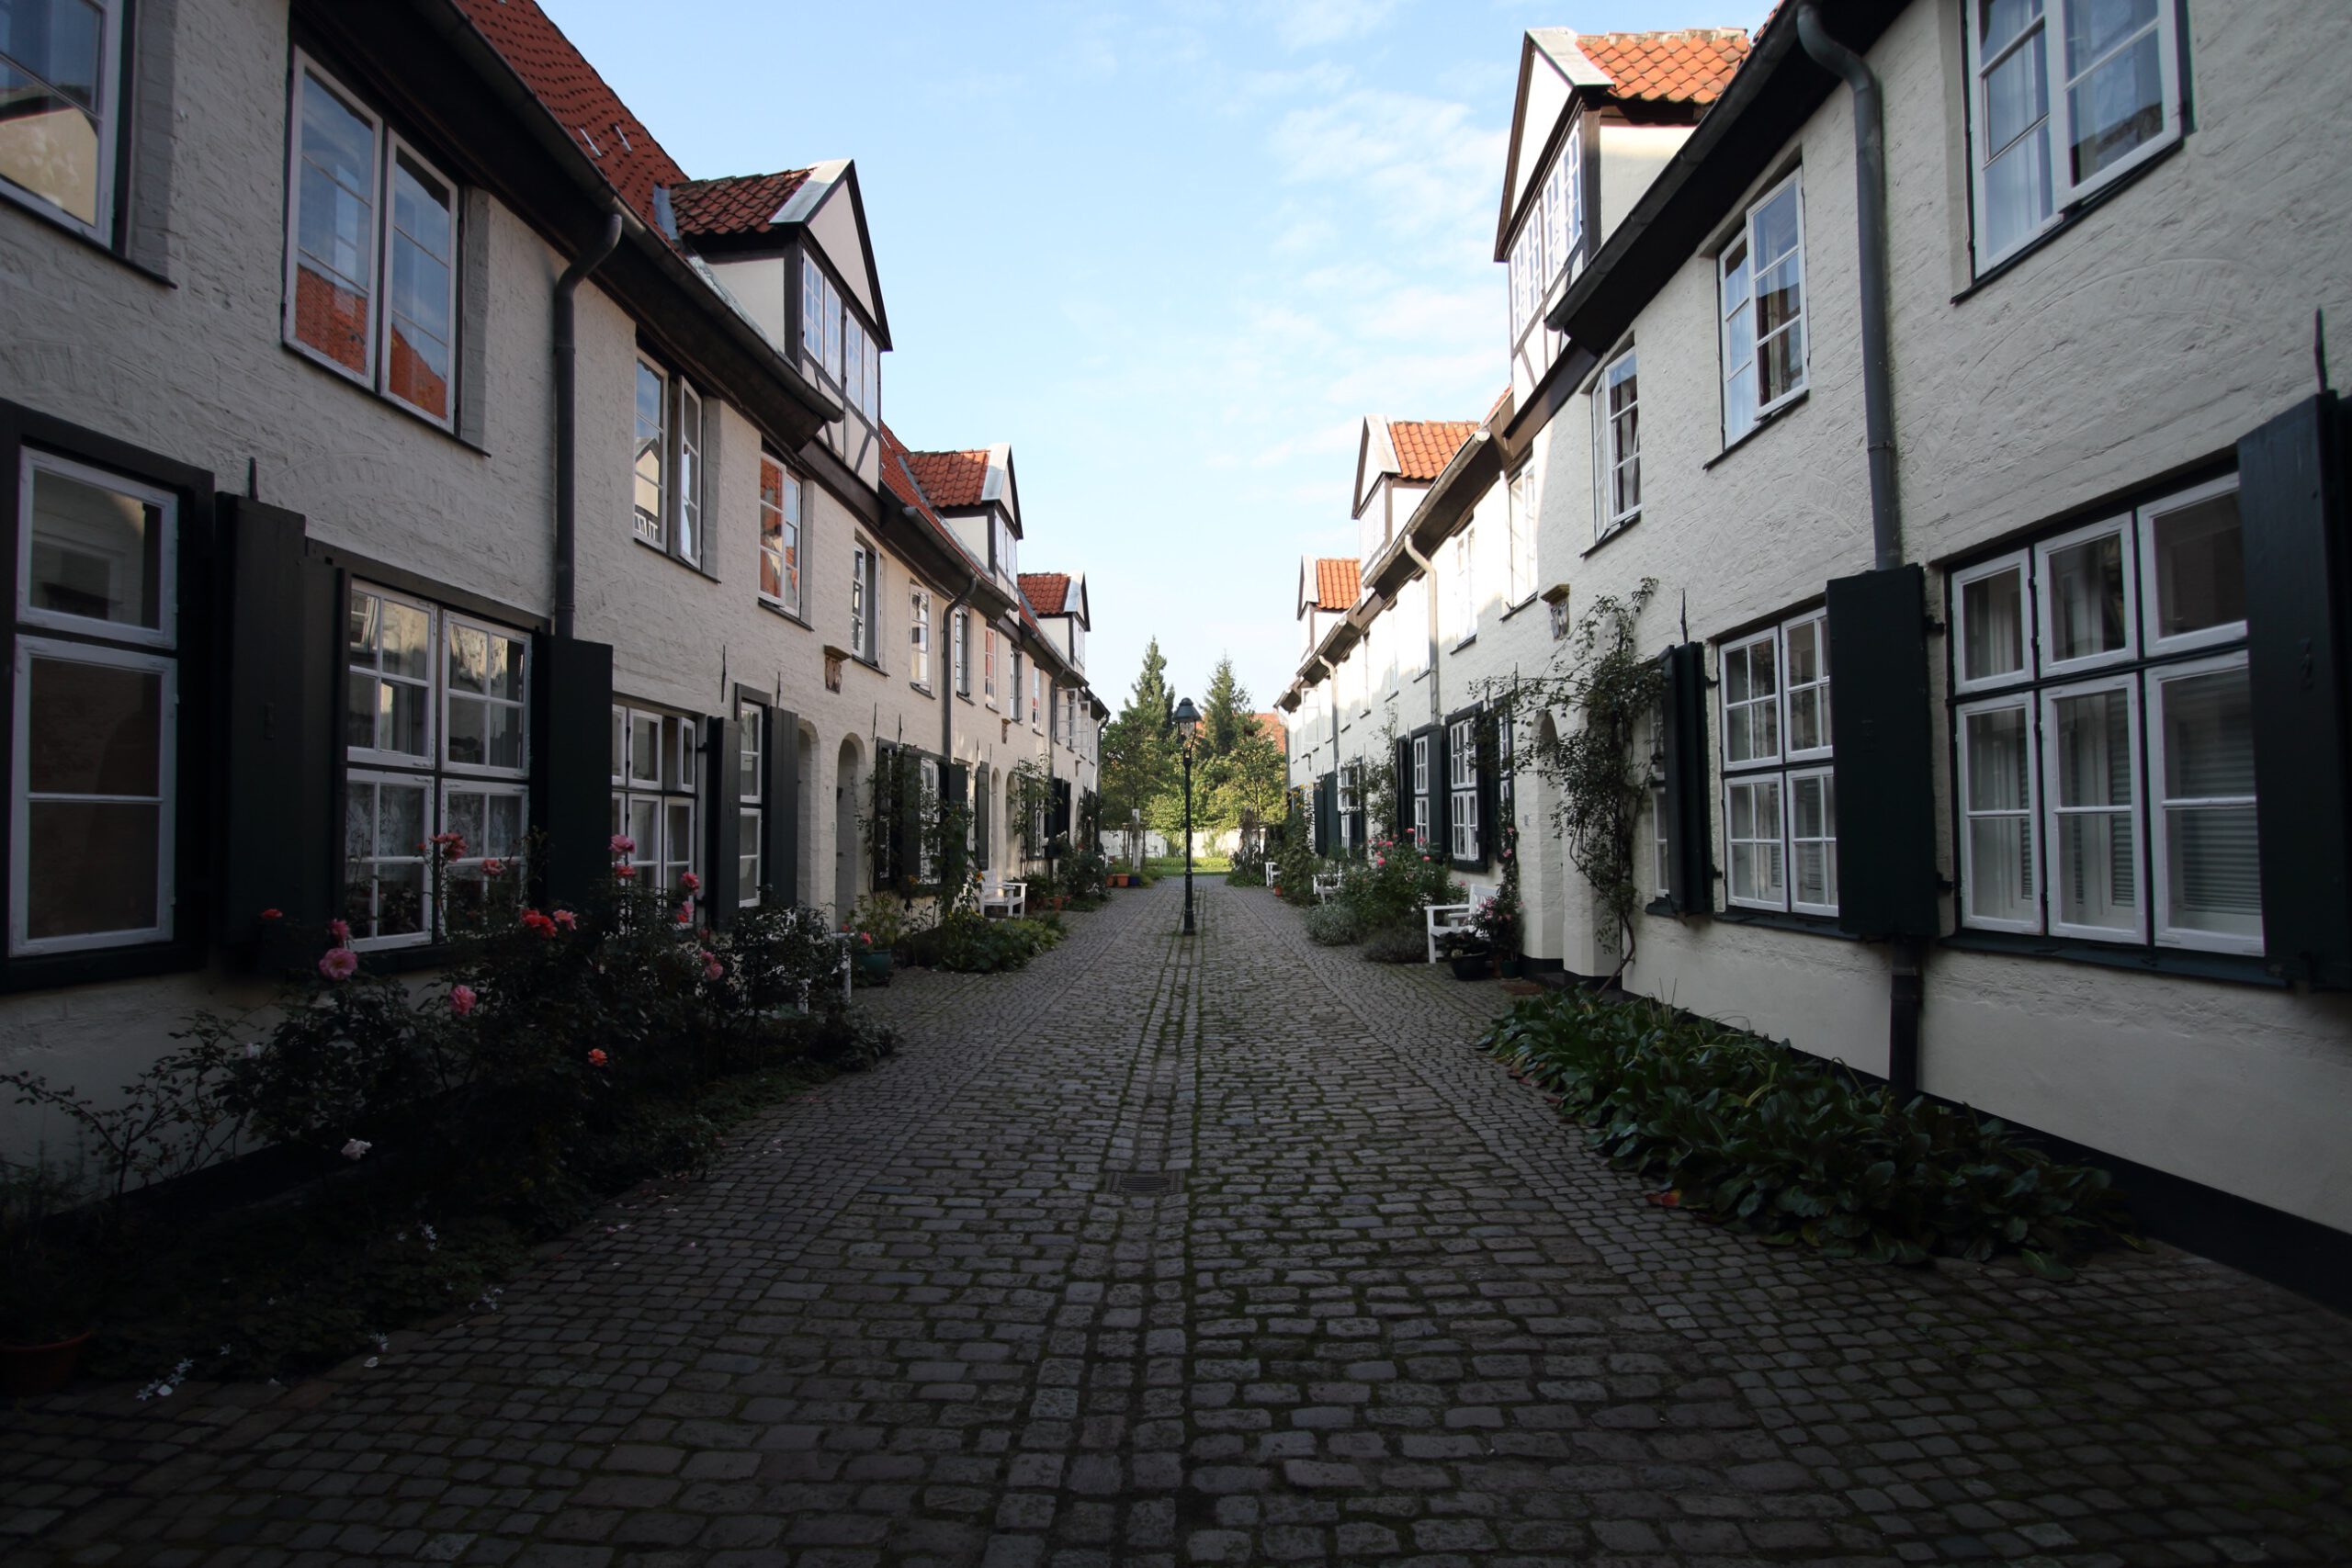
SDR ungraded image
First I need a high dynamic range image – and this is not one. This is the default JPG image from a Canon 7D MKII raw photo. The view transform is standard sRGB. Sure, the overall exposure is is good and with any raw development app this could be a nice looking photo, but it would be better to capture more information in the shadows and in the highlight areas at the same time. Any professional digital cinema camera can do that.
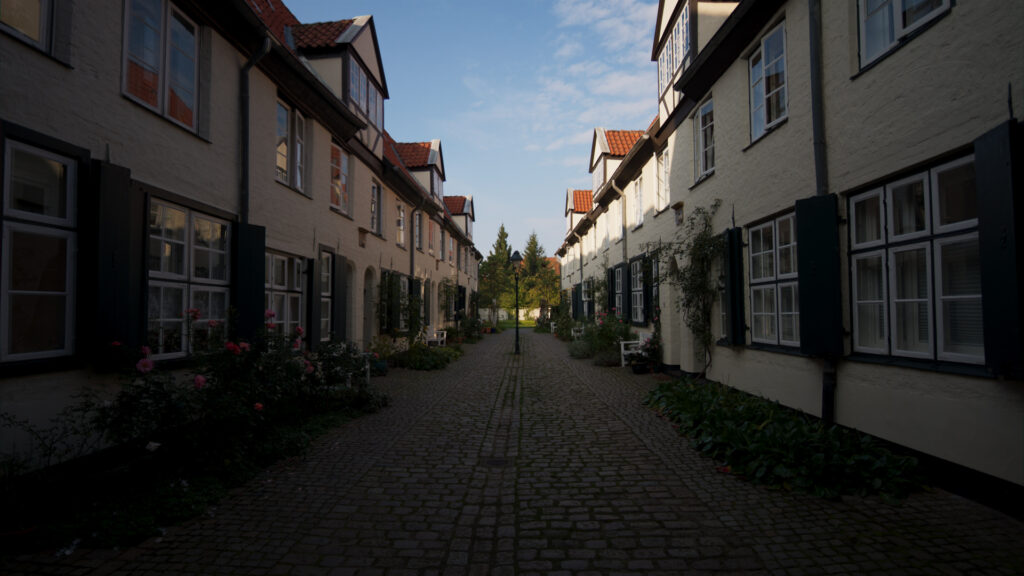
Make hdr imagery and tone map it to SDR again
To acquire an HDR image with only my DSRL camera I took three exposures with the HDR mode from the camera and kept only the three RAW images and merged them together with Photomatrix Pro.
The tone mapped or “fused” result from Photomatrix is called a HDR photo although its actually an SDR image from a HDR source.
change the color management to aces
The dynamic range of the merged HDR image can’t be displayed on a SDR screen or this page directly (unless your device is HDR capable and supports HDR videos from Vimeo that I can show later on the page). From now on I use the ACES framework that can handle and display this kind of imagery better.
see HDR – if you can
I am working with MacOS Catalina and the most recent iOS version to generate the content for this website. This is the first time I embed a Vimeo link with HDR content on this site and still trying to figure out with what devices it can be viewed.
I am only able to see the following Vimeo links in HDR on this page with a iPhone X or 11 (Samung S10 works too). HDR is supported in the Vimeo app on an iPhone as well. If the HDR mode works for you will notice that only during playback. The maximum luminance is reached over time. The display seems to “pump” up the brightness up to the maximum that the display can show based on metadata. The file is mastered in DolbyPQ for 1.000 nits peak brightness. On iPhones it looks the best, better than on an iPad or MBP. I don’t have a UHD-HDR TV to test all the time.
I am not able to see the HDR content:
- in Safari on an iPad Pro.
- in Safari on a MBP thats supports HDR.
- on a MBP with inside the Vimeo APP – but only in the small preview window, as soon I click full screen, the resolution is awful.
- without the latest MacOS or iOS.
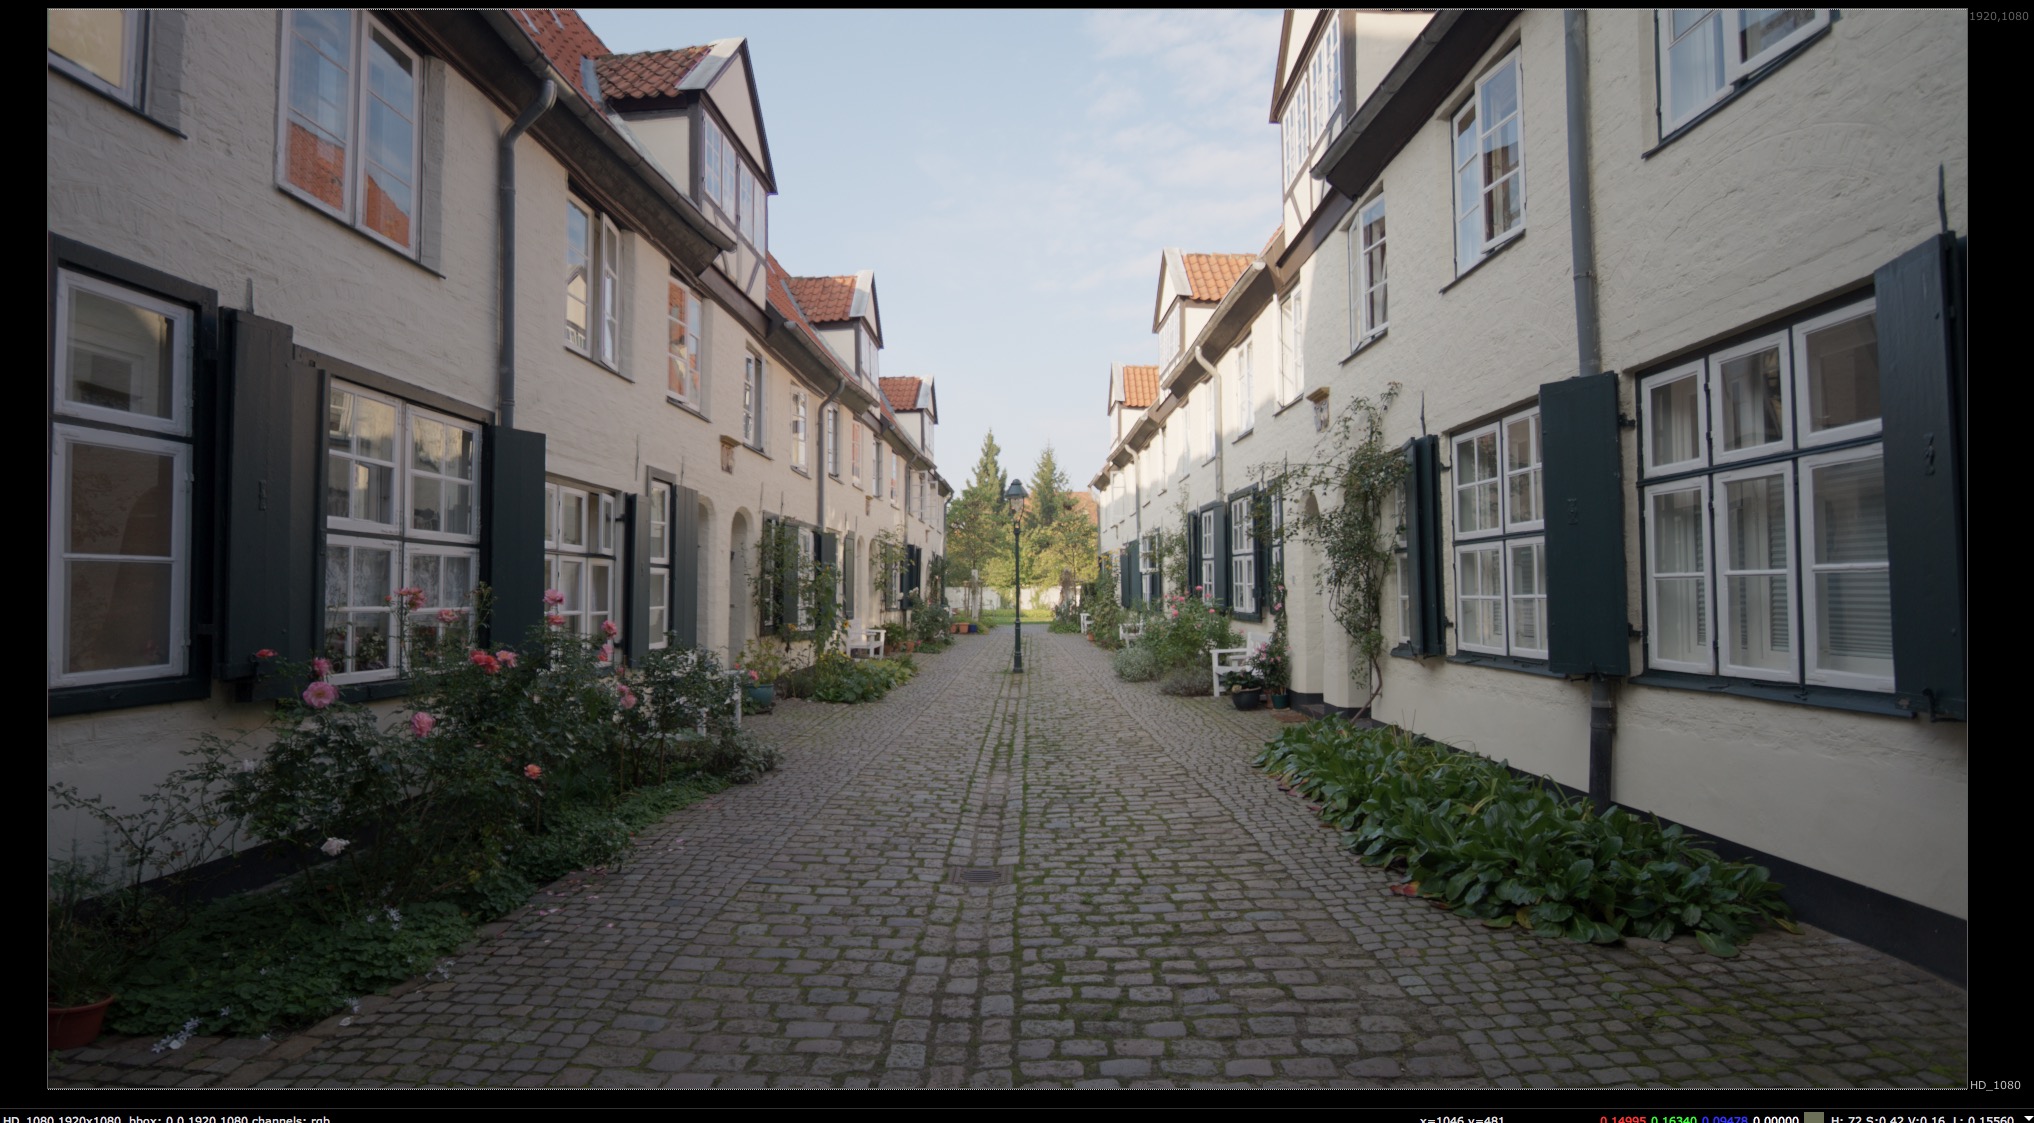
Now this is HDR – the overall image is not brighter, but the specular highlights can be displayed up to ten times brighter than on a normal HD 10o nits display. (The iPhone X & 11 displays are capable of 500 nits or 5x brighter). Modern computer screens without HDR capabilities can display 300 nits or more, but then the overall image will just get brighter. HDR allows a display of a greater dynamic range than with regular displays.
working scene referred makes HDR possible
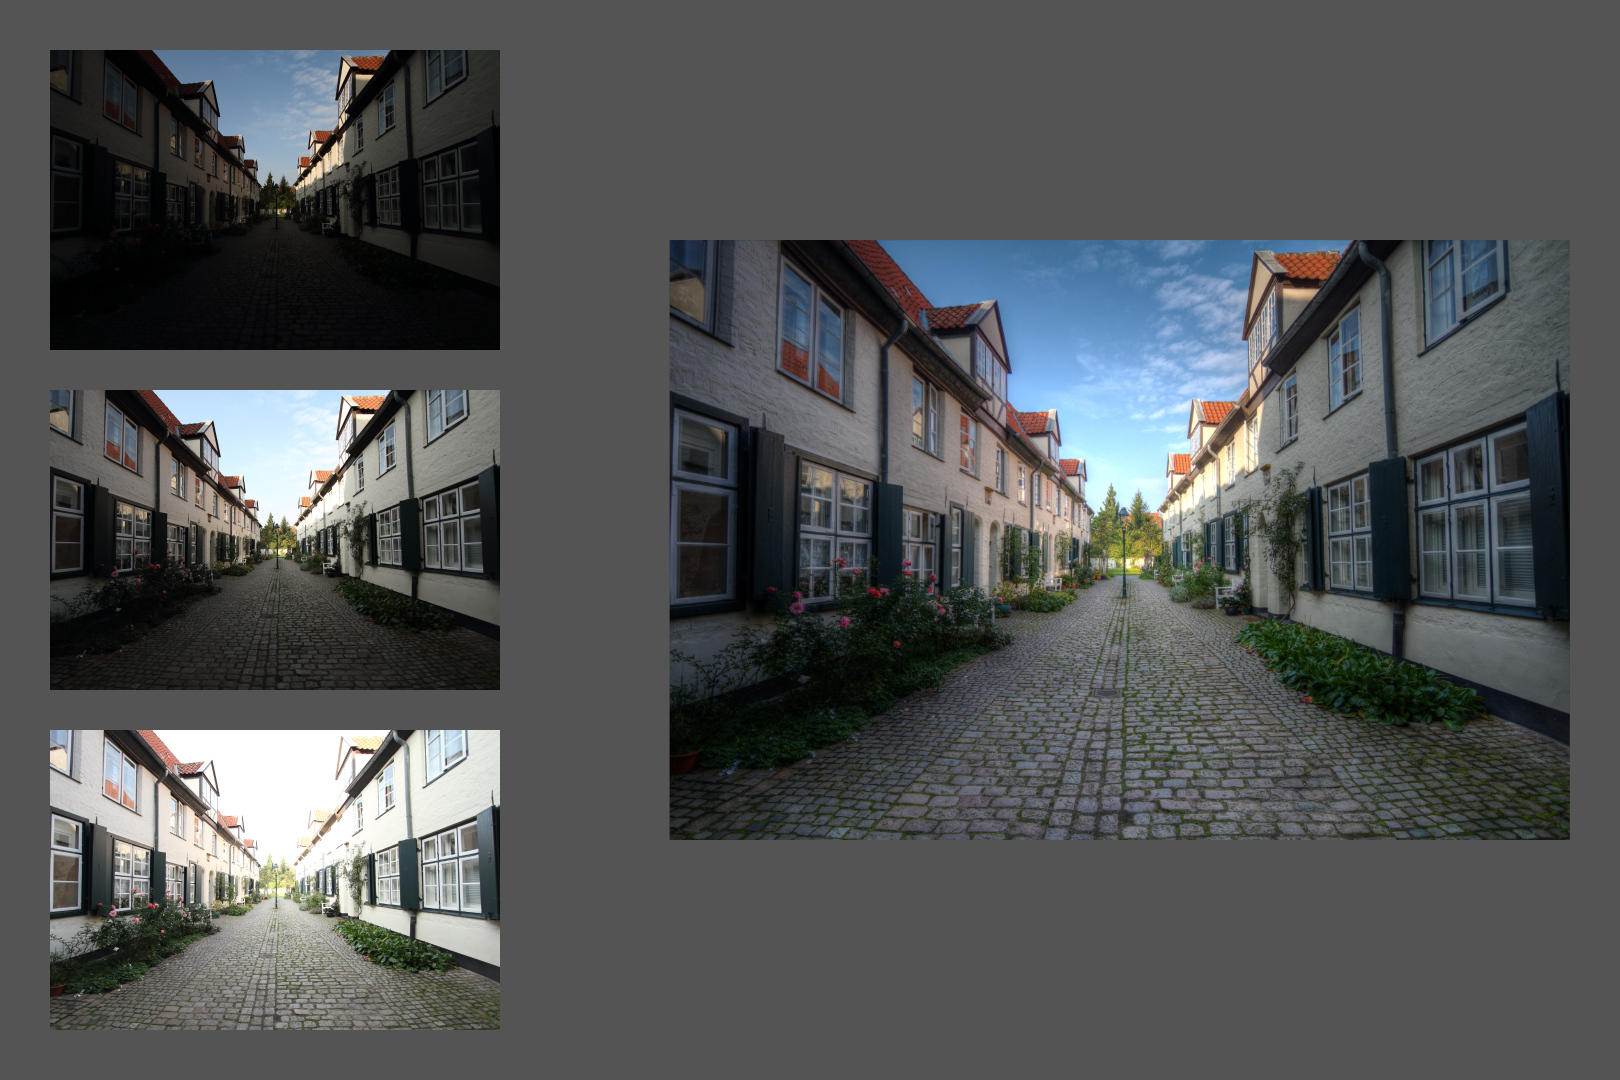
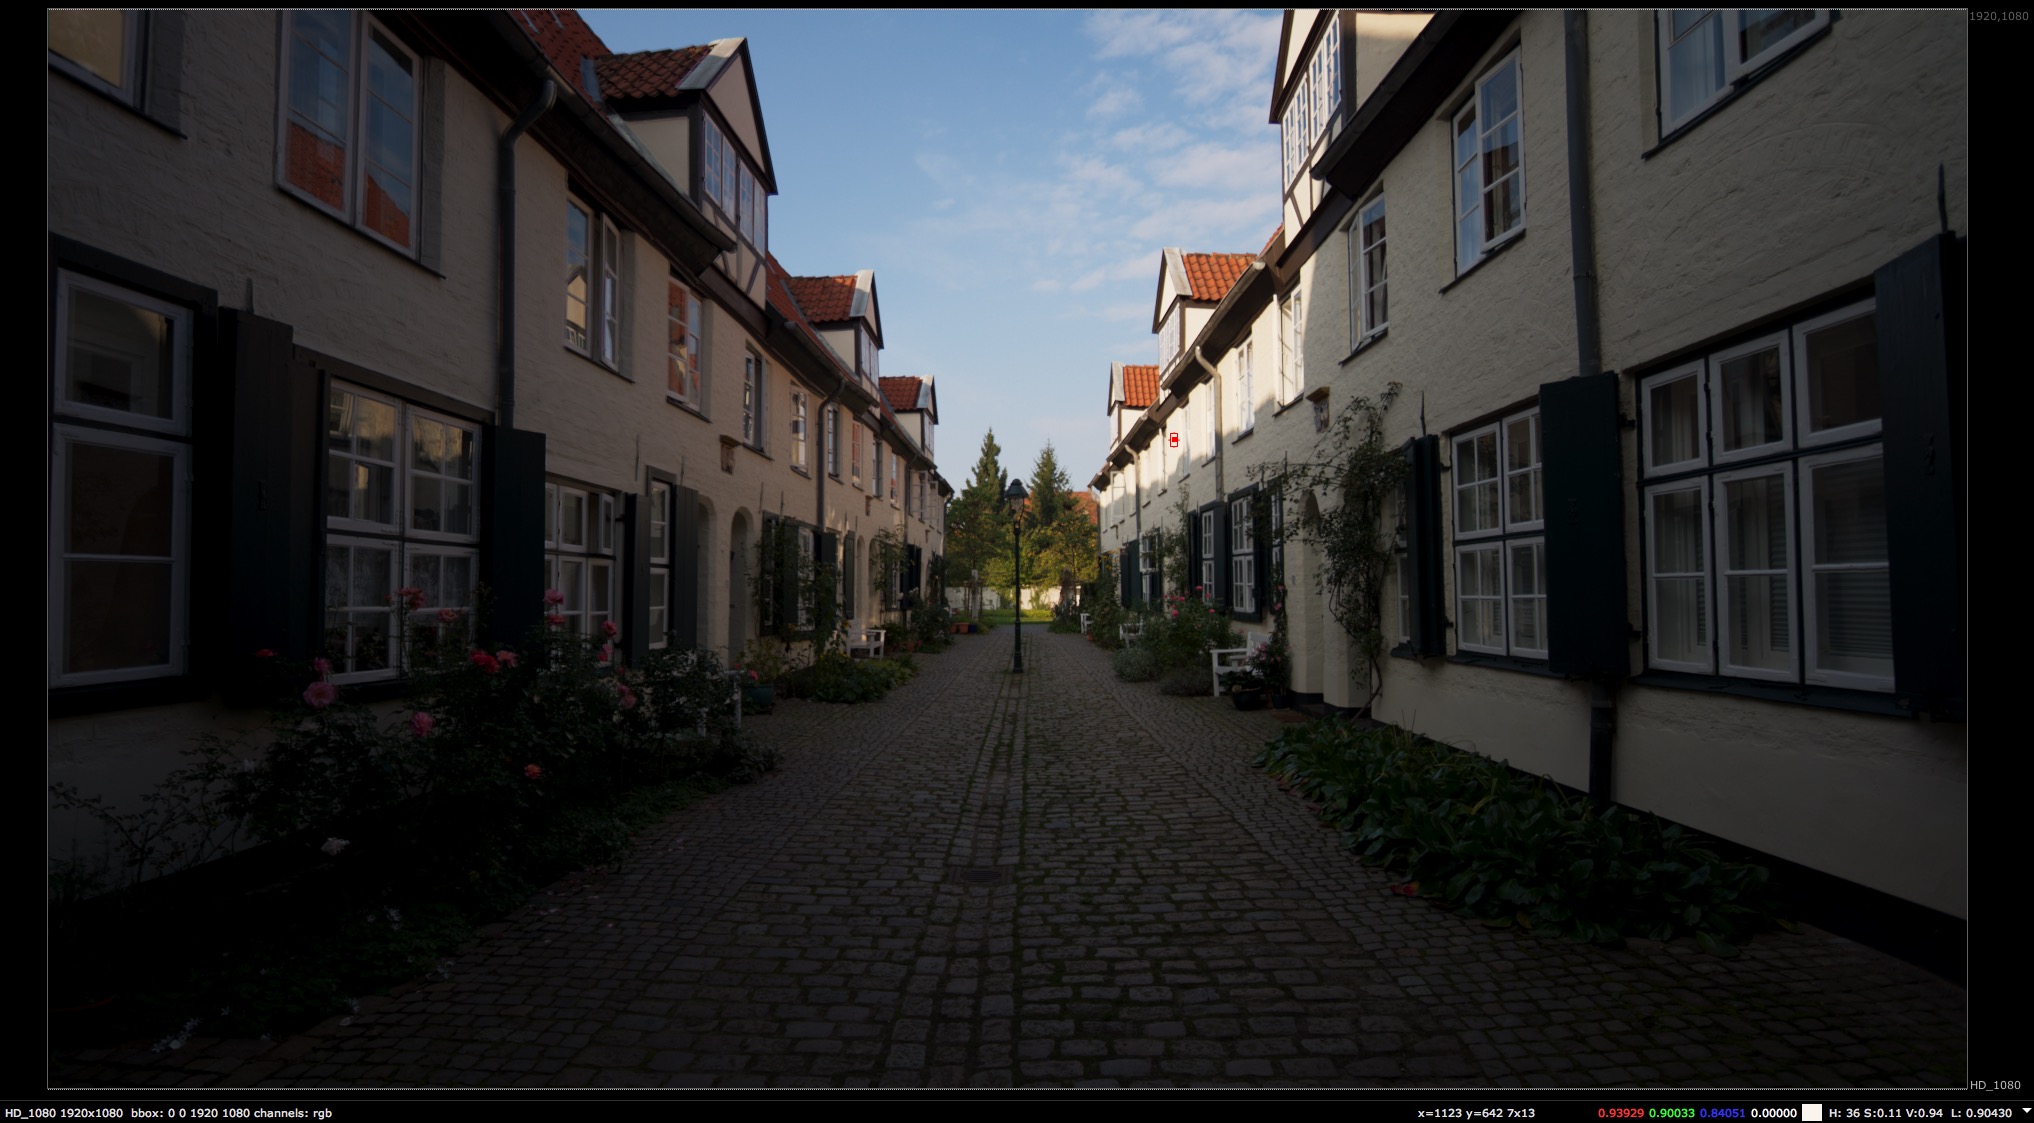
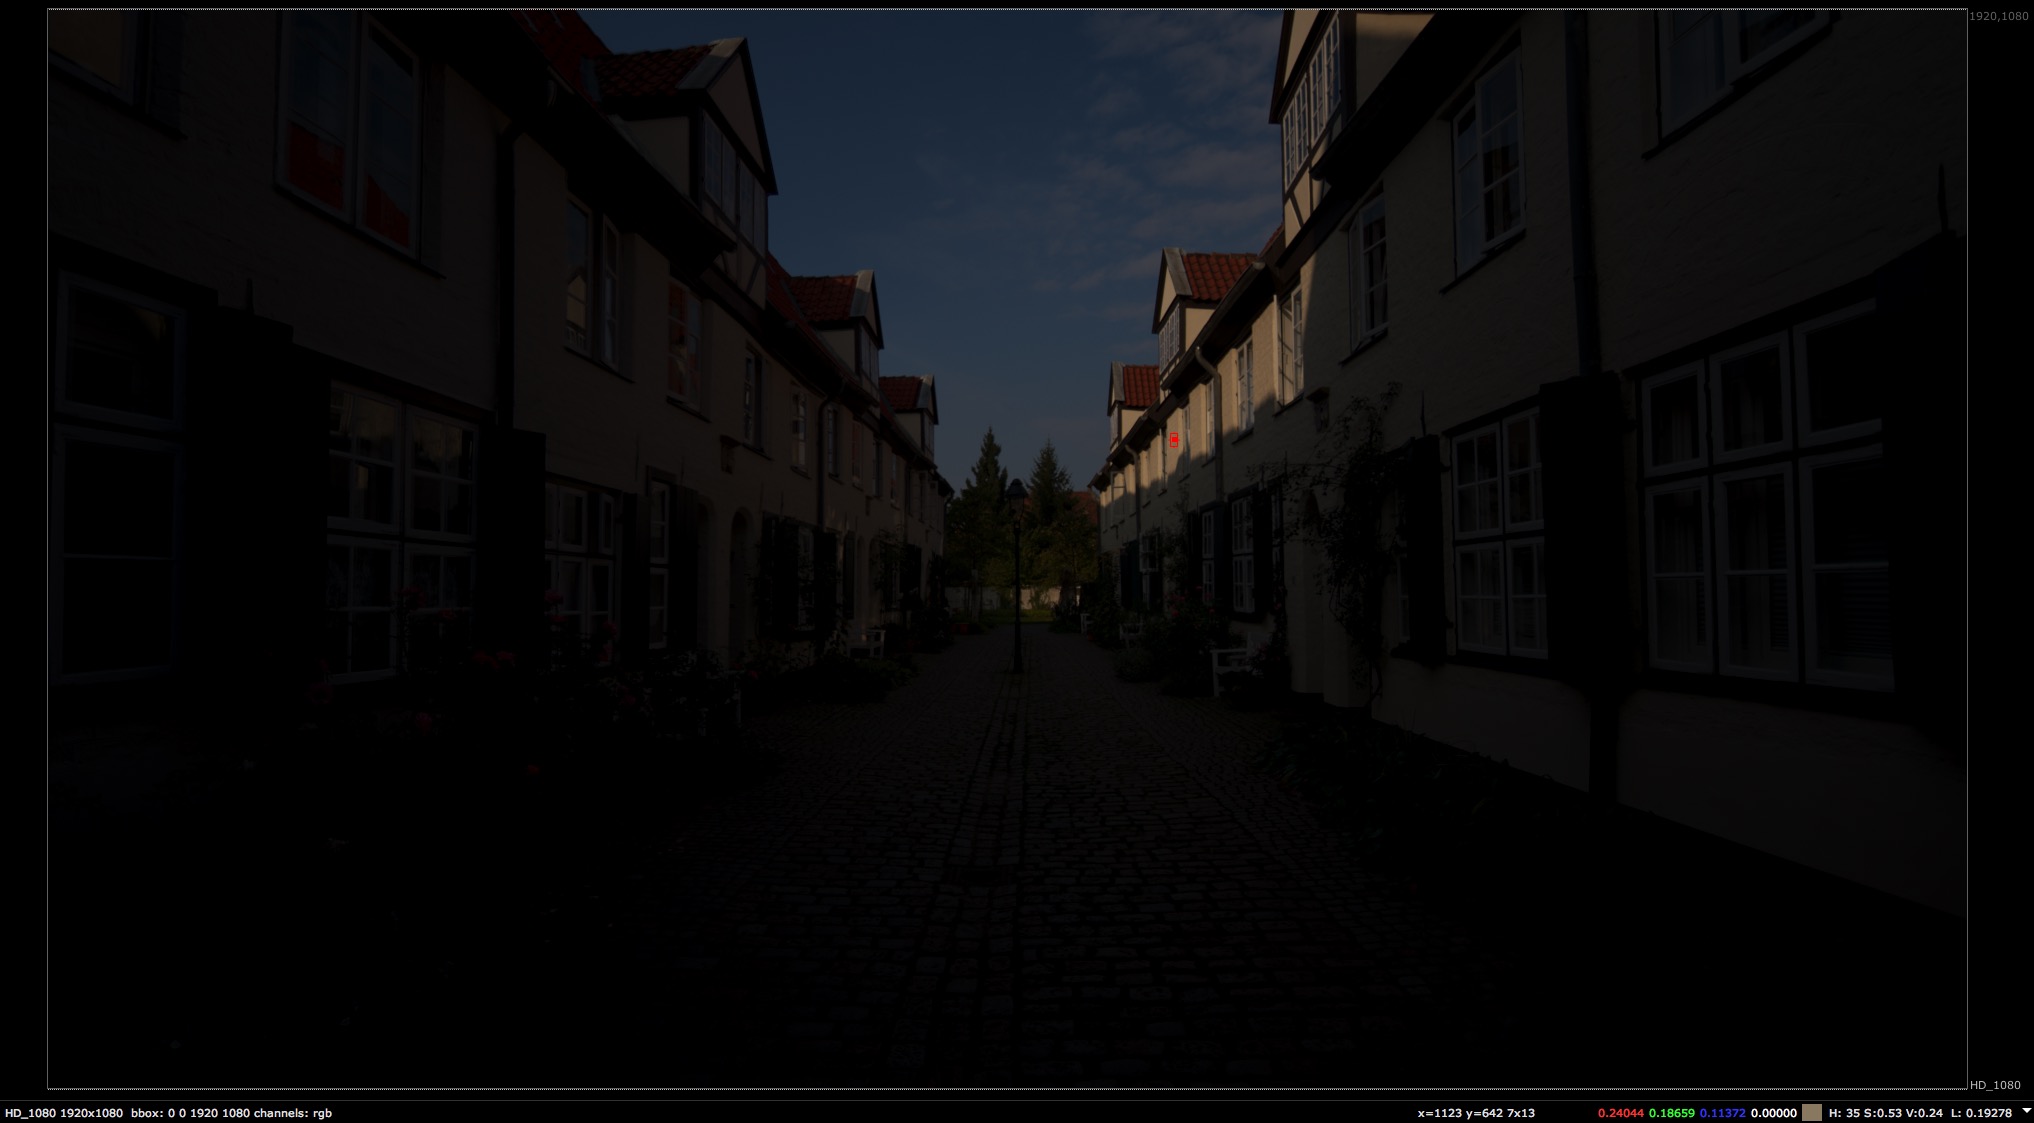
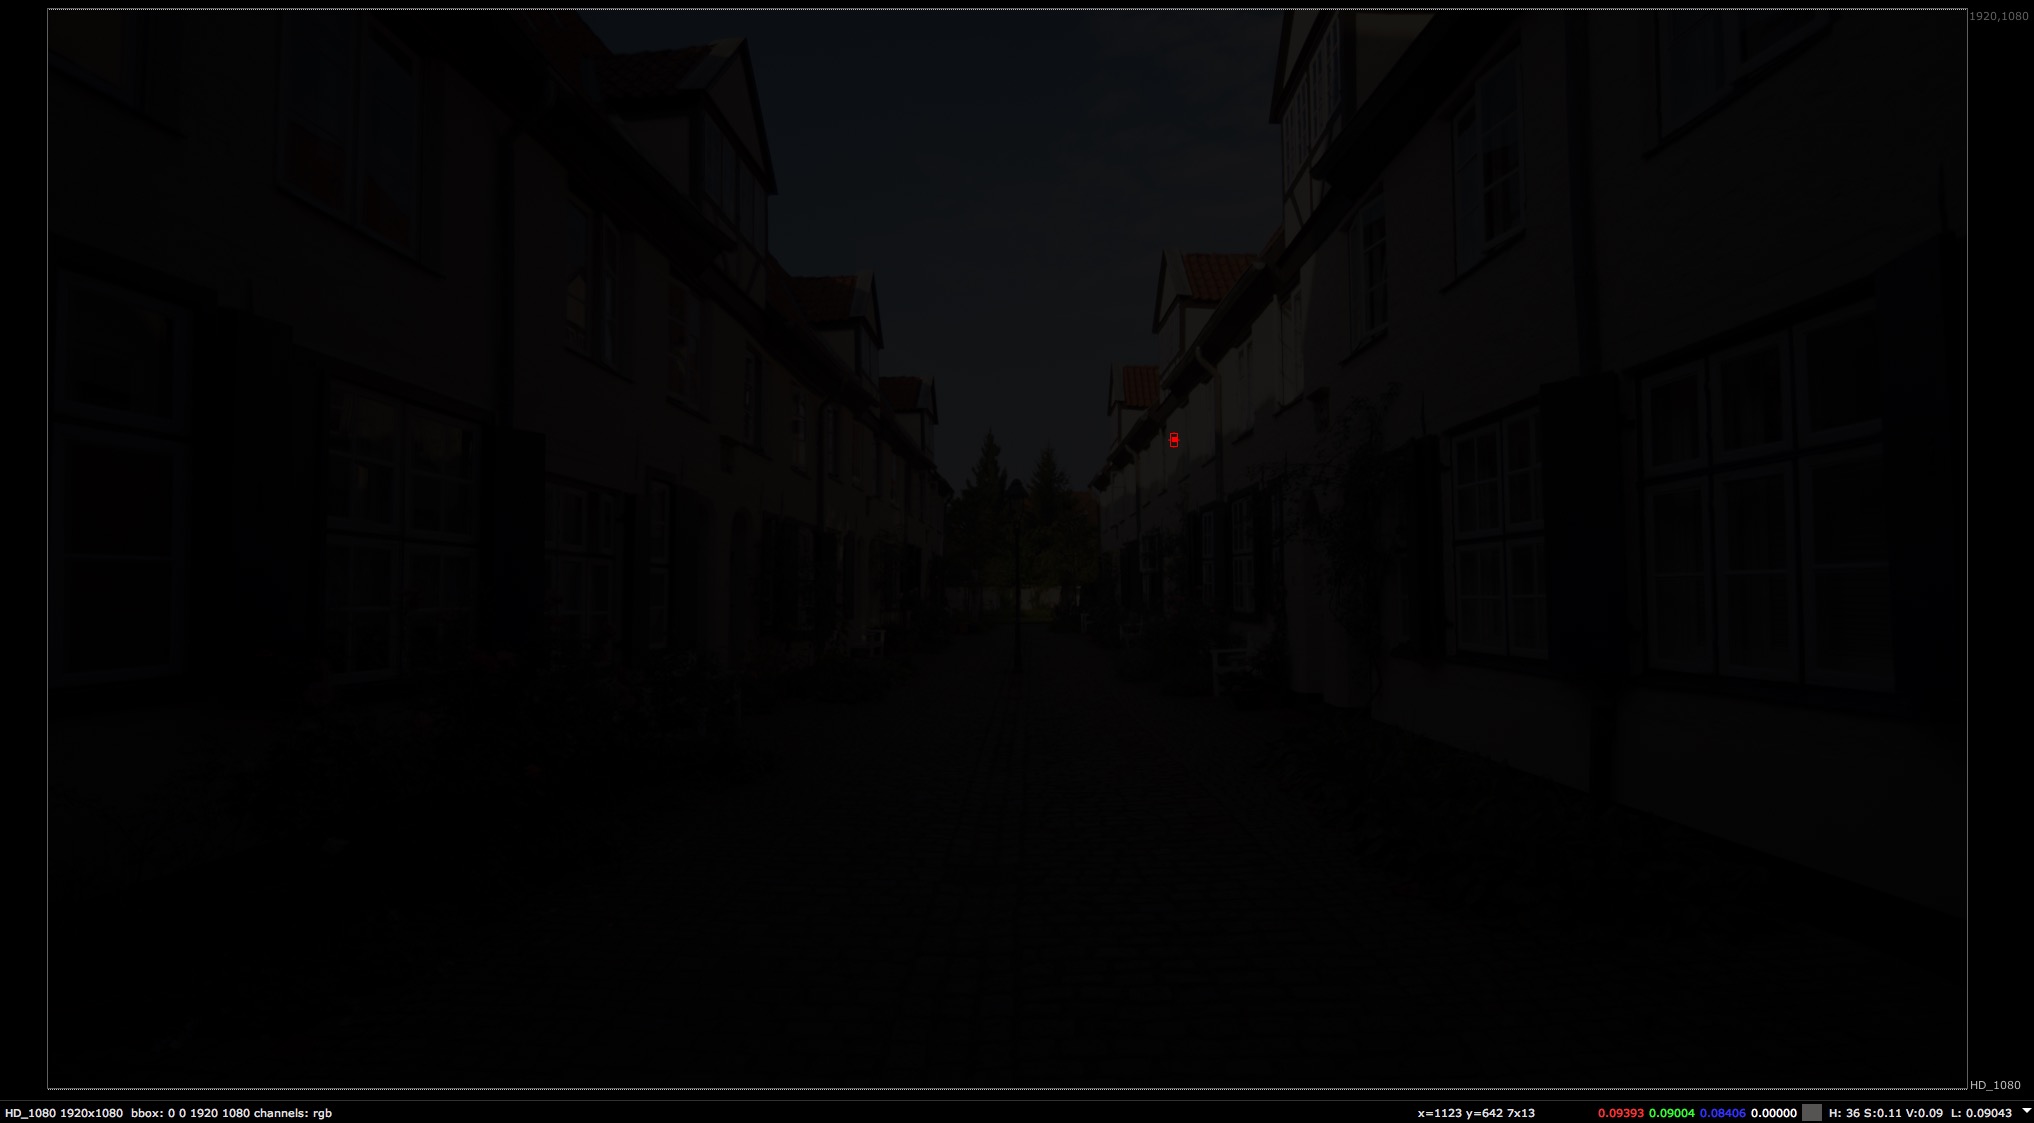
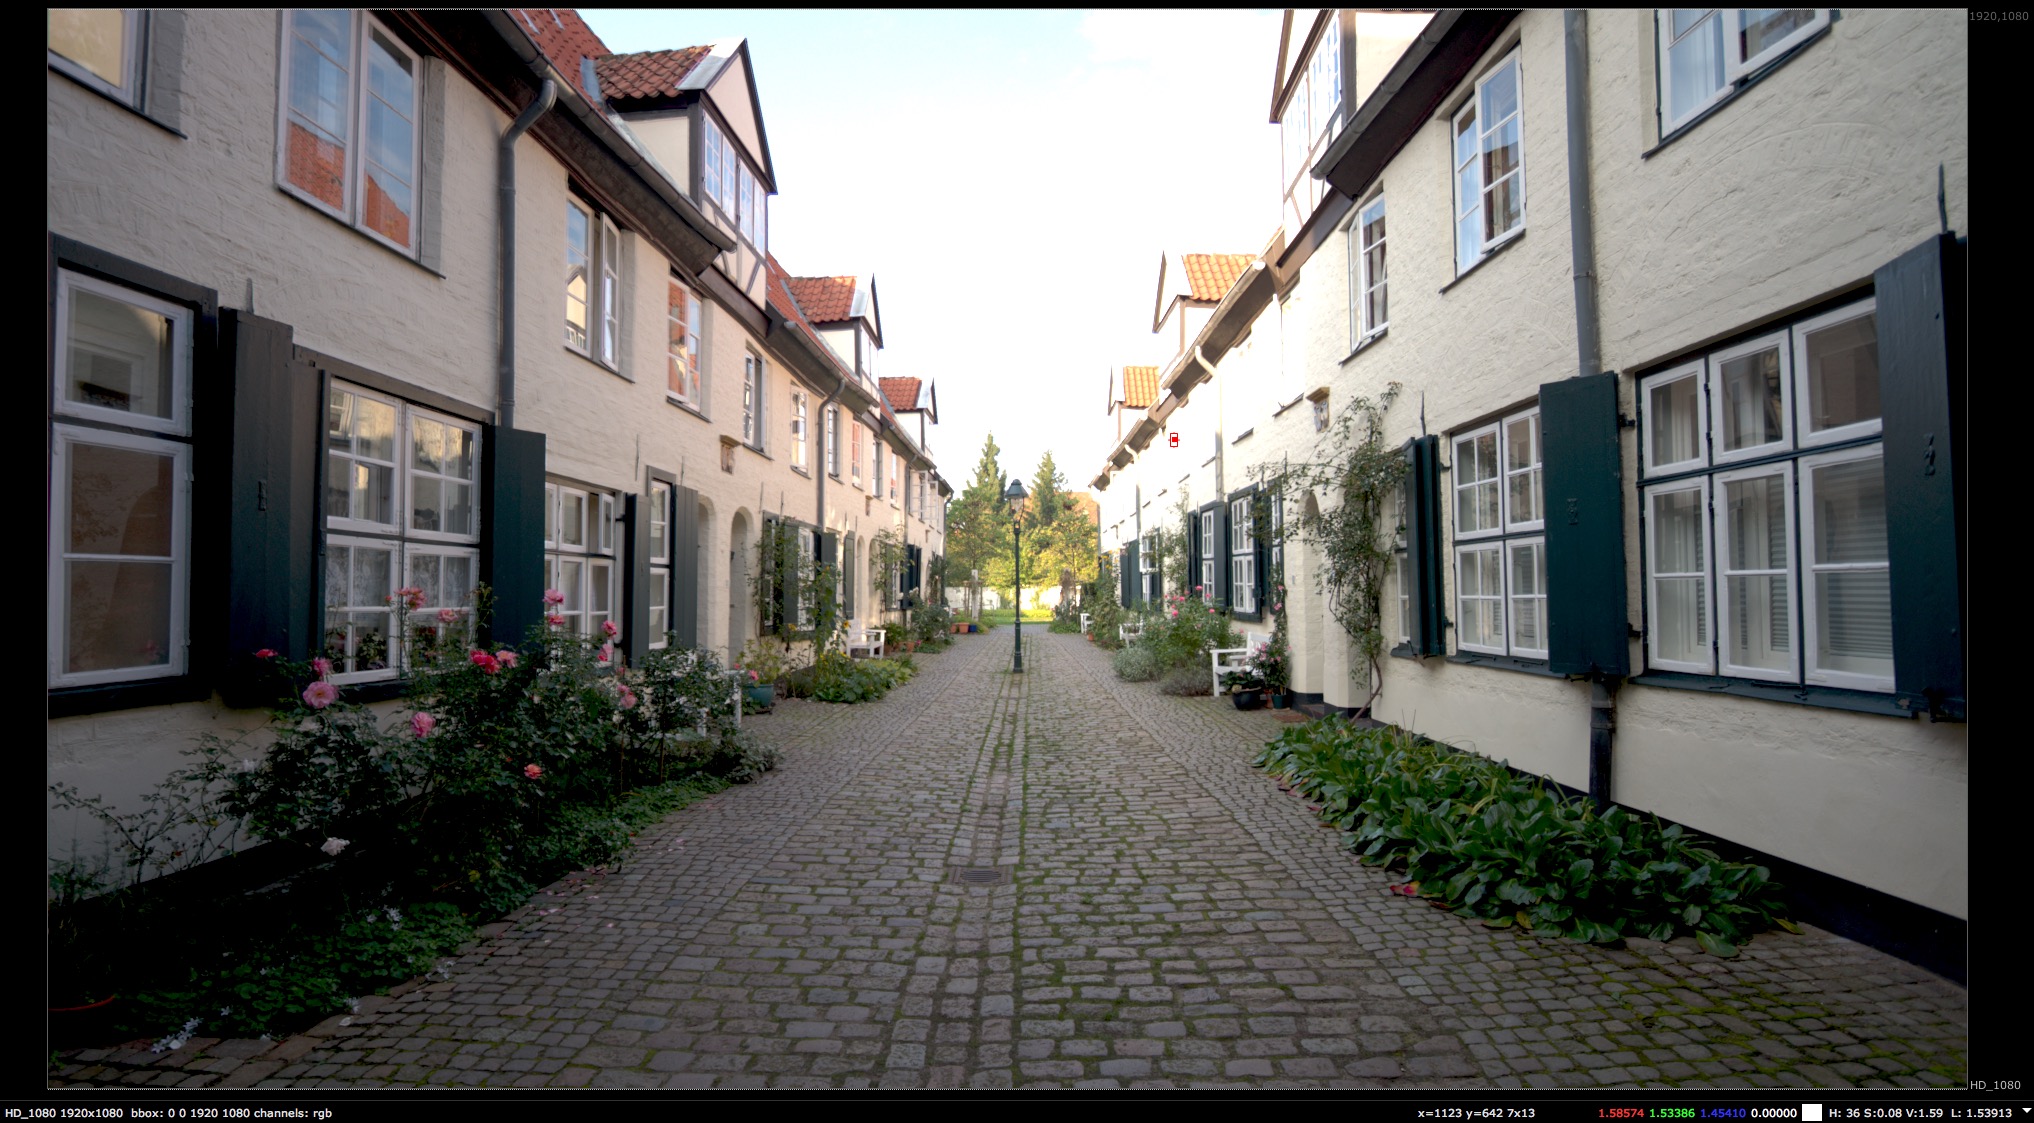
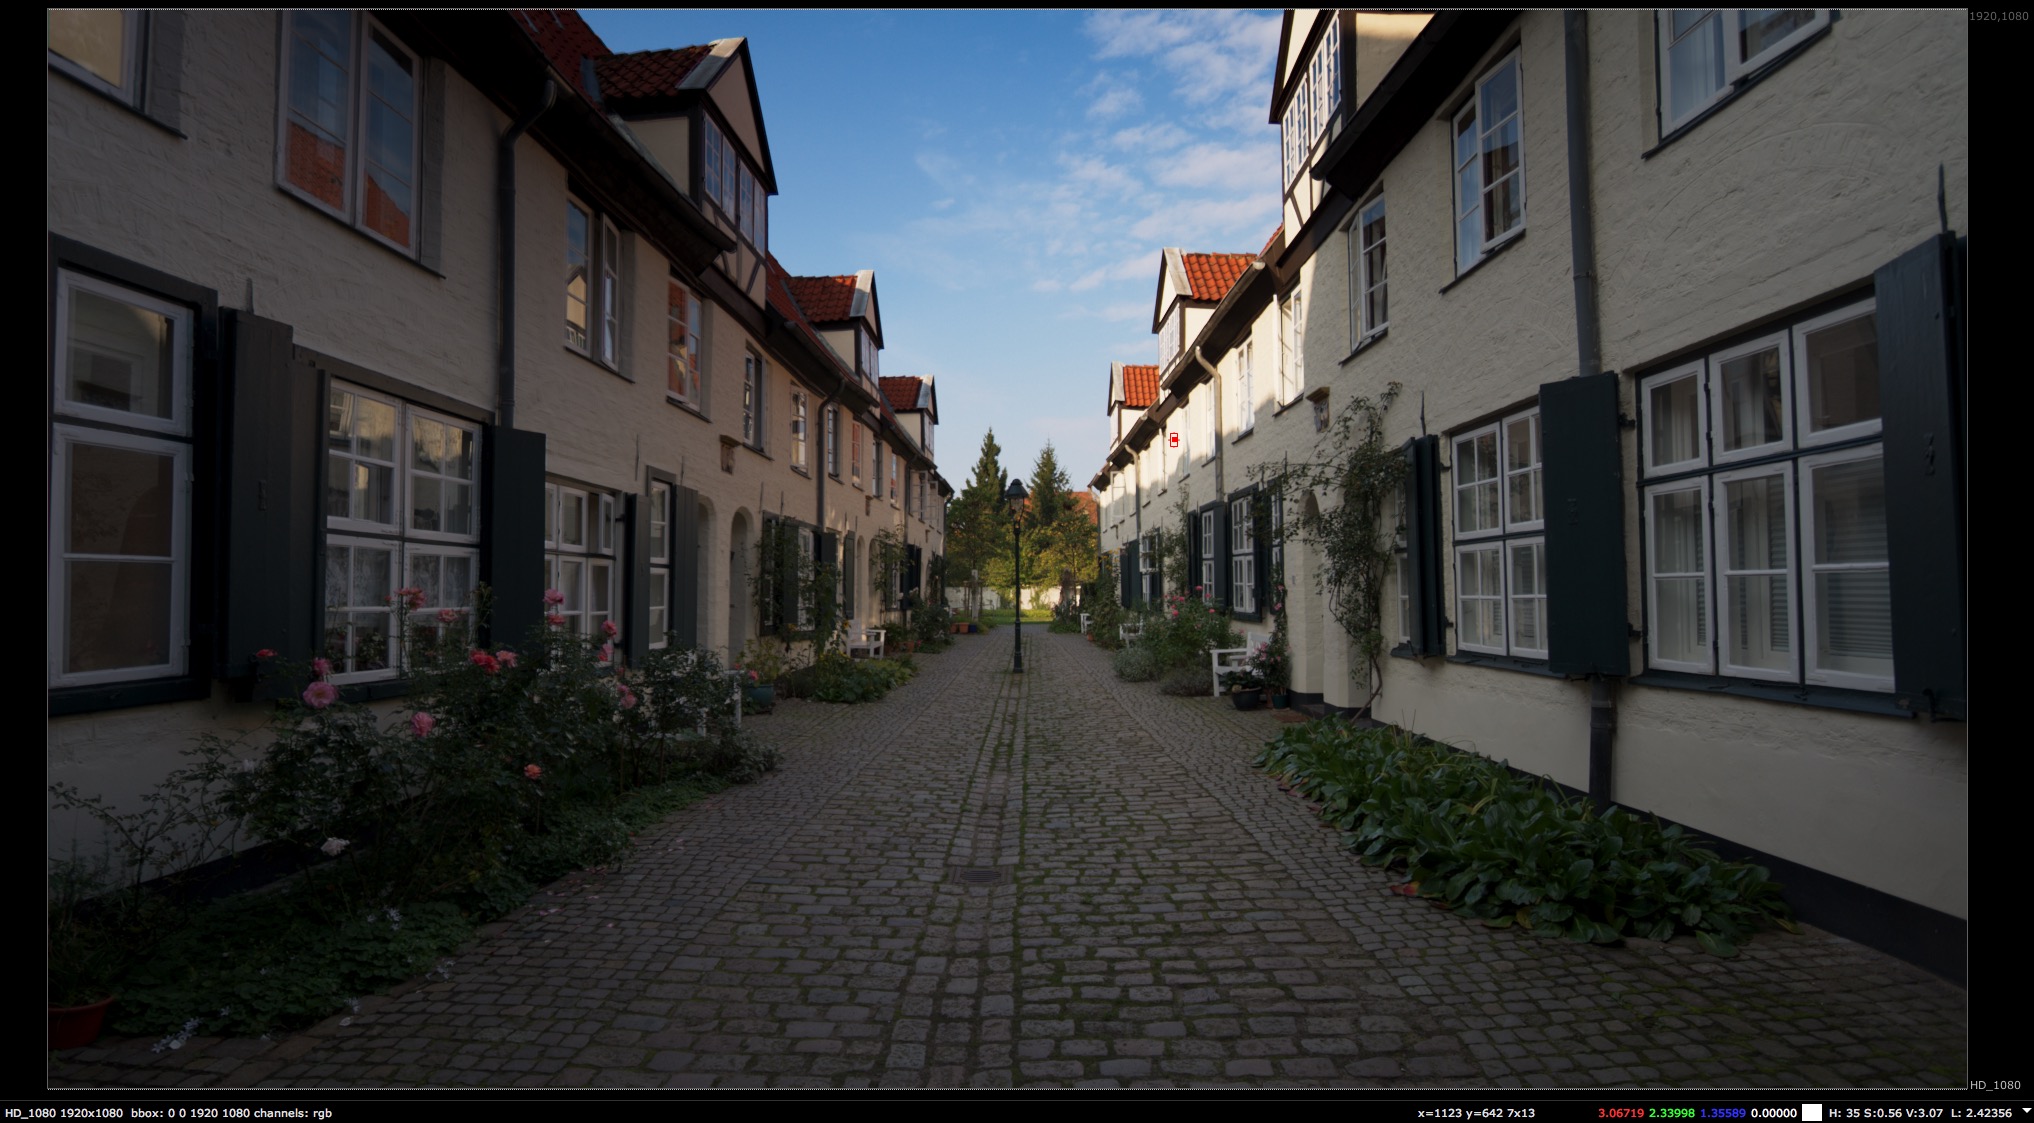
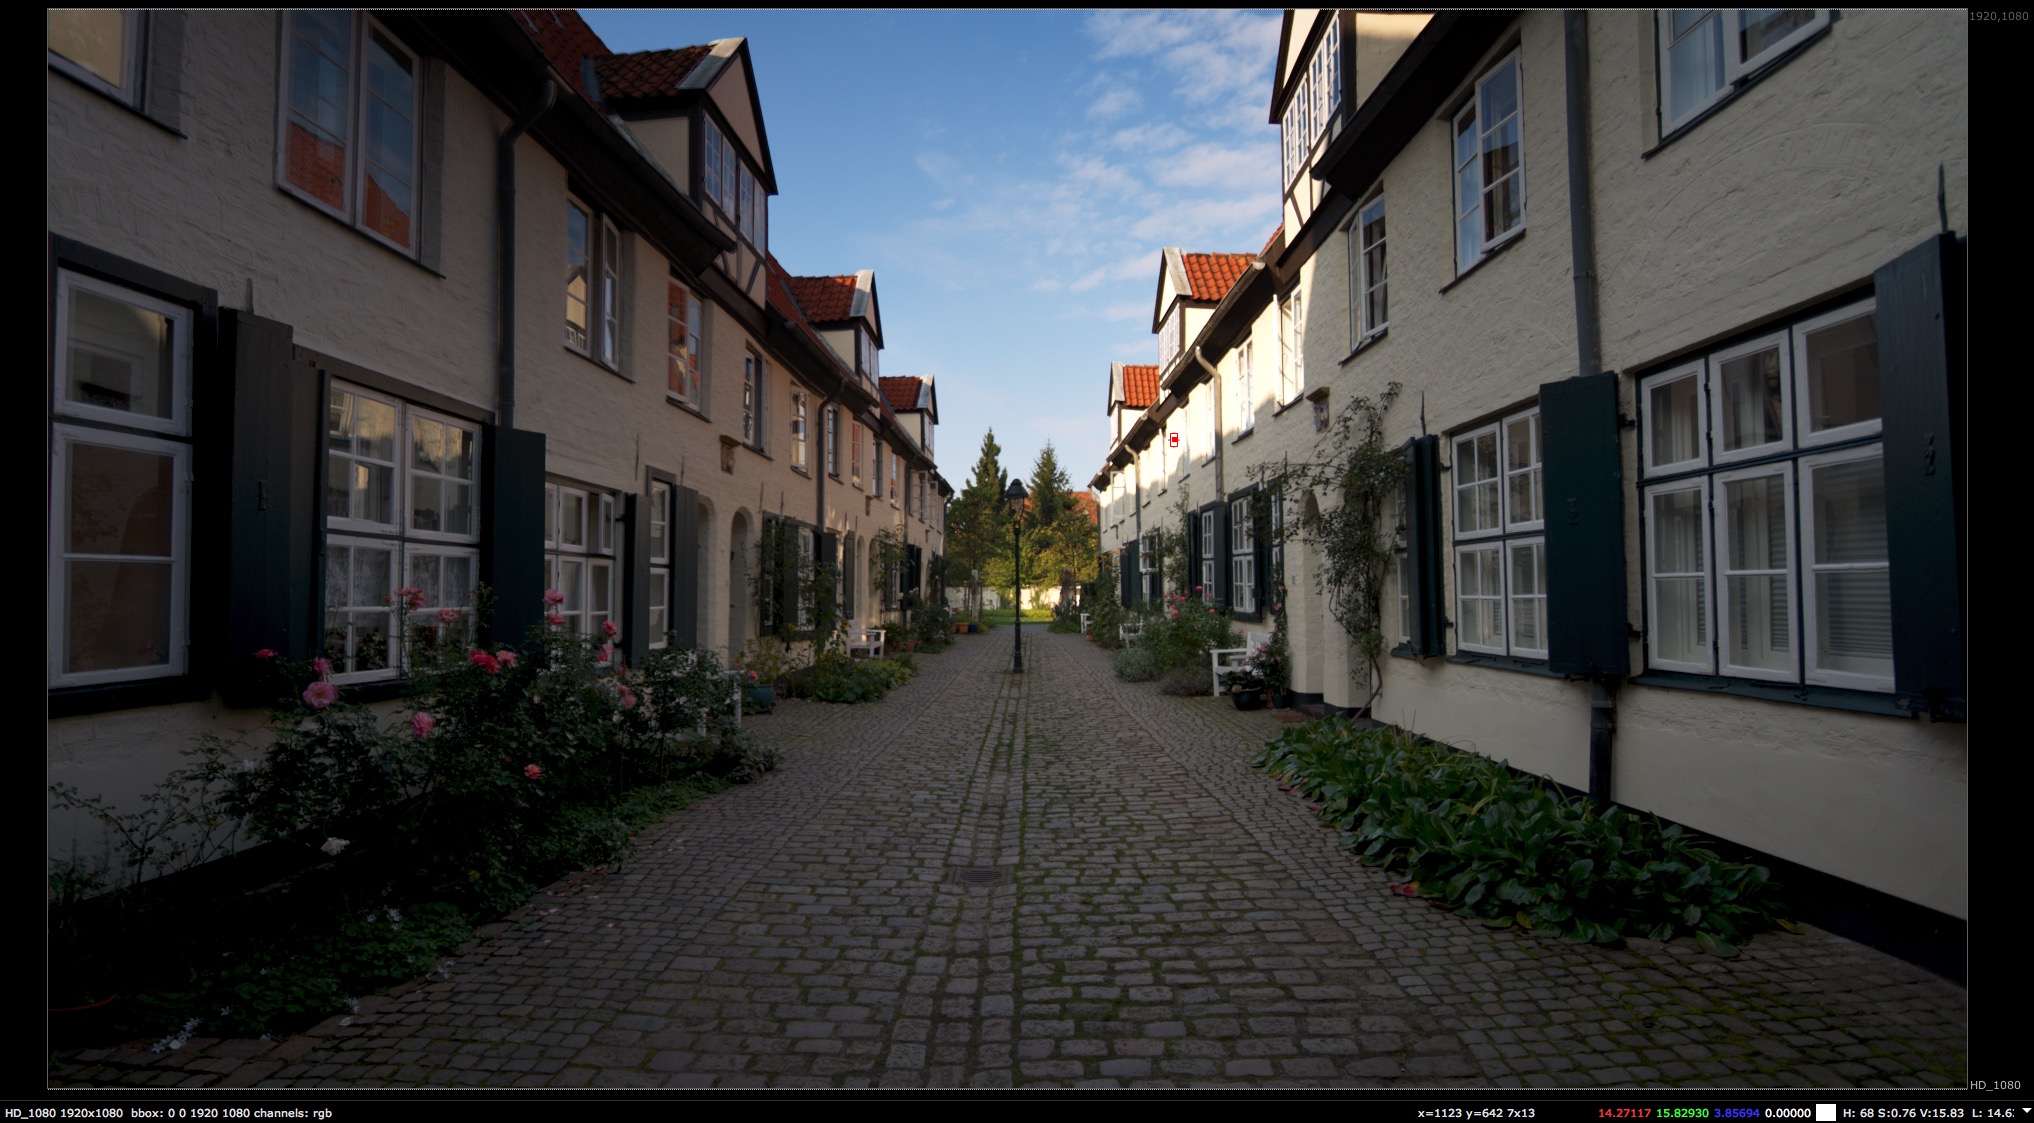
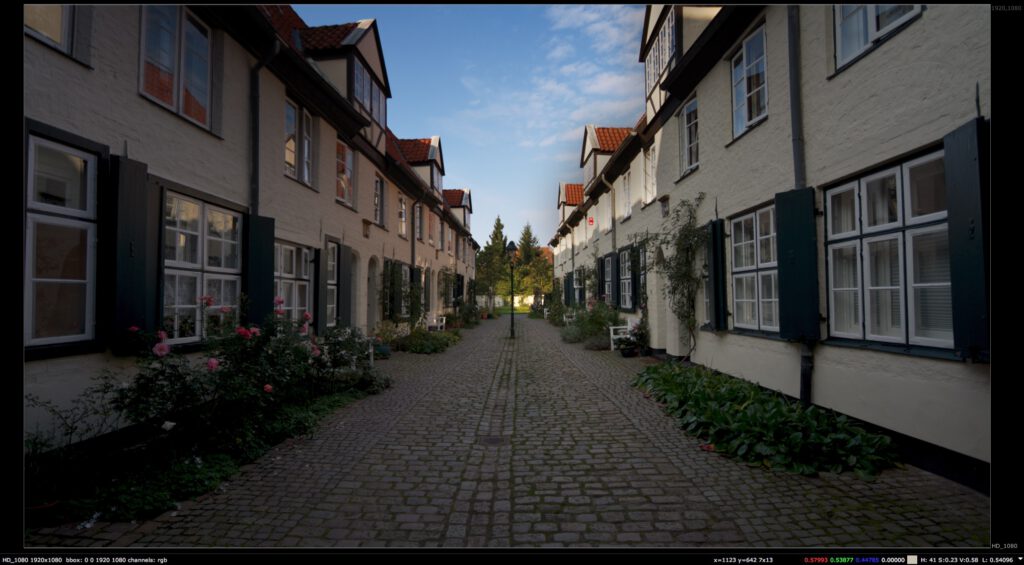
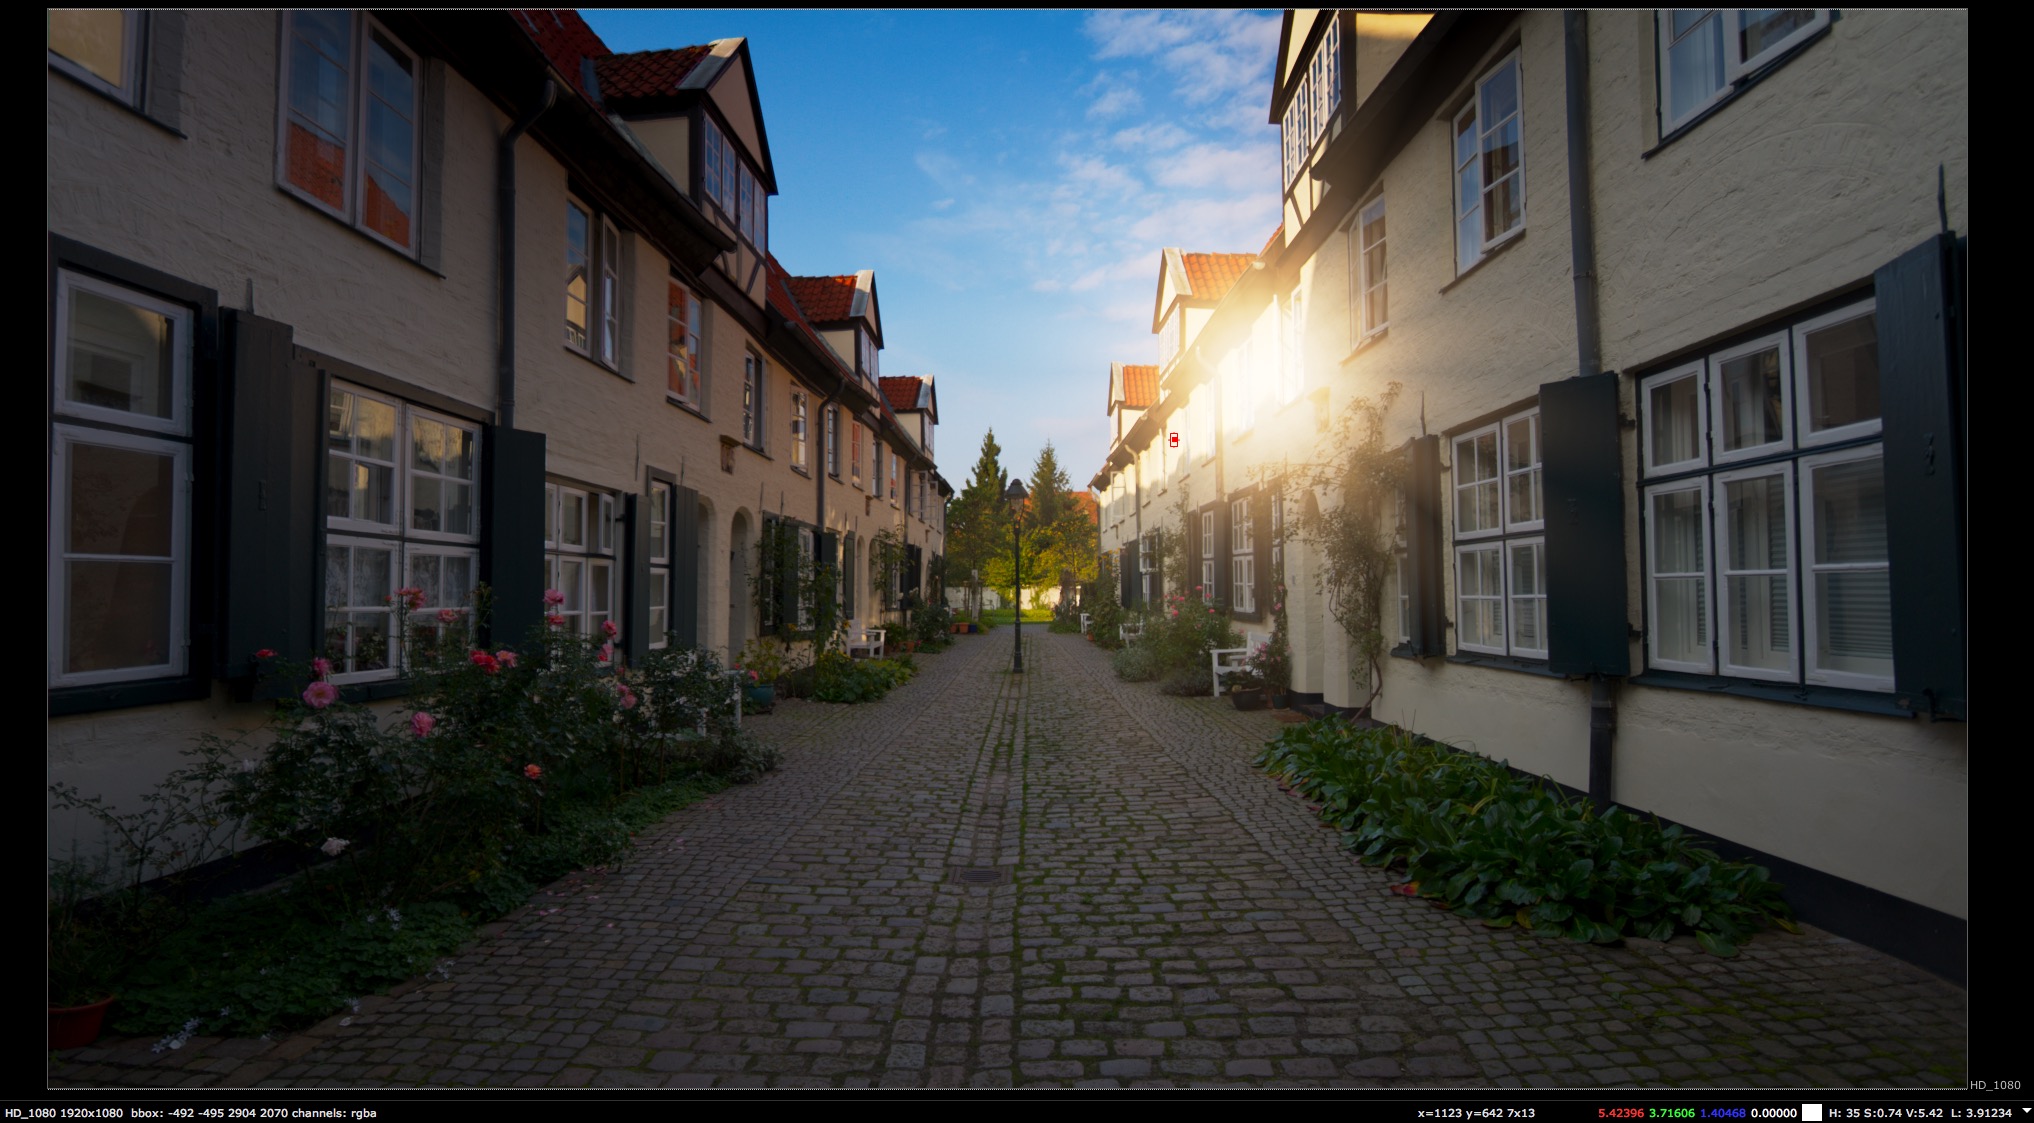
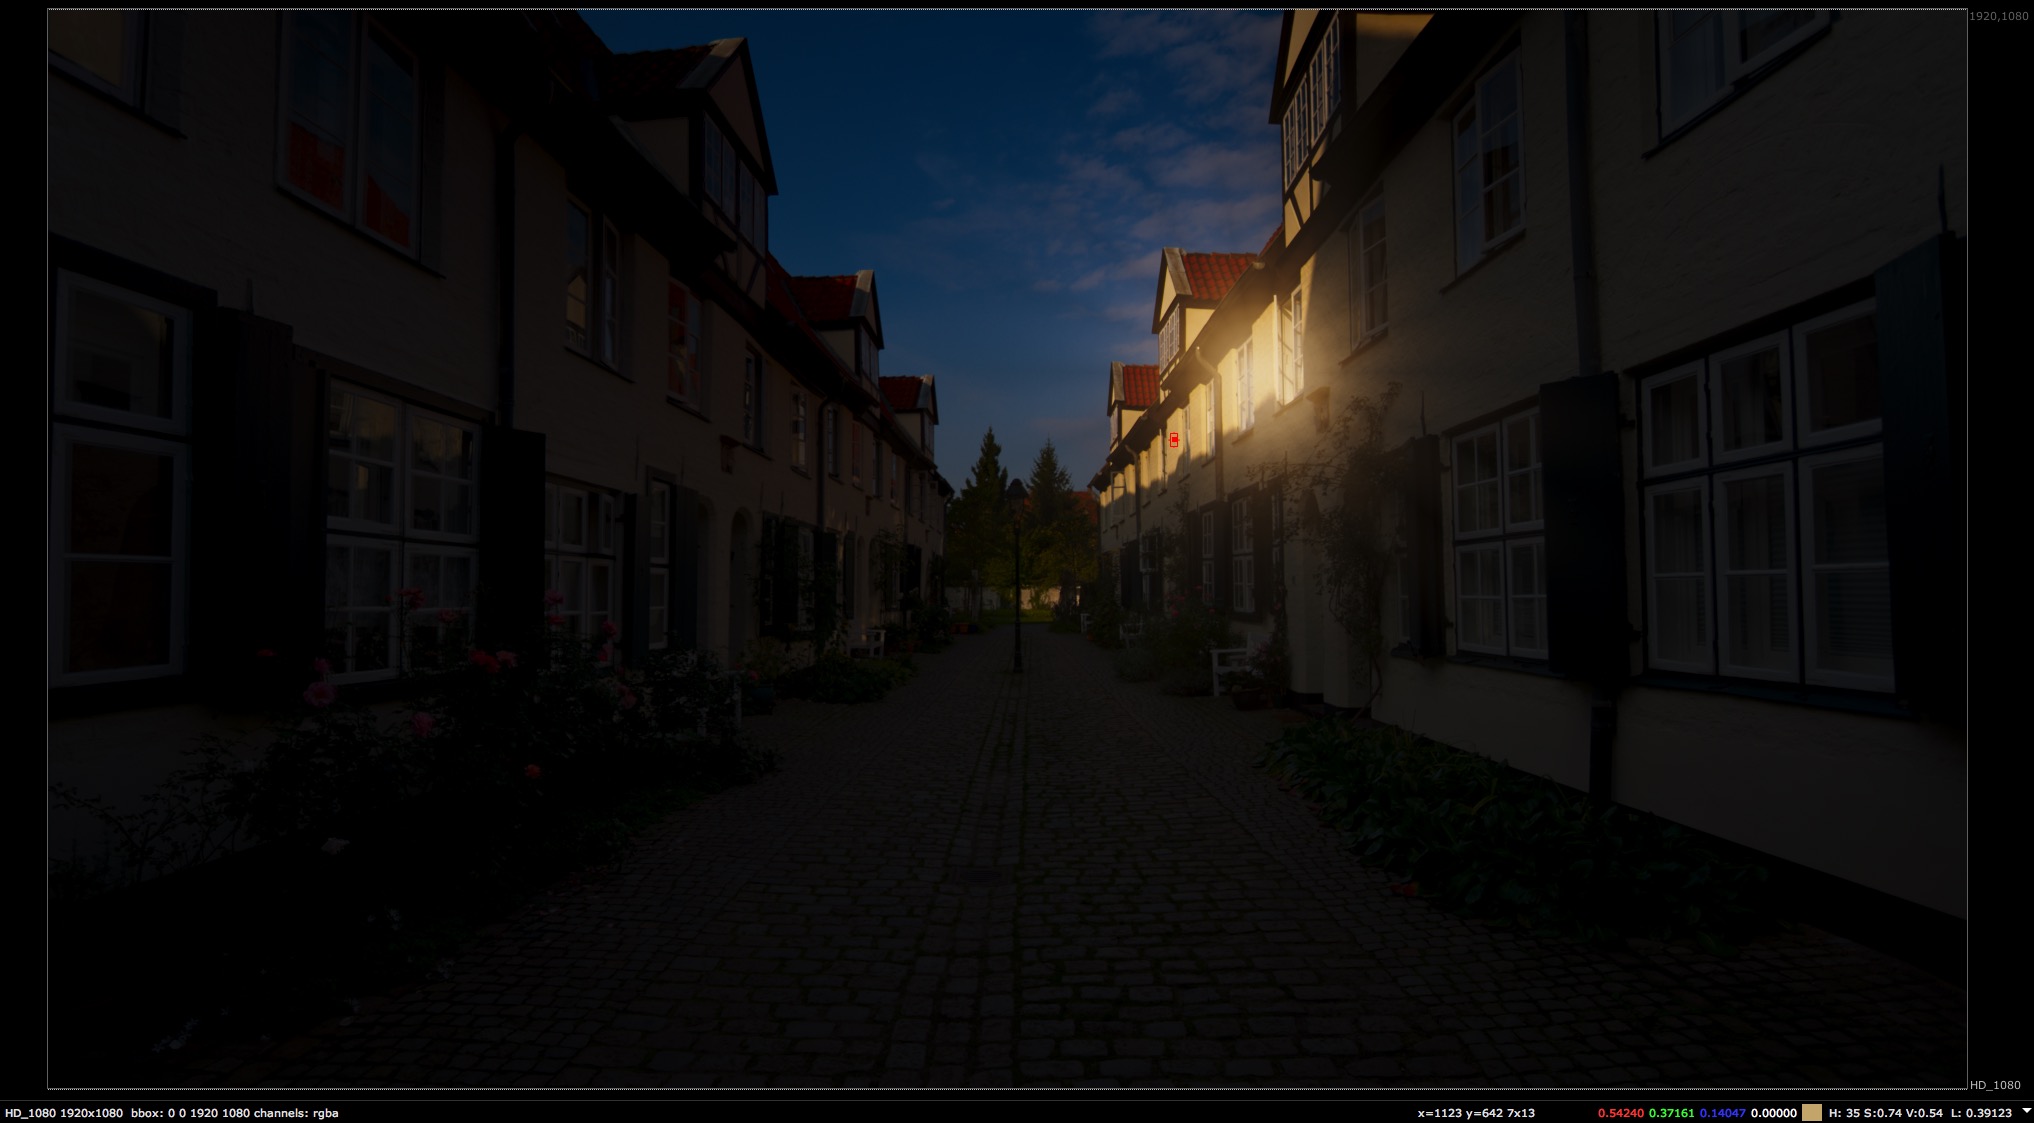
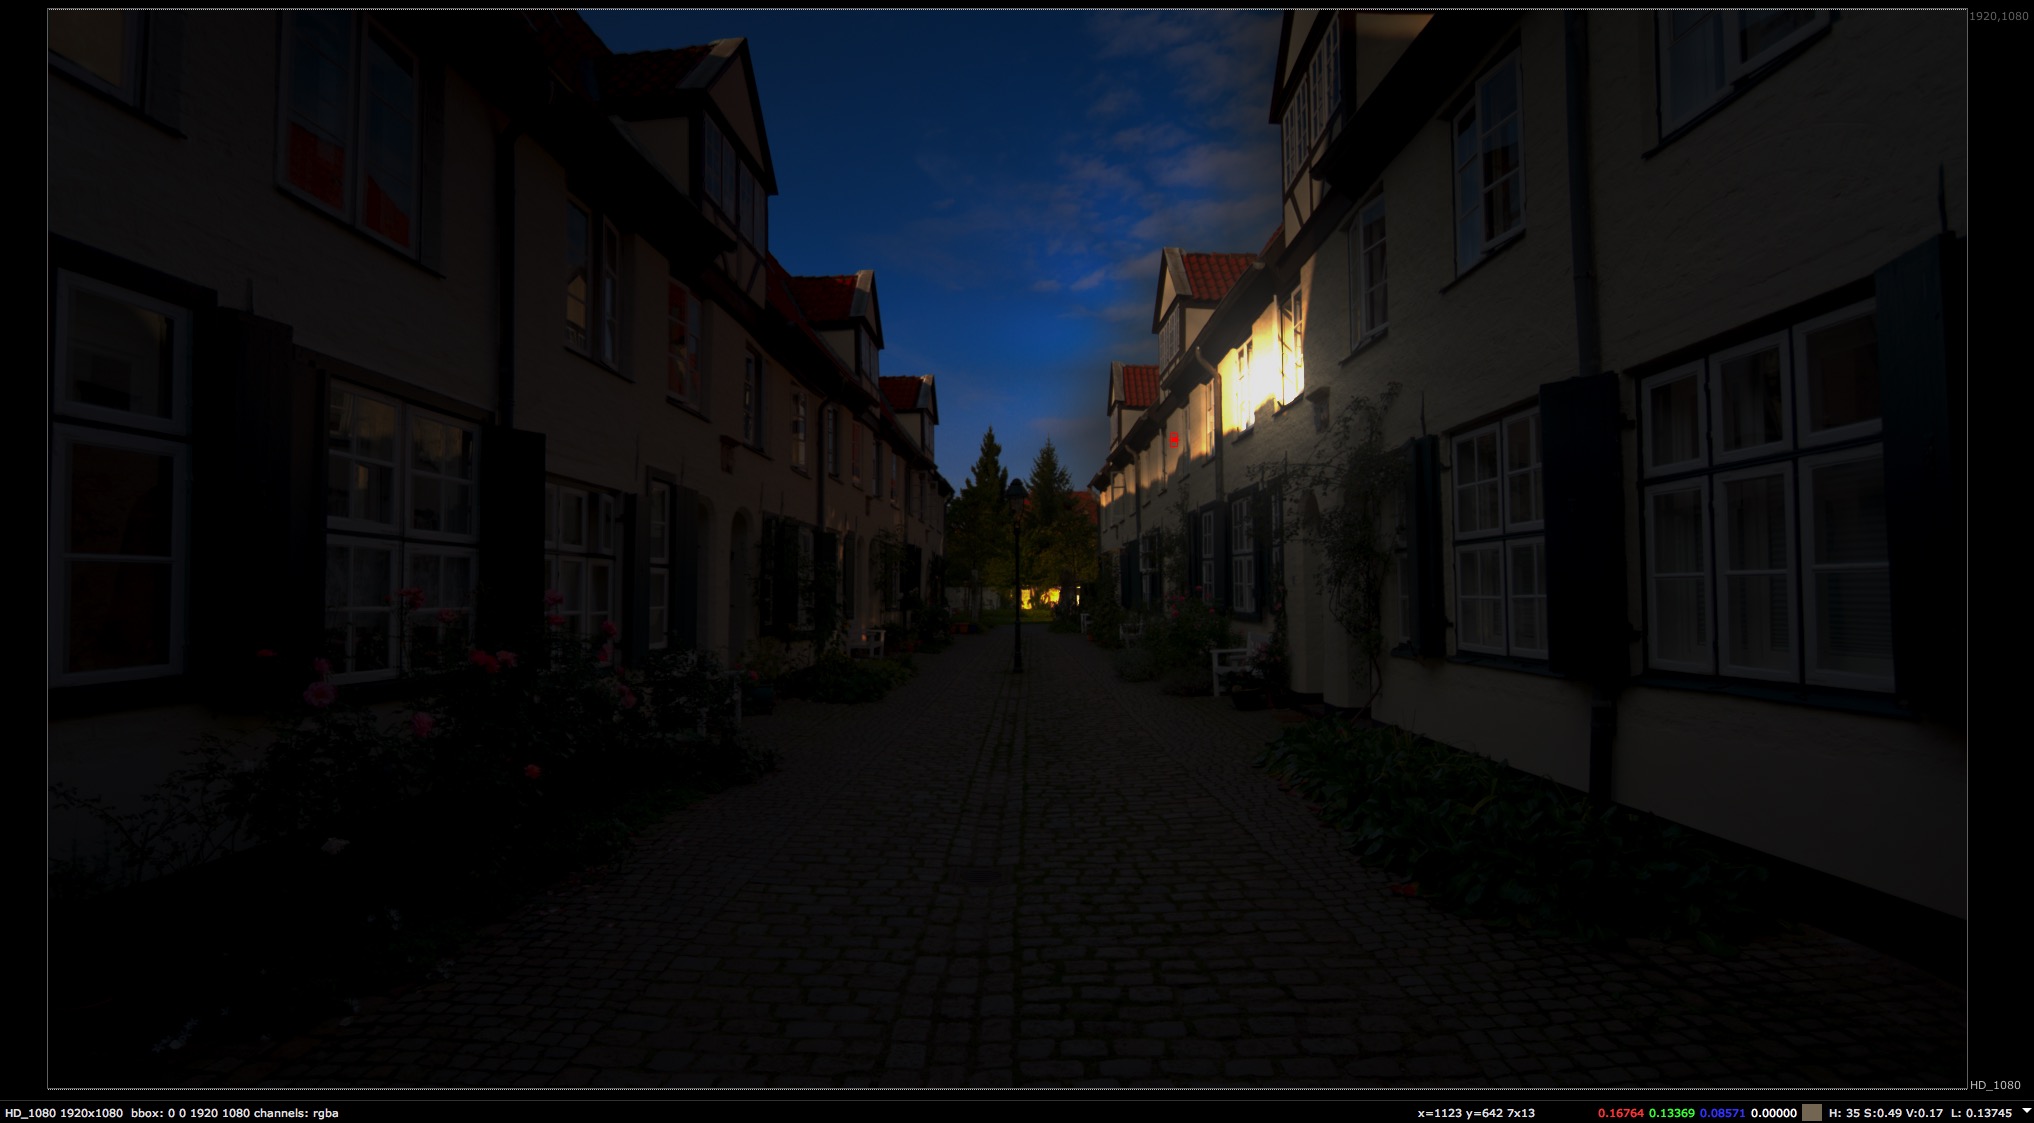
To get to this result it is important to understand that a scene referred workflow is needed, a display referred workflow can’t work. This will be pointed out in the following screenshots from Nuke.


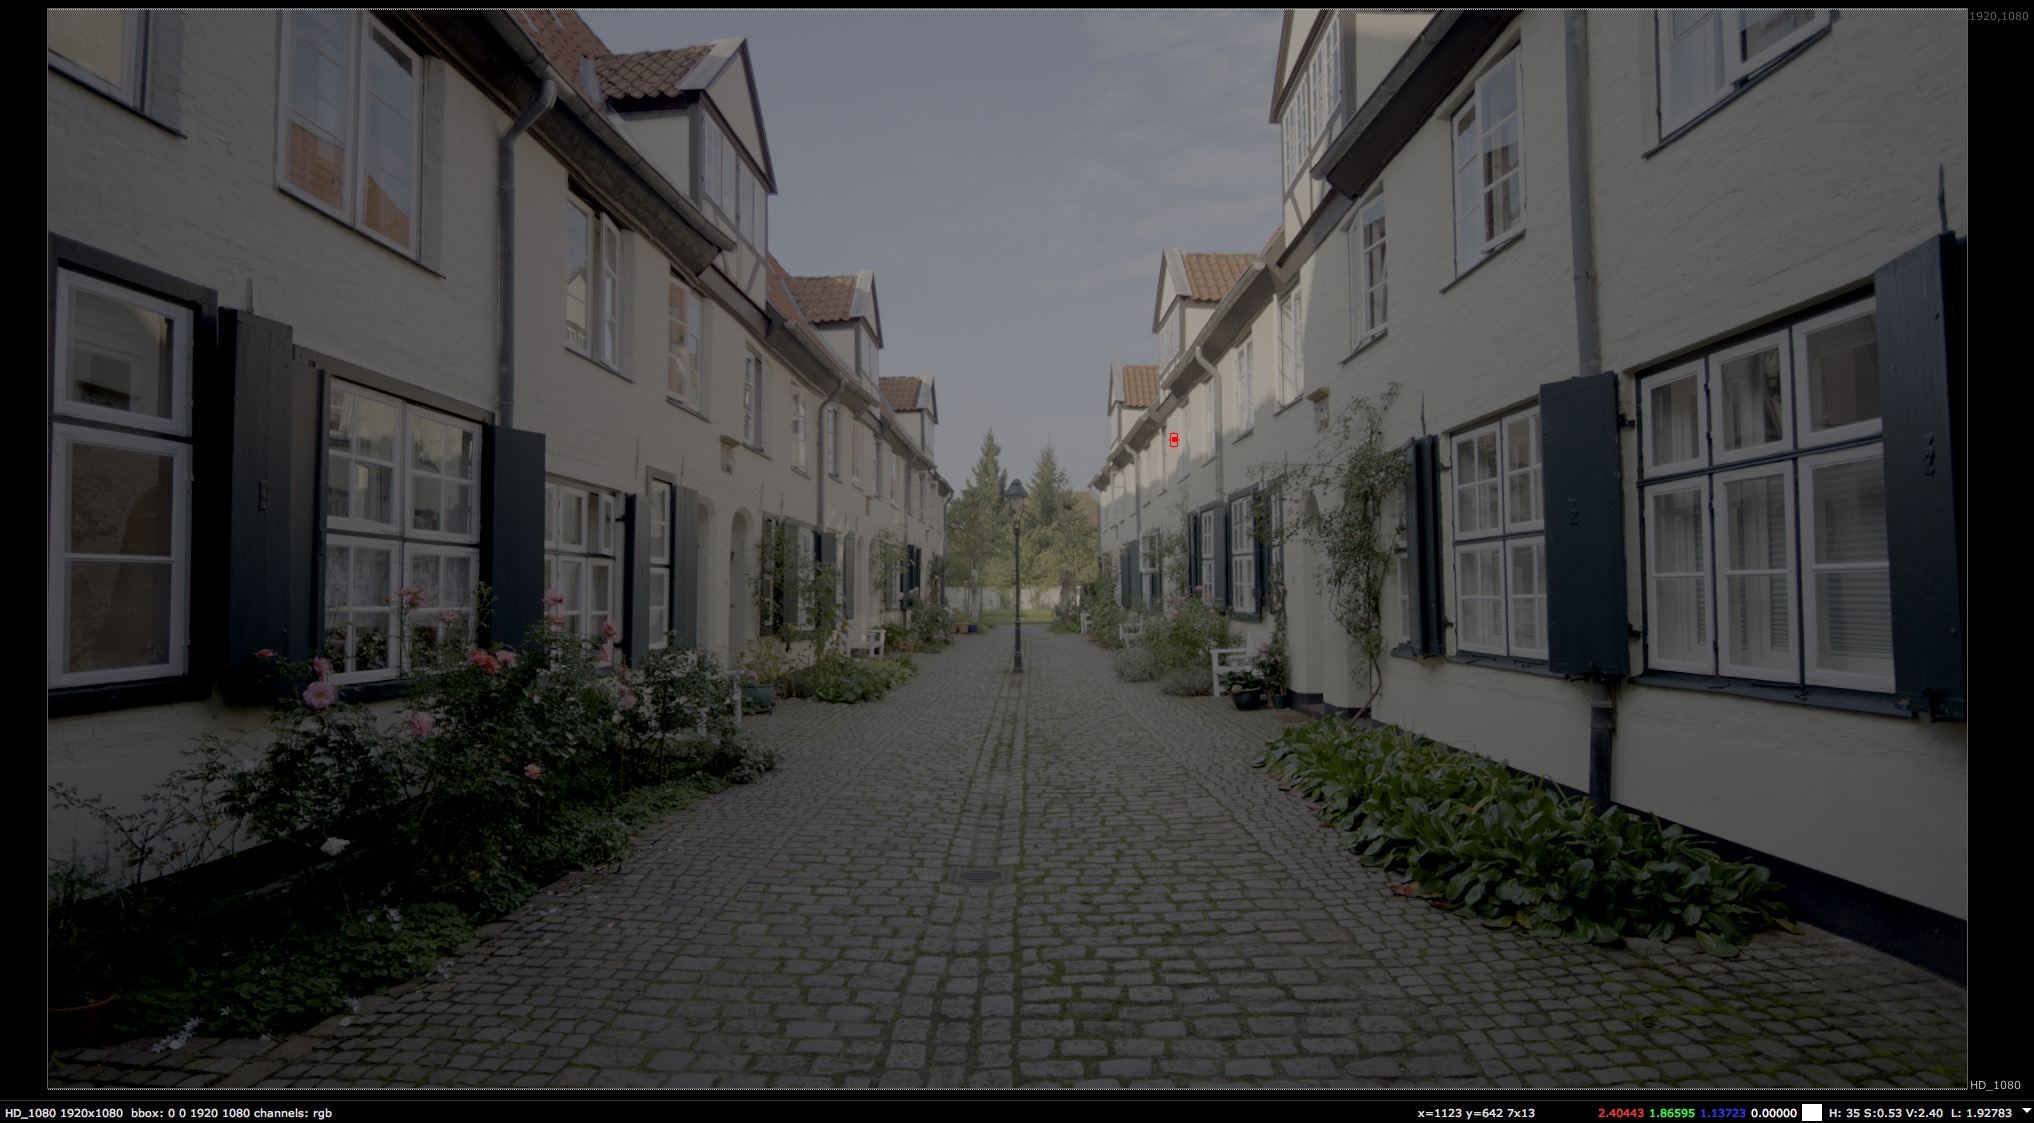
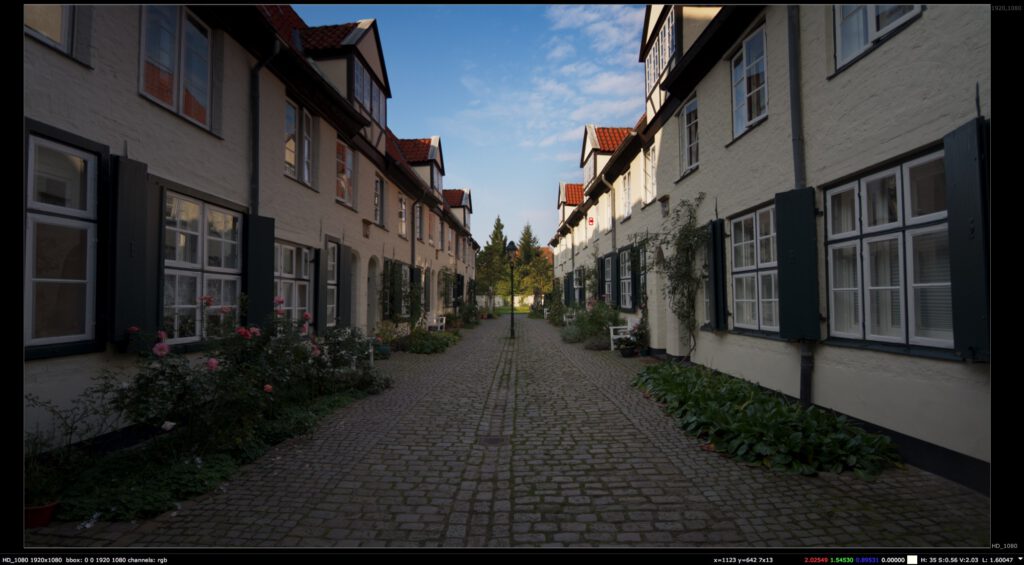
Note that the RGB values of the measured area are staying the same for all three images. This changes from the moment the view transform is applied. Then the values are 1.0 or less and from there on you work display referred.
Comp scene referred vs. display referred
add small grading adjustment steps
the results

and the underlying image data
Working in a scene referred working environment keeps the image data intact, compositing operations work actually how photons would illuminate a scene and different output formats are possible.
Here is a download link of all the HDR files. HDR playback in the Finder works with the Quicktime Player X.