Converting a Blender FILMIC scene to ACES
For nearly all my tests on this website I am using Blender with ACES. I rarely use Blender Filmic, because in my job we work in ACES with Maya/Houdini and Nuke, Resolve and Flame.
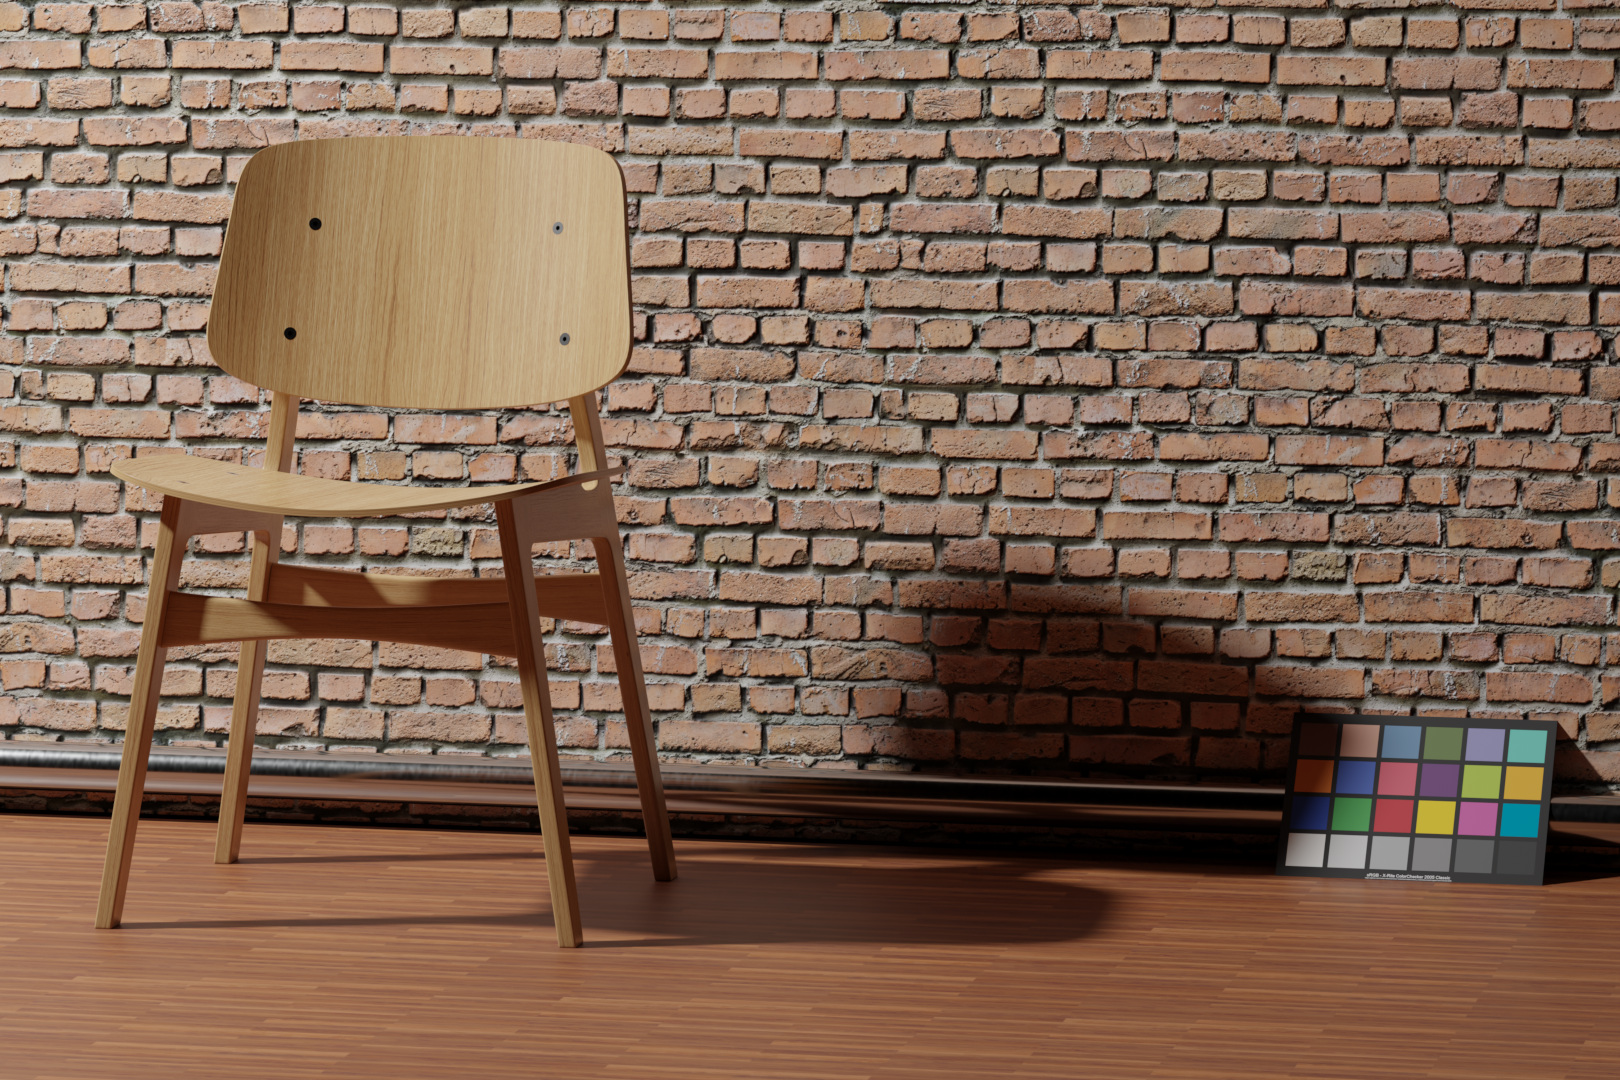
Recently I saw a very good tutorial on YouTube from Andrew Price (Blender Guru) about modeling, texturing and rendering a chair in Blender. In the videos it is also shown how to use textures with an easy add-on for blender from his company POLIIGON that I used for this page.
I was actually too lazy to model the chair by myself but at the end of the tutorial there is an offer to buy the chair & textures for a small fee and support his work doing tutorials for free.
Now that I got the chair model and some more free textures to play around with in a Blender scene – the only next step was a simple light setup and an old Theta-S indoor HDRI to render two frames.
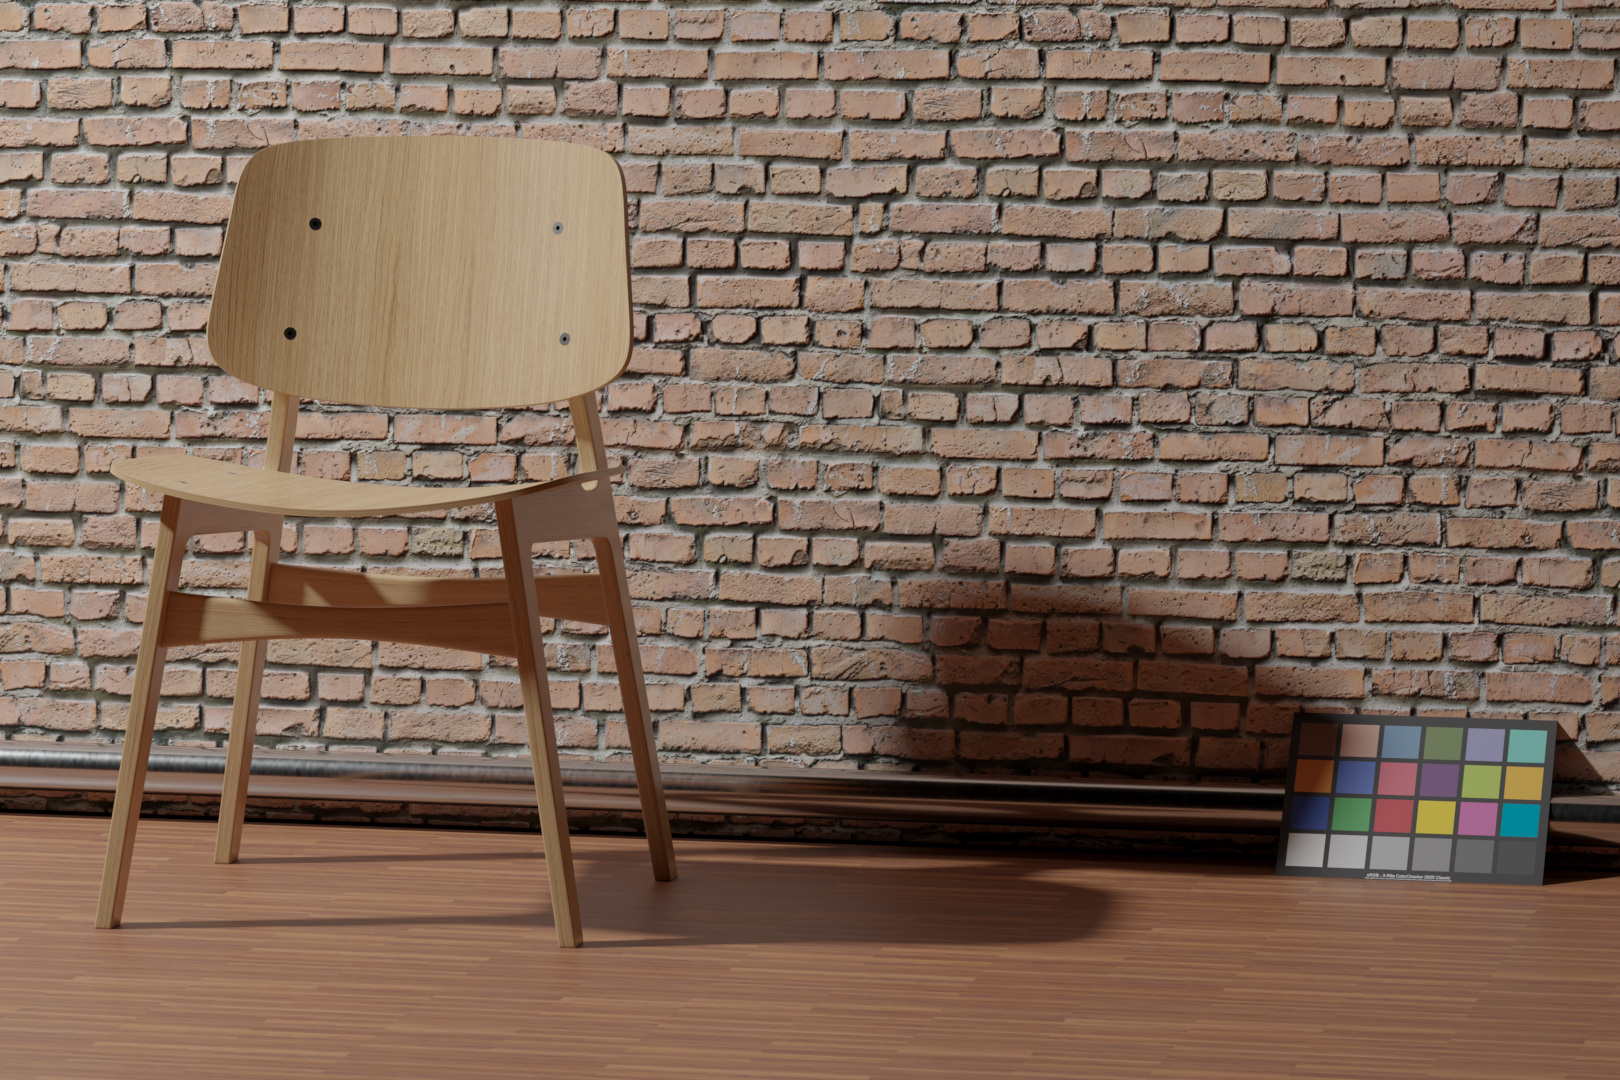
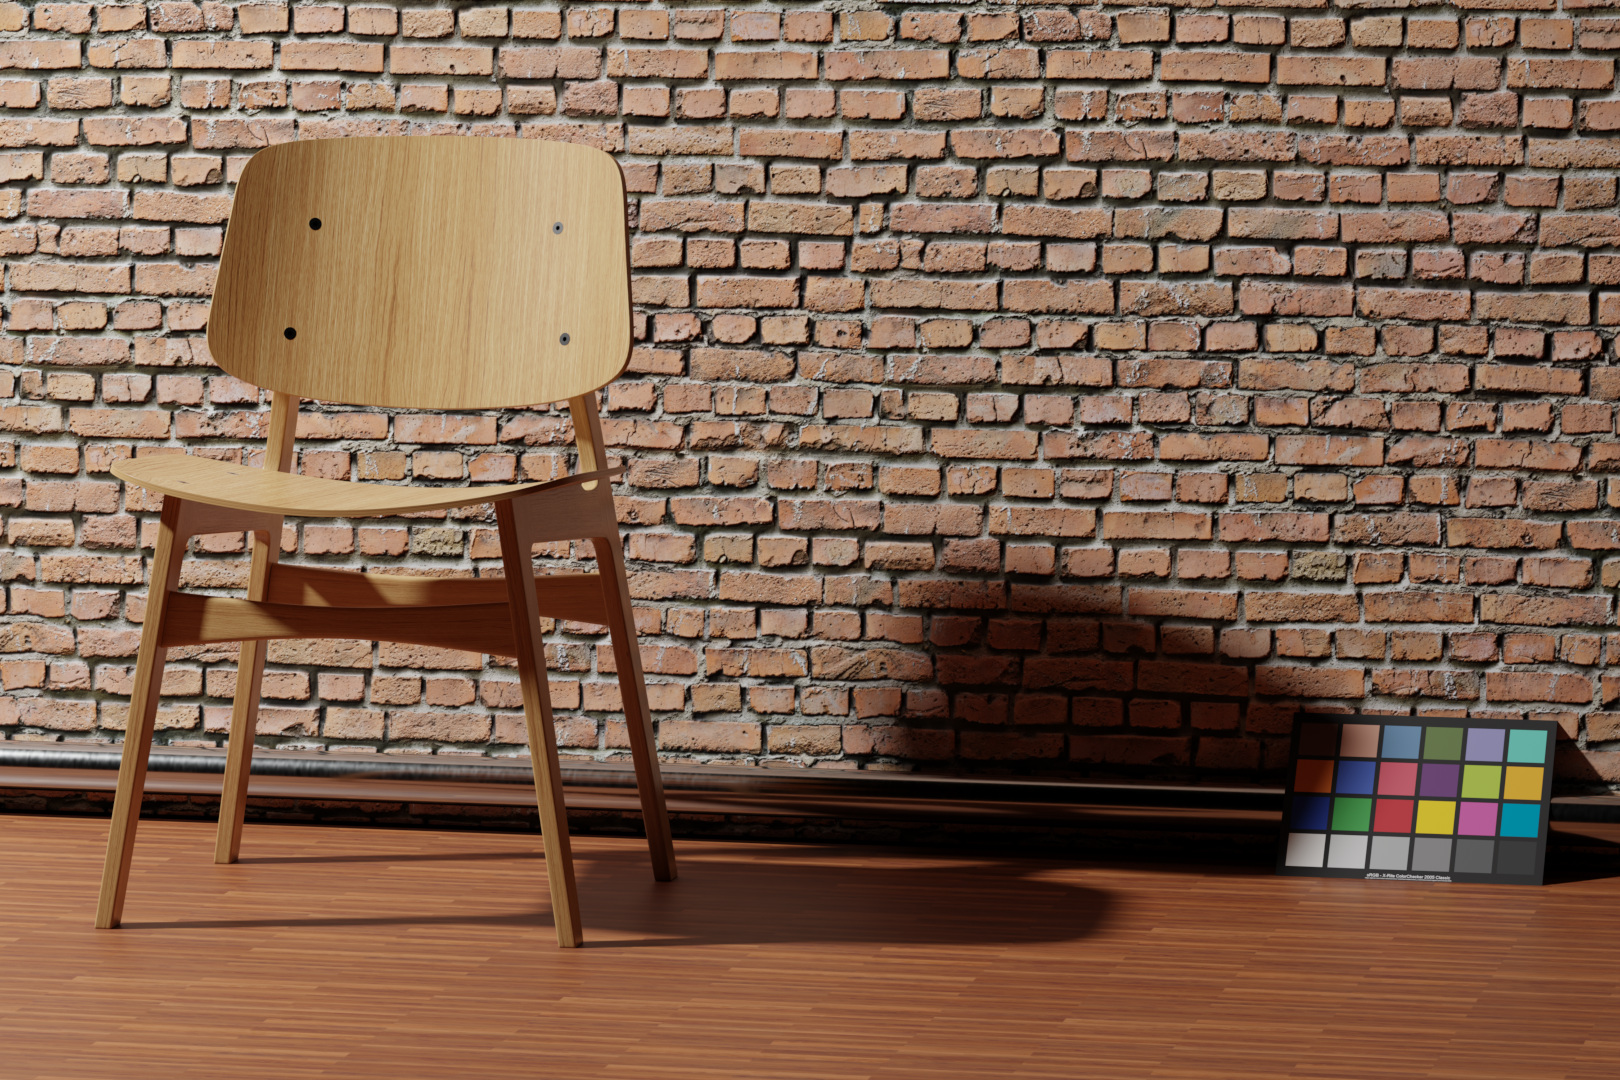
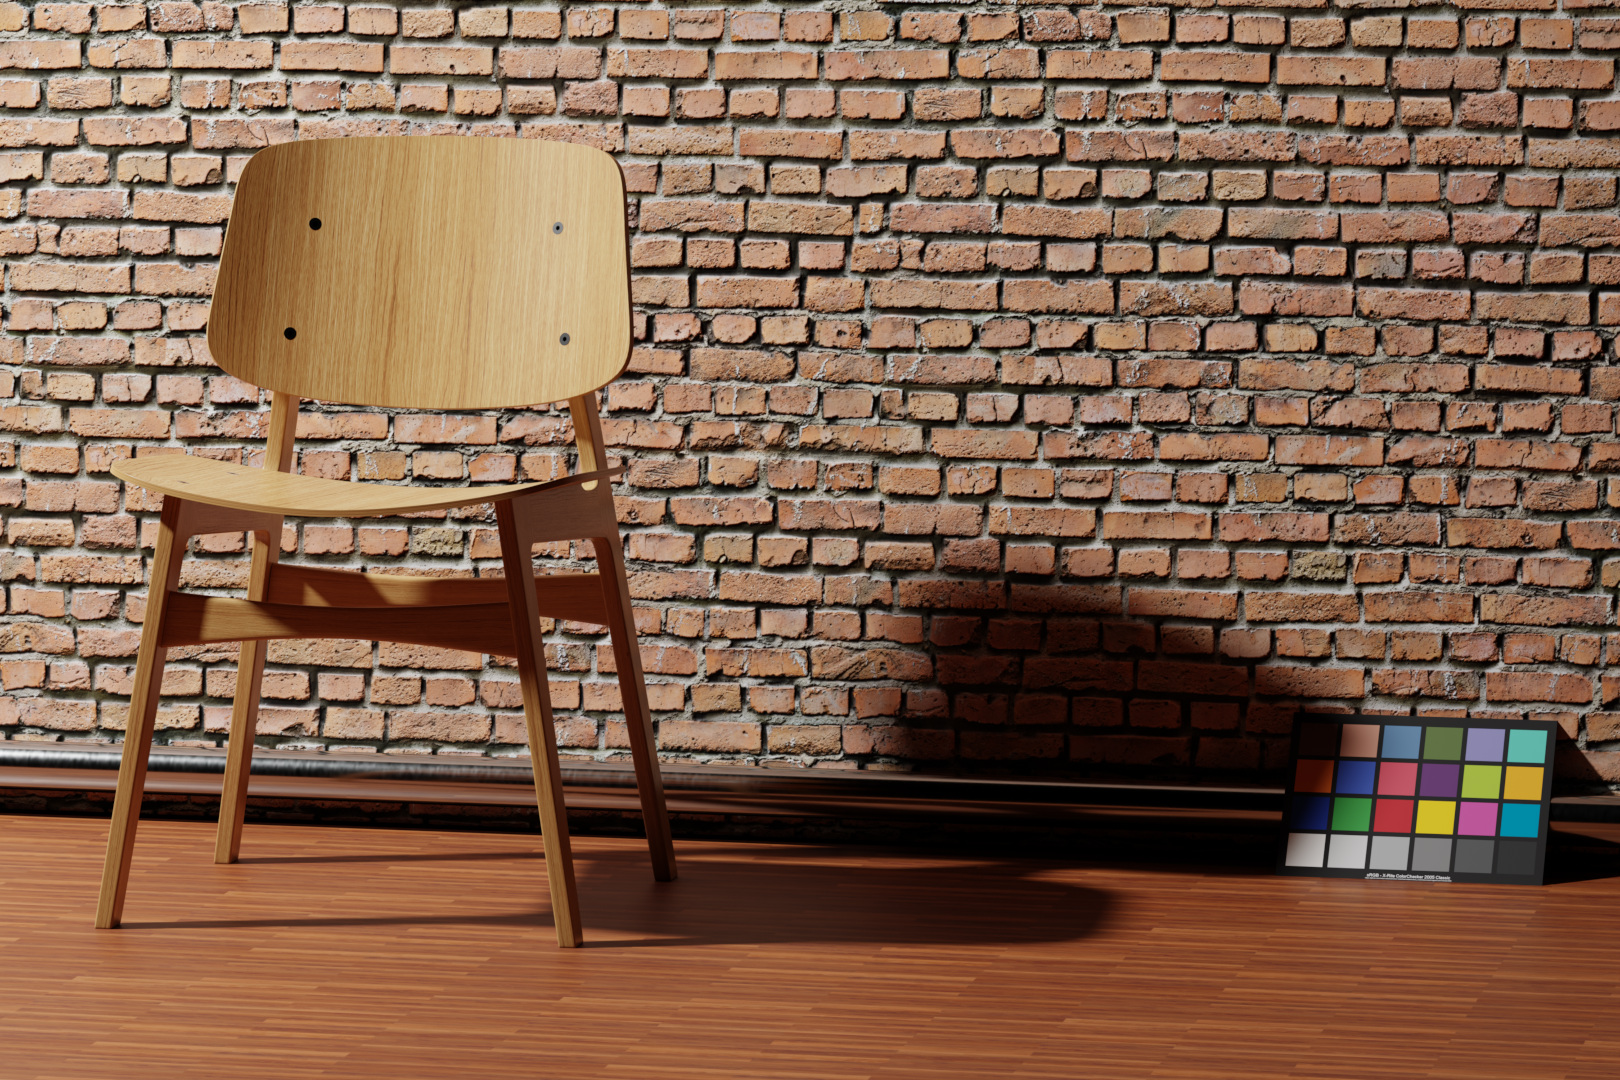
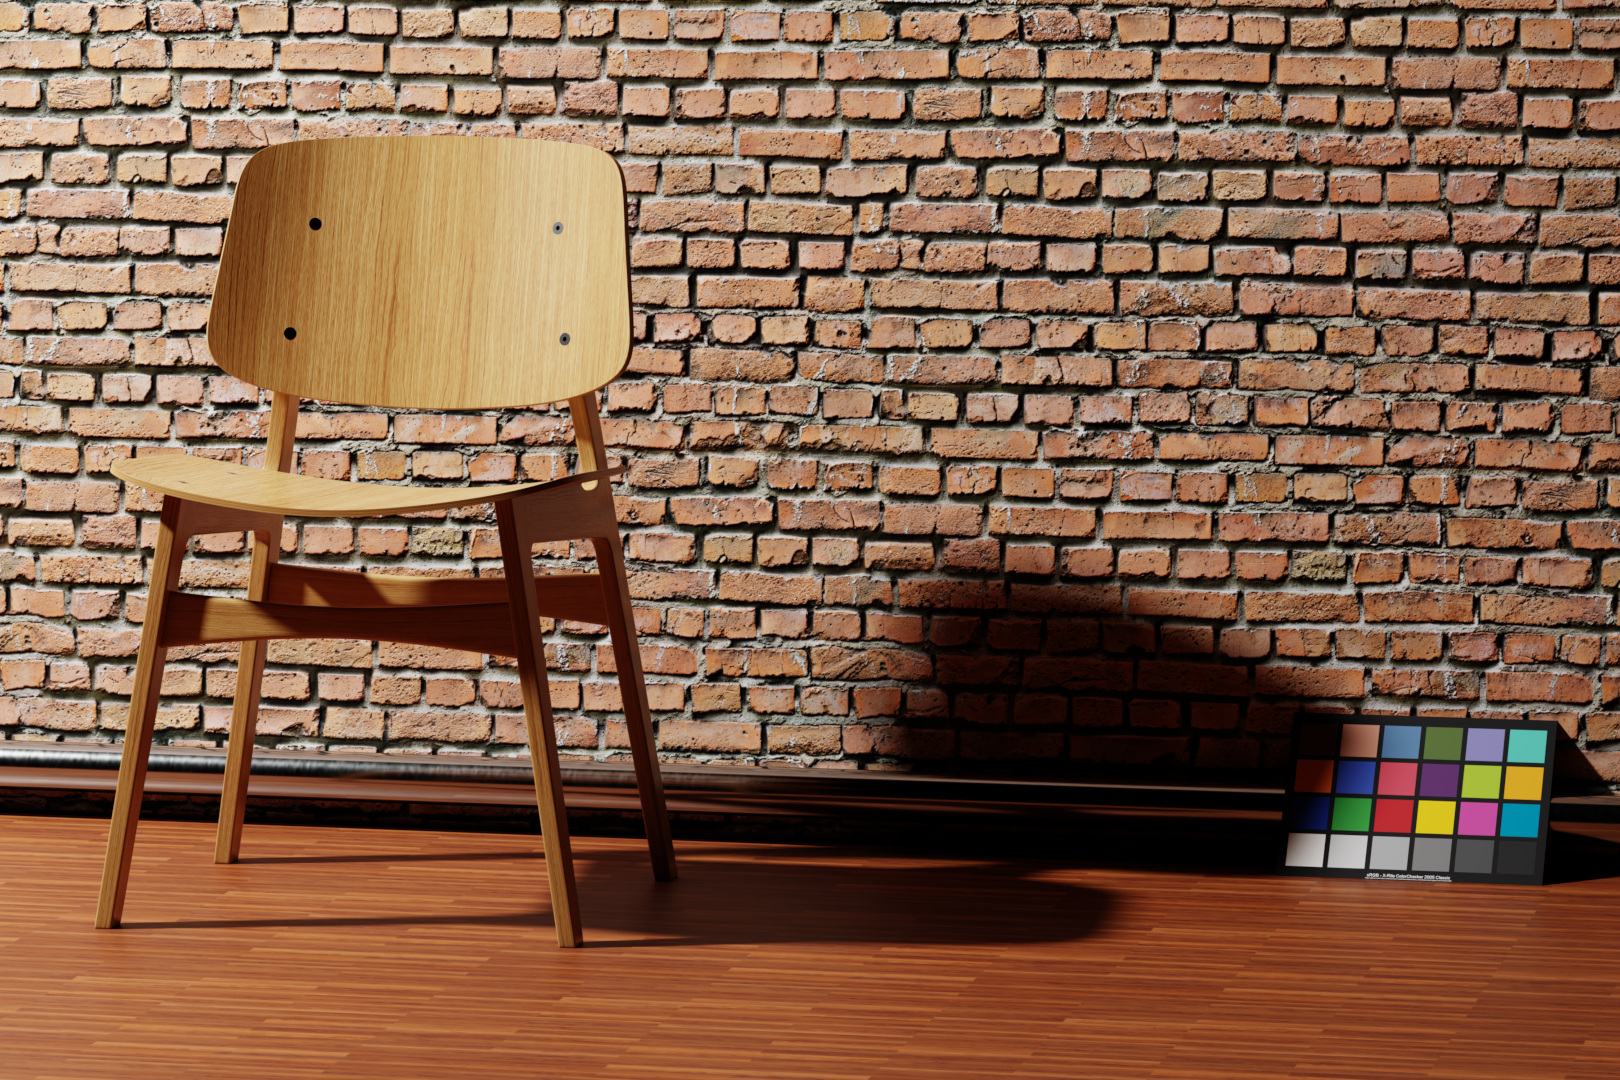
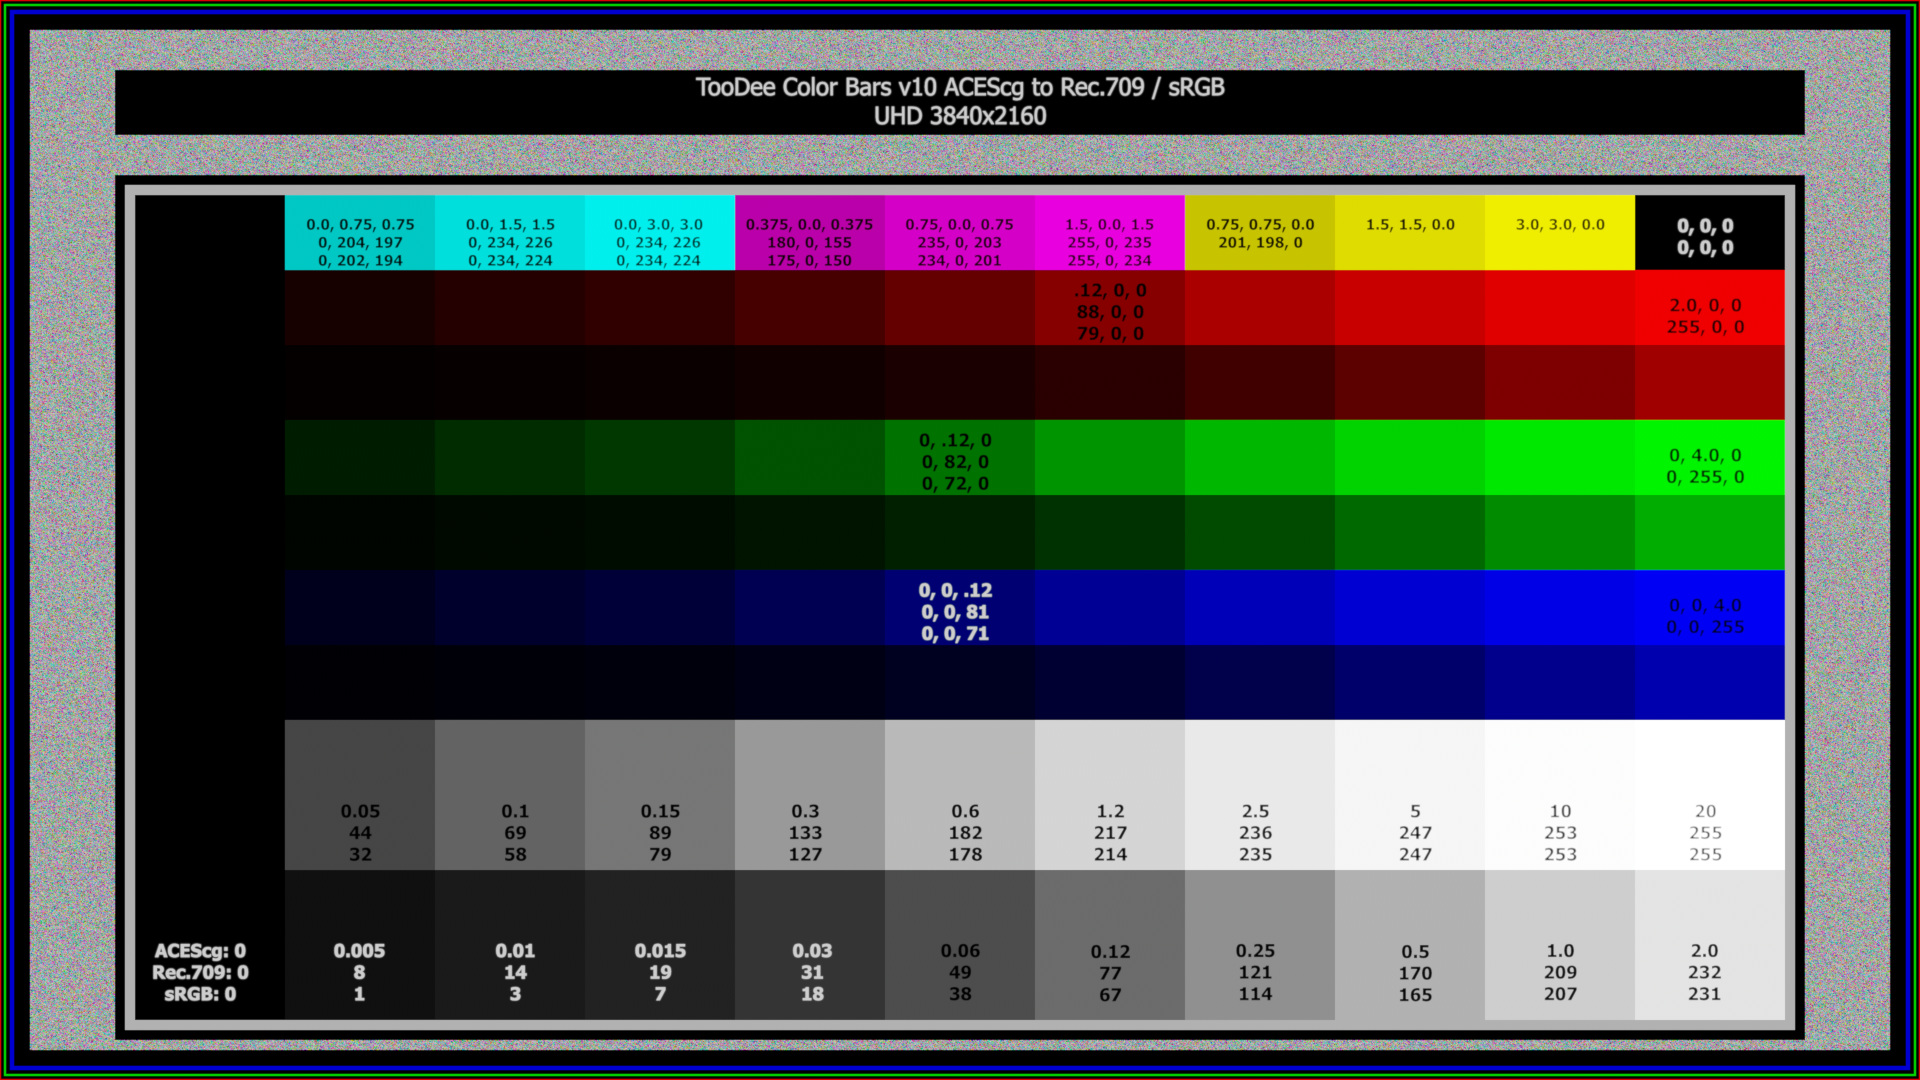
reading values on the color chart
To compare the renderings better, the middle grey patch is exposed to roughly 18% or 0.18 scene linear – so the look of the images are not that important here at the moment. It’s about comparing numbers mostly.
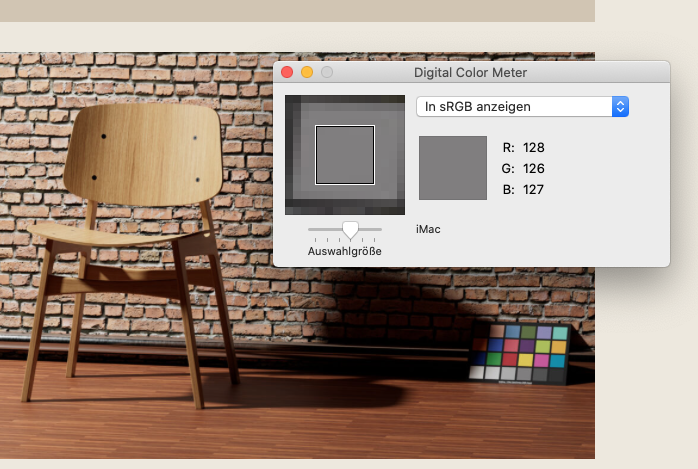
Please click on each image to enlarge them. I am writing for this website on an iMac 2013 which has still a sRGB display.
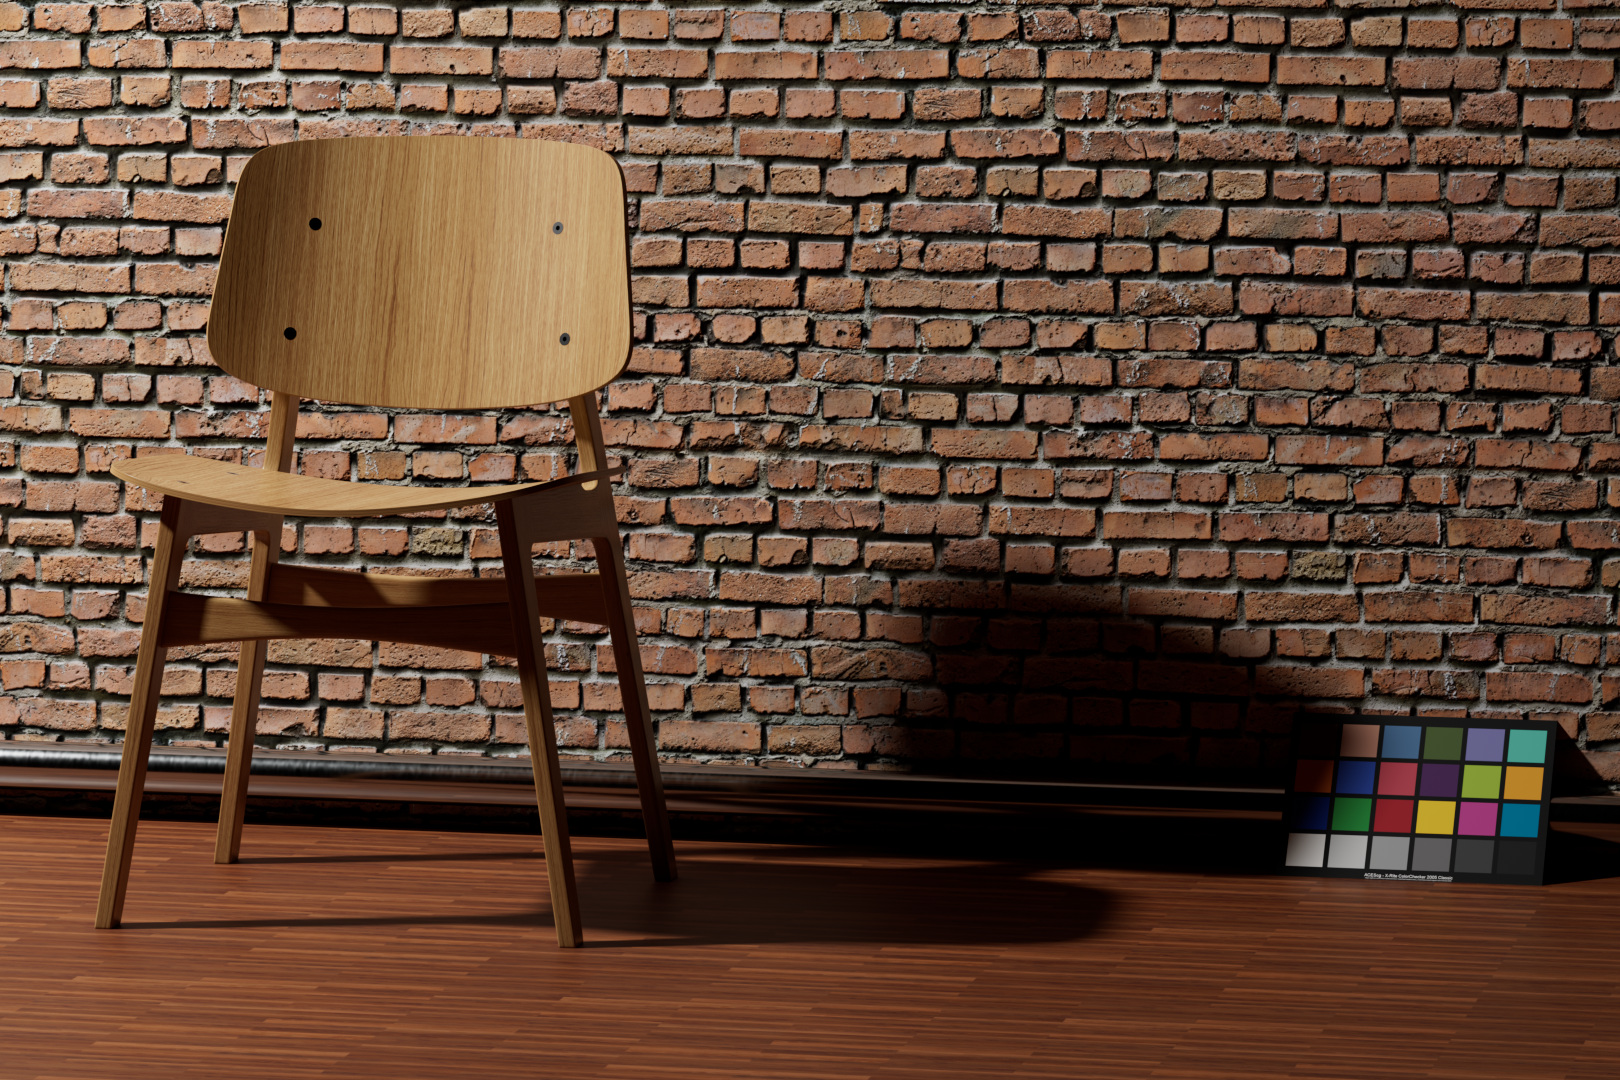
filmic
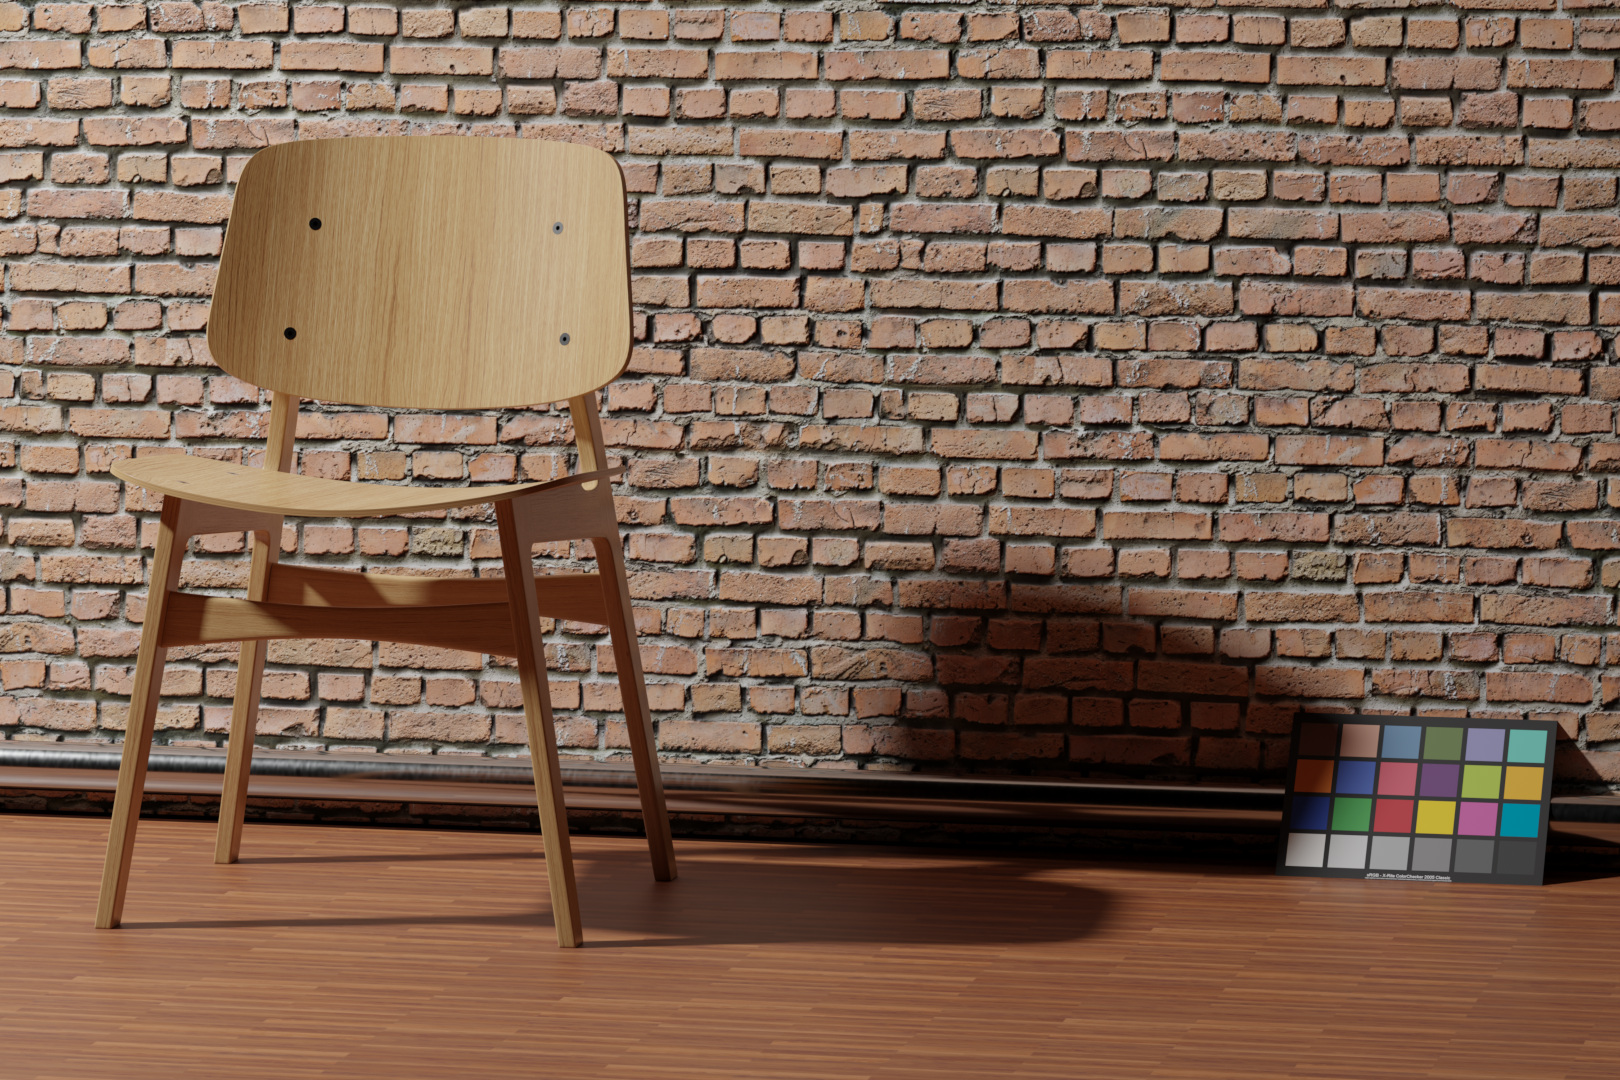
View Transform Filmic / Look None (Medium Contrast)
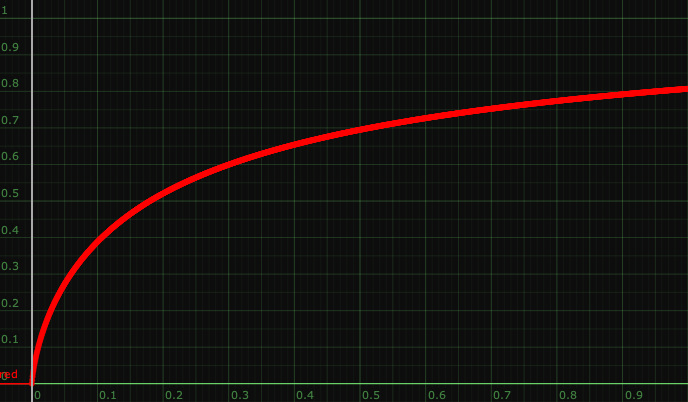
The Filmic tone mapping maps the roughly 18% of the chart to RGB 128,128,128 (middle grey in the range from 0-255)
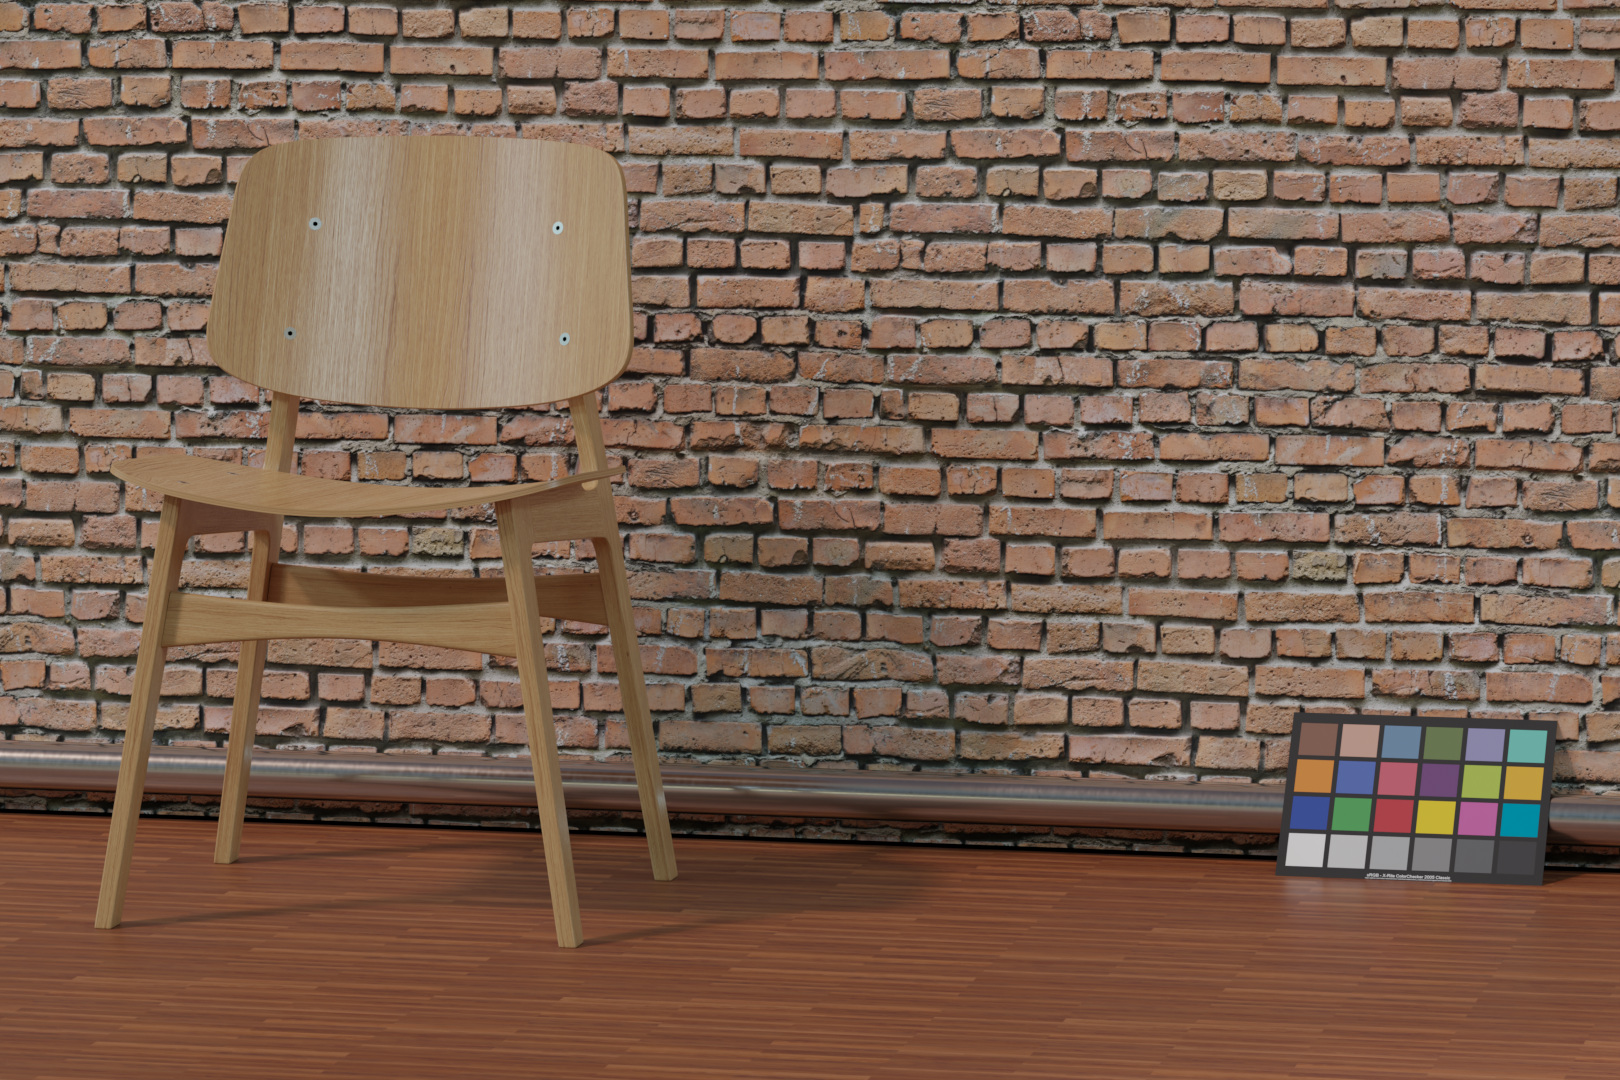
Expose the rendering a stop under and the image looks actually better. The HDRI was also balanced to a color checker and to 18% grey on it – and this would be the result by only using that HDRI and forget about how the exposure of the color chart in the rendering is.
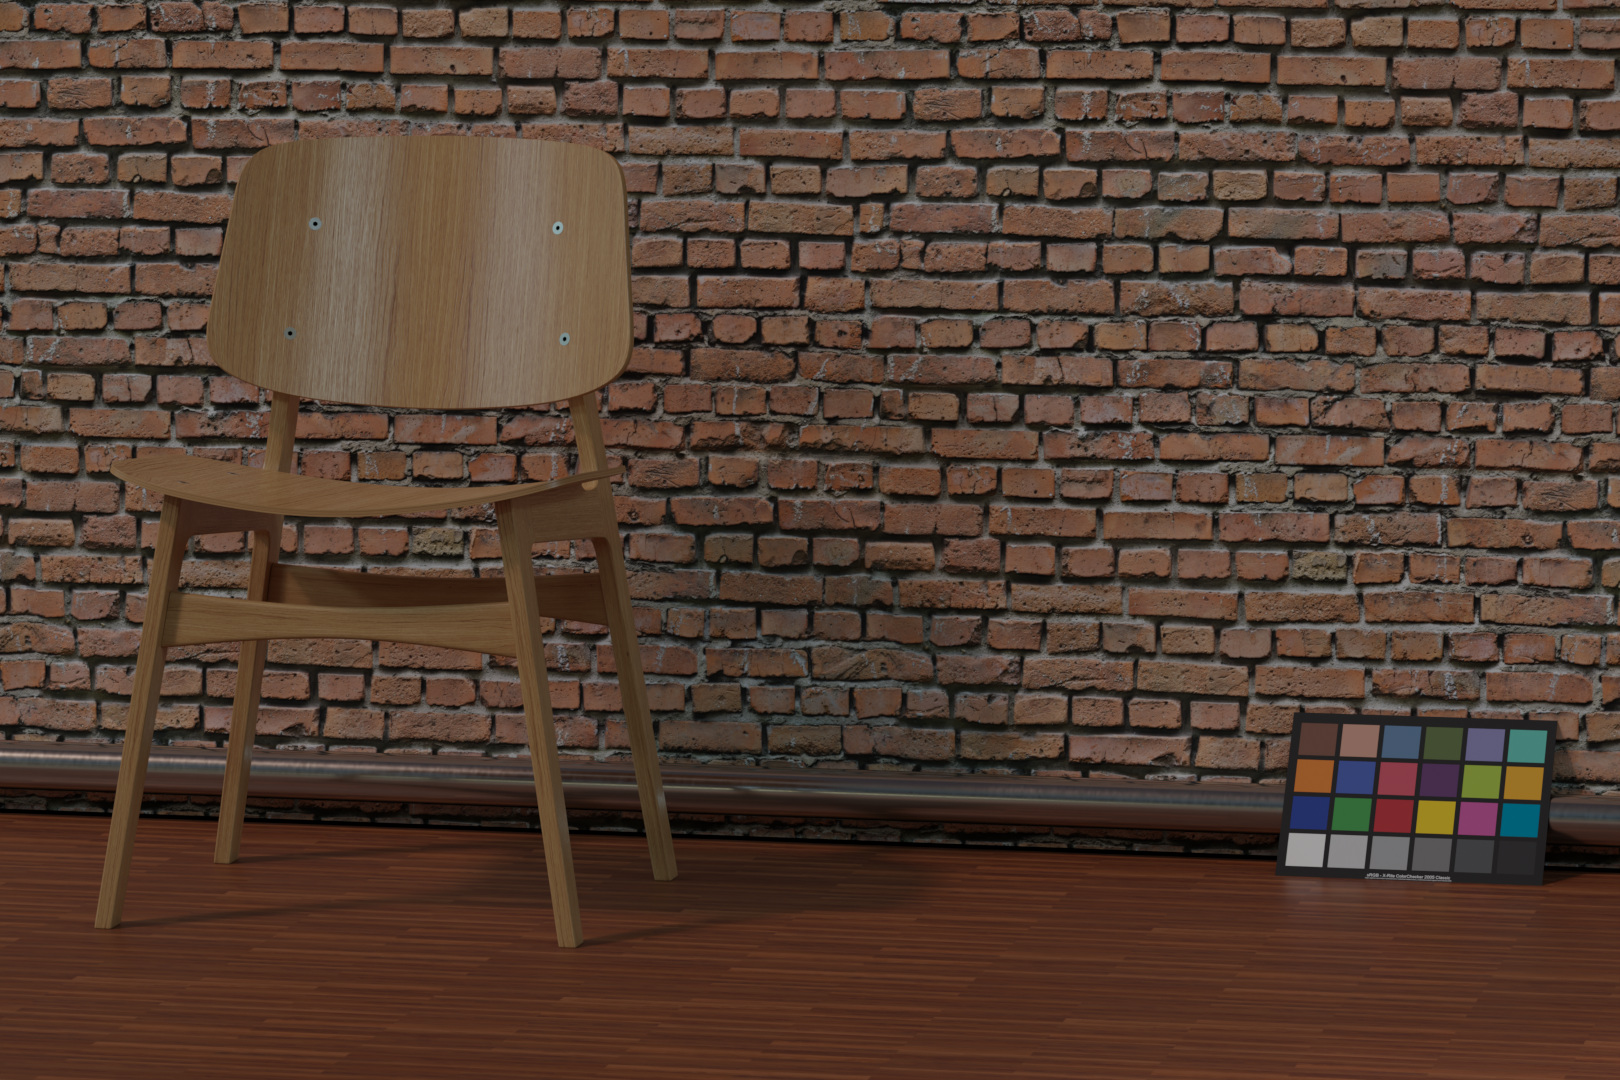
aces
I saved a copy of the scene under a new name indicating it will be an ACES scene and loaded it again in a Blender with OCIO set to ACES 1.2 like it is described here.
I had to change the following:
- replace the texture on the color chart with the proper ACEScg version and IDT.
- check all materials that have textures and set the IDT to Input sRGB-Texture for the color maps, all other non-color data maps like normal, bump, displacement etc. are set to utility-raw or just raw.
- replace the HDRI with an ACEScg version or use the same one as before and set the IDT to utility-linear-srgb.
The color management is set to ACEScg and the default “View Transform” is set to sRGB. The last thing I always do is to add to the render filename the color space tag filename_acescg.####.exr to make sure to know how to view the rendering properly in Nuke.
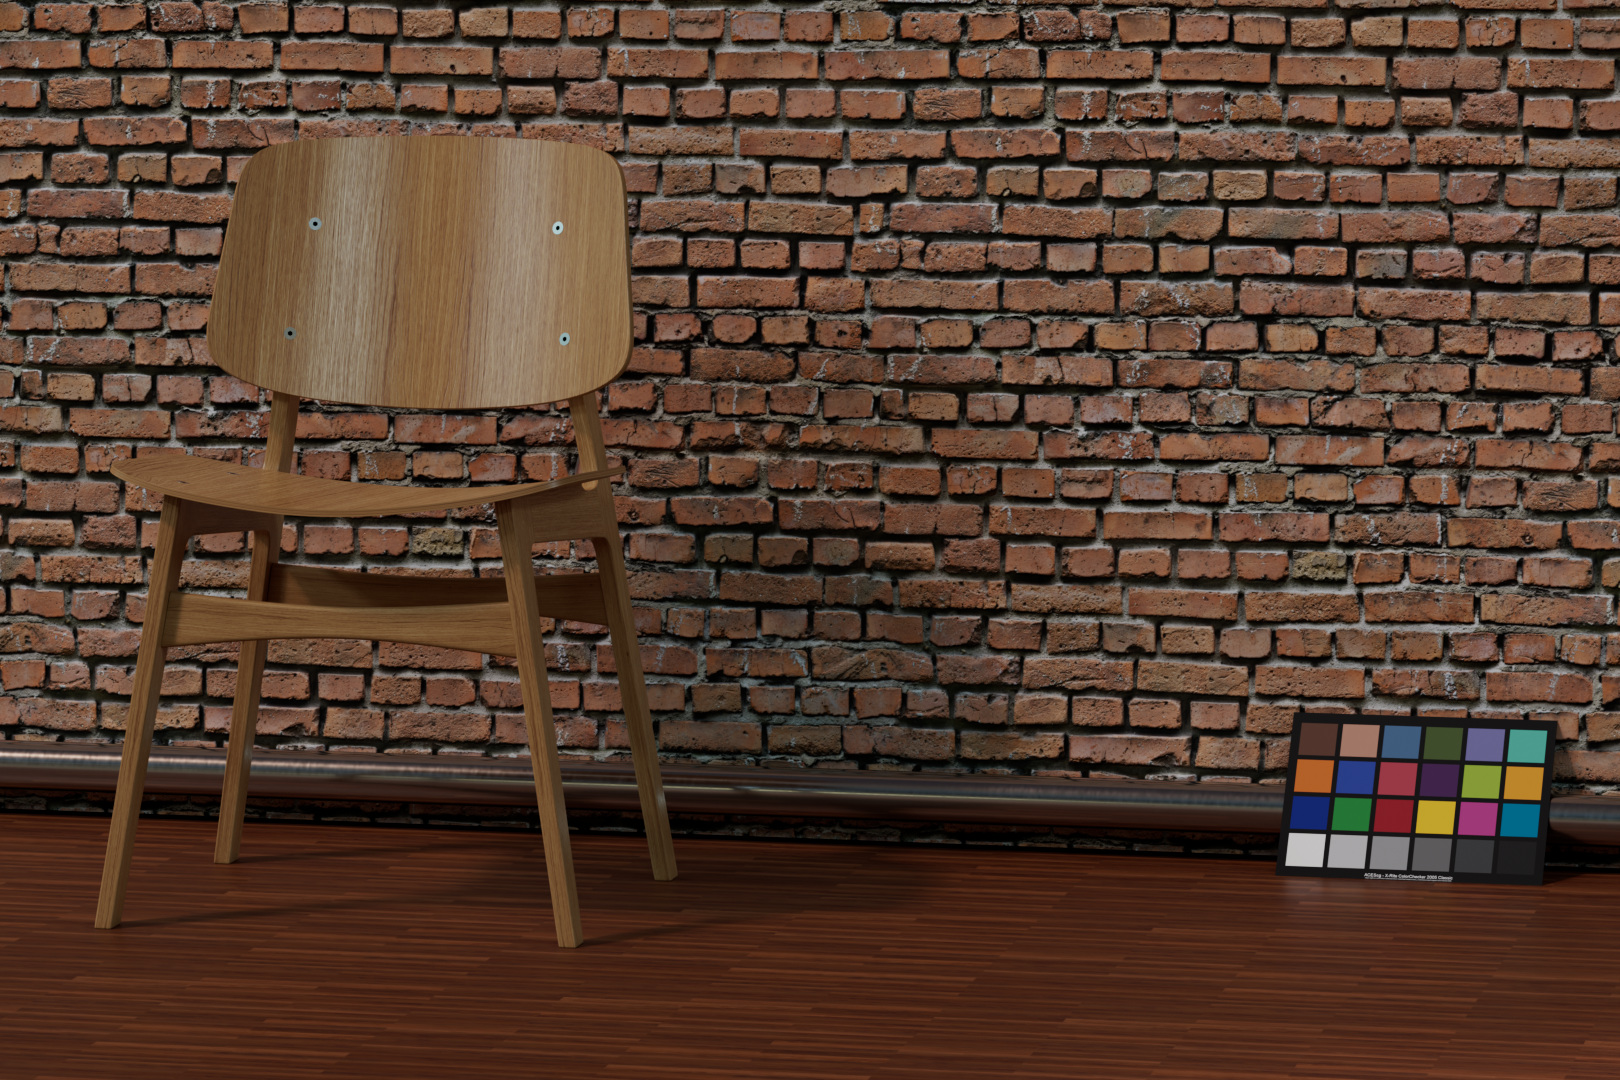
Note: I was pointed out by Troy Sobotka that the ACES sRGB ODT does not map the 18% grey to RGB 128 like it does in Filmic, but actually more to RGB 90. I was not aware of that. To compensate for that you can add roughly EV +0.8 (or a gain of 1.741) and then the chart will be mapped as well here on the page to RGB 128.
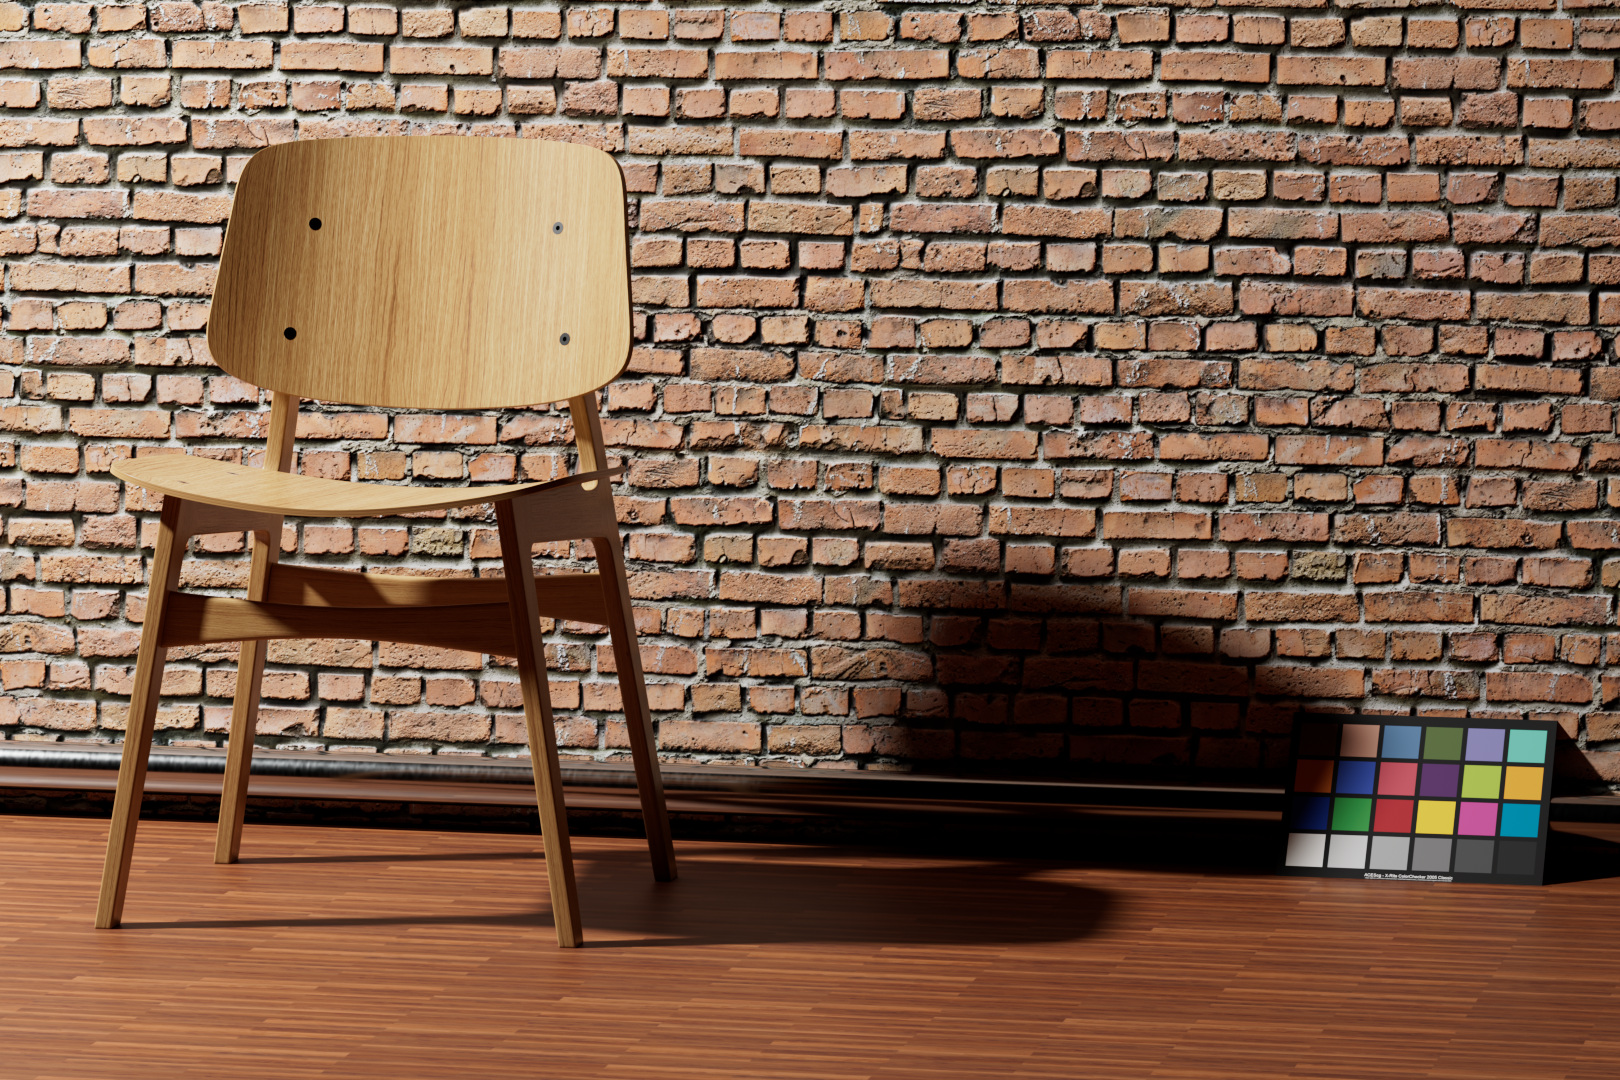
filmic vs. aces comparison with default values
- The Blender Filmic (Look None) images are exported out of Nuke with an OCIO set to Blender Filmic.
- The ACES sRGB images are exported straight out of Nuke 12.1v2 with ACES 1.1. (here again without the EV +0.8.)
Which one is better? I see differences in exposure, contrast and color saturation. So what is actually different between the images and what not?
Thinking scene referred
Nothing changed, apart from the text under the color chart. The exposure of the scene, the intensity of the HDRI or point light intensity didn’t change. The textures are the same – in Blender Filmic they got linearized, in Blender ACES too but also placed into the working colorspace ACEScg.
Load these four images into Nuke (set to ACES) and use the respective IDTs (linear-sRGB and ACESCg) and compare each of the two renders – there is no difference apart from the overall noise because these are two distinct renderings.
JUDGING display REFERRED
So the only difference between the resulting JPG images here on the page is the view transform that was used to write out the files.
Now the look is becoming a subjective topic. A view transform is an interpretation of the scene.
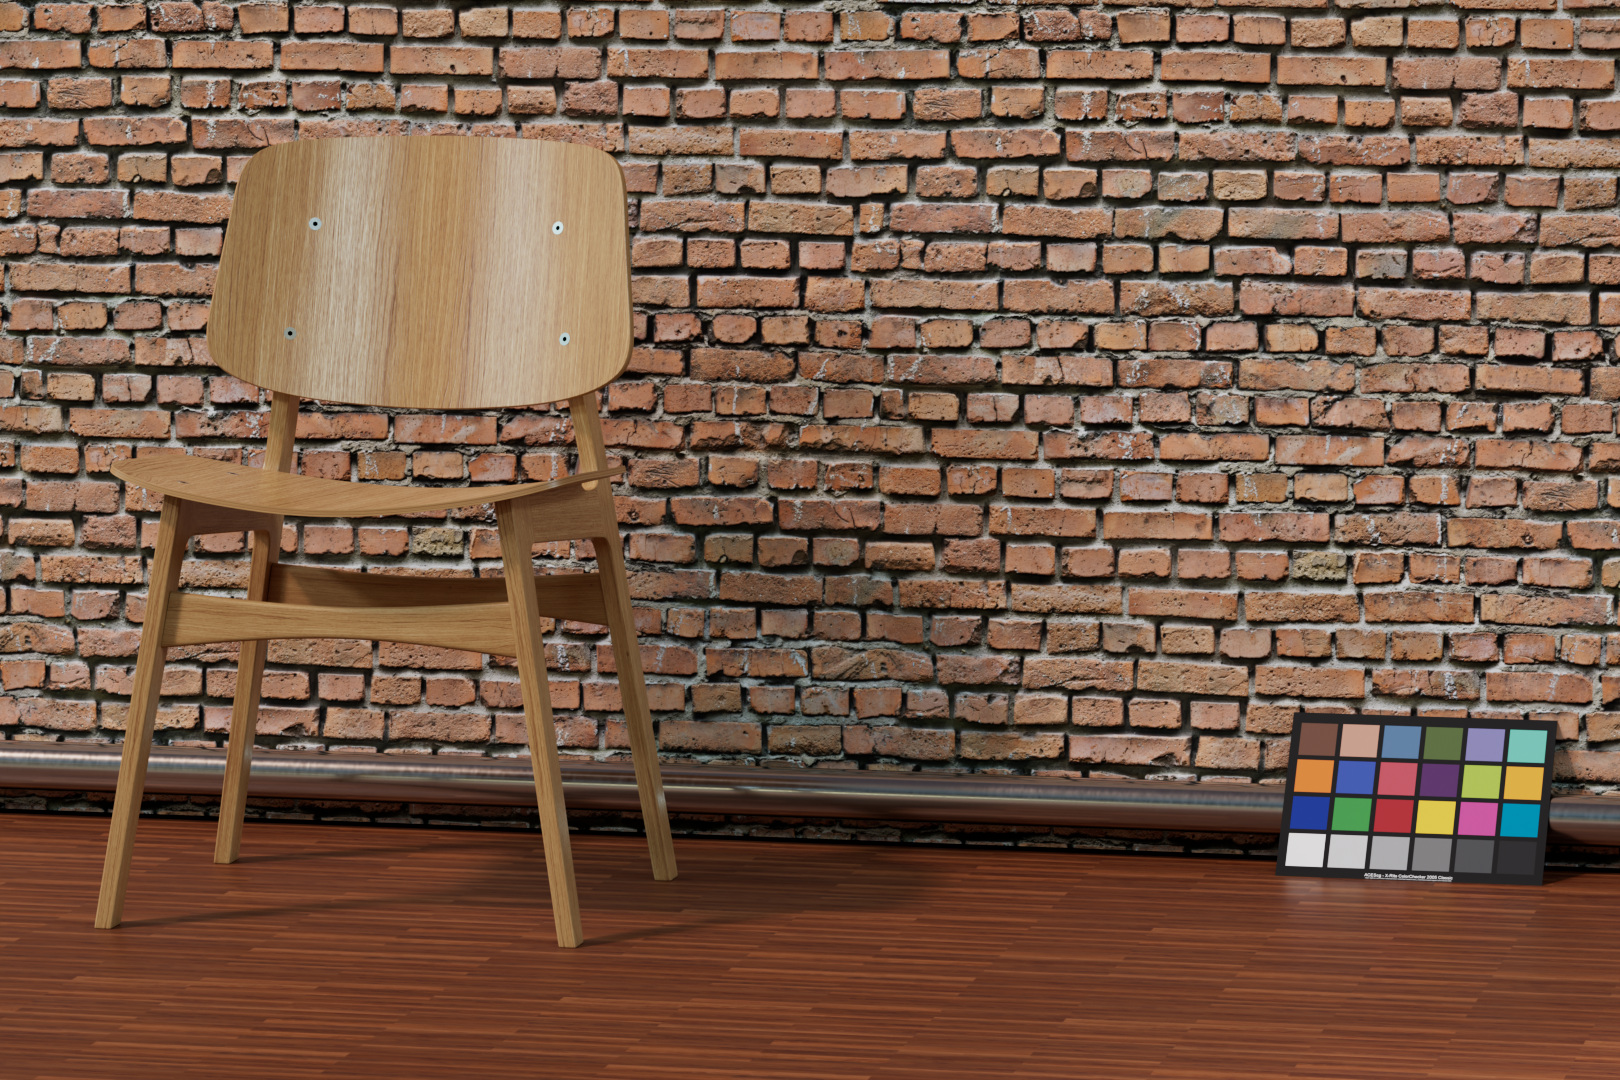
Note: Again I added the exposure compensation of EV +0.8 to help comparing the results better.
Filmic offers 7 contrast settings, whereas the ACES RRT just offers one. But ACES offers more ODT’s for different color gamuts like P3 or Rec.2020 or for an HDR (Rec.2100) outputs that Filmic doesn’t offer. Filmic is limited to the sRGB/Rec.709 primaries.
One render – seven results


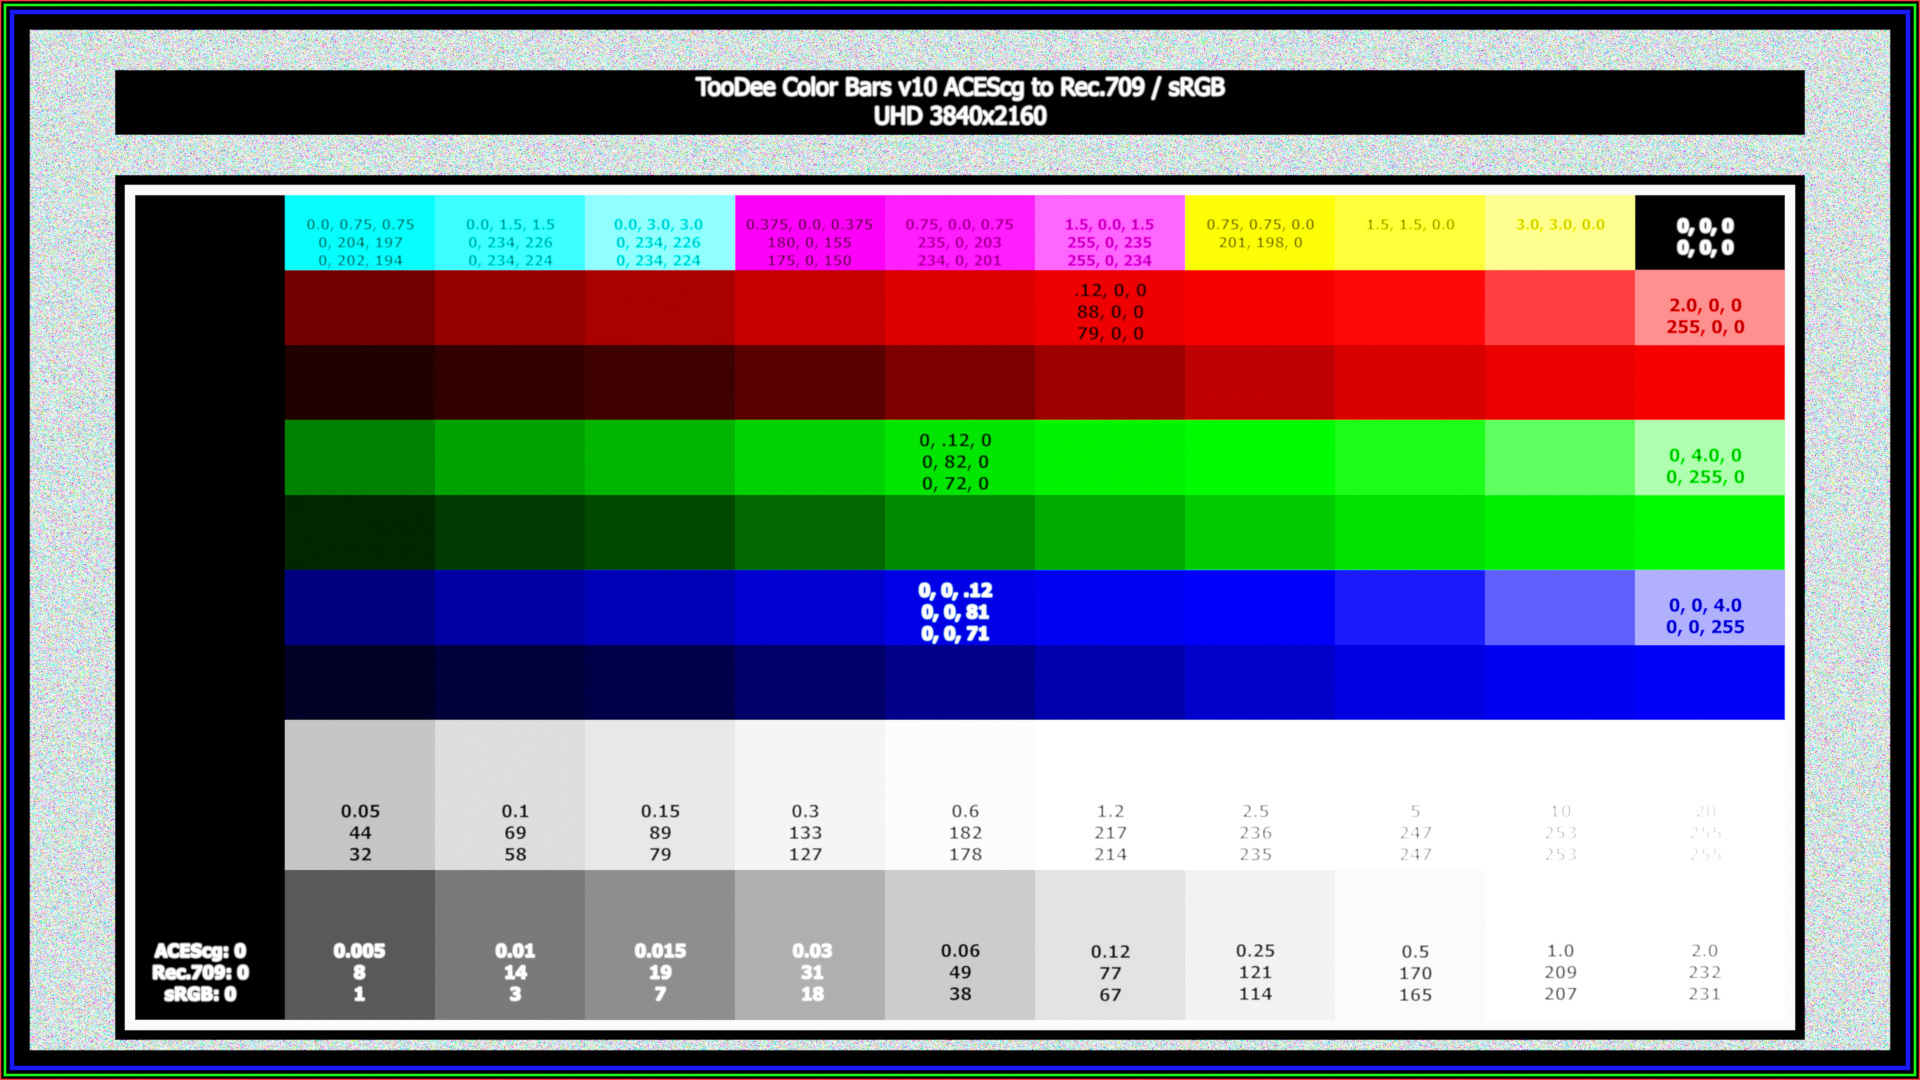
Checking my ACES colorbars in FILMIC
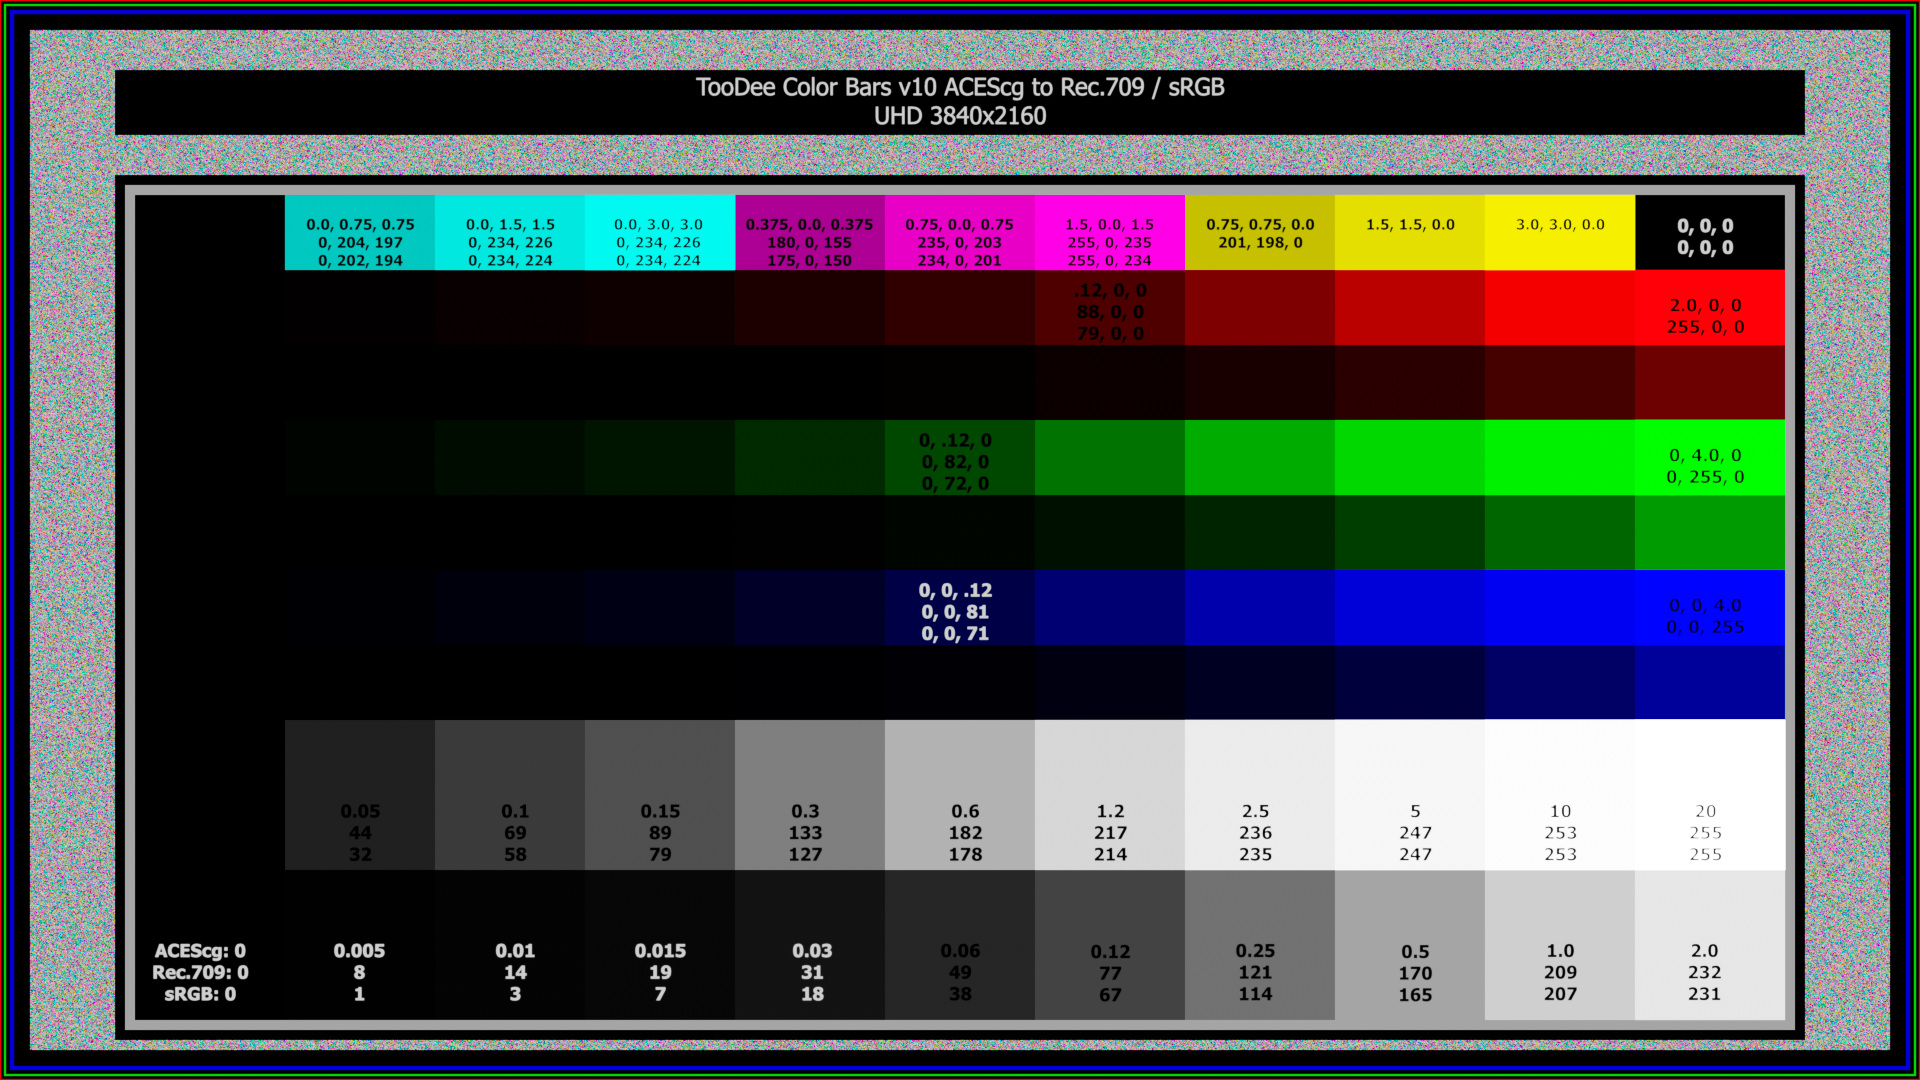
Blender Filmic compresses the gamut for high intensity values. At last I was looking at some high color values with my new ColorBars for ACES and HDR content with values in the whites up to 20.0 in scene linear.
The test is a bit rough as I get negative color values in some channels from the gamut conversion with the nuke ColorSpace node from ACES to sRGB (going from a bigger to smaller gamut), but they are ignored in the conversion from linear to filmic log (encoding base sRGB). The +4 stops image has already specular highlight white value of 320. It’s clearly visible that the ACES RRT has a higher contrast especially in the darkest green patch.
conclusion
From this first test I would think it’s rather easy to convert a Blender scene that was setup in Filmic to convert to an ACES scene if desired or needed. Overall there shouldn’t be too many problems when moving from a smaller gamut into a bigger one.
As the render results in this case are actually the same – I could also just stay in Filmic and use the renderings in an ACES Nuke comp and load them with the IDT Utility linear-sRGB if the final look is not decided yet and can be adjusted in comp.
One example doesn’t prove anything though. It can just be that I was lucky and with another scene more things go wrong. I was pointed out some gamut limitations in ACES and on the Blender Filmic GitHub page about some limitations that Blender has when working in ACES. So be careful. I made a small list of limitations that I came across so far.
HDR test renderings
If you read this page on an iPhone X or 11Pro you might be able to see this Vimeo link in HDR (look out for the metal shining highlights).