and from standard sRGB to Blender Filmic.
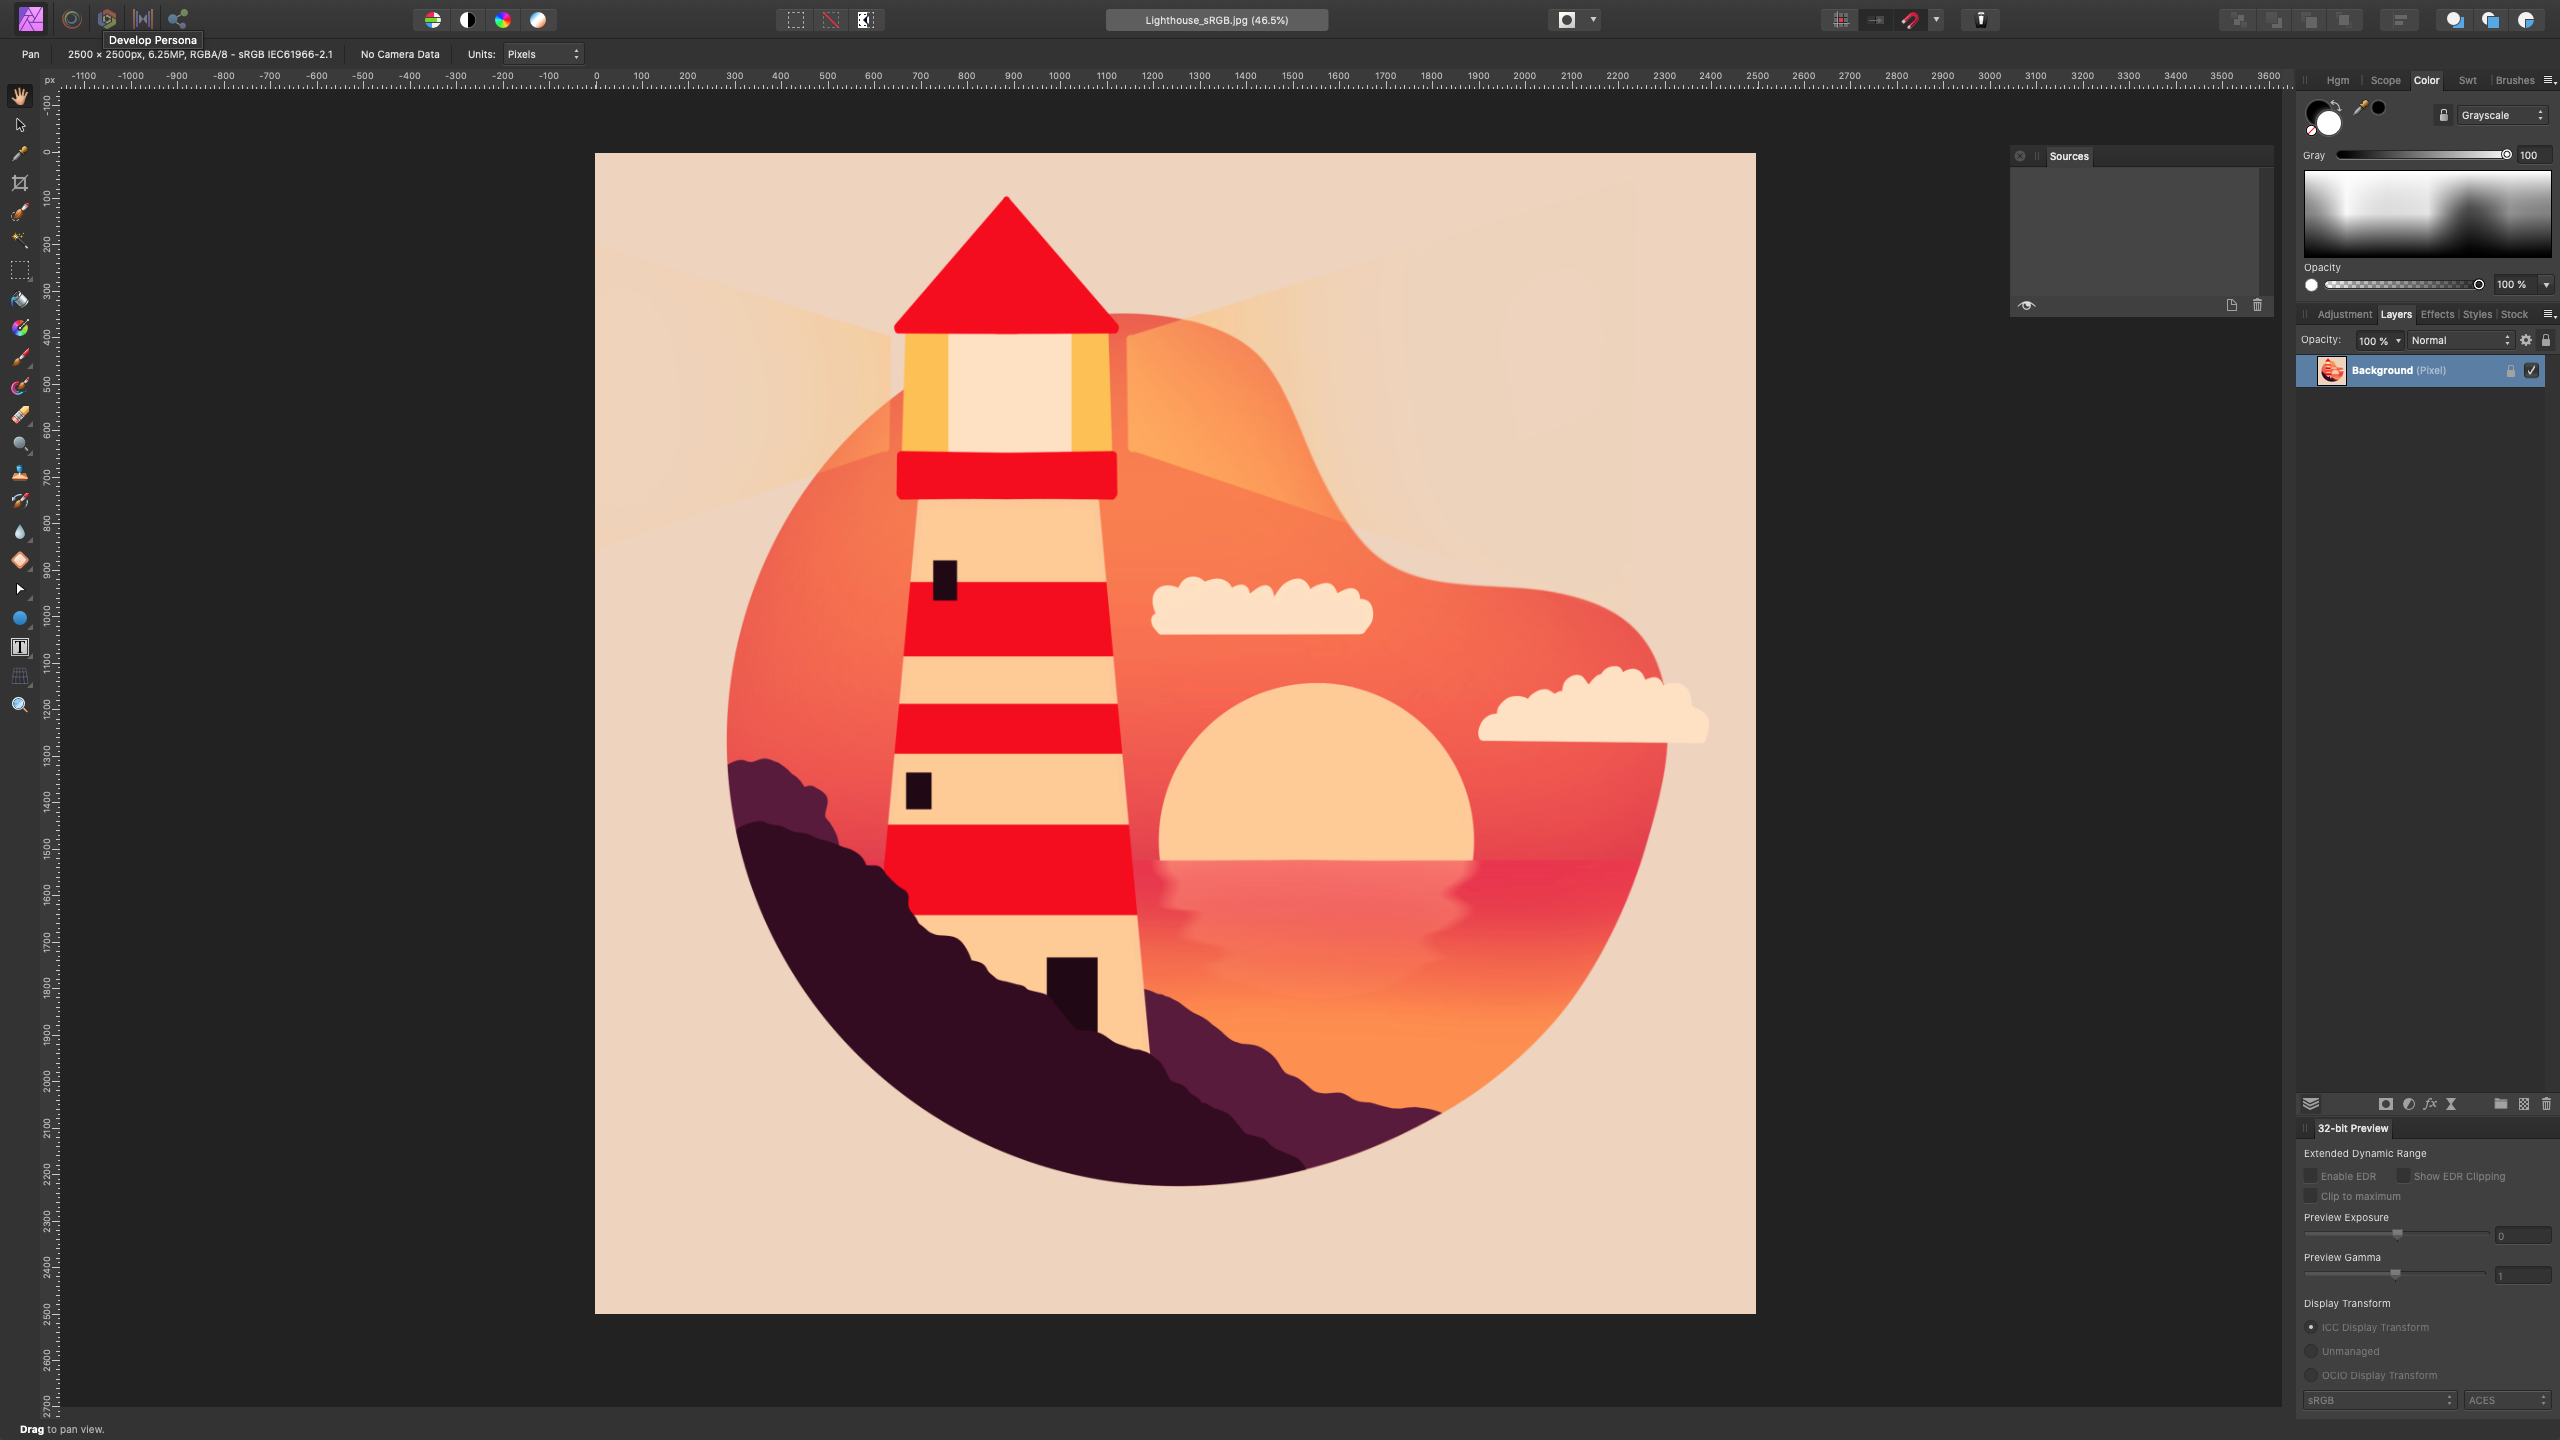
Textures for 3D applications or logos/titles from agency/clients most of the time come from various sources and usually they can be viewed directly on your screen like this drawing from ProCreate. The are created in a display referred workflow – means the colors on the screen are related to the screen you are viewing them.
Start with a display referred workflow…

…to a scene referred workflow, bringing a image/texture into the “scene”.
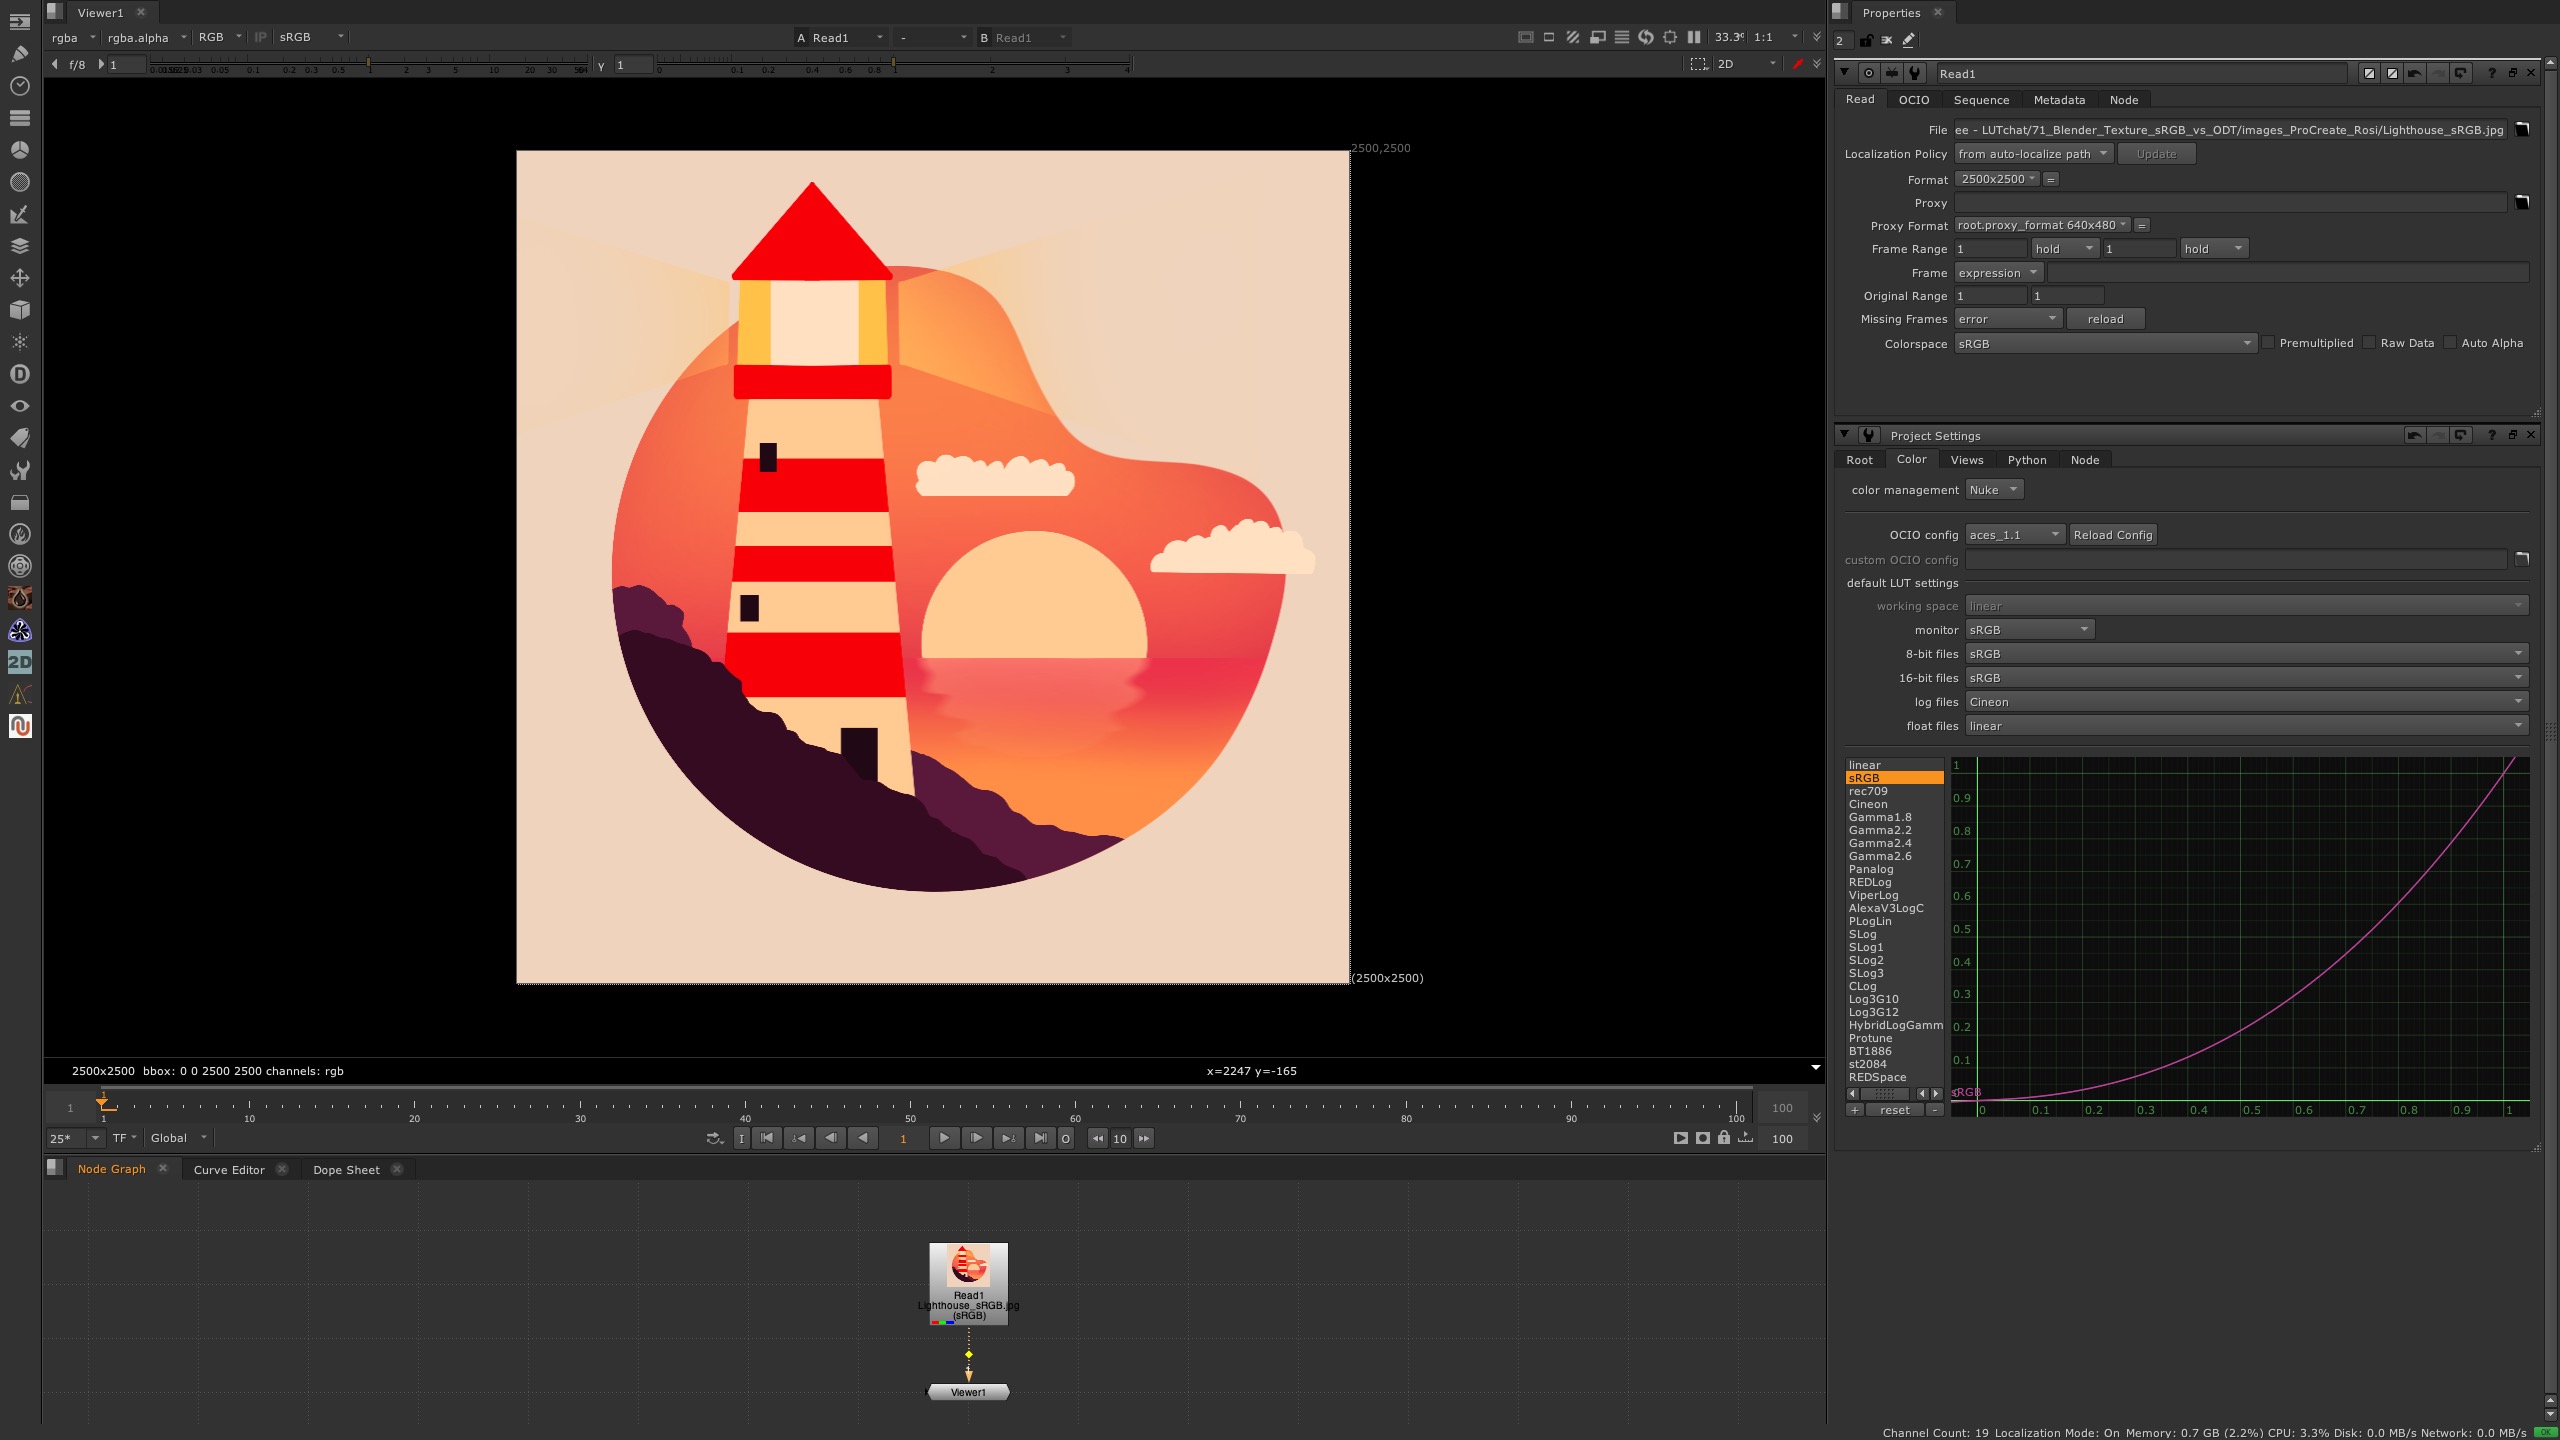
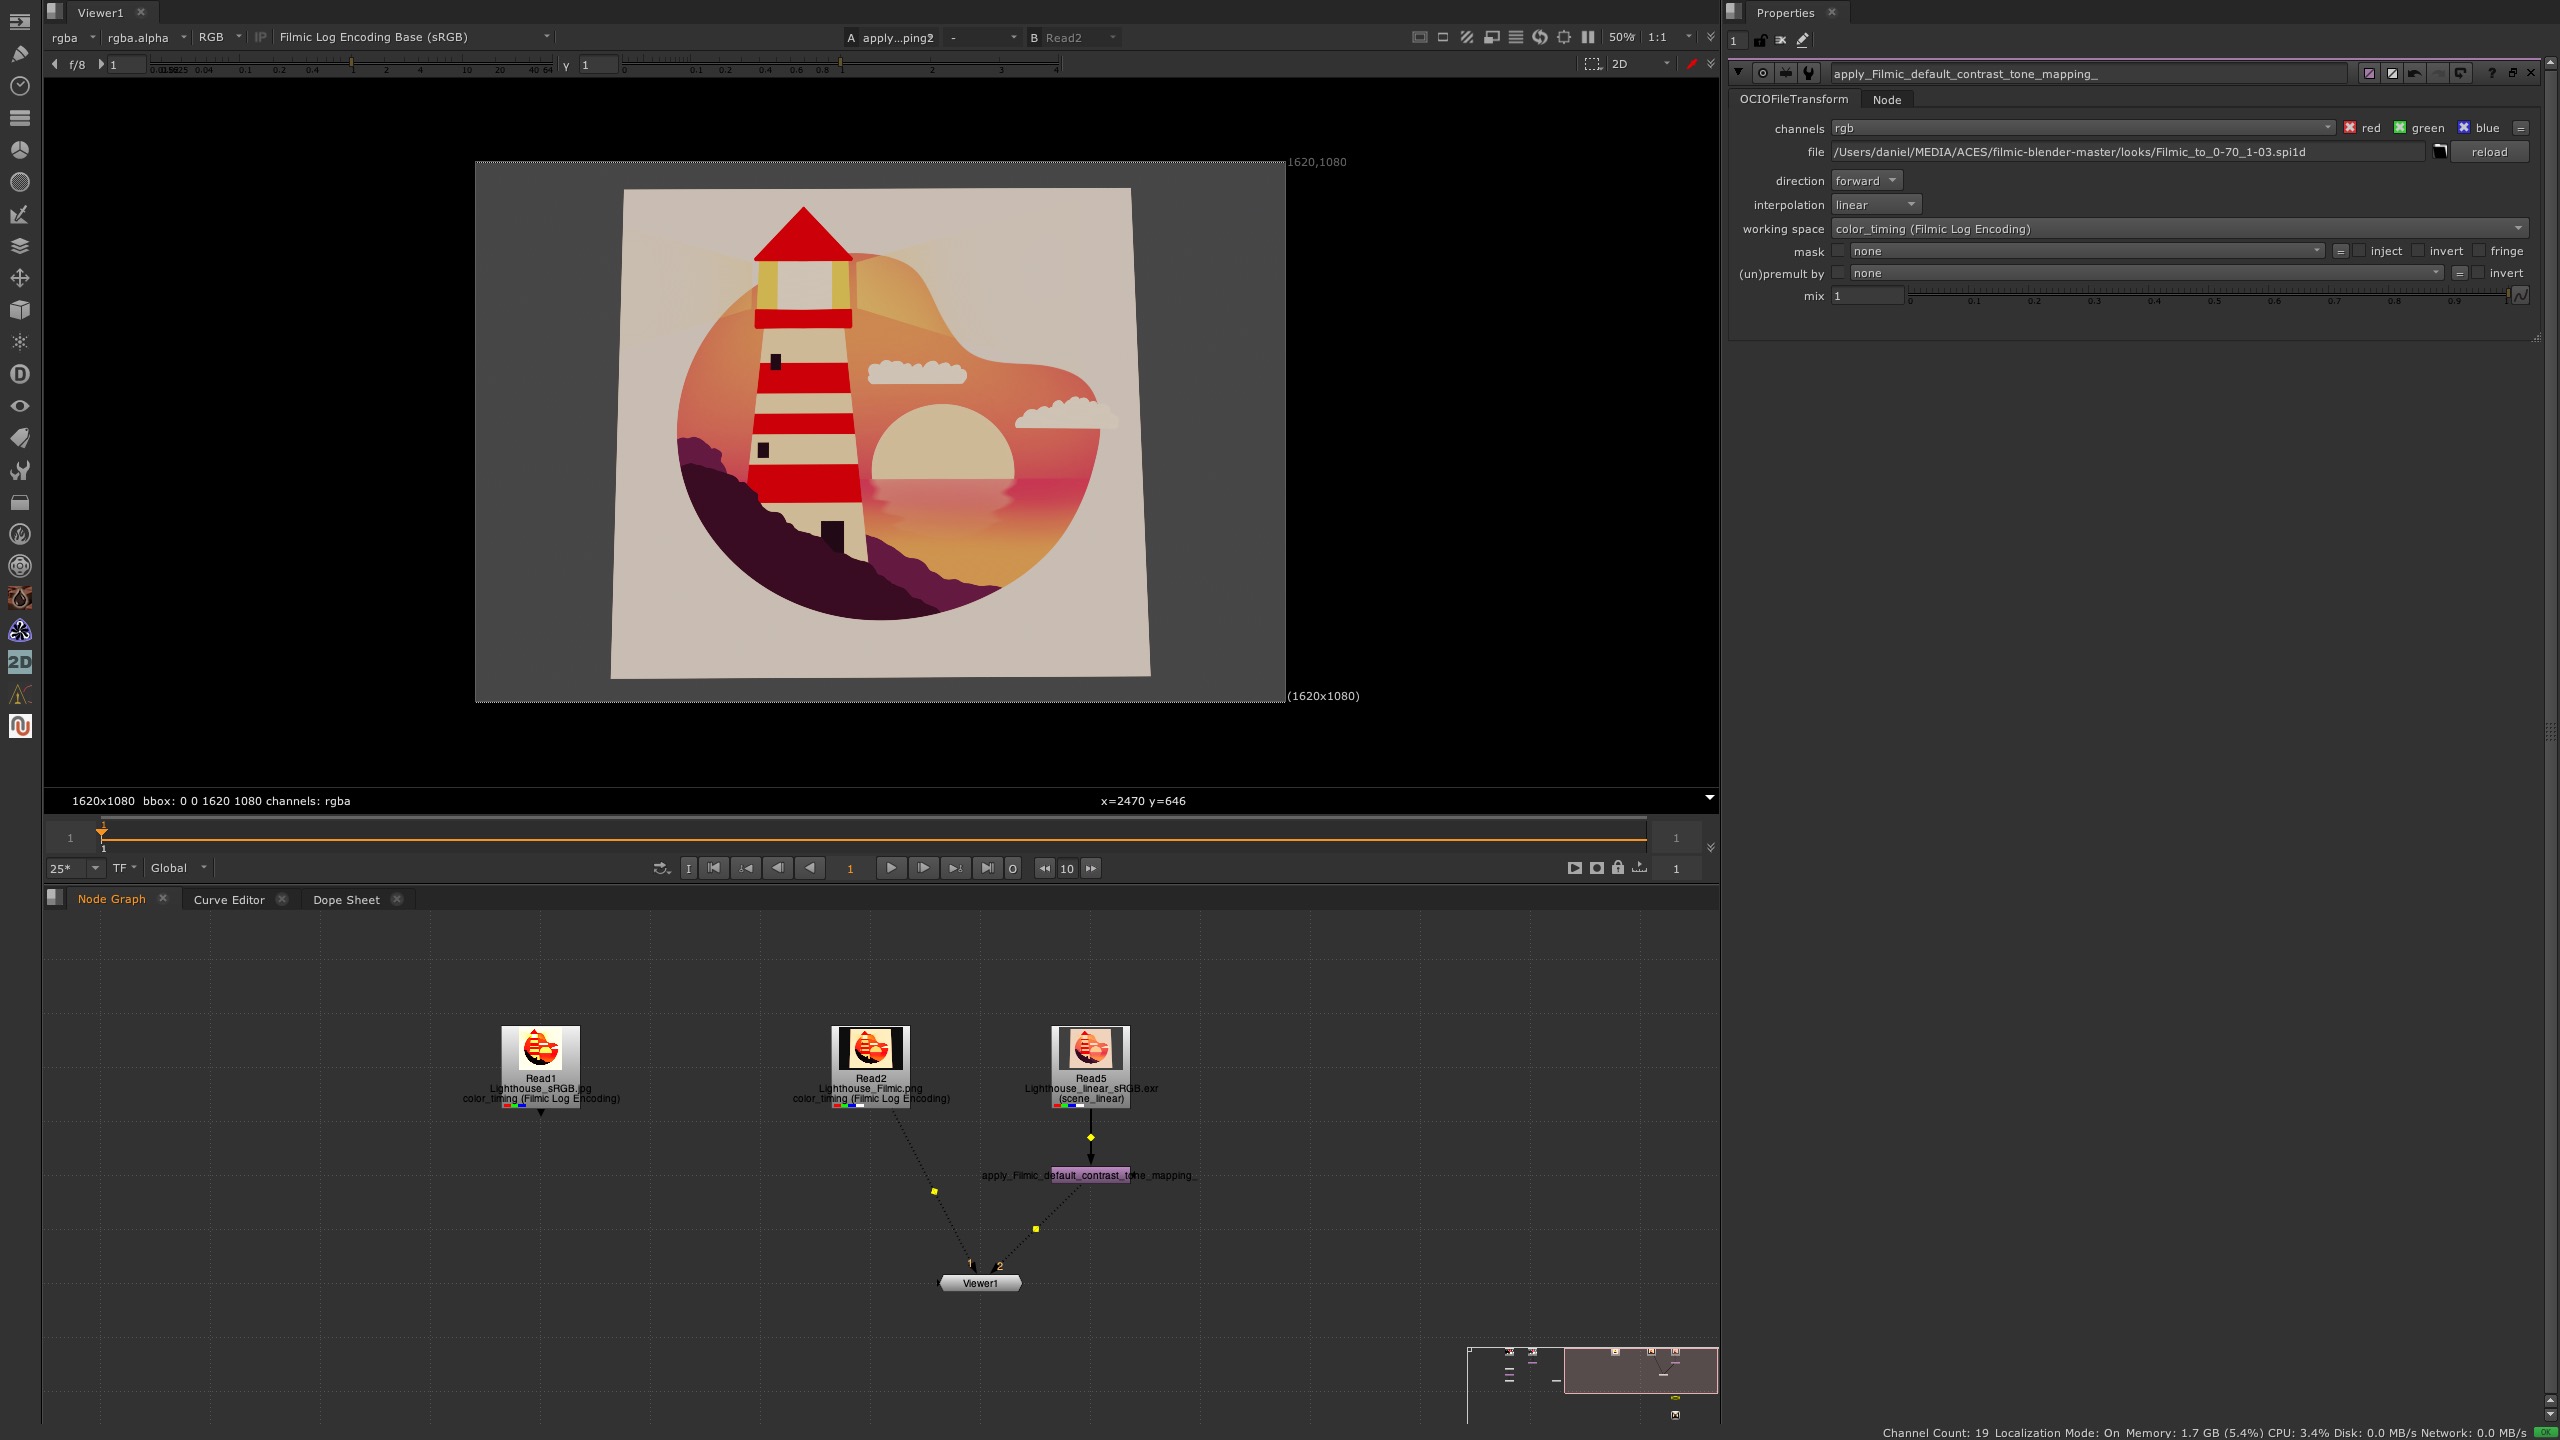
Although Nuke shows the same image as Affinity Photo, internally the footage got linearized (by removing the sRGB tone mapping curve) and the viewer node applies again the sRGB view transform.
Scene linear image processing operations have a big visual difference in comparison to a display referred approach like Affinity Photo, PhotoShop, After Effects and so on in their default settings.
To see more examples what it means to work display or scene referred – check out “Adding colors before/after a view transform“
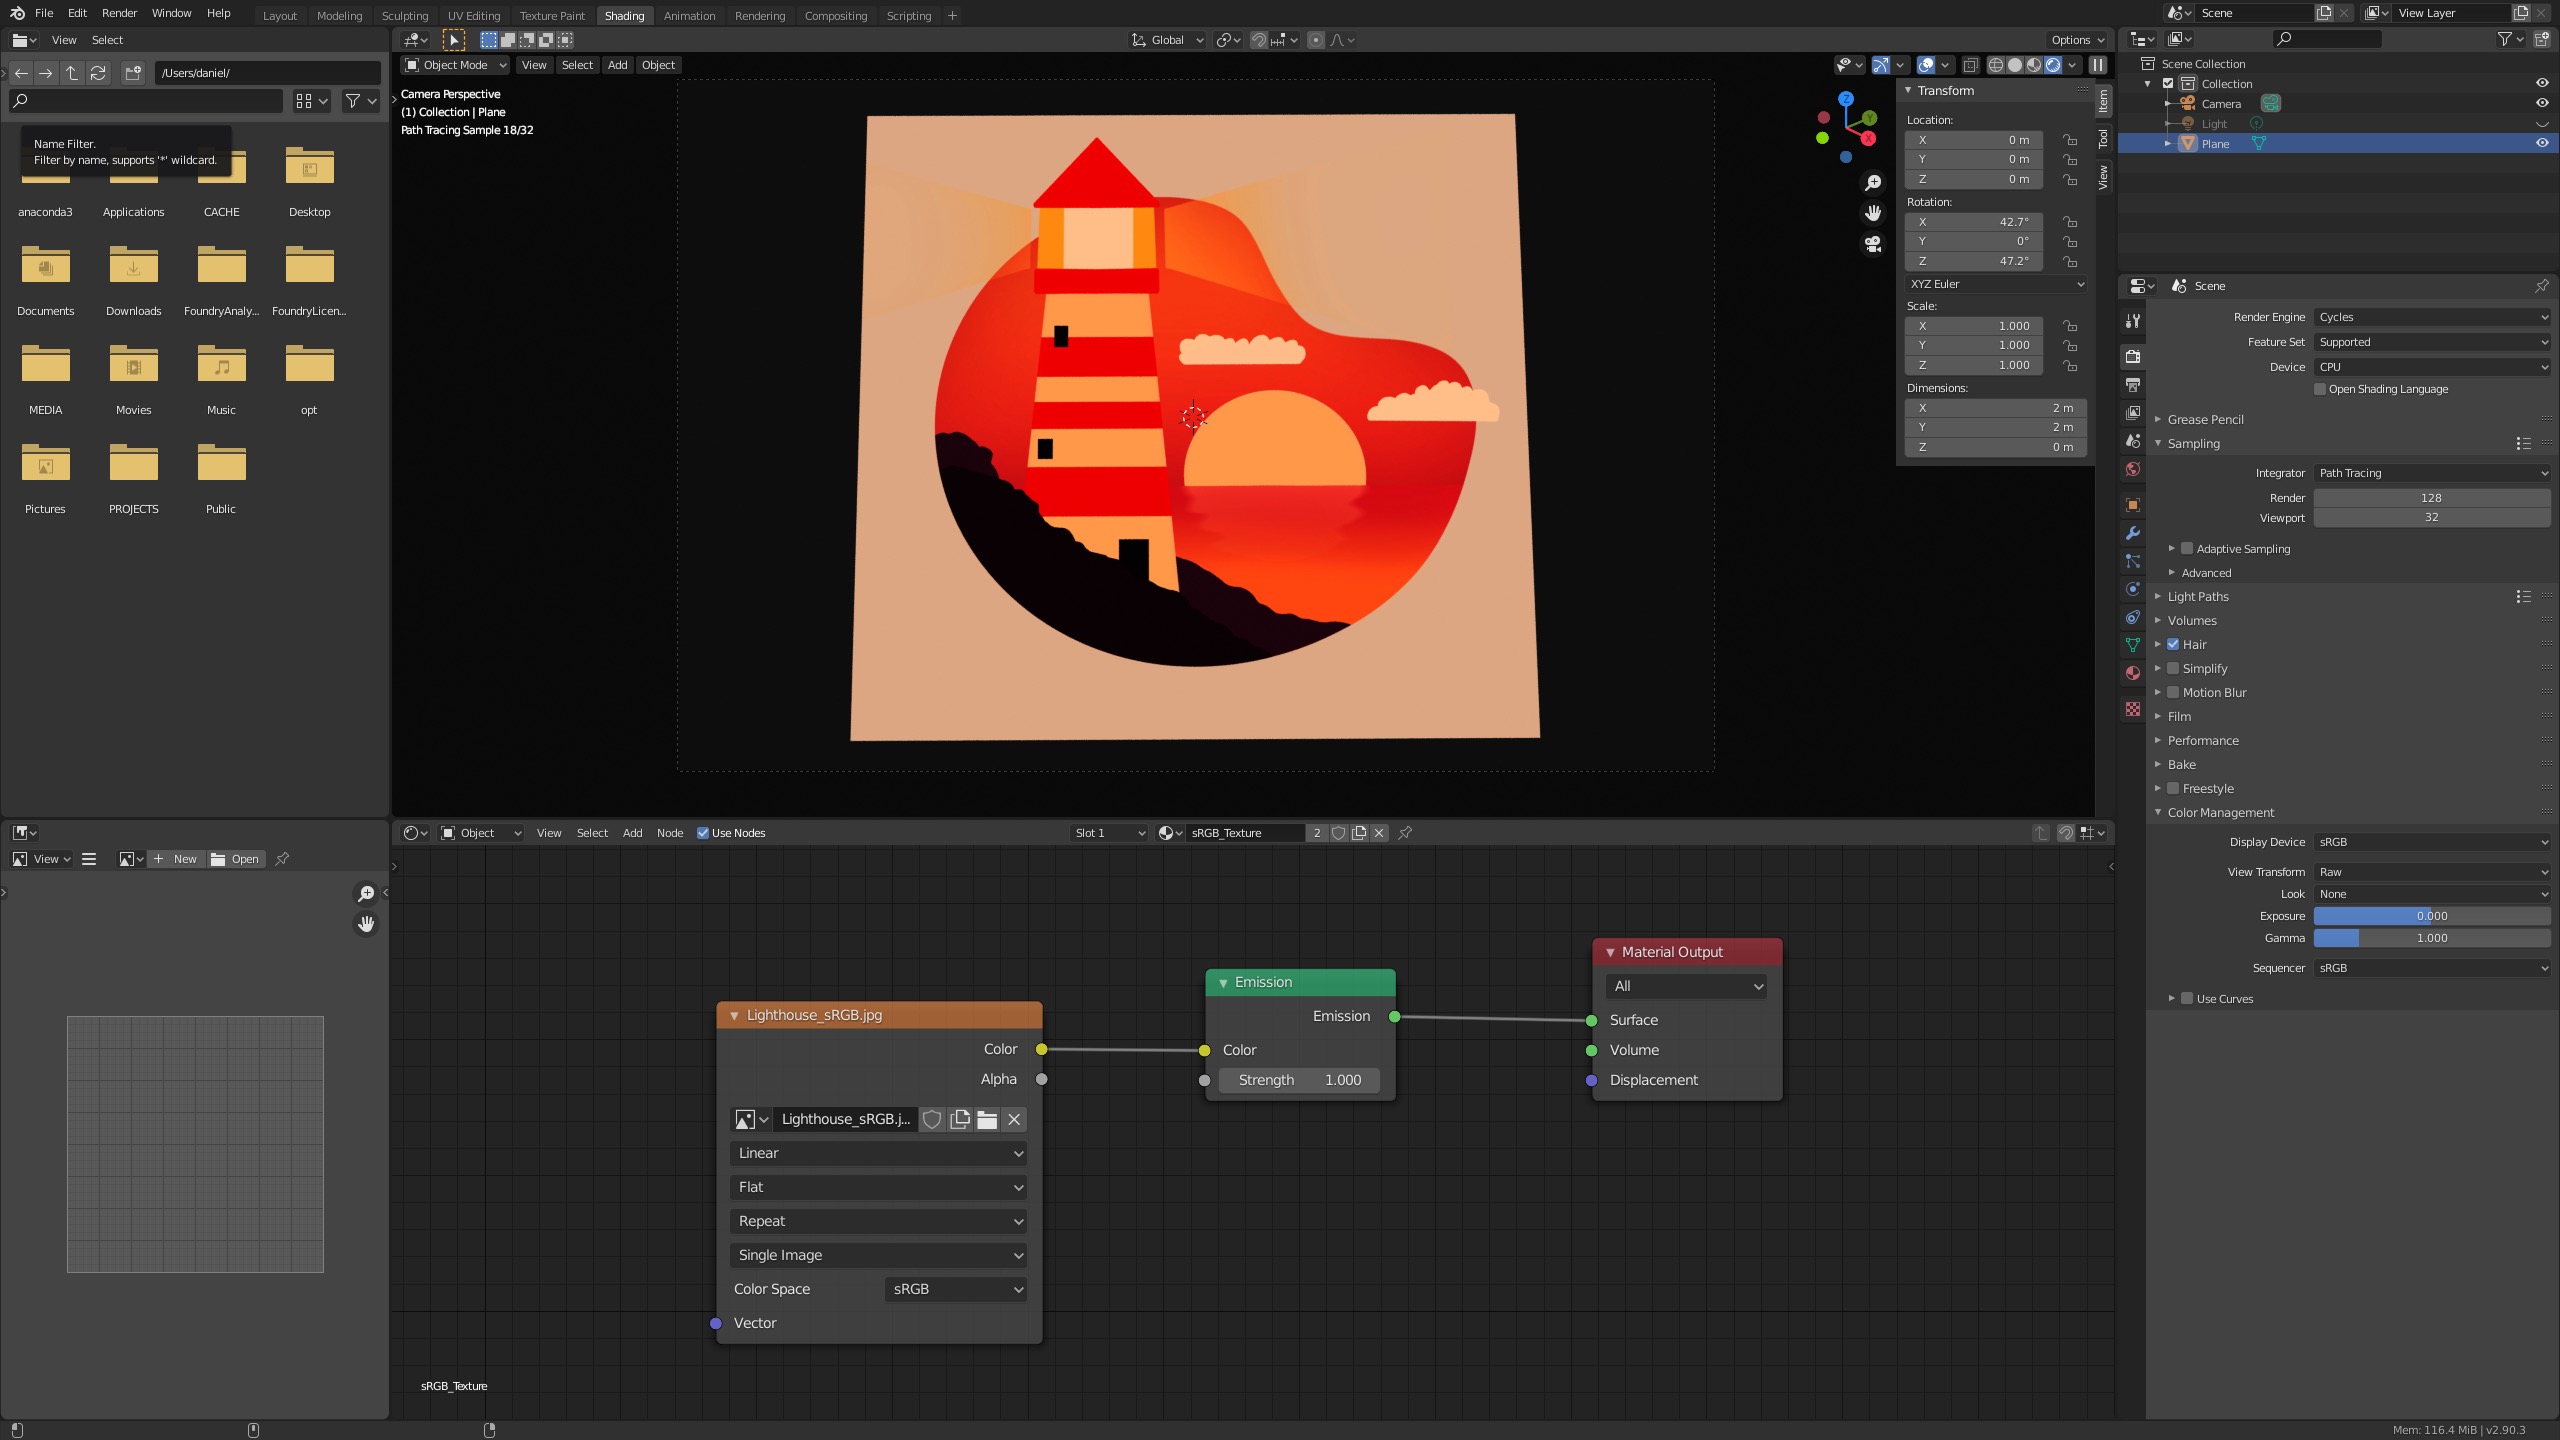
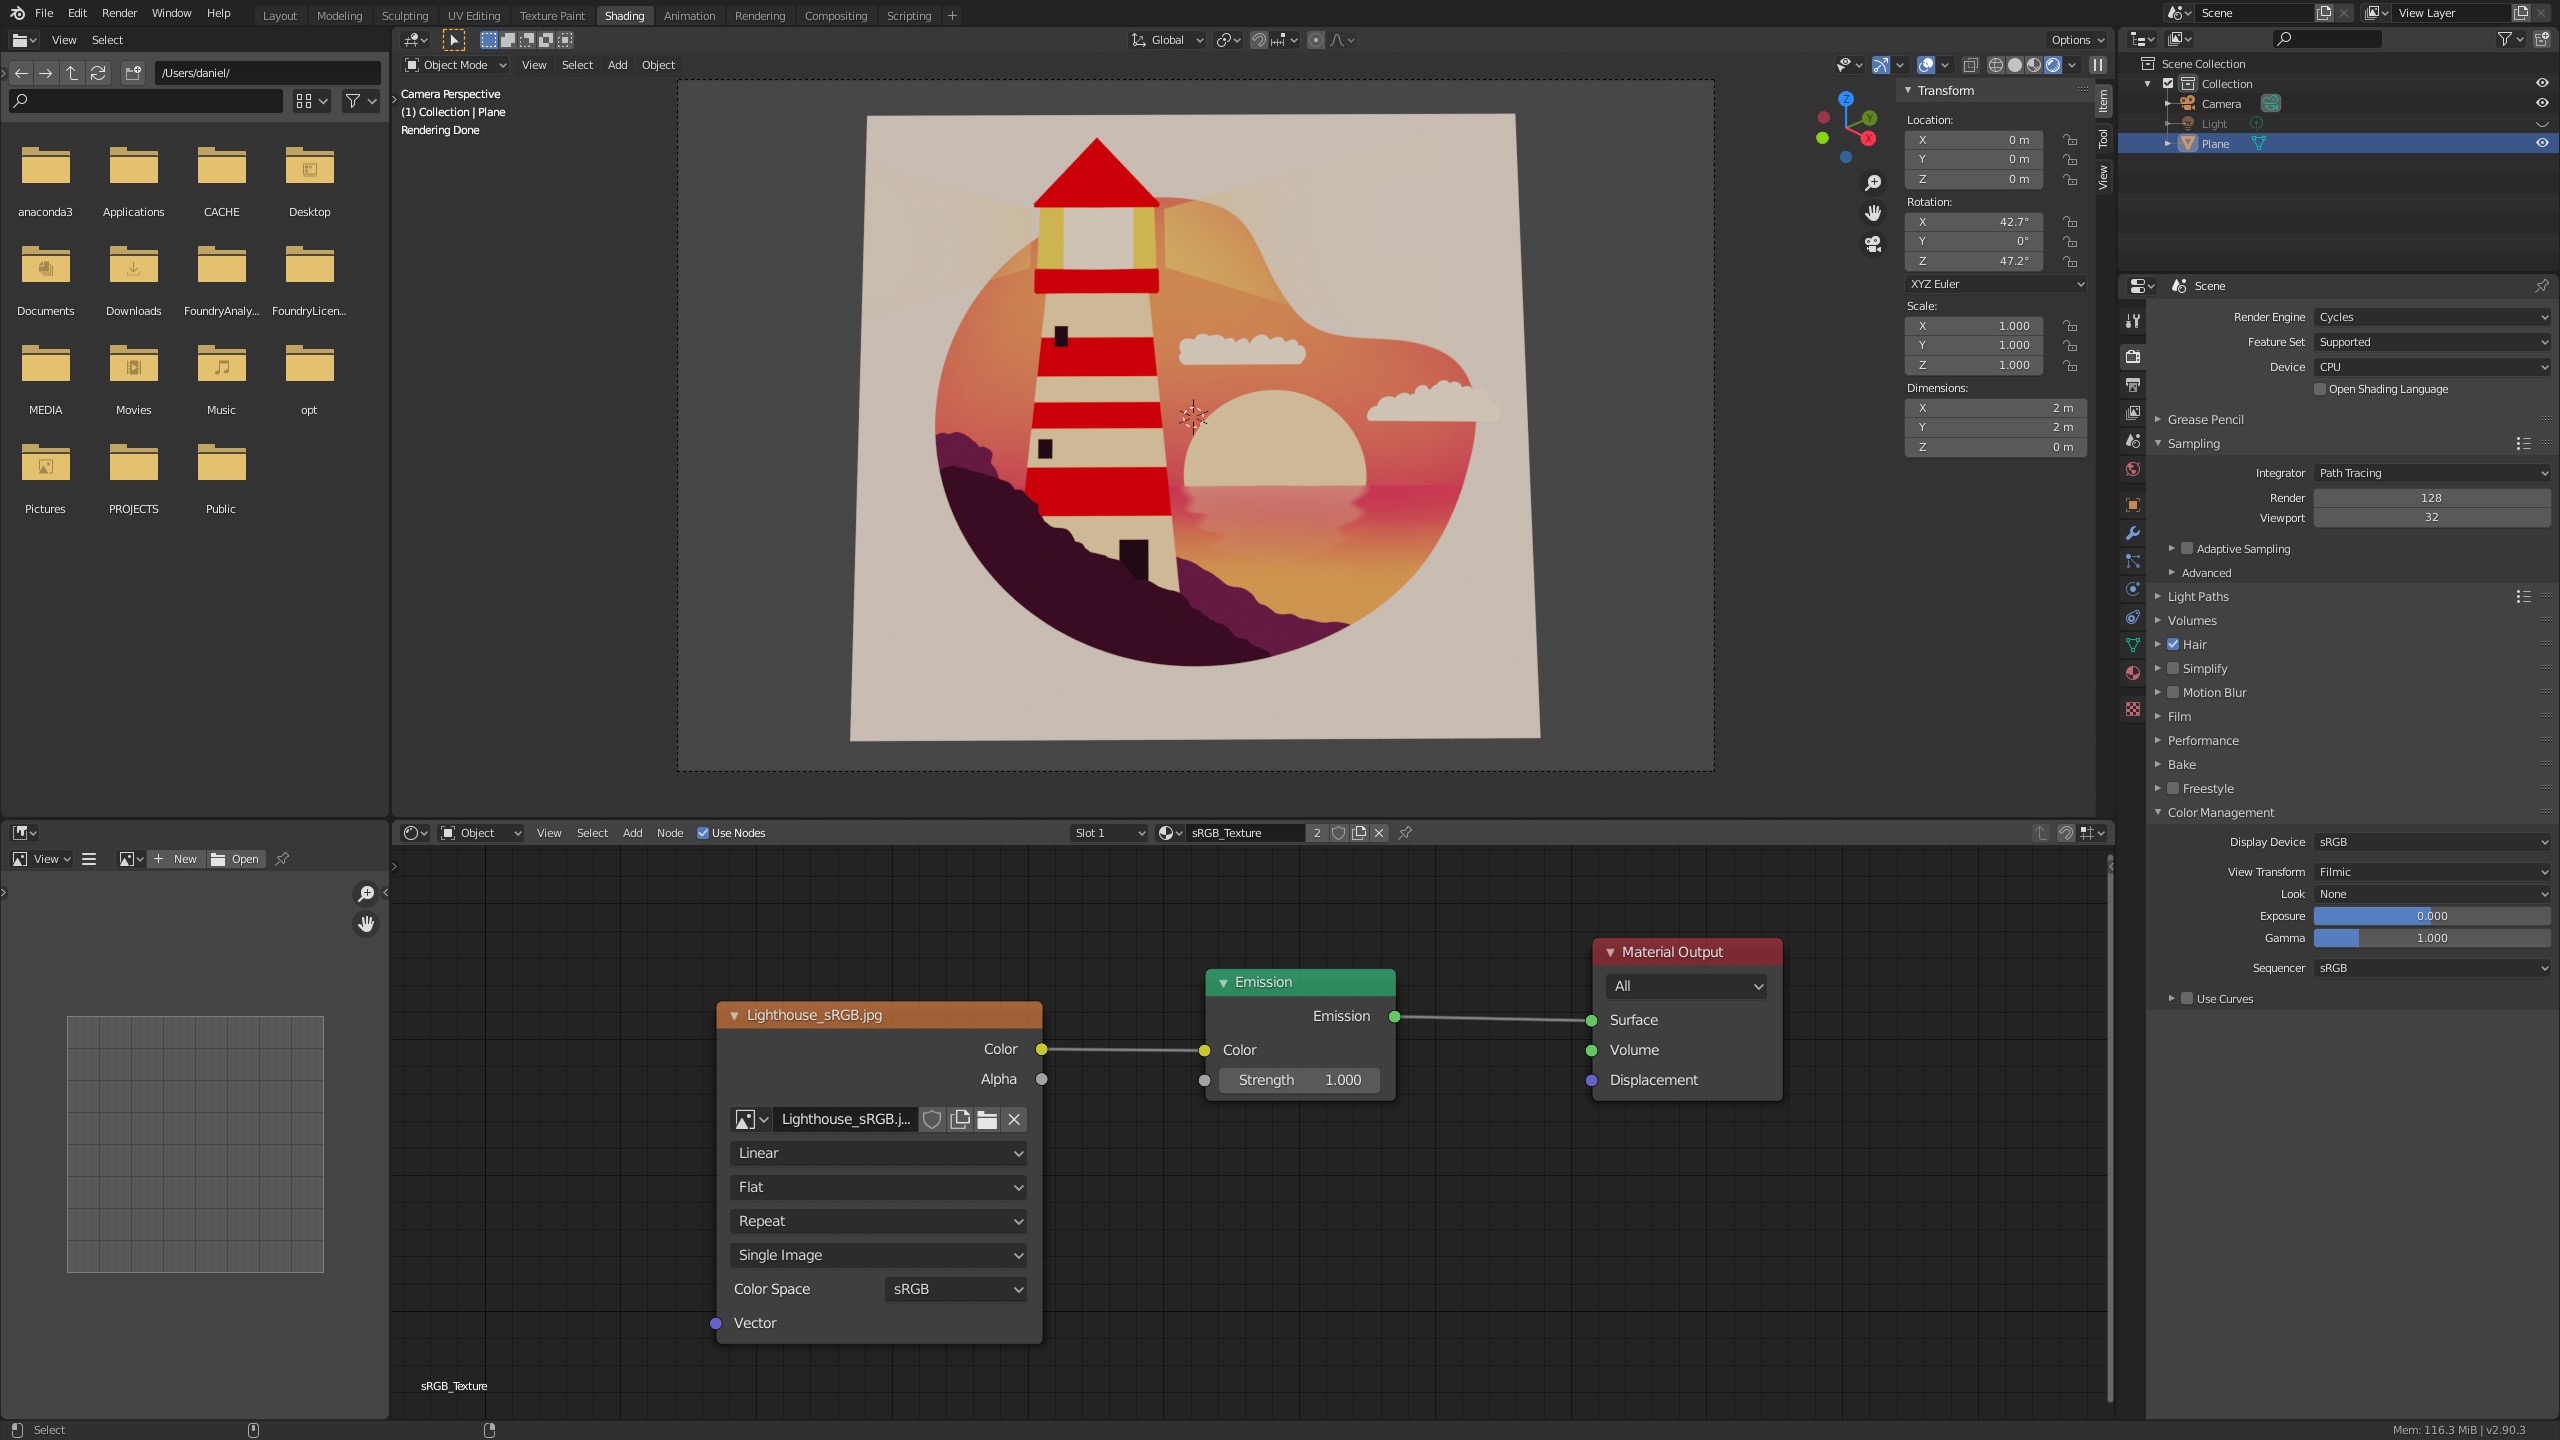
The same processing steps happens in Blender like in standard Nuke when switching the view transform to RAW, then to sRGB and finally to Filmic (Given that the OCIO config Blender-Filmic is loaded)
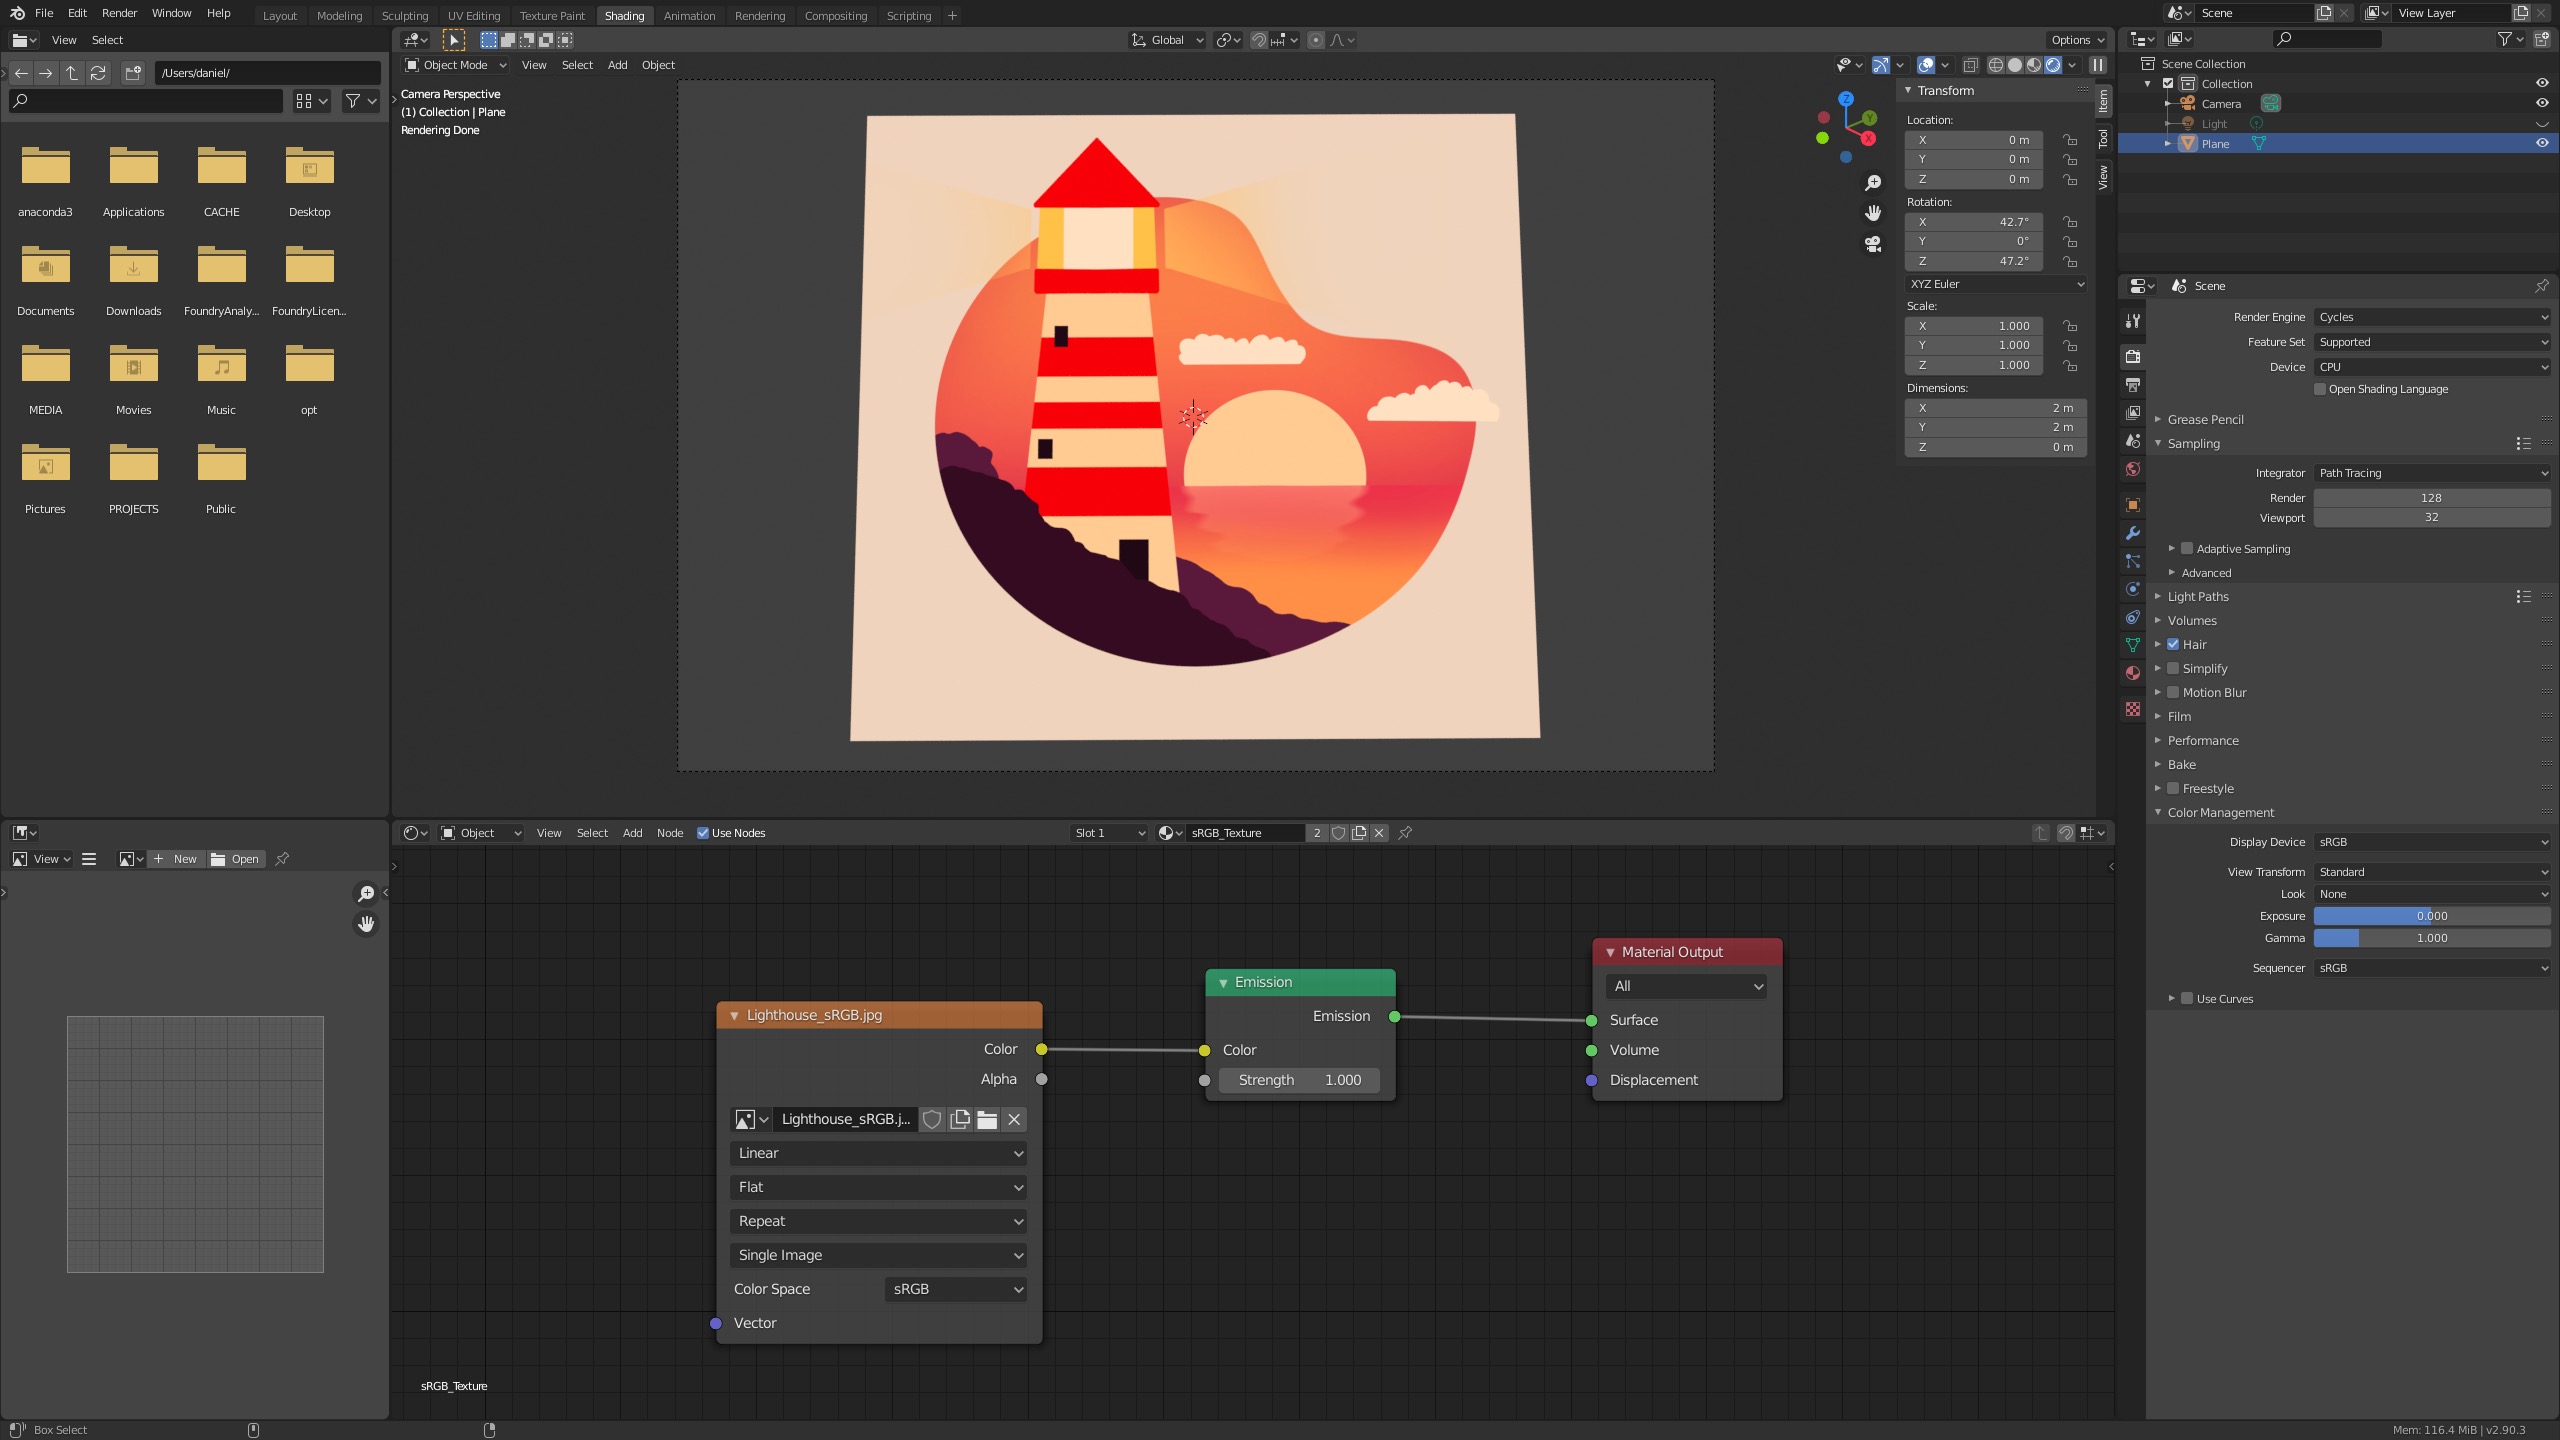
Until here the color management of Nuke & Blender is limited to gamma or tone mapping only – the gamut is assumed in both cases to be linear sRGB/Rec.709 as they share the same primaries.
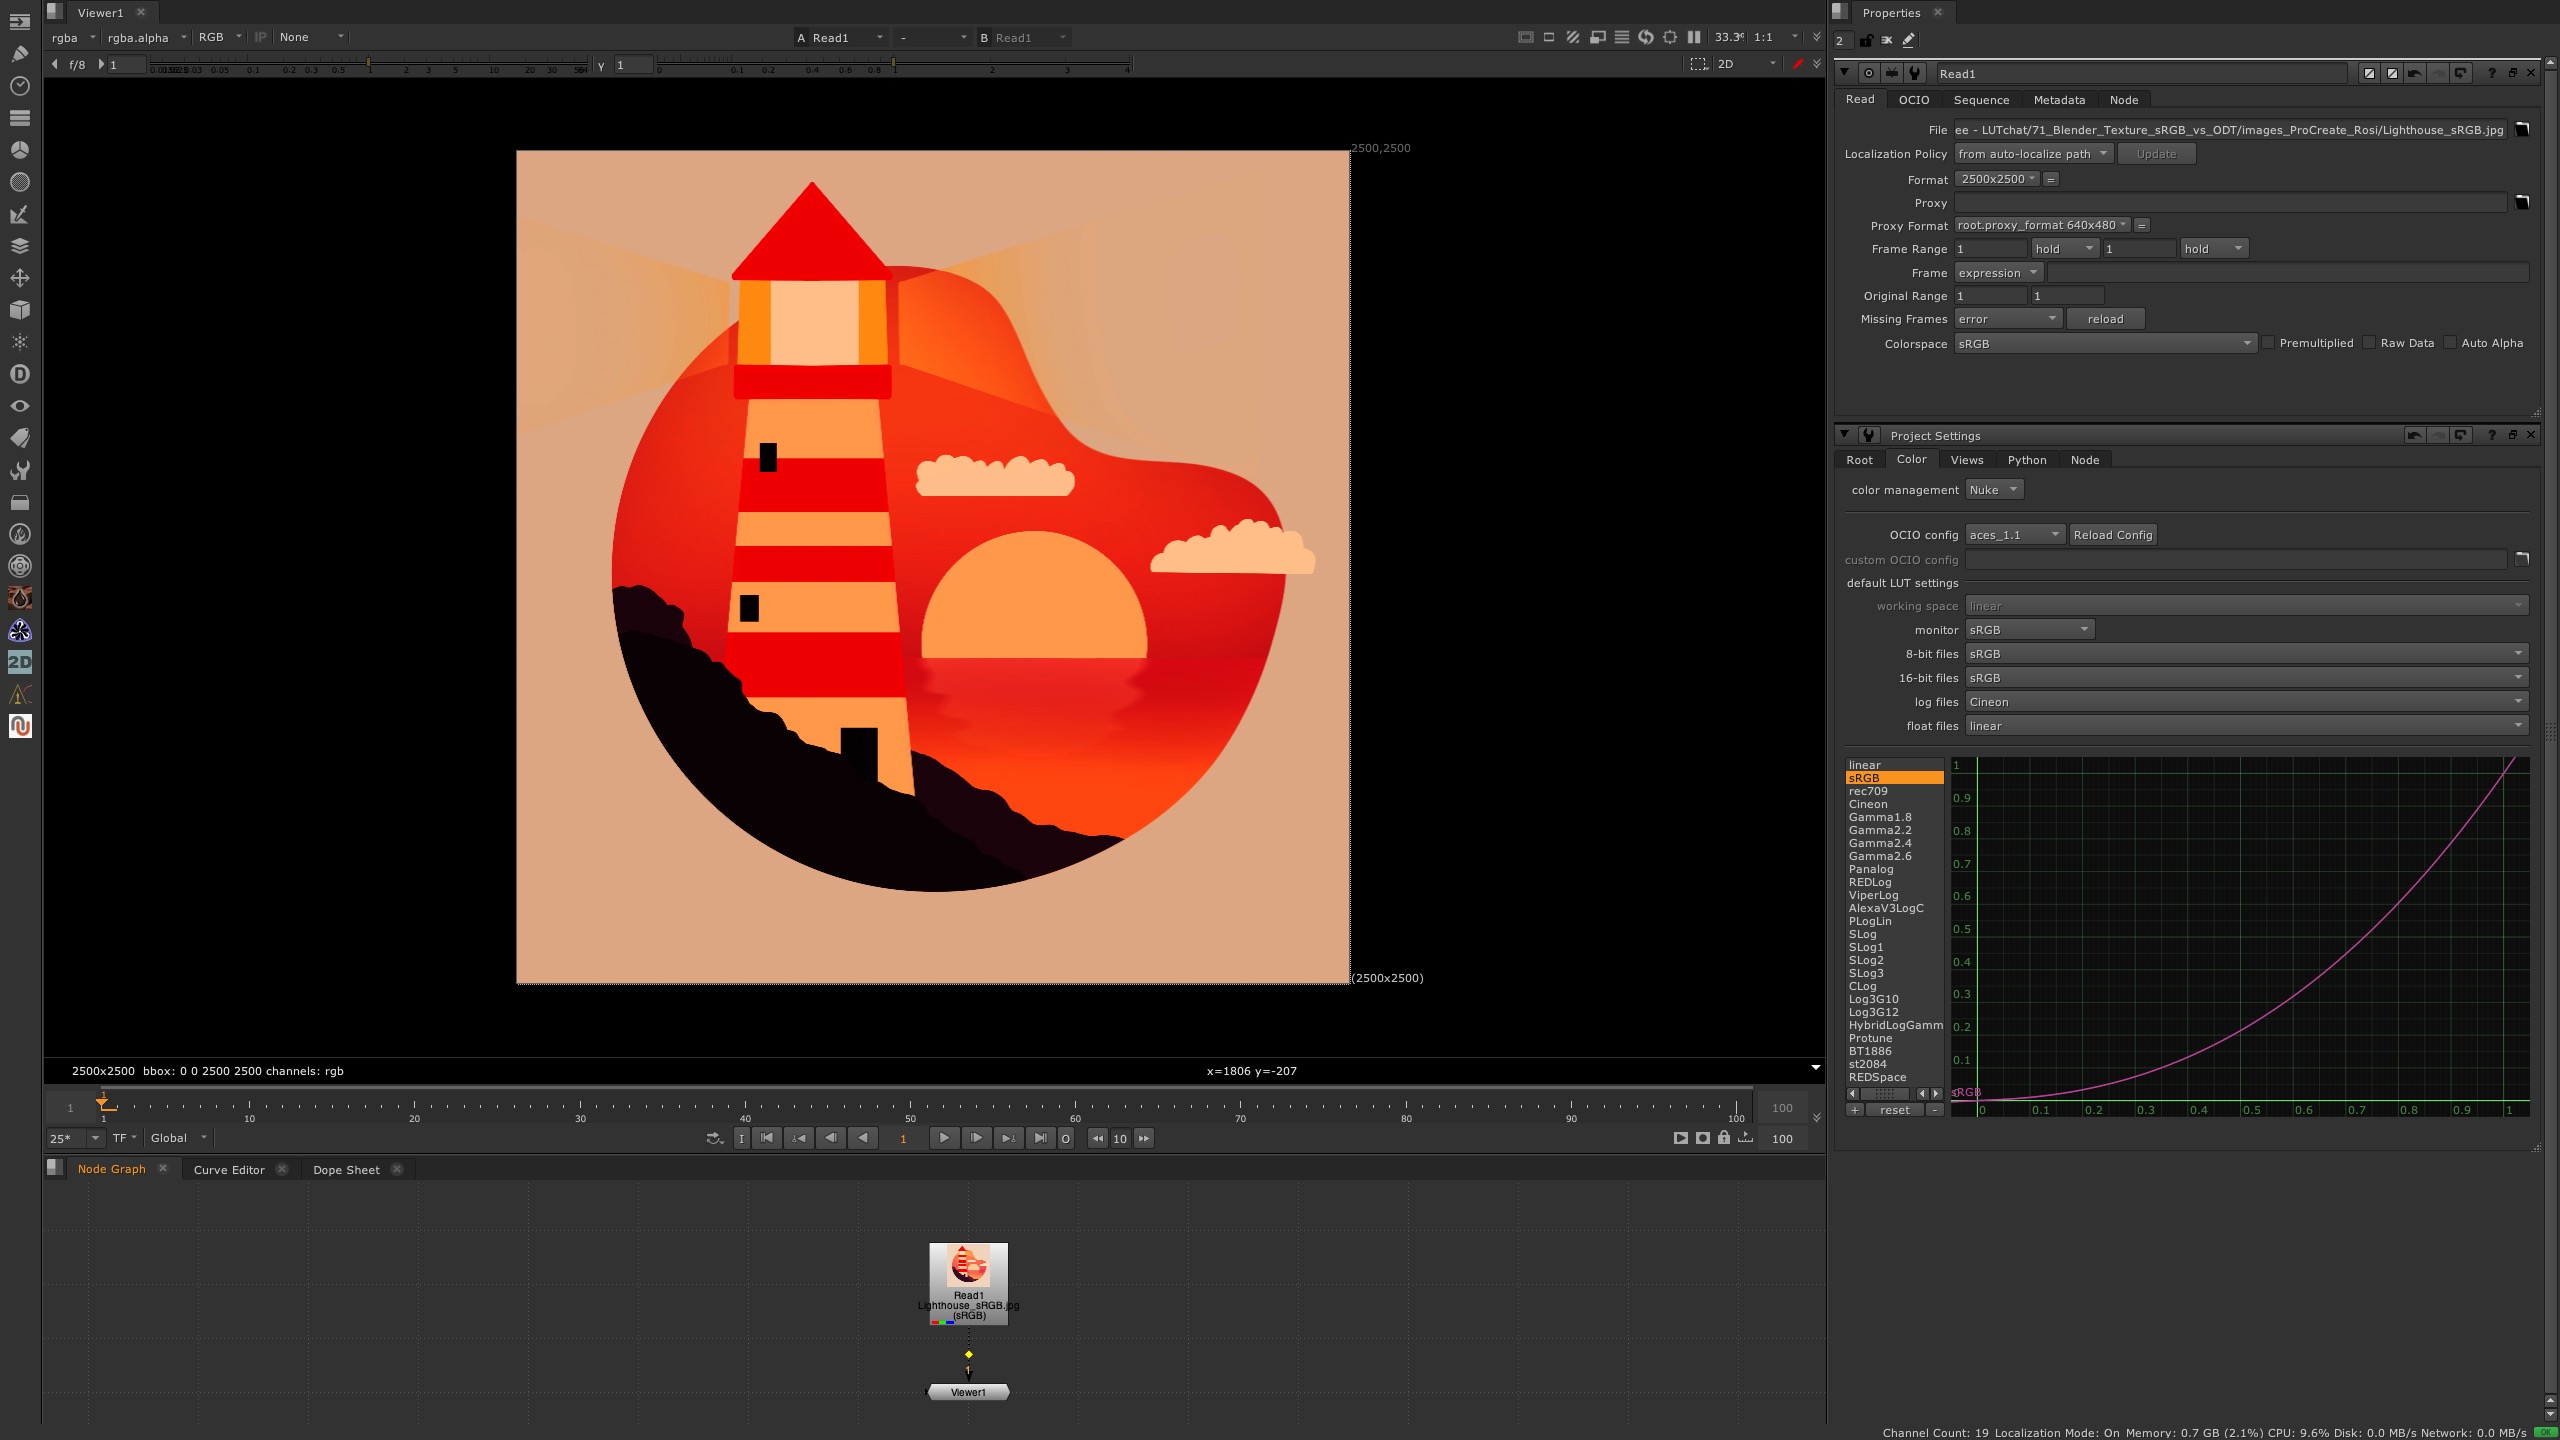
The display referred colors of the texture start changing when viewing them through the Filmic View Transform. The sRGB texture is linearized and viewed through a different view transform that has more abilities than the simple sRGB view transform. For example it doesn’t clamp RGB values at 1.0 and has a gamut compression method for high intensity values built in.
Please refer to the link “Filmic Blender” which is the default OCIO configuration for Blender since version 2.79 to read what the Filmic View Transform does.
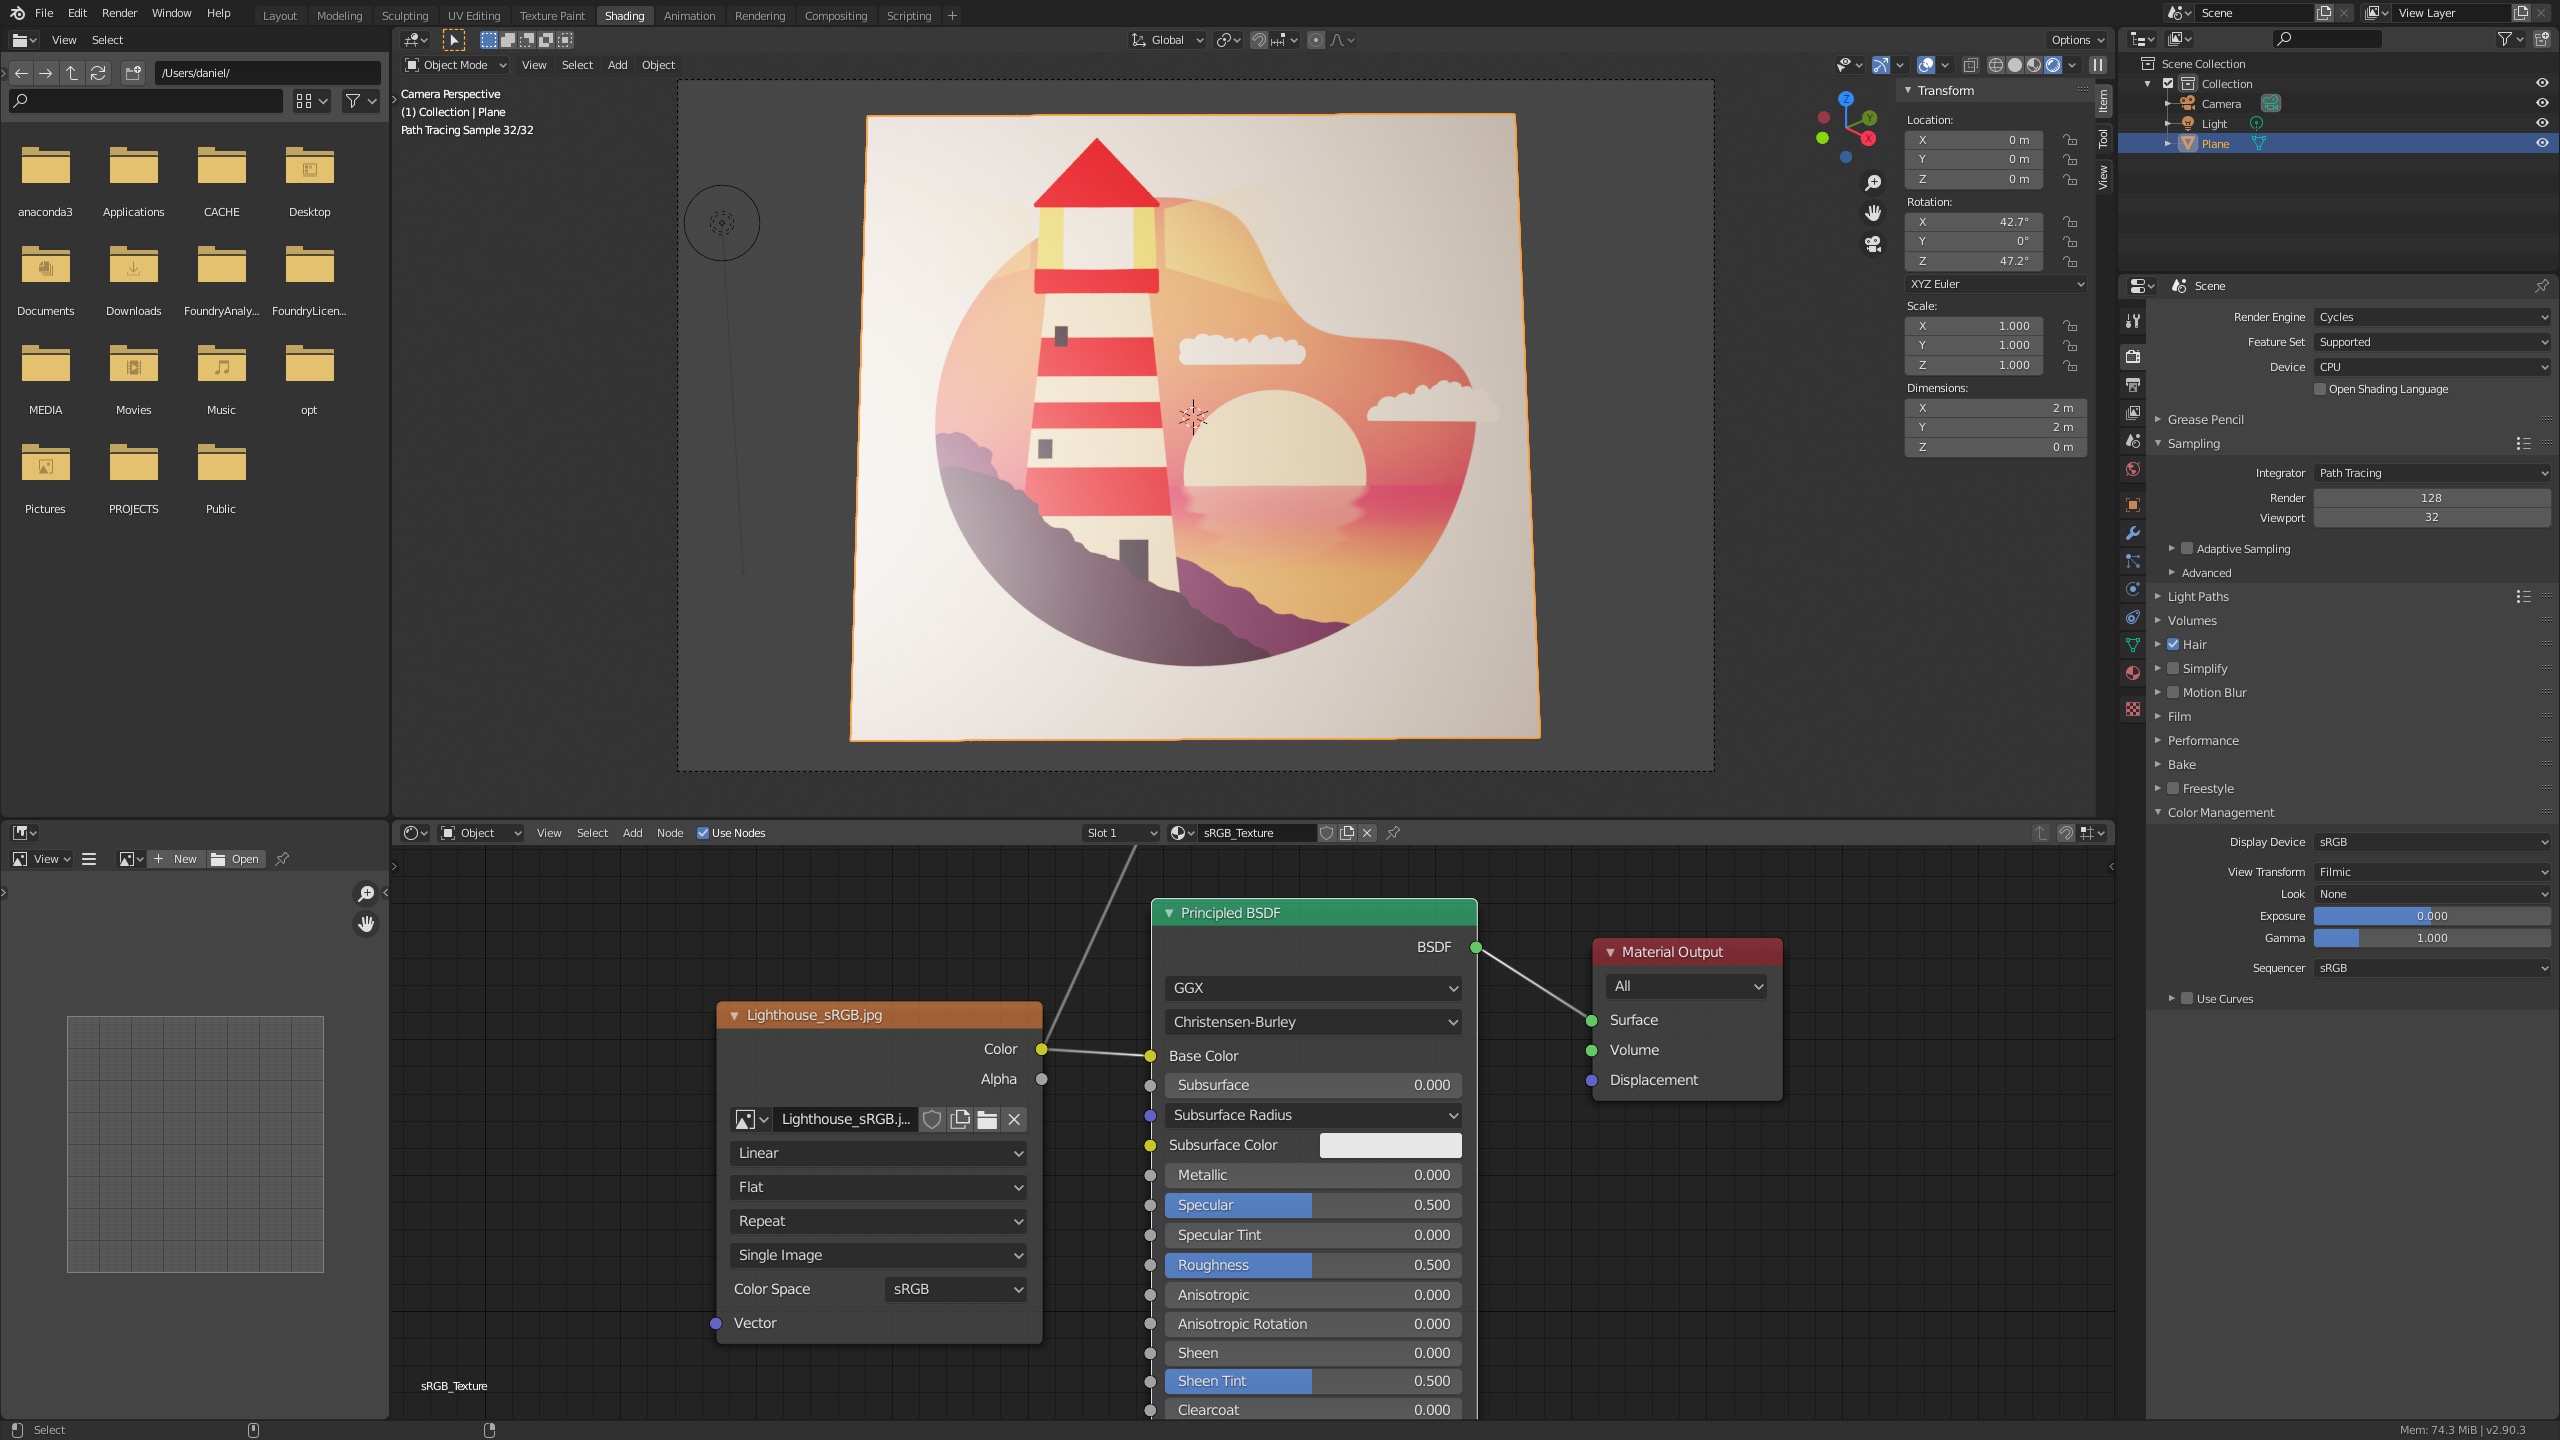
adding lights and shading
As it was shown above, as soon as the input and the output transforms are not the same, the display referred texture has a different appearance coming out of the rendering pipeline (scene) and viewed back in a display referred environment.
The processing pipeline for Blender & Nuke:
- Save sRGB Texture from Procreate or any other program.
- Blender & Nuke – remove sRGB view transform (linearize)
- working scene linear in Blender & Nuke (scene referred)
- view result through sRGB Viewer (view transform)
- Save JPG/PNG with applied view transform or save an EXR without it.
- Use a different view transform like Blender Filmic and the result will look different. Filmic uses the tone mapping from the ACES ODT (sRGB), but a different gamut handling for very high scene linear light values.