Checking out a new feature
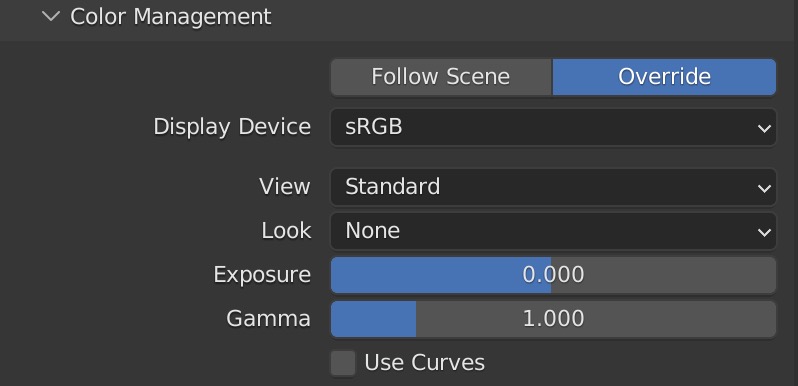
Blender 3.2 introduces new features such as an override for colorspaces in the render output.
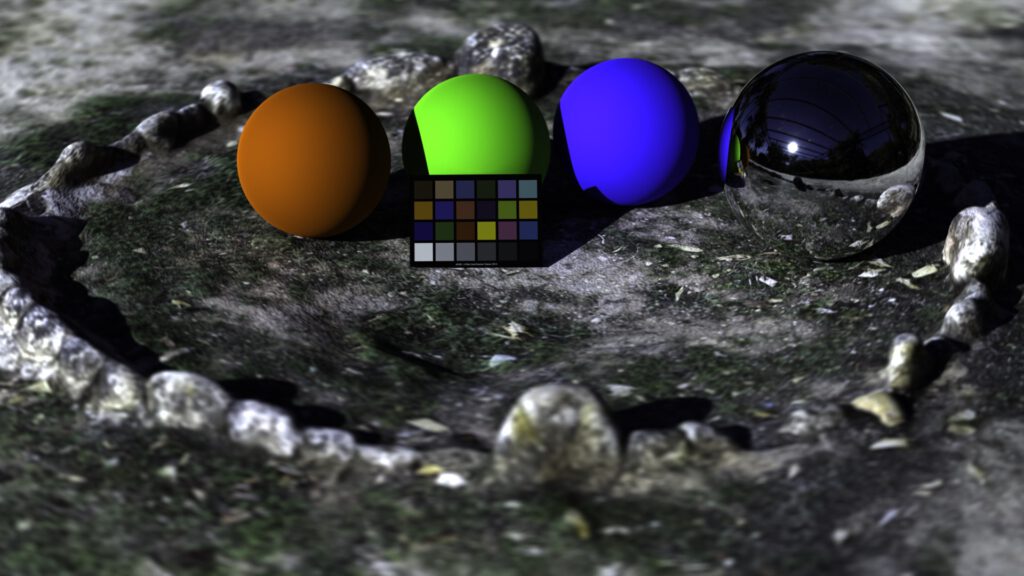
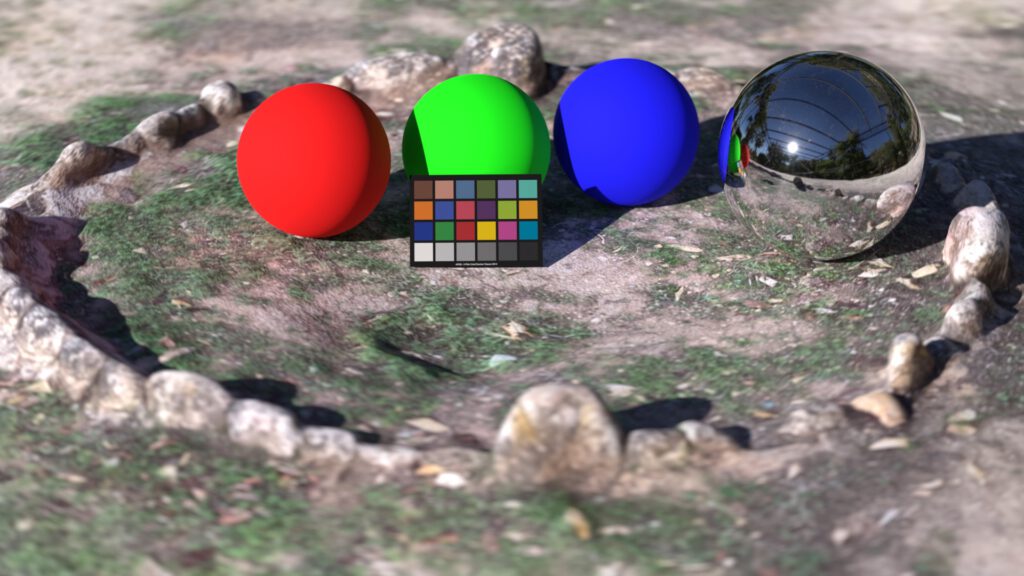
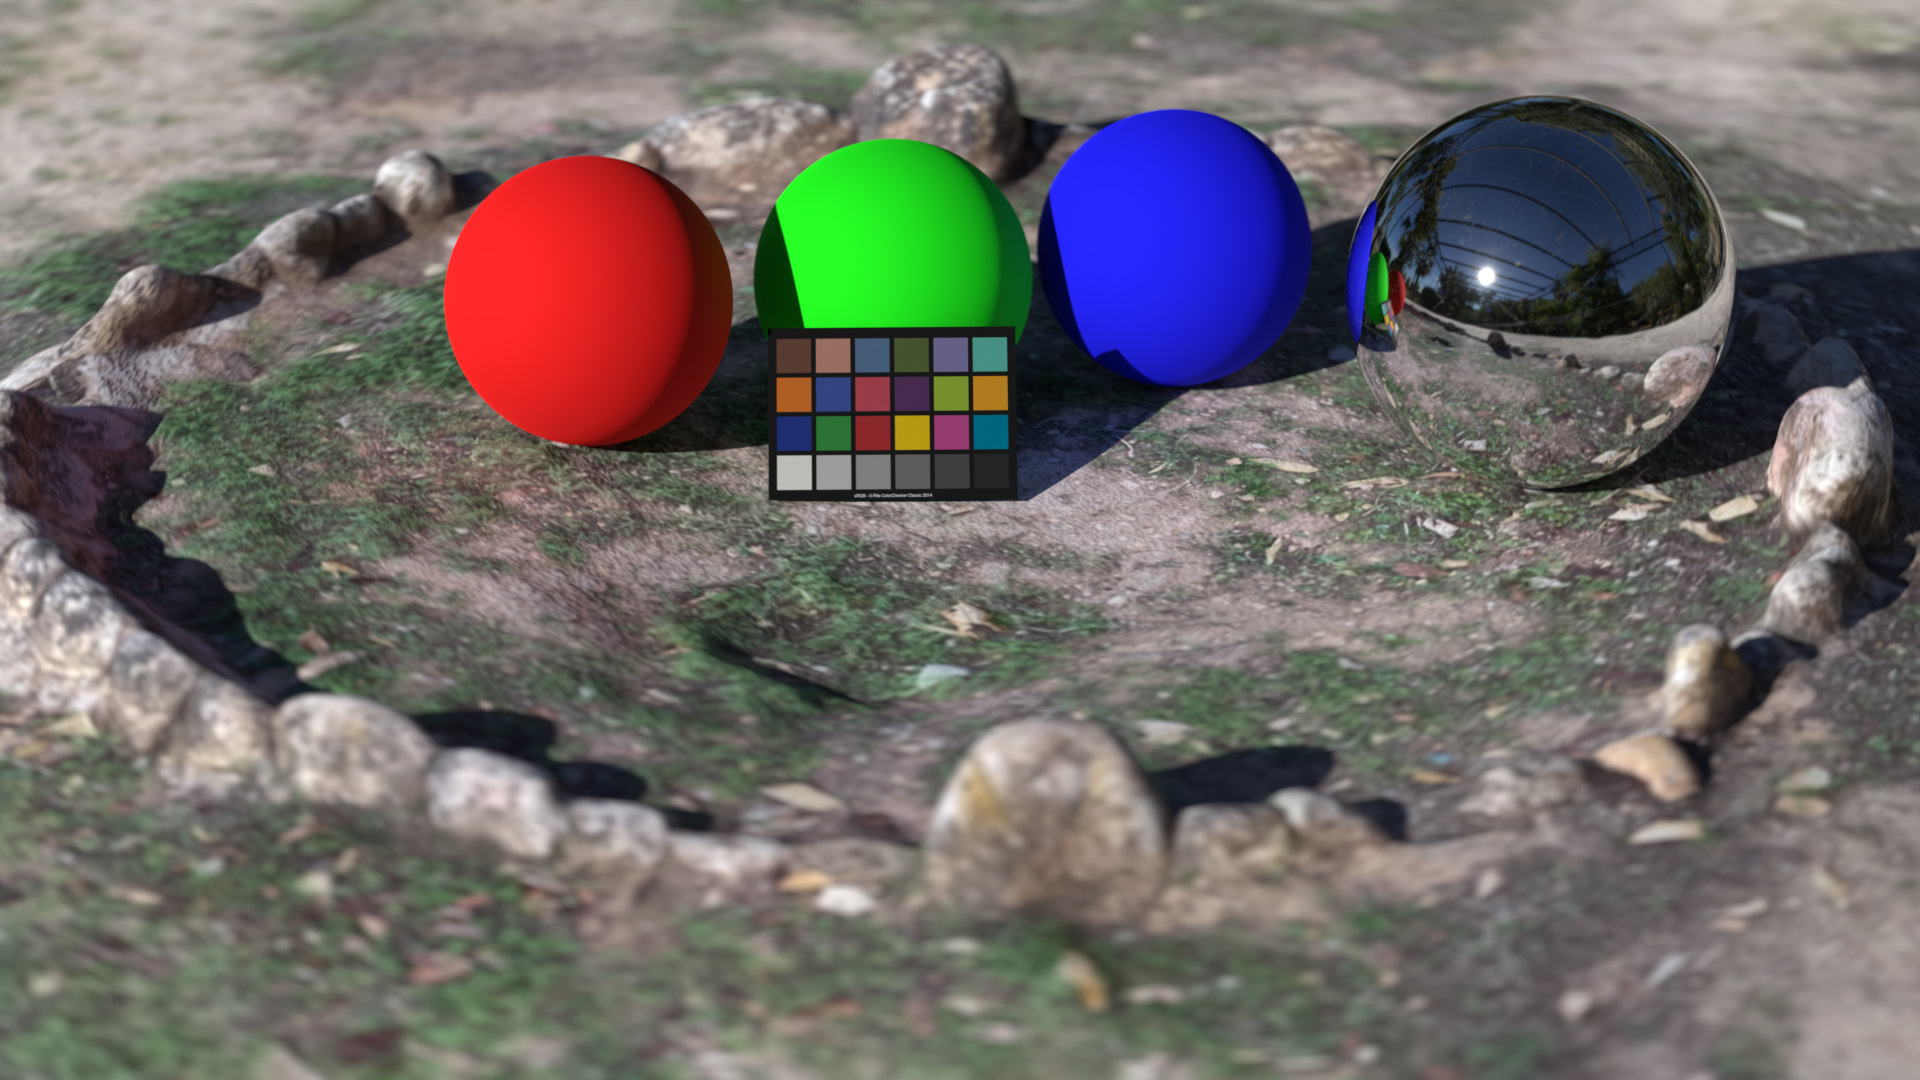
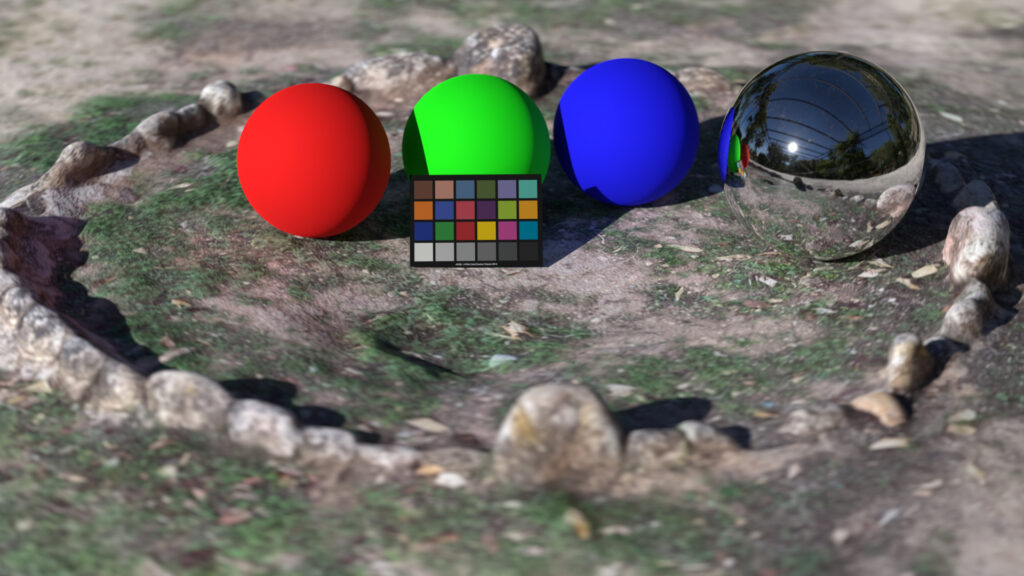
To check the new feature out, I set up a quick scene in Blender 3.3alpha using a HDRI and a little Scaniverse test scan that I did on an iPadPro.
The scene contains a linear_sRGB balanced HDRI, a sRGB-tagged .jpg file texture from Scaniverse, three RGB spheres with a RGB base color of 0.8 or 80% reflectance of the incoming light, a chrome ball and a sRGB color checker. The EXR render output is balanced and exposure adjusted in Nuke for the sRGB JPG output so that the middle grey patch has a value of approx 0.36 or RGB 91/91/91 on this page.
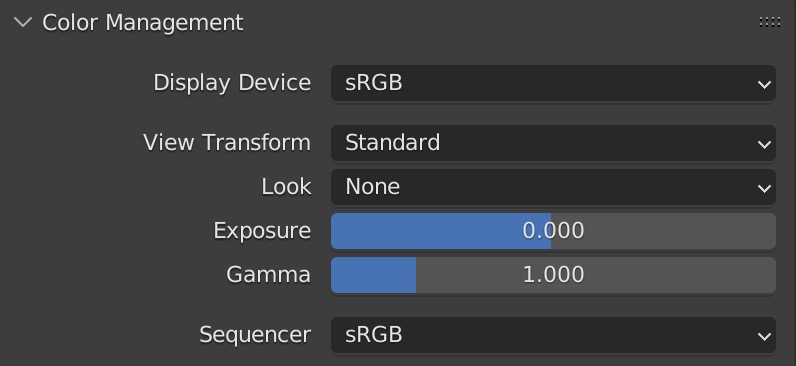
I could change the Display Device from sRGB to XYZ and see a different result. I could render a PNG image file in XYZ (which does not make sense), but set the Color Management “Override” to a Display Device sRGB again to see the initial image rendering.
In this way the new feature makes sense and works as expected. What I am missing and cannot find is a metadata tag in the EXR files that shows which color space the file is written in and what working color space was used to create the scene.
It is a good habit to write the working color space in the filename, otherwise it might be confusing to know how to view an EXR file and which view transform should be used. EXR files need a view transform to view them properly on a display.
I rendered again the initial image in linear sRGB, but choose the output color override color space and set it to “Linear ACEScg”. In Nuke I balanced again the image data before the sRGB ODT to get the same RGB 91/91/91 value on the 18% grey patch on the color checker.
What happens on the output side in Blender is actually the same as choosing a different IDT in Nuke when reading/loading the image data. Only a 3×3 matrix is applied to convert linear-sRGB to ACEScg in the output module of blender after the rendering is done. The metadata in Nuke shows no indication what working color space was used or to which color space the override was set. This will hopefully change soon. I am thinking of flagging this as a feature request.
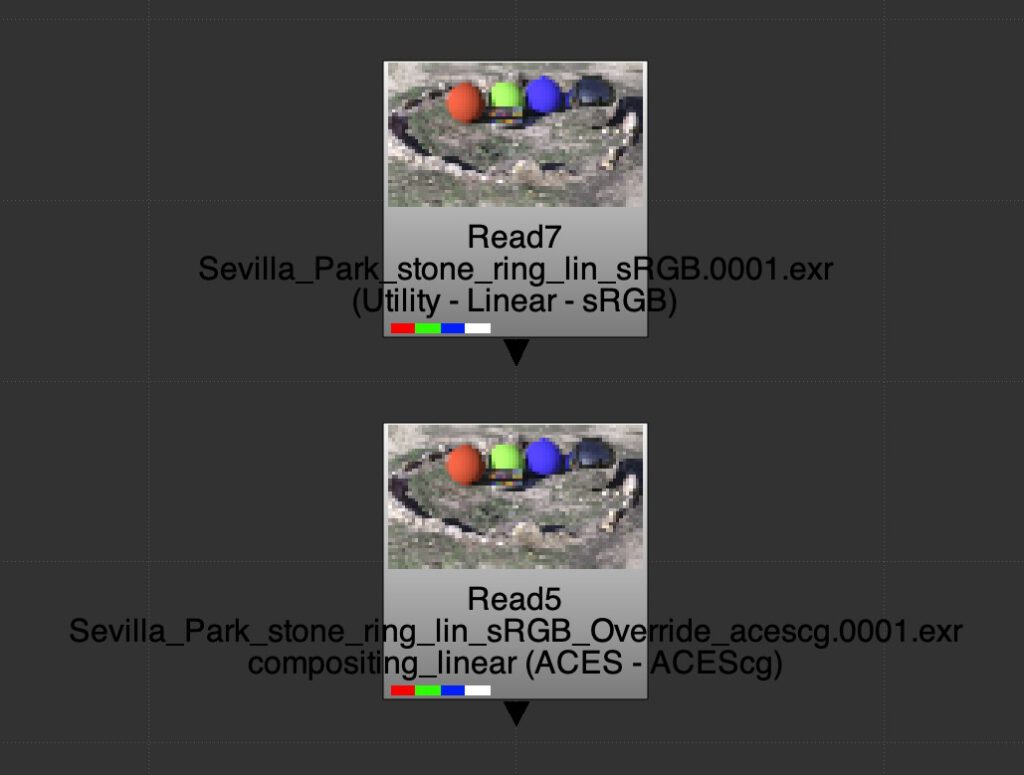
The new feature in Blender to override an output color space could bring more confusion that it could actually help in a production environment. It’s simply the lack of knowing in which color space the image data was created unless you specify the color space in the filename or in a metadata tag.
Sure, the second EXR file has now a post rendering transform from linear-sRGB to ACEScg, but the image quality did not improve. The ACES RRT and ODT changed the colour appearance on the three RGB spheres. The resulting image has a bit more contrast, mostly visible in the darker shadow areas. And the scanned ground texture did not improve. It actually looks a bit more dull now, because it is only a diffuse texture.
In my opinion it makes more sense the judge a rendering through a view transform that matches the working color space. Otherwise you might end up with two different looking images that I showed earlier.
To finish up this little blog post and to check the OCIO v2 ACES config with Blender 3.3alpha, I opened the scene file with the OCIO variable set to the OpenColorIO-Config-ACES 0.2.0 . Then replaced the color checker texture, changed the HDRI to an ACEScg version and set the ground texture IDT to sRGB-Texture. Never forget to adjust base color values on shaders. For fun I rendered two images, the left one with the base color of the RGB spheres still at R, G and B = 0.8. And a second image, the one on the right, where I converted the red, green and blue value to ACEScg values.
And last but not least the two initial renderings from the beginning.
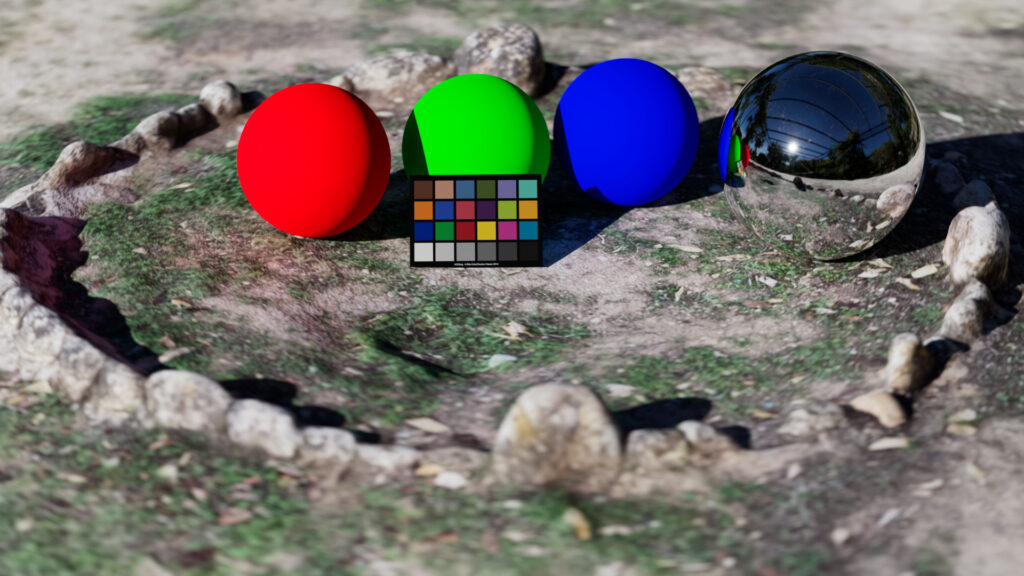
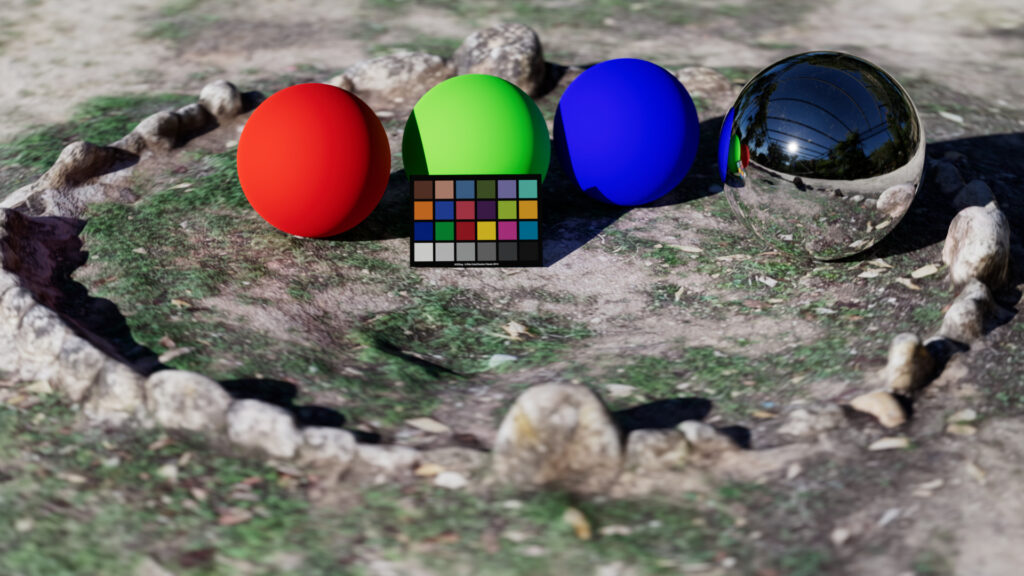
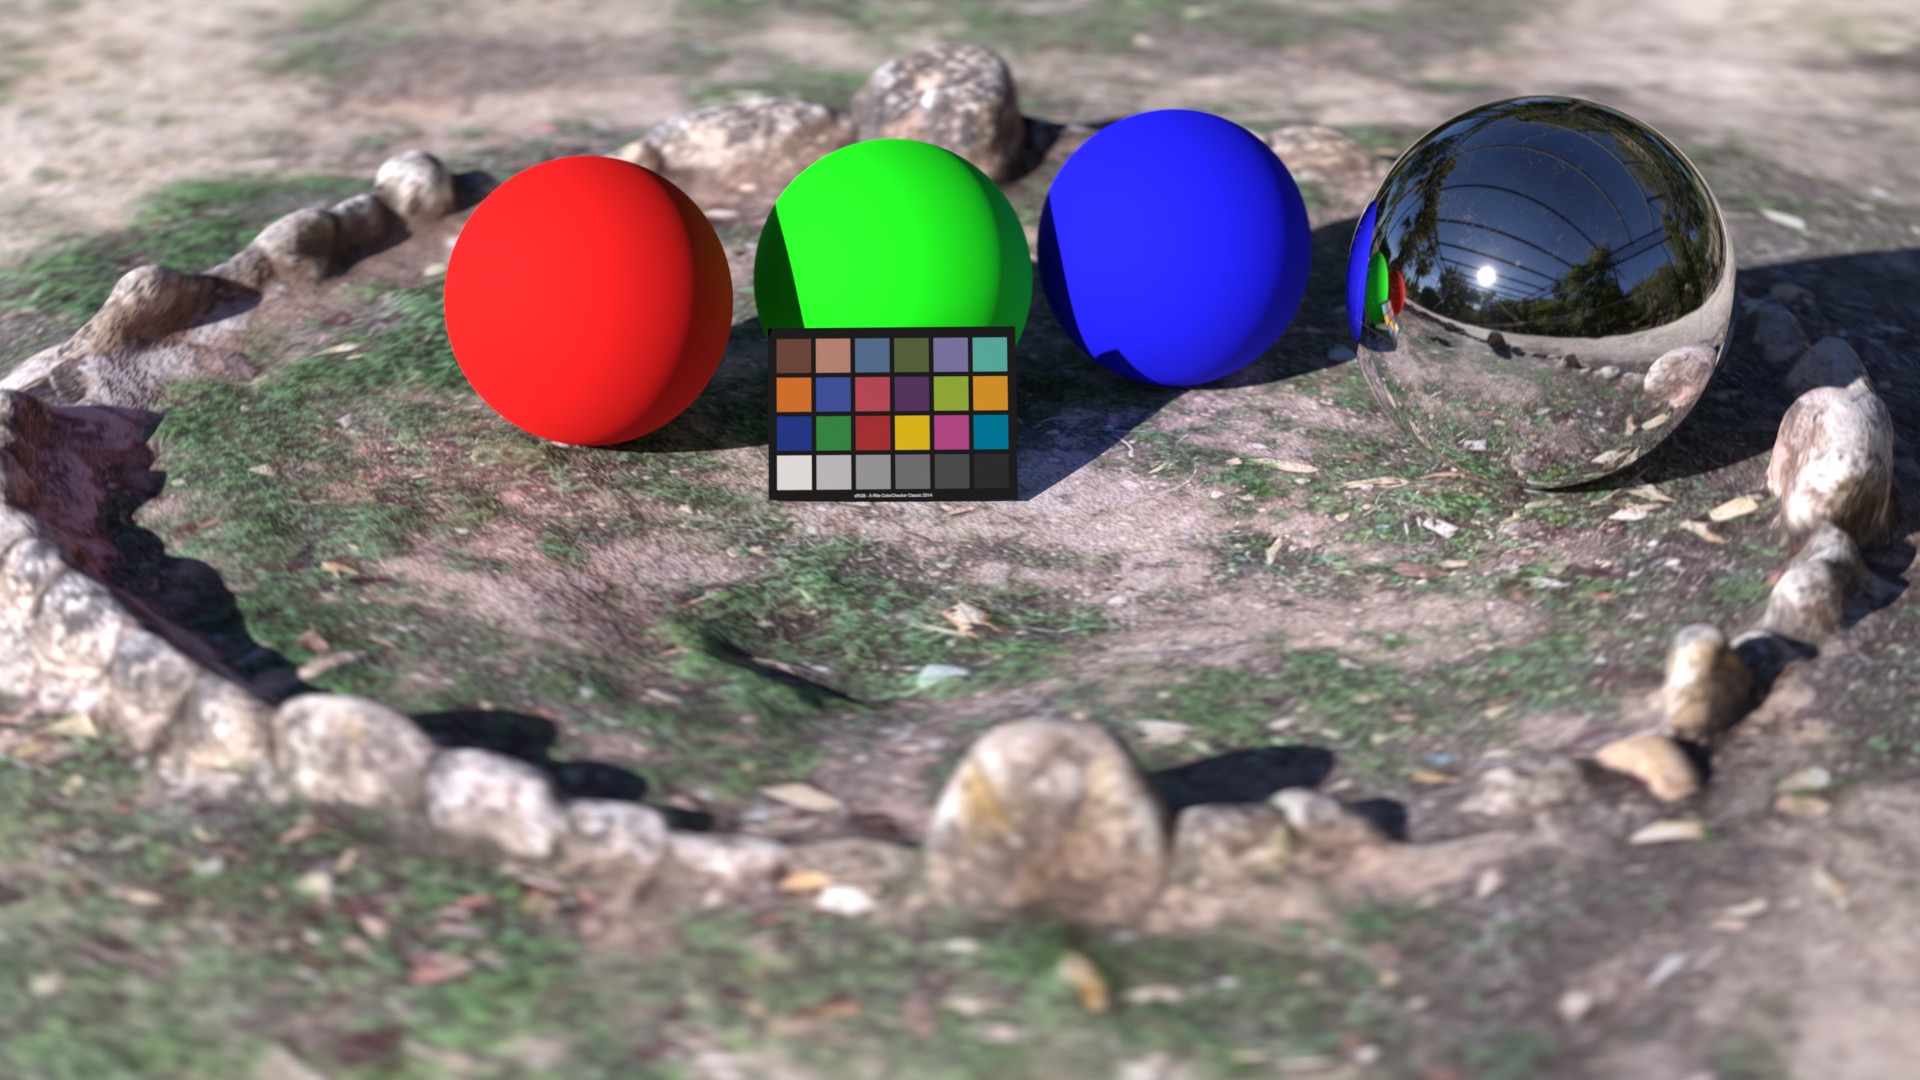
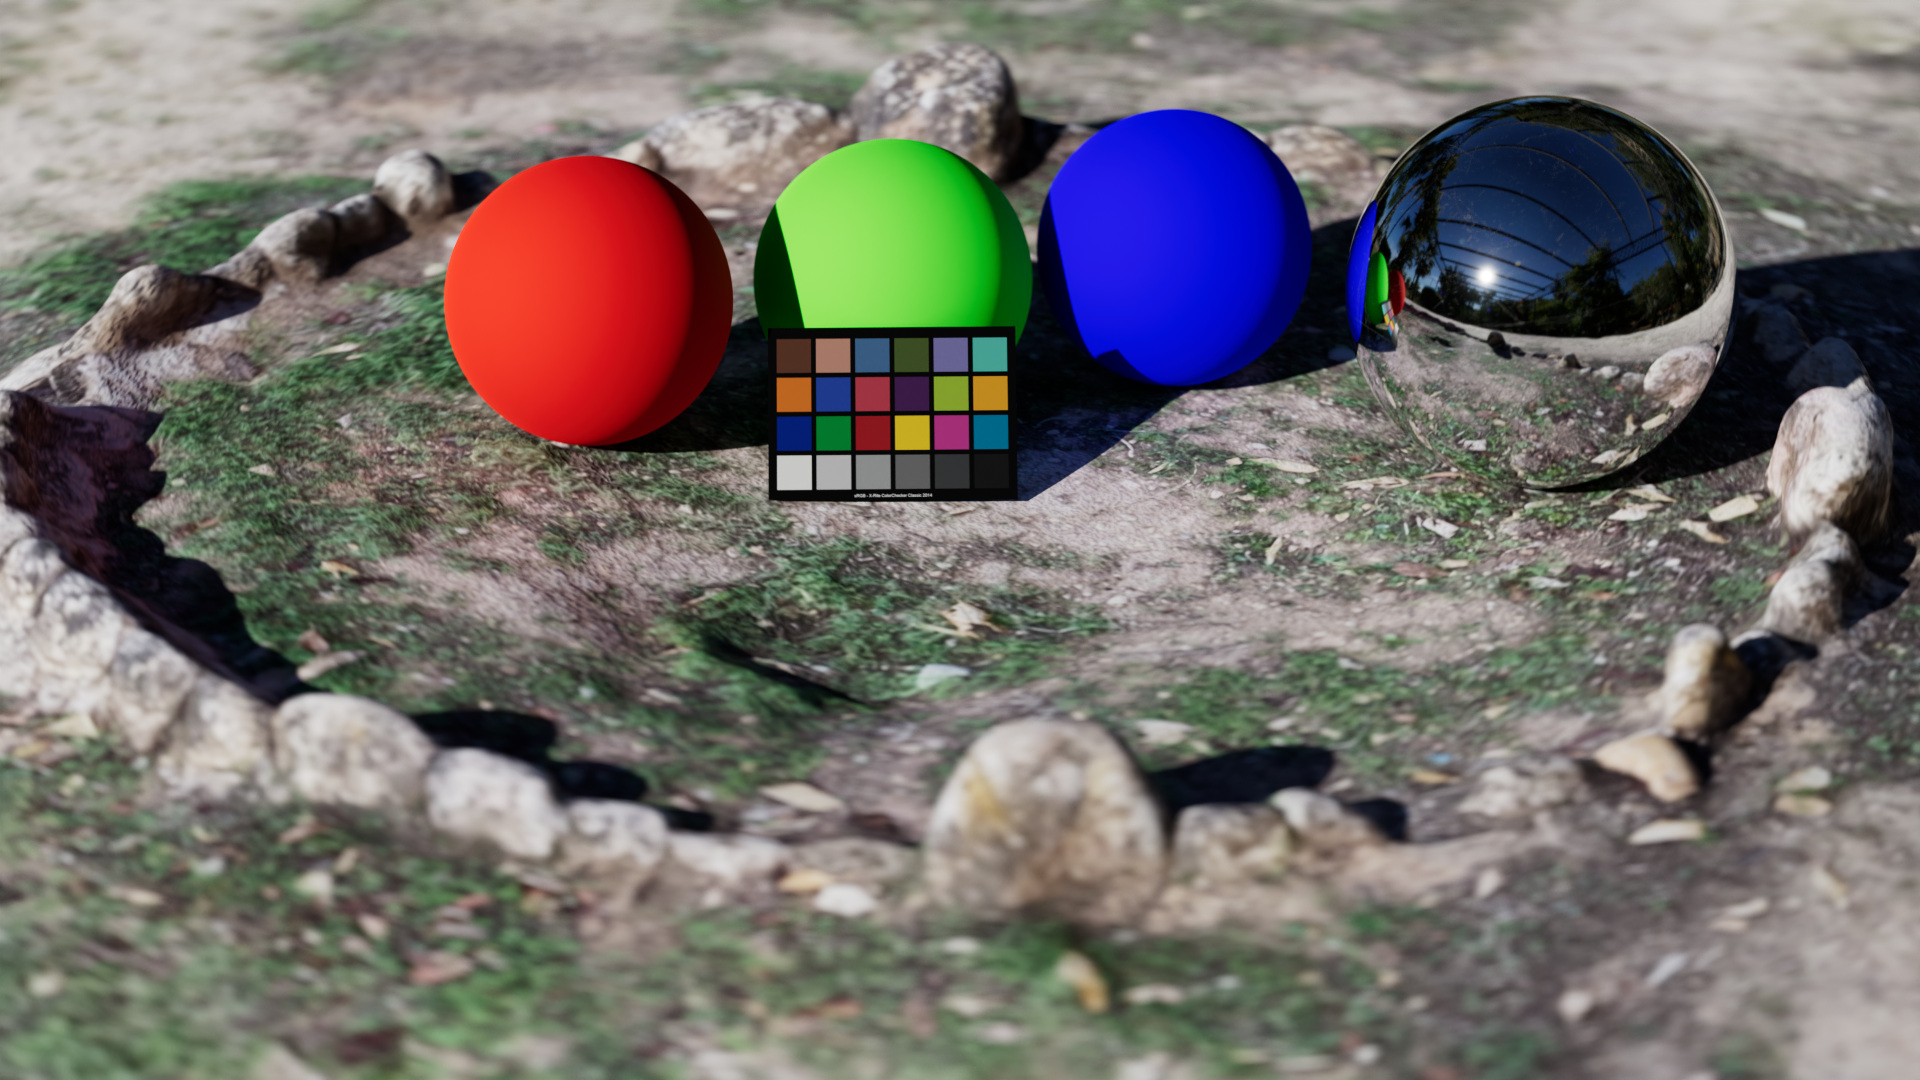
From left to right and top to down:
- ACEScg rendering with the same RGB sphere shader values as in 3.
- ACEScg rendering with adjusted RGB sphere shader values – looks very similar 4. – just more color/light/radiation in the spheres shadow areas.
- Linear-sRGB rendering with a standard sRGB view transform
- Linear-sRGB rendering converted on output in Blender to ACEScg primaries.
Turntable with different Display Rendering Transforms
To finish up this page I rendered a 10 seconds turntable animation and passed the animation through different DRT’s. For the most part the 18% middle grey patch stays always on the same value.
List of encodings in SDR:
- Standard sRGB
- ACES 1.2 sRGB
- OpenDRT Rec.709
- Blender Filmic sRGB
- AgX Punchy
- T-Cam sRGB Display
List of encodings in HDR:
- ACES 1.2 ST-2084 Rec.2020
- OpenDRT Rec.2020 HDR
- T-Cam Rec.2100 HDR
