Stay on route and refine the workflow
September 2020: I thought it’s time to make another run of tests by comparing two HDRI’s capturing methods side by side. Since I saw a first HDRI from the Theta-Z1 last year in July, I was intrigued how good this camera could actually be comparing it to a more bulky setup of my Canon 7D and a panohead. I got my hands on another Theta-Z1 for some days, a sunny morning and had both cameras ready.
This comparison has the following objectives:
- account for overall setup time on my test “location”
- required time to shoot and a full HDRI
- prepping and processing time of the RAW images from both cameras
- the image quality of the stitched images
- and what are the limits in dynamic range that can be captured with both cameras
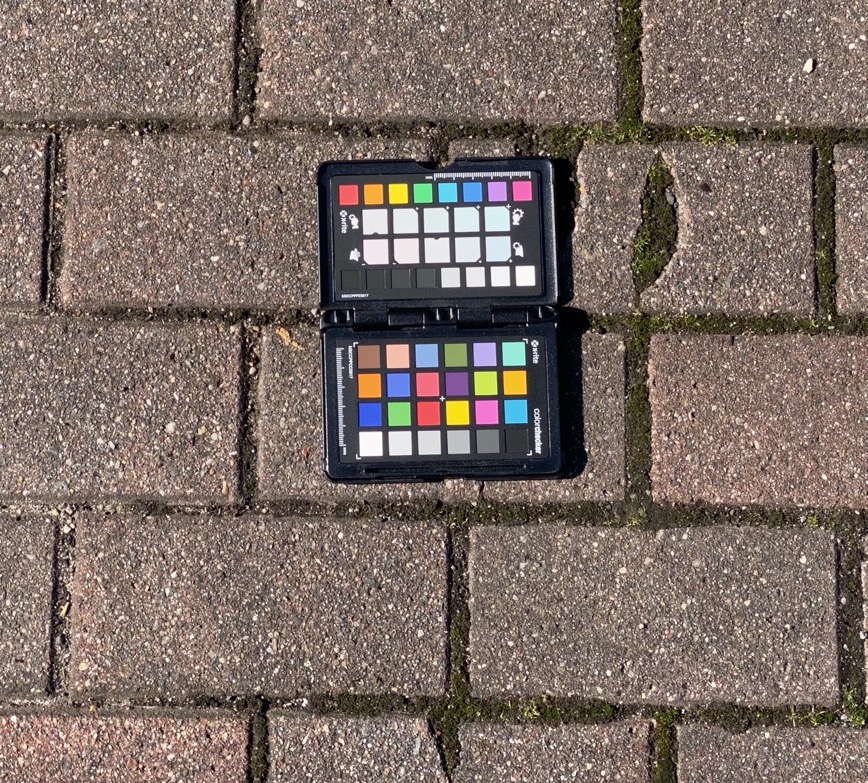
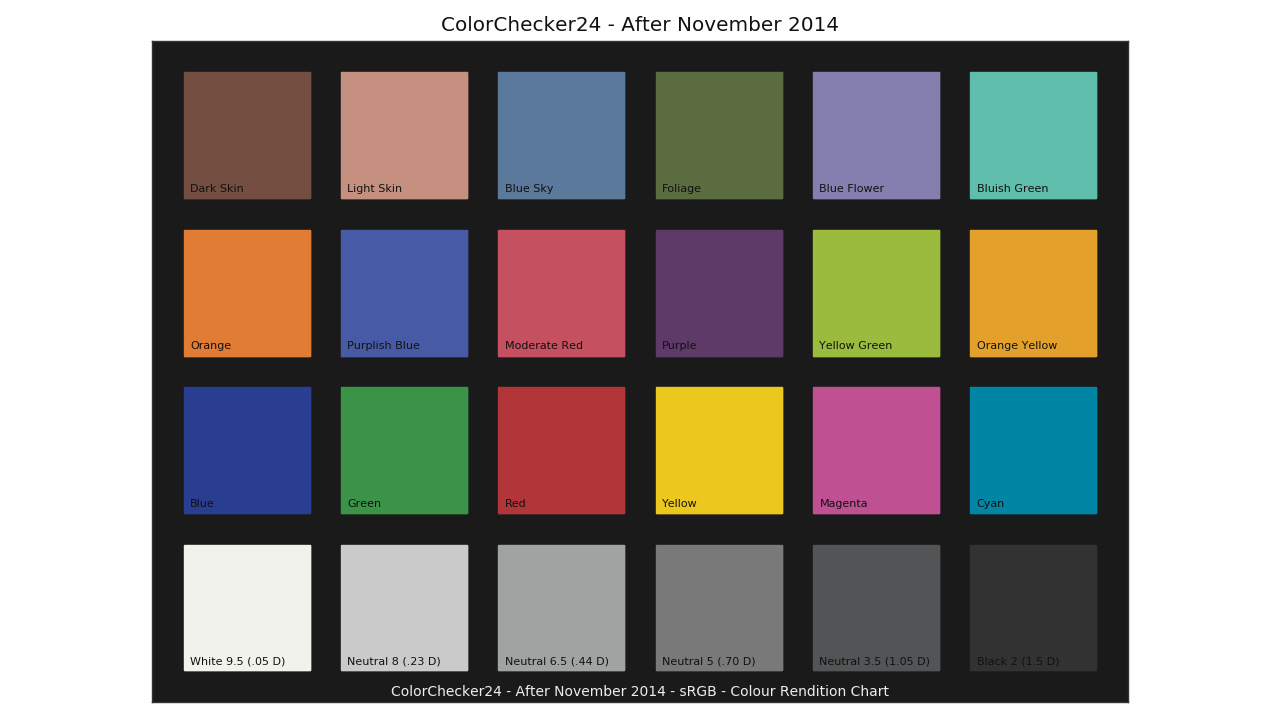
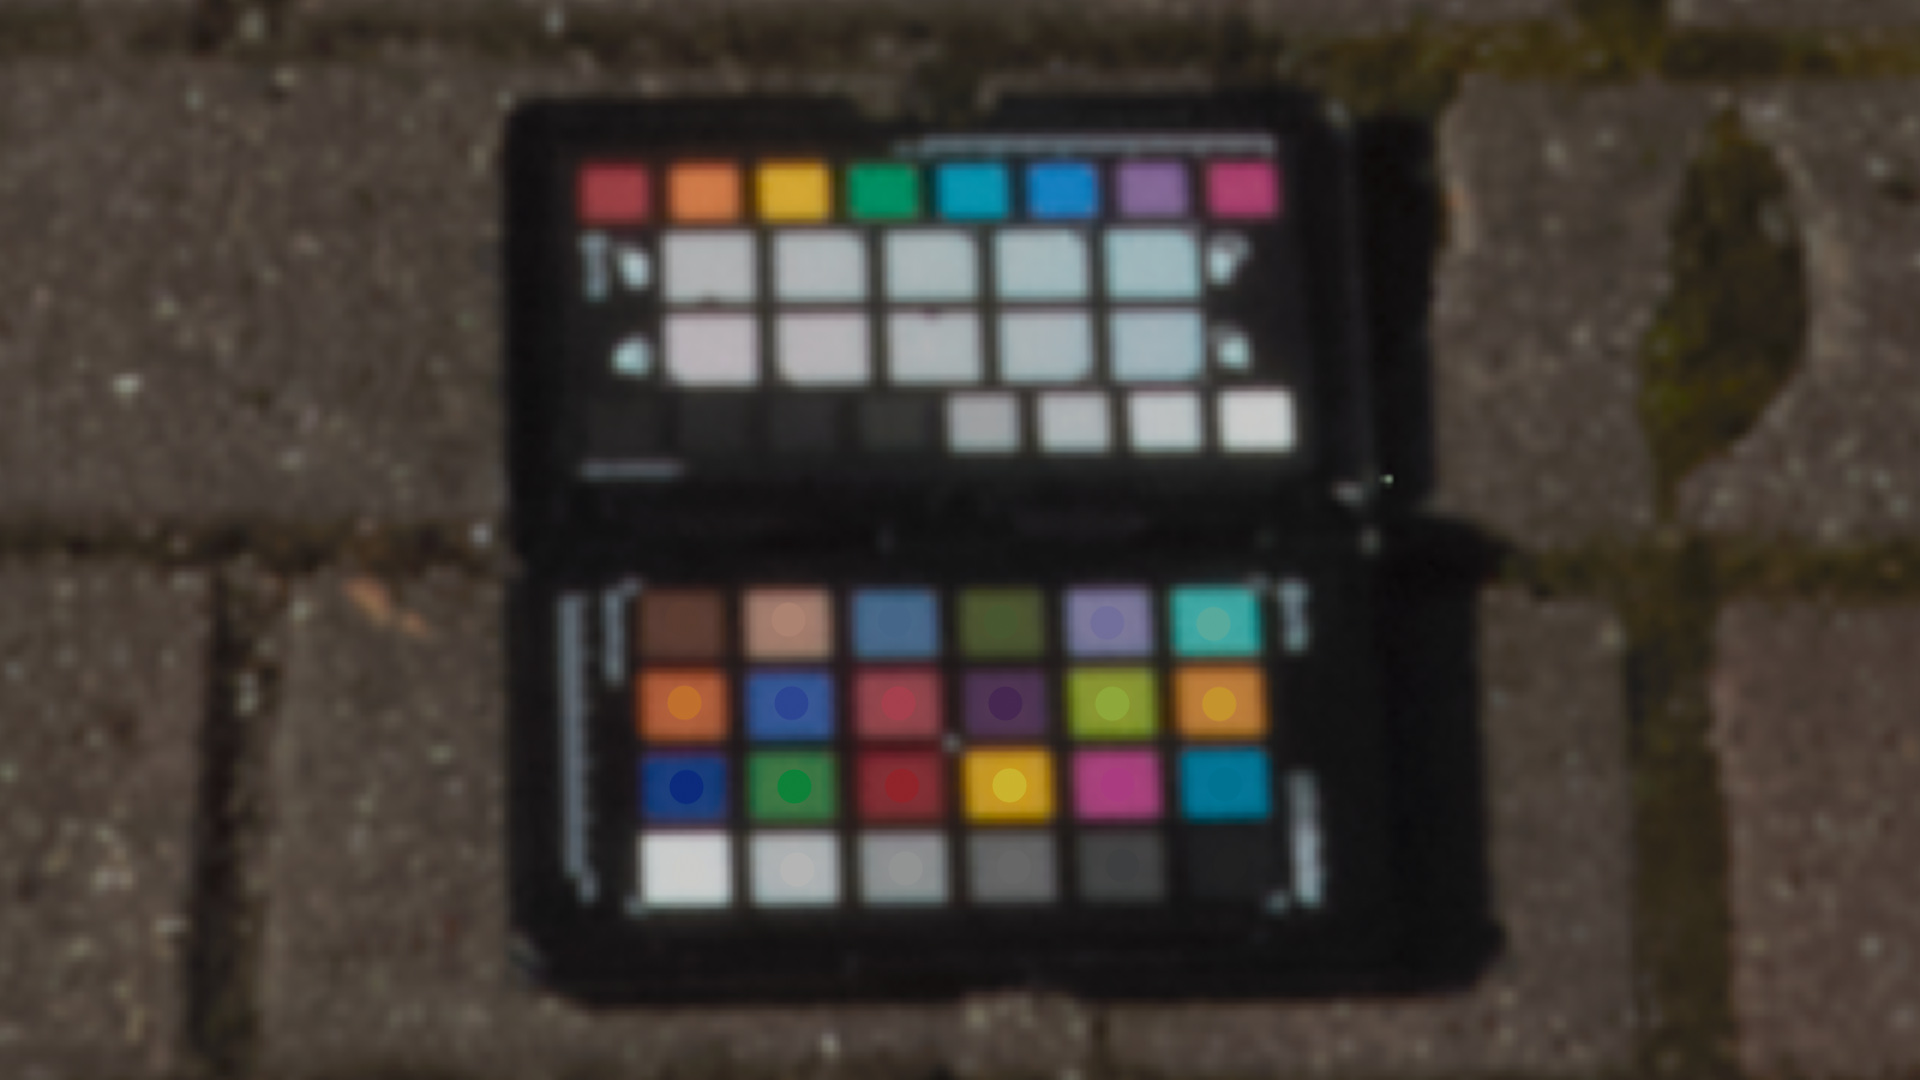
- use the 2014 color checker instead of the 2005 version
The location and the setup
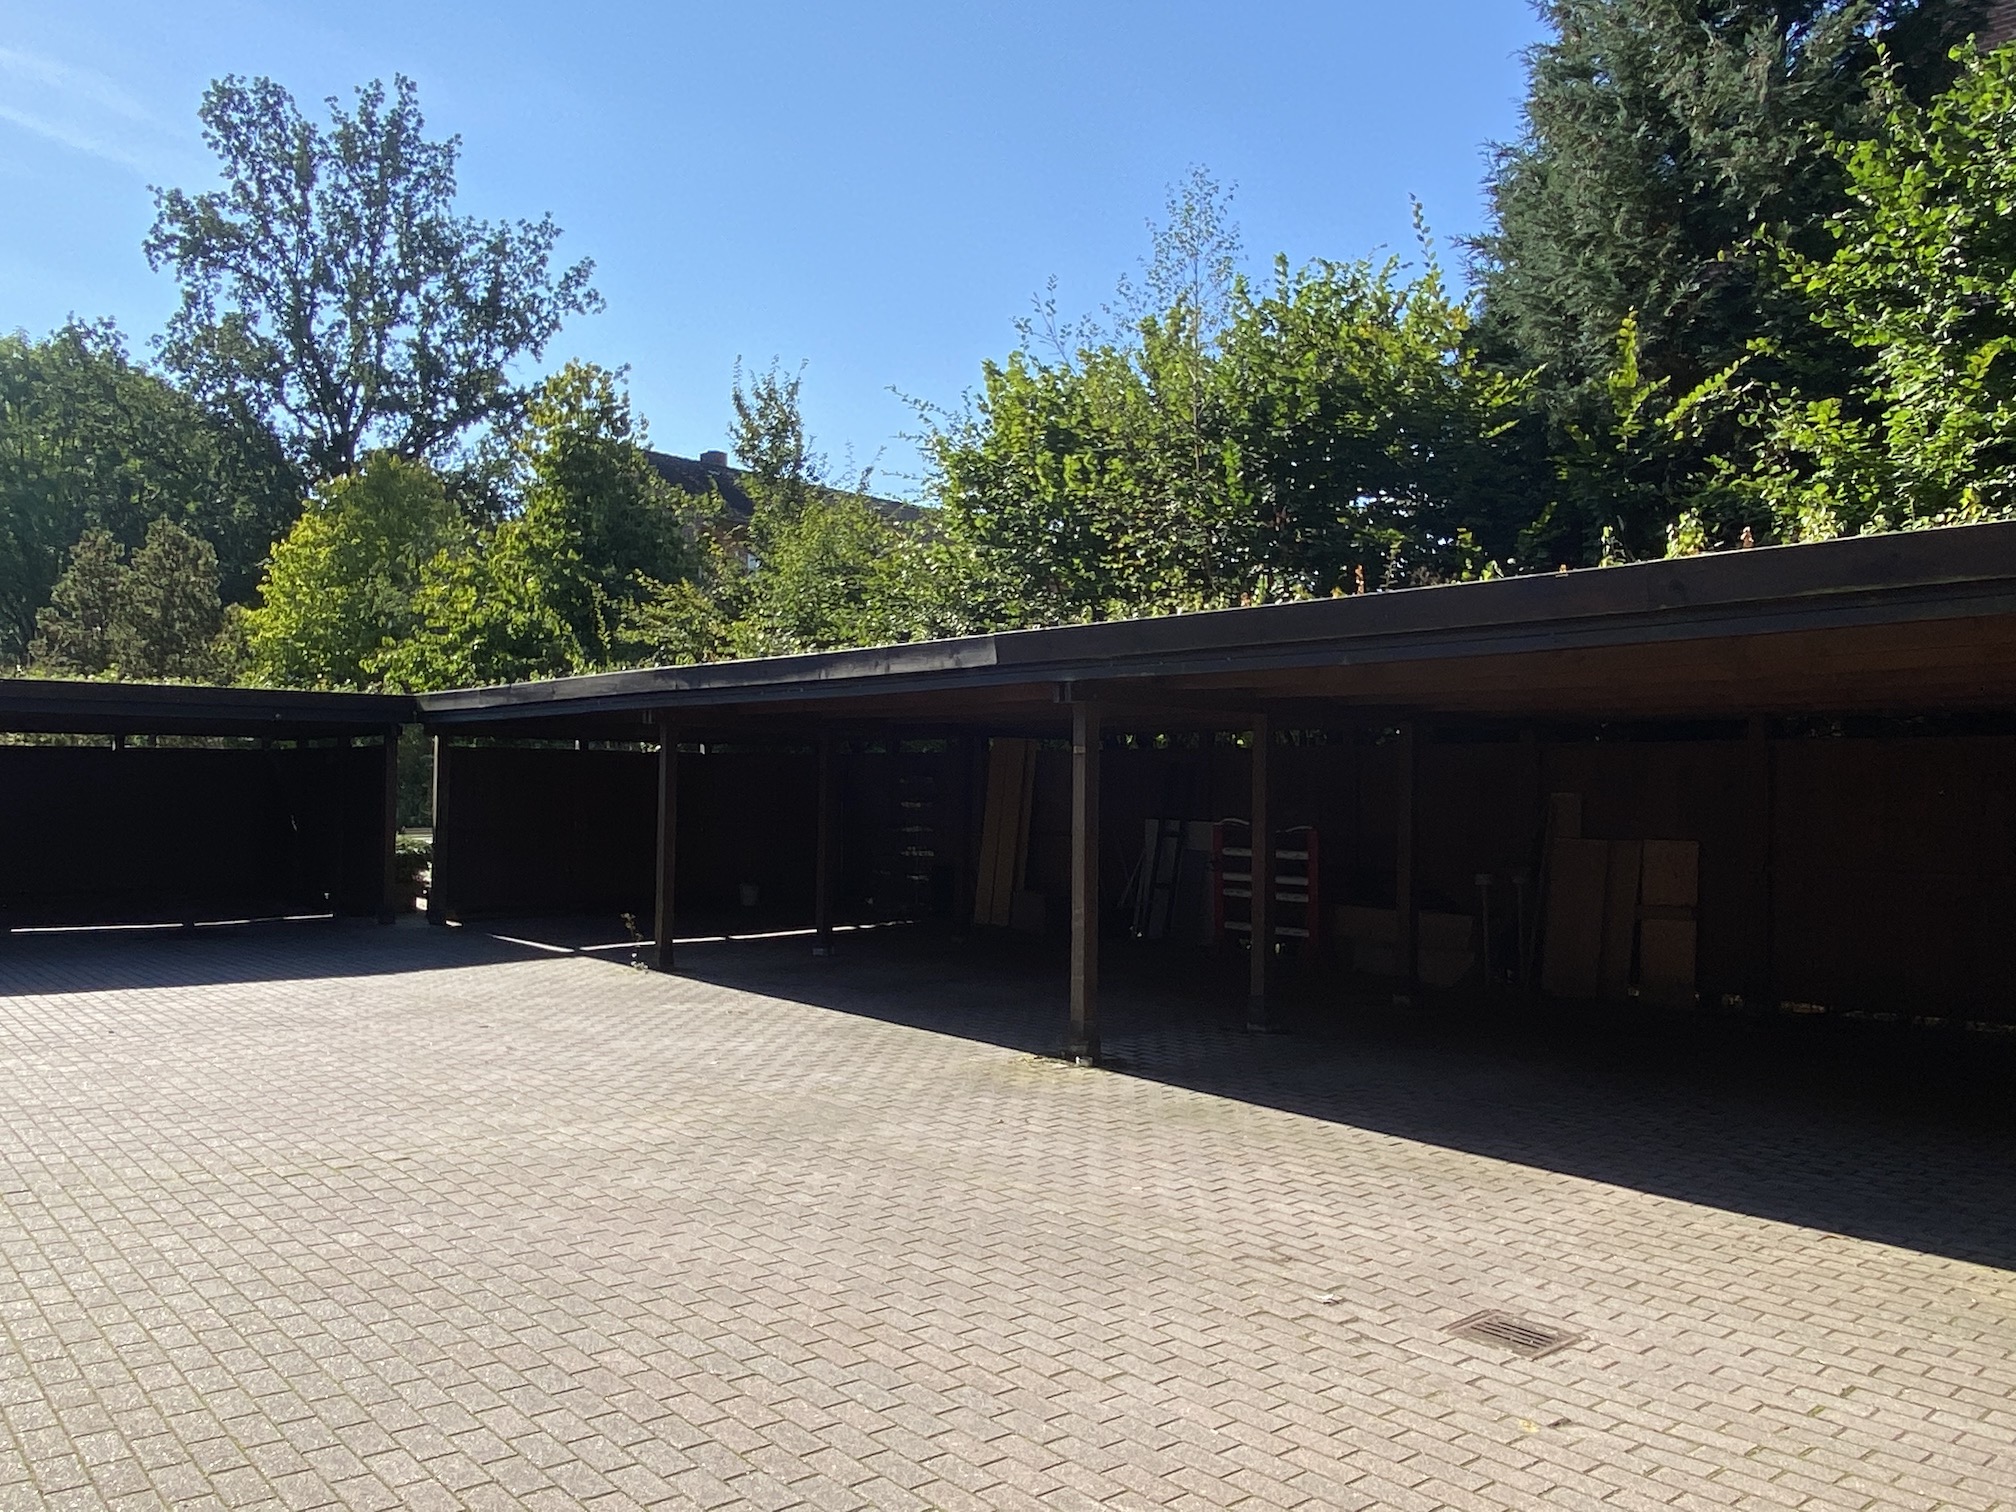
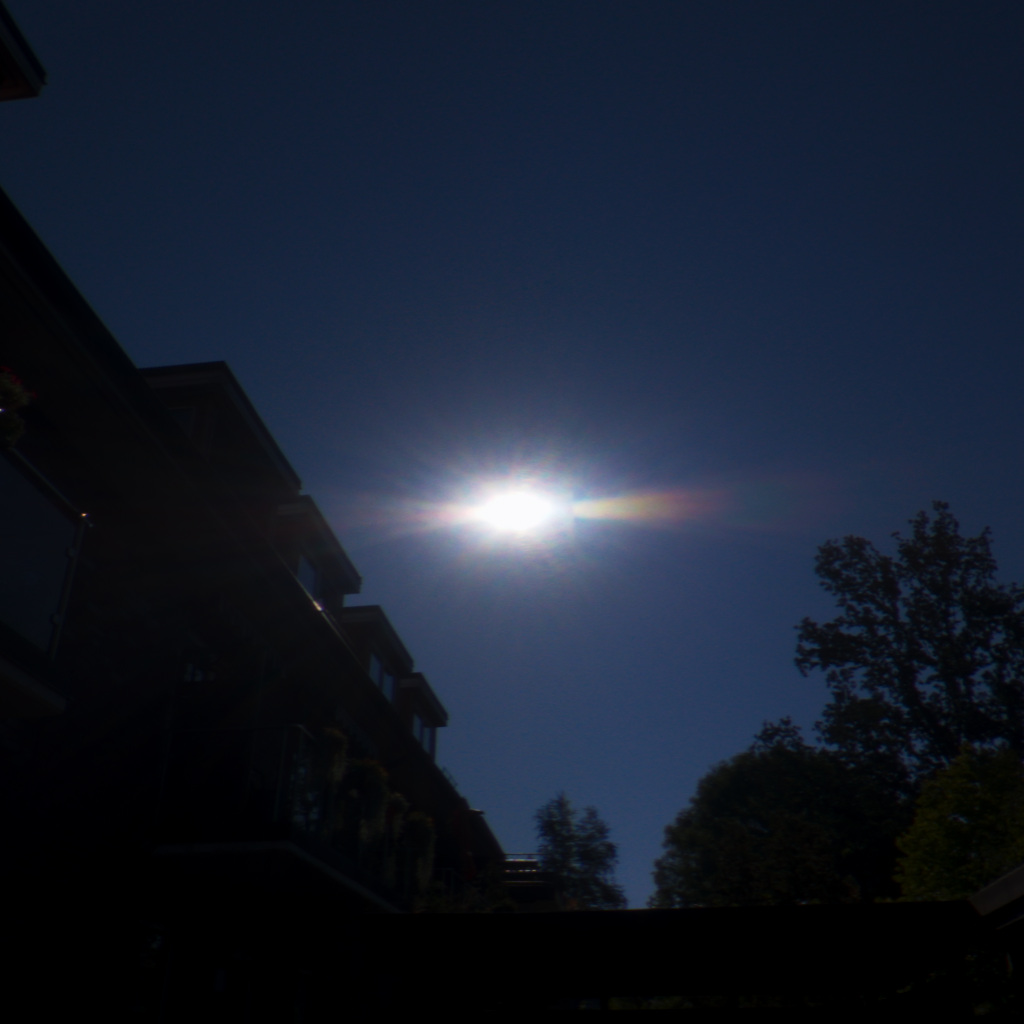
The location is quite boring, but good for a test. It is a sunlit parking behind a house, it has car ports that create nice consistent shadow areas and a near clear sky on a sunny Sunday morning.
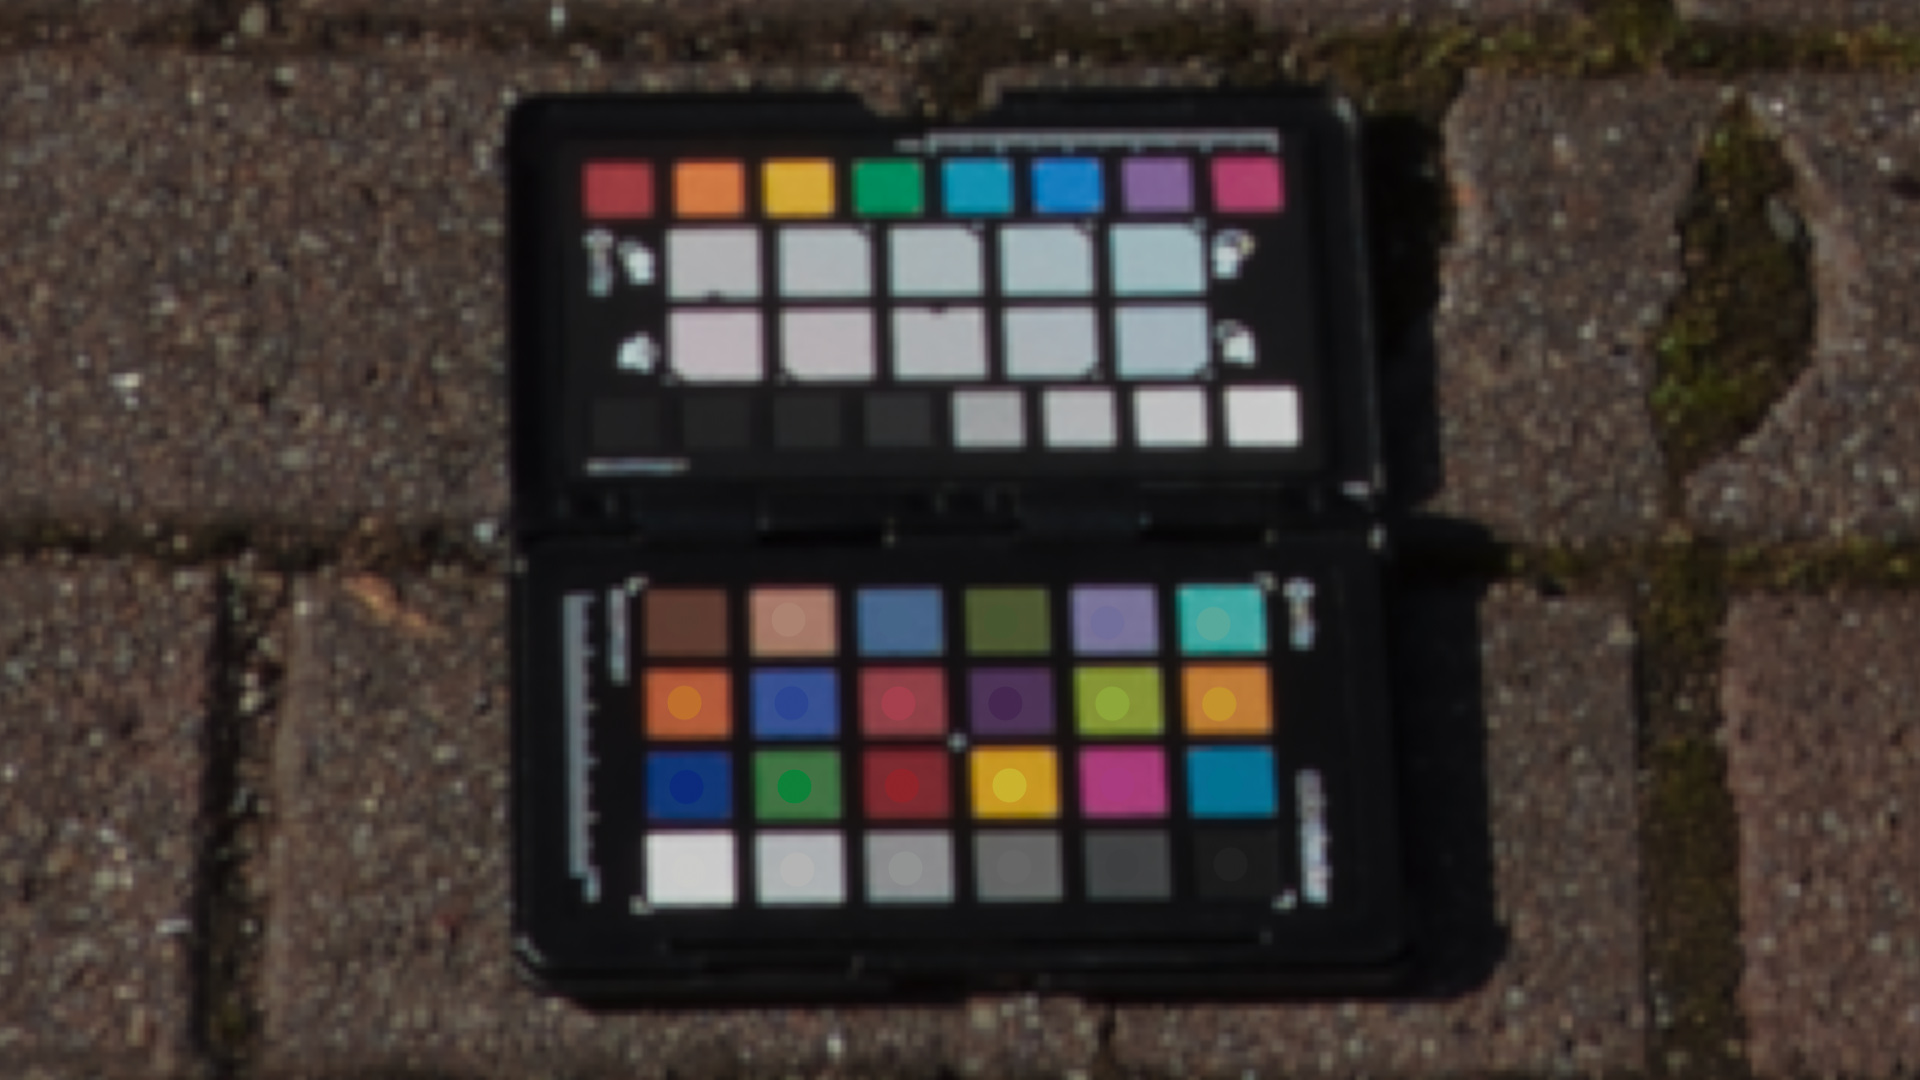
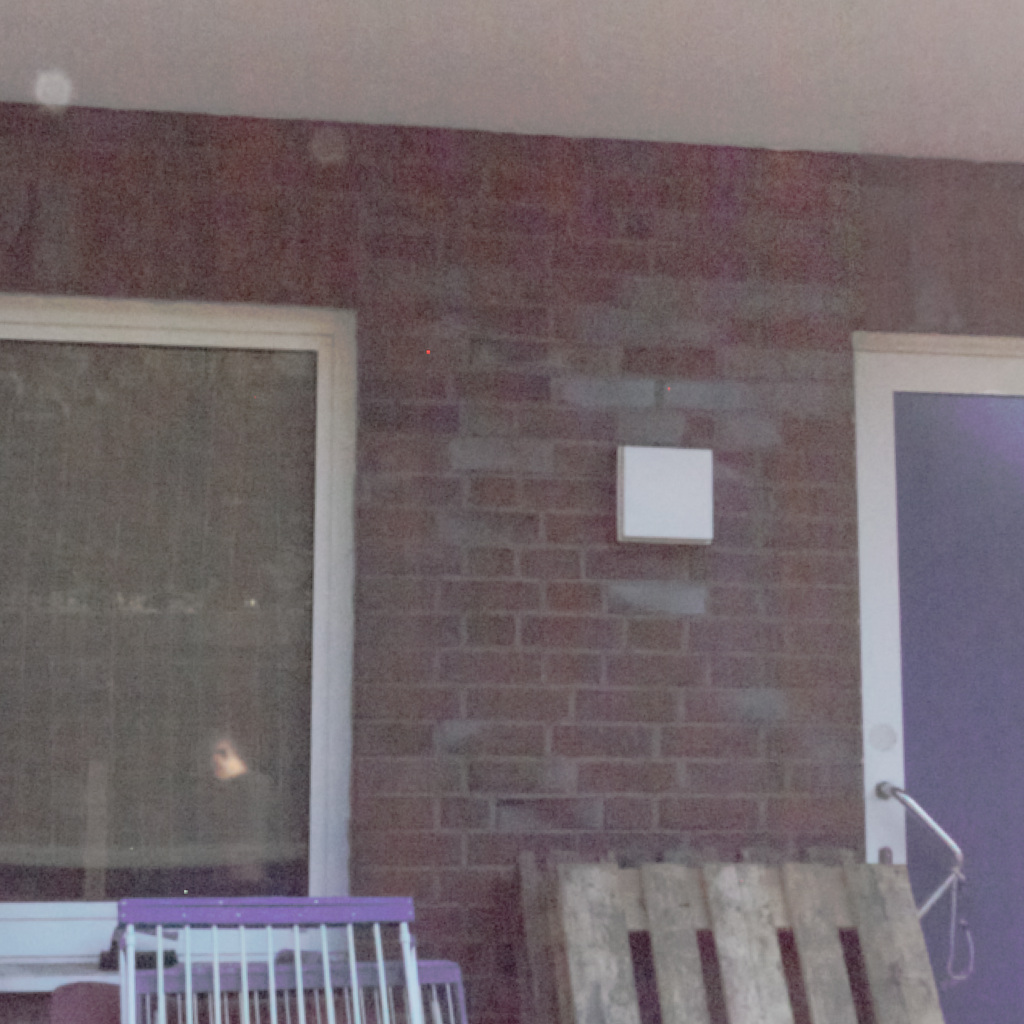
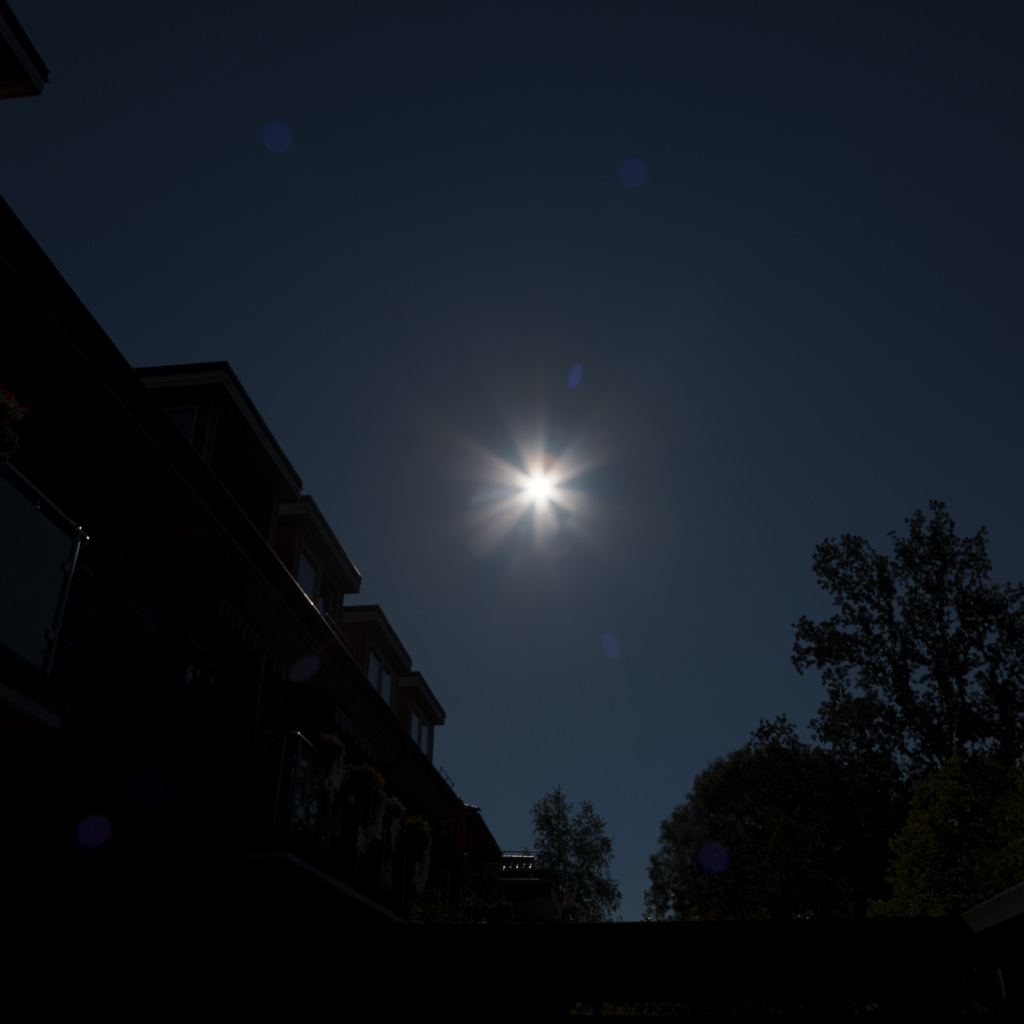
I placed a small X-Rite color chart on the ground facing the sky and arranged my tripod next to it. For the Theta-Z1 I used the standard app to shoot the RAW-DNG brackets in 1-stop exposures steps with the smallest aperture available (5.6), ISO 100 at 5600 kelvin and the minimum shutter time of 1/25000. I took 18 brackets from which the brightest 6 are not adding much more dynamic range to the HDRI. But I kept them anyway to be merged in PTGui Pro later.
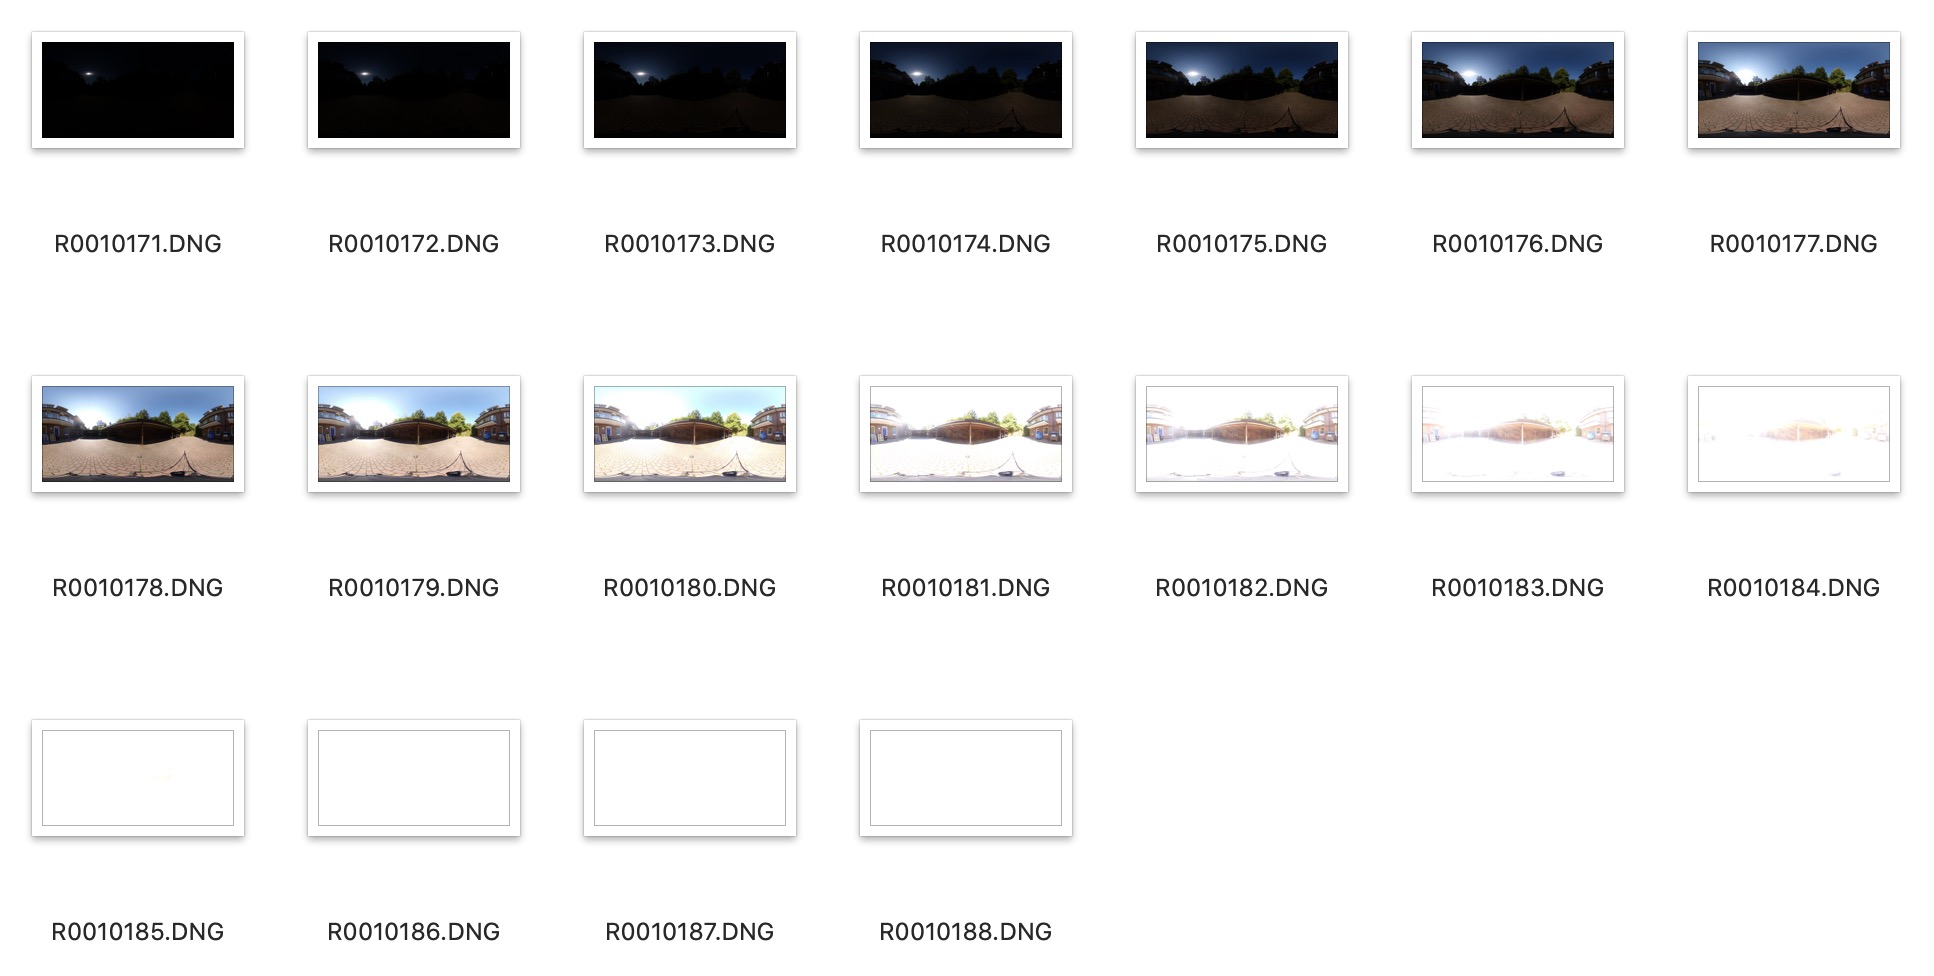
The Ricoh Theta app WiFi connection fails from time to time, but overall I was able to shoot one HDRI in around two minutes. The maximum exposure time is 4 seconds. The battery drains fairly quick and to charge or download the images via the USB-C cable the camera needs be be detached each time from the base plate for the tripod. The “weak” battery could be a real problem working all day on a busy set or location.
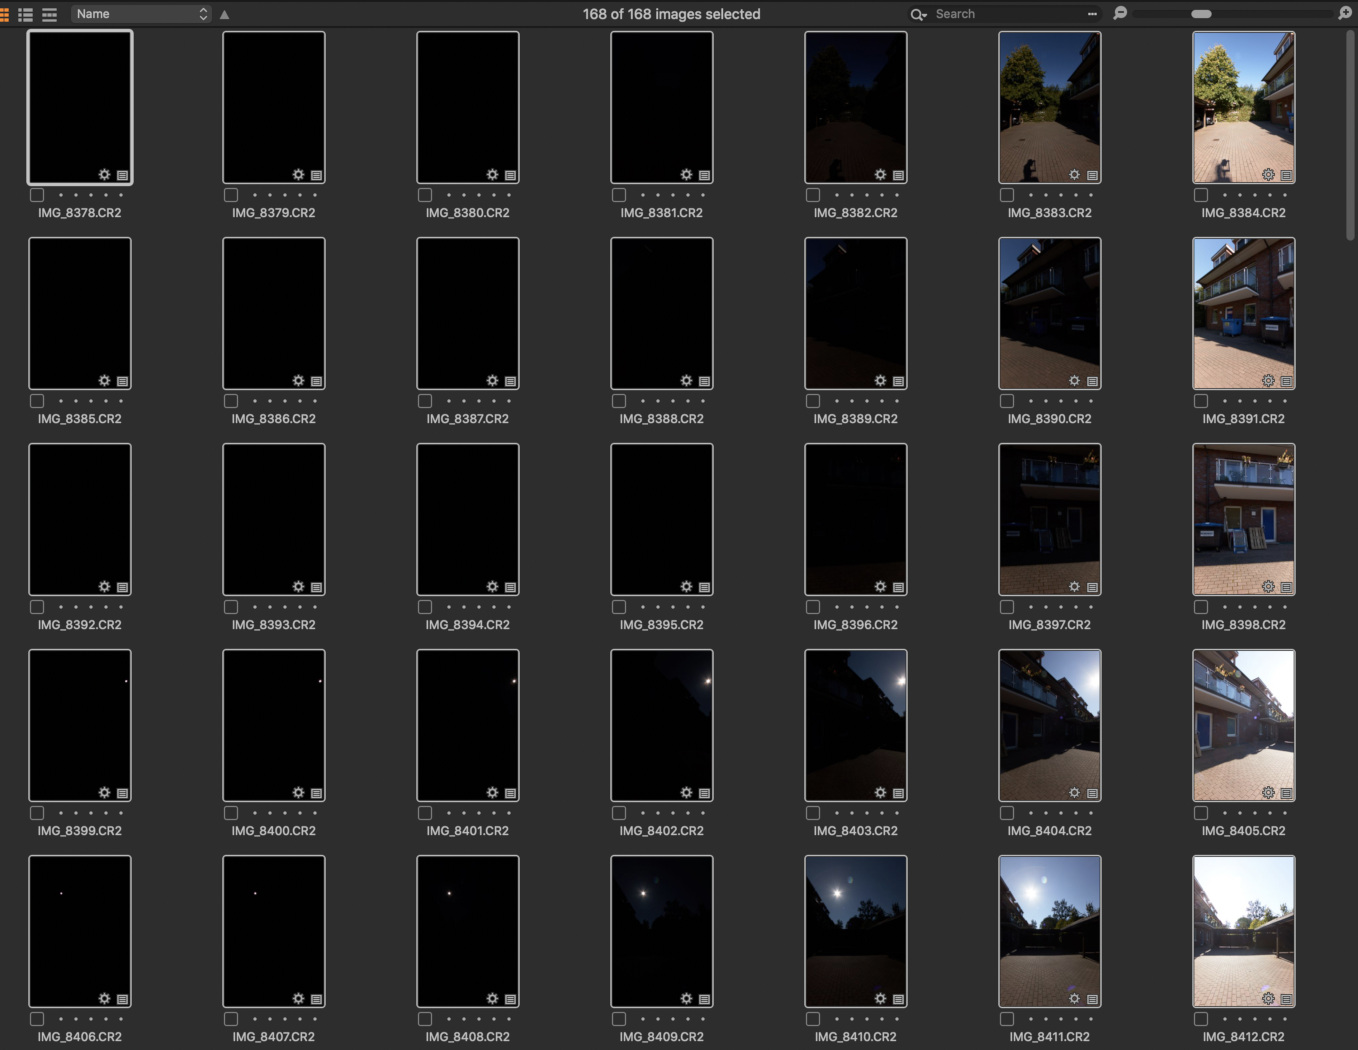
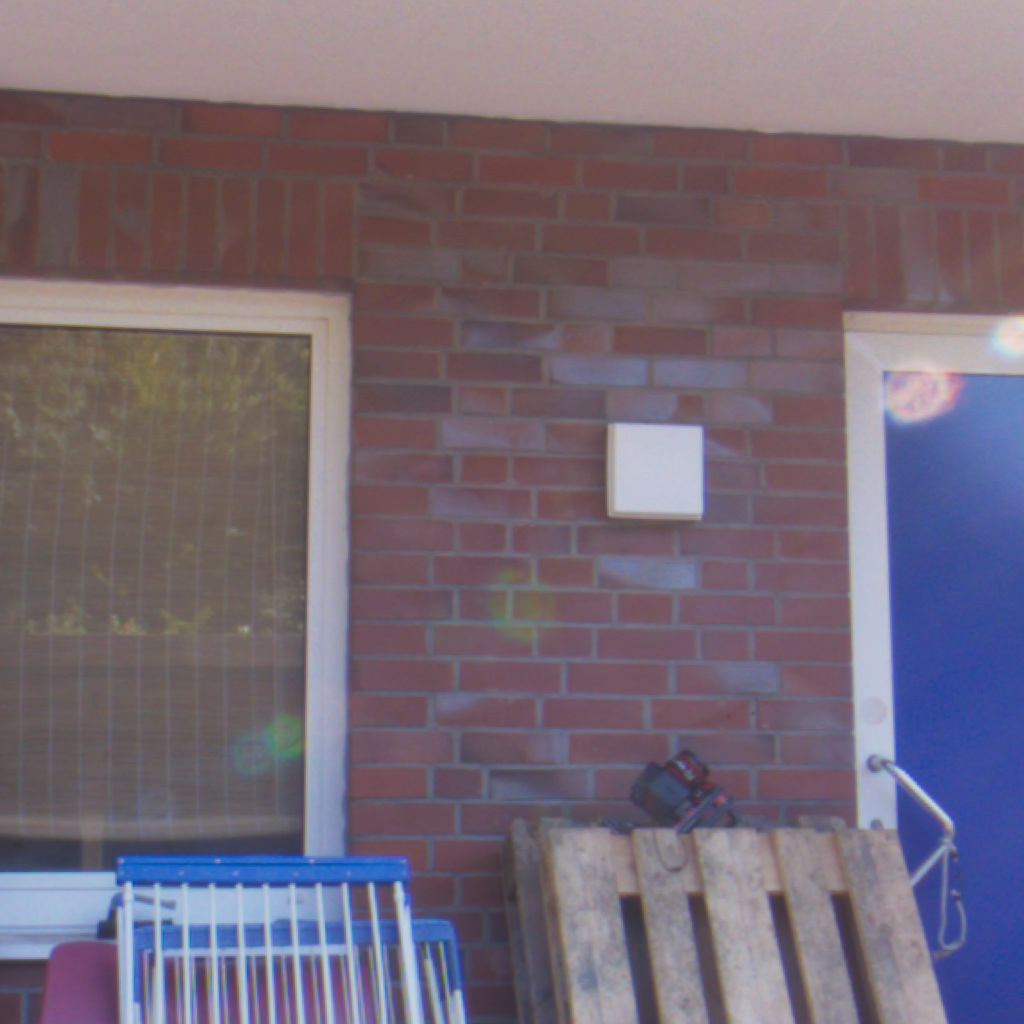
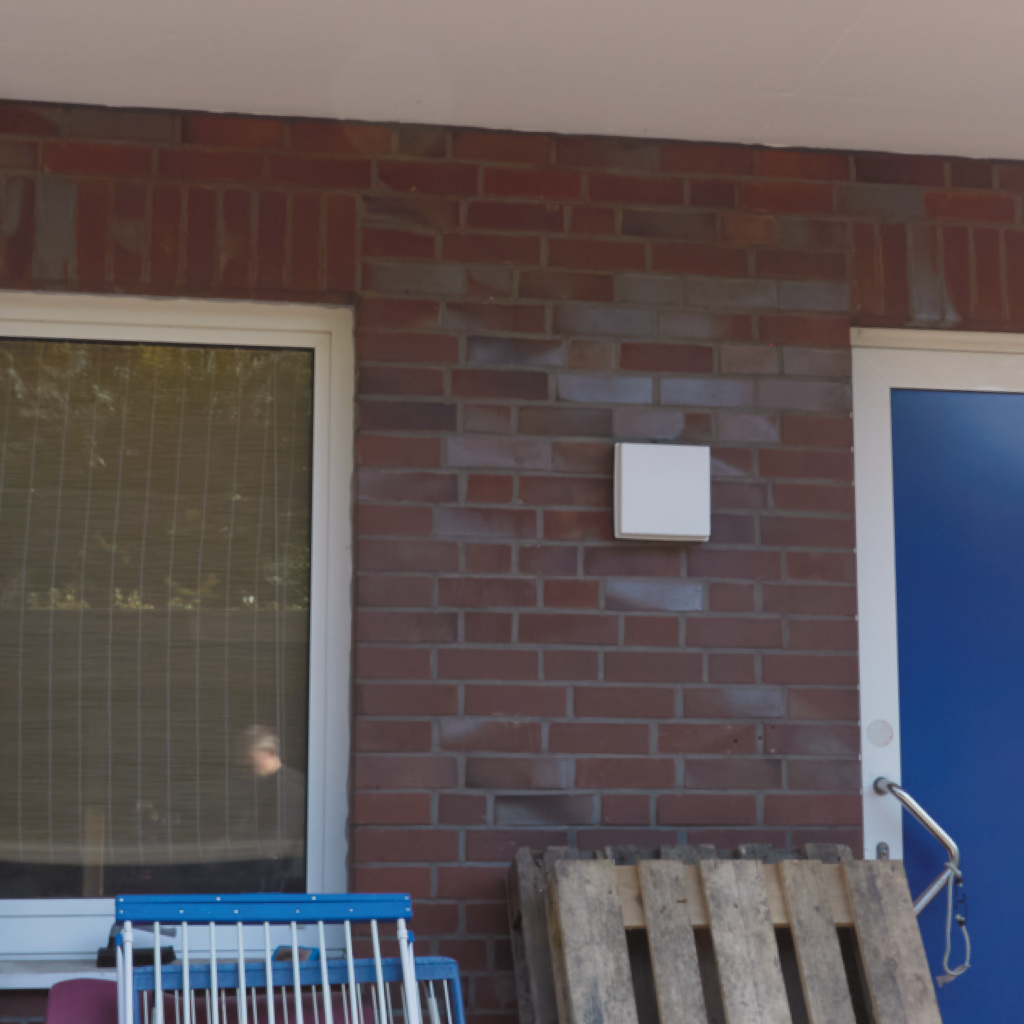
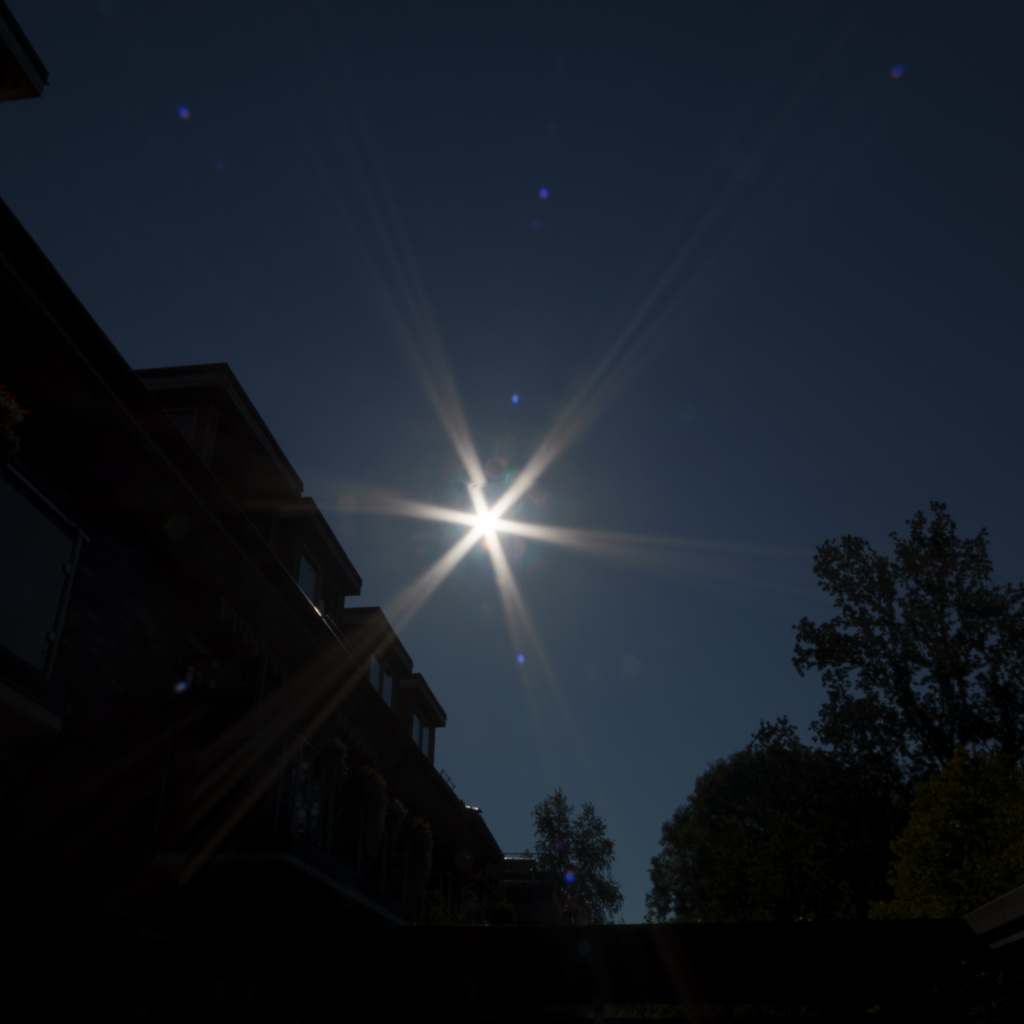
My Canon 7DMKII set contains a EF-S 10-22 mm lens, a Roundabout nodal point panoramic head and a ND filter. The rest of the settings I have described in the article “2.4.2. More ColorCheckers“. It takes around seven minutes to capture the images for one HDRI, because of the 24 sets of 7 brackets and the longest exposure time of 8 seconds. With the Canon I shot two HDRI’s. One at f-stop 8 and the other at f-stop 22. The first one was clipping in the sun even with the shortest exposure and the second one was underexposed and already quite blurry from the tiny aperture opening.
The stitched HDRI results
Each HDRI was rendered with PTGui Pro 11.28.The Theta-Z1 creates DNG-RAW files and the from the Canon 7D I used the converted TIF files that were created in Capture One 20 from the Canon RAW files.
| Camera | Canon 7D f-stop8 | Canon 7D f-stop22 | Ricoh Theta-Z1 |
| Shoot time | 7 minutes | 7 minutes | 2 minutes |
| File size (RAW) | 3.5 GB | 3.27 GB | 820 MB |
| File size (TIFF) | 14.57 GB | 13.24 GB | – |
| Resolution | 17.888×8.944 | 17.888×8.944 | 7.414×3.707 |
| Balanced Max. Luma Pixel | 25.799 25.774 25.925 | 115.902 114.091 106.155 | 121 122 151 |
| sun overexposed | yes | no | yes |
| needed EXR format | half float | full float | half float |
| usable result | yes | not really | depends |
The rendered HDRI EXR files were loaded into Nuke 12 and balanced to the patch “Neutral 5 (.70D) form the “ACEScg_ColorChecker2014.exr”, which is available here.
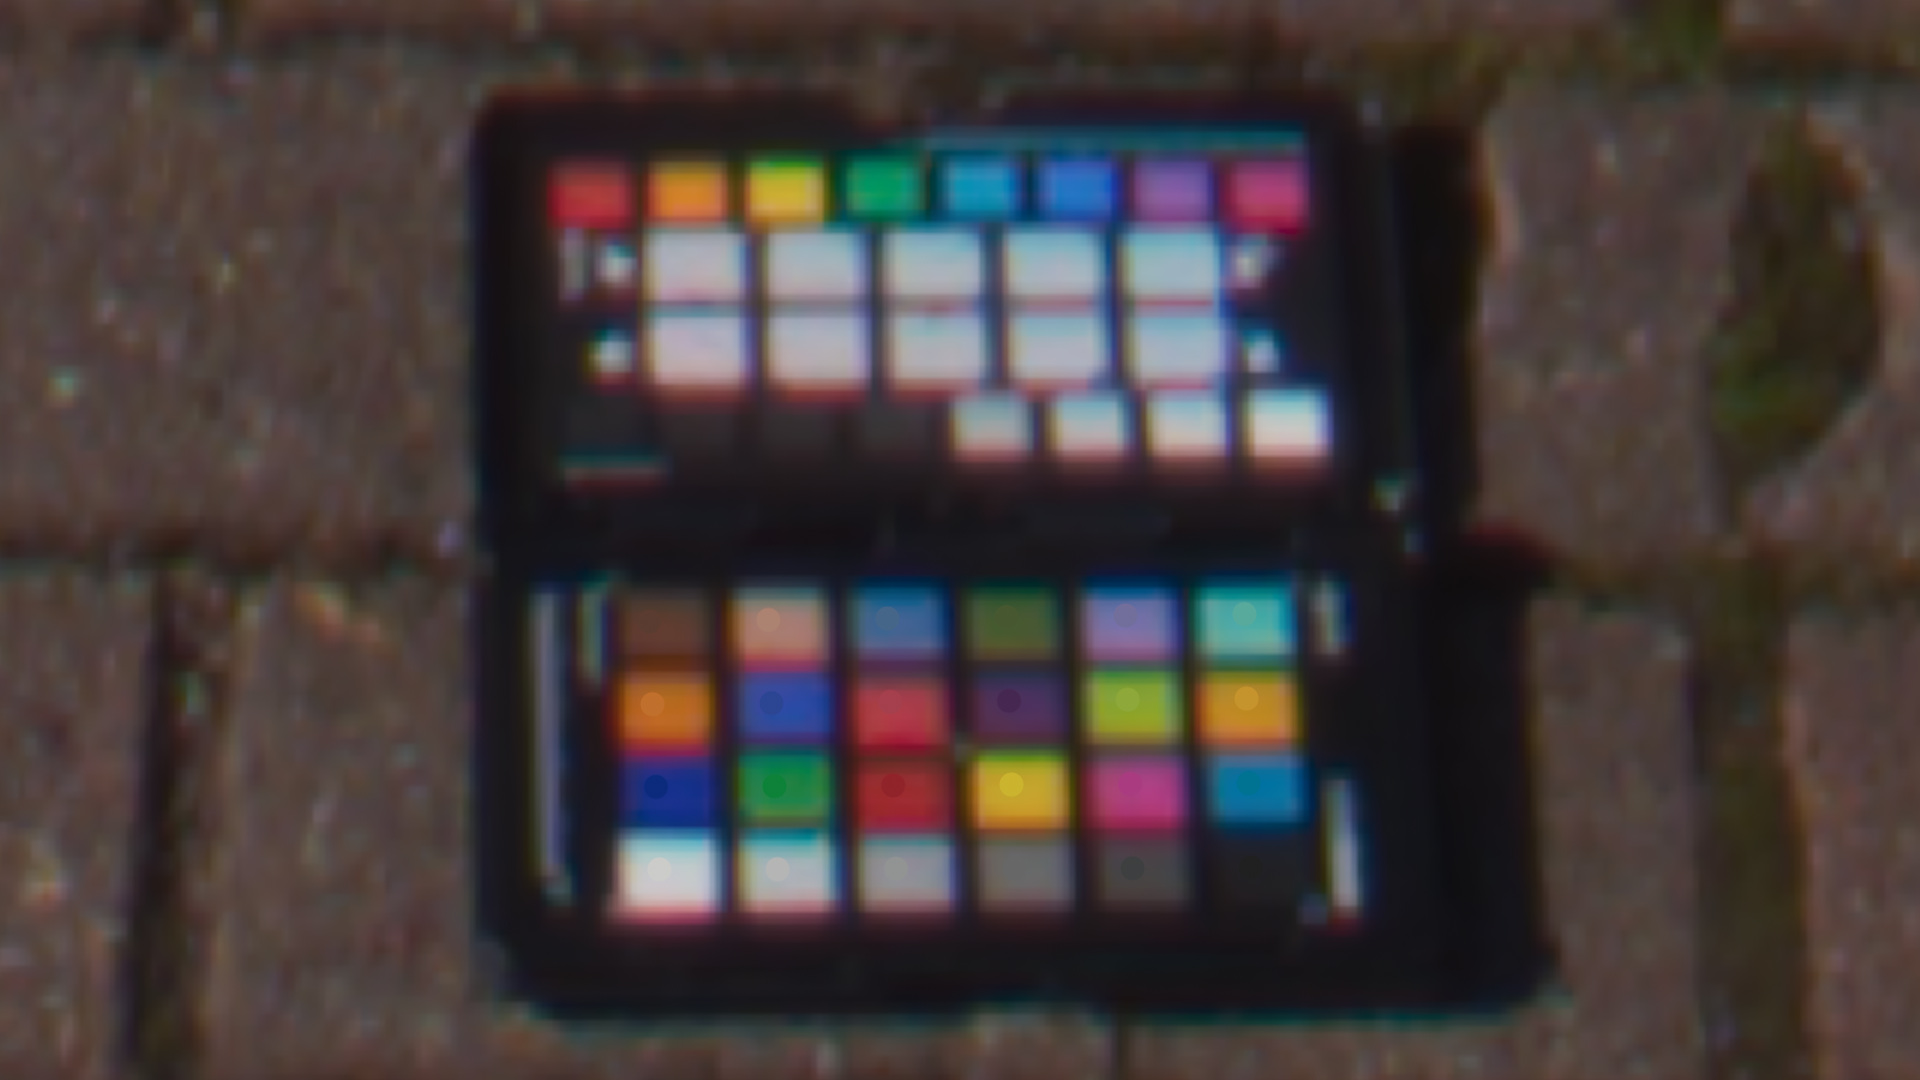
After the balance step I measured the “Max Luma Pixel” for the R, G and B channels with the Curve Tool in Nuke and also overlaid the patches of the 2014 reference chart over the color chart in each HDRI.
The conclusion and pick a winner
Whereas the Color charts look kind of similar, the 1024×1024 pixels crops tells a different story. The first conclusion is that there is always a trade off, but for me the winner is easy to pick. It all depends on factors like required shoot time, the needed resolution and dynamic range. I called the article “Eliminate Variables” and that’s why I pick the Canon 7D f-stop 8 HDRI, although it is far from perfect. It lacks for sure definition in the shadows that you could only get with more brackets or a longer exposure time for the brightest bracket. 7 exposures are not enough here, but without something like Magic Lantern you can’t get more that 7 exposure with this camera in one go.
The Theta-Z1 shoots quicker, but lacks resolution, dynamic range oder an overall image fidelity. There is no easy ND filter solution available that I could test and the minimum aperture of 5.6 and the very short electronic shutter time of 1/25.000 is simply not enough to get enough dynamic range in the sun on a bright day. For image based lighting the sun needs to be modified or painted out and replaced to archive a decent contrast in the shadows.
The Canon 7D f-stop 8 takes longer to shoot one full HDRI, it needs much more processing time and disc space to get a result from PTGui Pro. But it gains with an overall better image quality and dynamic range. Still for a 3D-render it will need more power in the sun. More on this later in the follow-up article.
The Canon 7D HDRI captured with f-stop 22 is not clipping the sun with the shortest exposure, but with only 7 exposures and the strong ND filter the brightest image has too little information so that the result is too noisy and overall underexposed. And its clearly visible in the 1k-crop image comparison that the blue elements in the HDRI don’t even appear blue anymore. It somehow turned magenta.
Canon 7D MKII HDRI captured with a 12mm lens at f8.
Summary
The overall setup time with both cameras are nearly identical when the pano head is properly setup and prepared. The 7 minutes capture time is more critical with moving clouds and even moving shadows edges that can get visible in the stitching later on. It takes 30-45 minutes to render a full HDRI with Capture One and PTGui. I must say I worked in the last year only with some hi-res HDRIs from DSLR’s and comparing them now with a HDRI from a Theta-Z1 feels like a big step back in the overall image quality. In this test the Canon HDRI has nearly 8-stops more dynamic range than the Theta-Z1.
Until I will find a better, quicker and more robust way to get a proper HDRI from bracketed RAW images, I will stick to the combination of CaptureOne and PTGui Pro. The beta version 12 of PTGui Pro looks promising with a lot of new features.
On the next page “Refine and Render” I will setup a Blender 3D scene and render a test with this HDRI.